About This Daisy The Duck Amigurumi Pattern
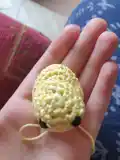
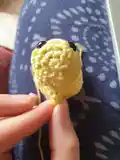
This pattern creates a tiny amigurumi duck named Daisy using 4ply yarn and a 3.5mm hook. Youll crochet a small stuffed body and a separate beak, then sew and shape everything into a duck form. Clear stitch notes and photos are included to help you place eyes and shape the body.
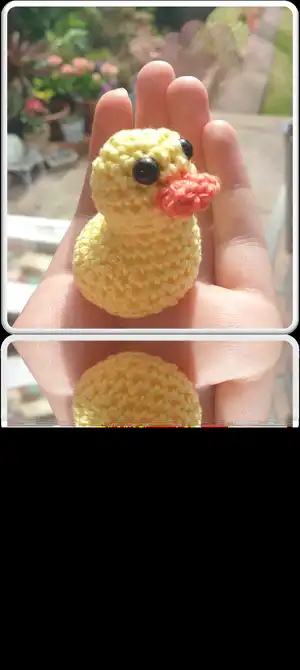
Perfect for quick makes and handmade gifts, the duck finishes around 4cm tall. The pattern uses simple increases and decreases to form the body and a small folded rectangle for the beak.
Why You'll Love This Daisy The Duck Amigurumi Pattern
I absolutely love this pattern because it turns simple stitches into a delightful tiny companion that fits in your palm. I enjoyed designing the shape so it feels duck-like with minimal pieces and easy assembly. I love how quick it is to make, which makes it perfect for gift-making or using up leftover yarn. I also enjoy the playful shaping steps that let you squish and reshape the body to get the perfect posture for Daisy.
Switch Things Up
I love experimenting with different colors, so try pastel yellows or mint greens to give Daisy a unique personality.
You can easily change the size by using a thicker yarn and larger hook for a chunky duck or finer yarn and smaller hook for a micro version.
I sometimes swap the plastic safety eyes for embroidered eyes to make the toy safe for babies or to give it a softer look.
Try adding tiny accessories like a crocheted bow, scarf, or mini hat to create seasonal or character versions.
I like to embroider small eyelids or lashes to change the expression and character of the duck.
For a keychain version, attach a jump ring and small chain to the top before finishing, and use sturdy yarn to withstand wear and tear.
If you want more poseability, consider adding thin wire inside the body or neck for gentle shaping and posing.
I sometimes stitch the beak with contrasting thread for a whimsical mouth outline that makes the face pop.
Make a whole family by mixing yarn weights and colors: e.g., mama duck in full-size yarn and ducklings in 4ply to create a matching set.
I recommend testing one change at a time, like switching hook size or eyes, so you can see how each swap affects the final look before committing to a whole batch.
Common Mistakes & How to Fix Them
✗ Skipping stitch counts during increases leads to an incorrect circumference; count stitches after each increase round to ensure accuracy.
✗ Not placing safety eyes in the correct rows will change the face proportions; insert the eyes between rows 4 and 5, 4-5 stitches apart as instructed.
✗ Understuffing the back end causes the duck to tip forward and not sit flat; add plenty of stuffing to the back end for balance.
✗ Sewing the beak misaligned can look uneven; fold the beak and stitch the shorter edges shut, then align the bottom with the join of rows 7/8 and the top with the join between rows 6/7 for correct placement.