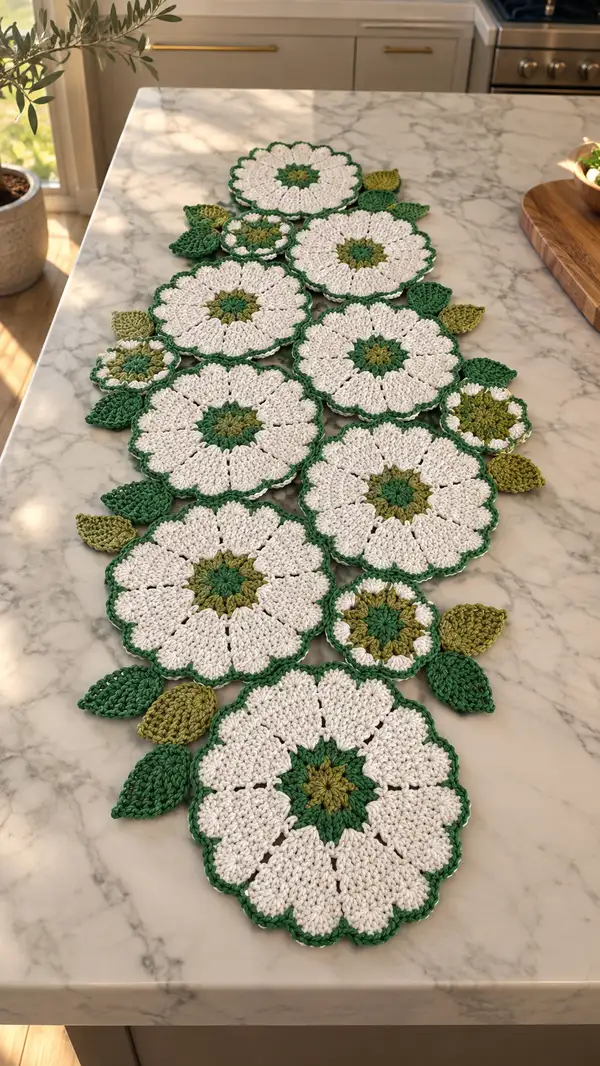
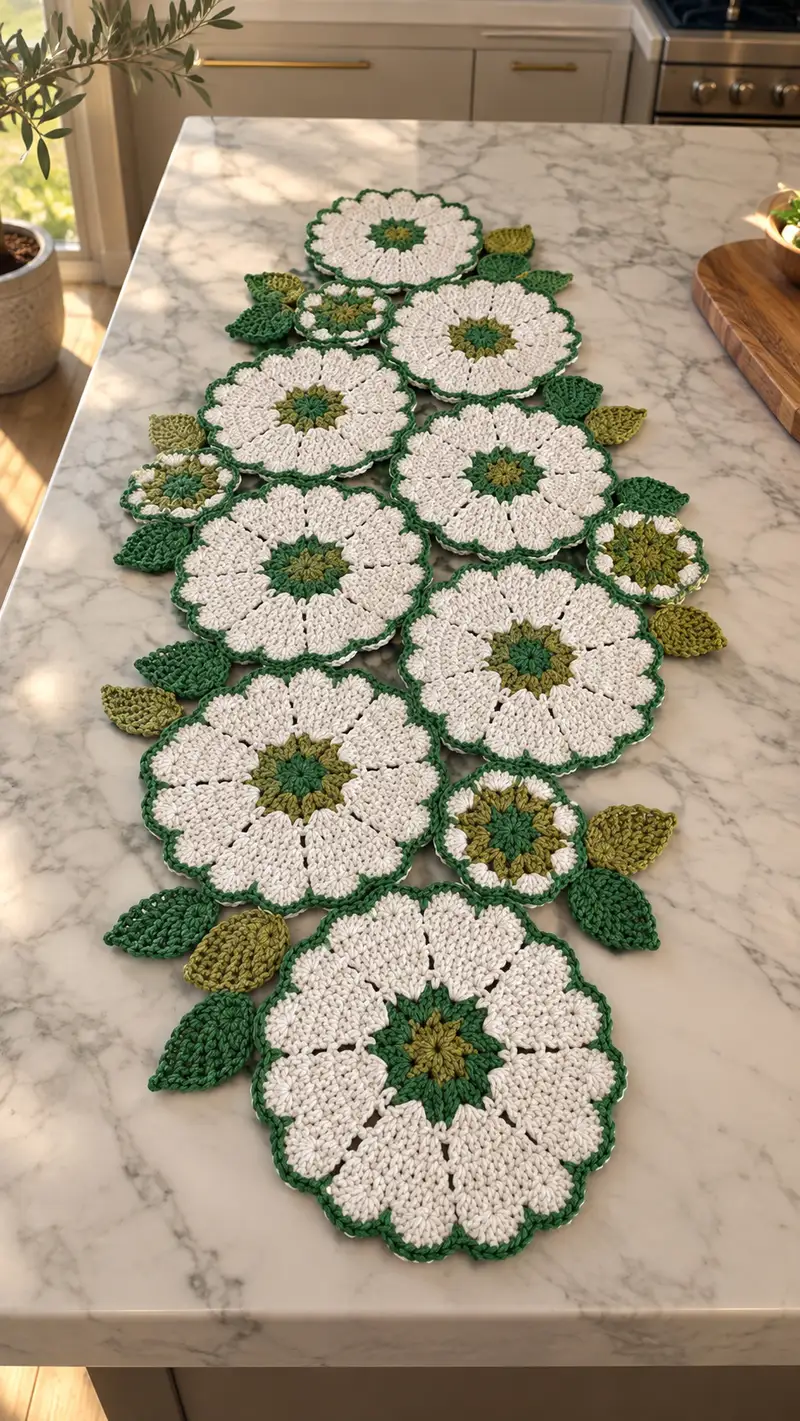
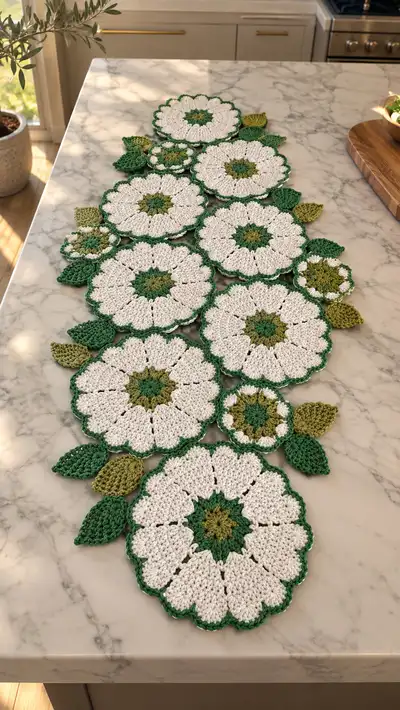
Create a stunning floral medallion table runner composed of layered white flower motifs with leafy accents in two shades of green. This runner is built from round floral motifs joined together, edged with a crisp green scallop and scattered dimensional leaves. The finished piece lays beautifully on a dining or kitchen island and brings a handcrafted botanical touch to any table. Clear step-by-step instructions make it easy to reproduce this elegant home accent.
Progress Tracker
0% Complete
— Materials and Gauge :
Info :
Use worsted weight cotton for crisp petals and flat motifs. Gauge is not critical for motif shape but consistency matters: one completed large motif measures approximately 7.5-9 inches (19-23 cm) across when using 4.0mm hook and cotton. Adjust hook if your motifs are notably larger or smaller. Block motifs for best layout before joining.
— Large Floral Motif (Make 8) :
Round 1 :
6 sc in magic ring (6)
Round 3 :
(1 sc, 1 inc) x 6 (18)
Round 4 :
(2 sc, 1 inc) x 6 (24)
Round 5 :
(3 sc, 1 inc) x 6 (30)
Info :
Change to light/olive green now for the inner star center. Keep tension slightly looser for the center changes so it lies flat and doesn't cup.
Round 6 :
(4 sc, 1 inc) x 6 (36)
Round 7 :
1 sc in each st (36)
Round 8 :
Change to deep green. 1 sc in each st (36)
Round 9 :
(5 sc, 1 inc) x 6 (42)
Info :
We will create a pointed star-like center by working clusters that will radiate into white petals. Fasten off the deep green at the end of this round leaving a 12-18cm tail for later weaving if you prefer to sew centers down; otherwise change color on the last yarn over.
Round 10 :
Join white yarn in next stitch. Ch2 (counts as first dc), *skip 2 sts, (5 dc cluster) in next st, skip 2 sts, dc in next 3 sts* repeat around adjusting so you have 12 cluster bases (42 base sts)
Info :
The clusters create spaces for petals. If you prefer elongated petals, use dc3tog but keep cluster count at 12 to form 12 petals around the motif. Count cluster bases as your petal markers.
Round 11 :
Working into each cluster base: sl st into top of cluster to center it, ch1, (sc, ch2, (7 dc) in ch2 space, ch2, sc) all worked into the cluster base space to form a full petal. Repeat for each of 12 petals (12 petals total). Fasten off white if desired or carry color.
Round 12 :
Turn to work around petals: Join white (if you fastened off) in the tip of any petal. Ch1, *sc in tip, sc in side of petal down to base, sc in base between petals* around. Work precisely to keep 48 base points approximated (12 petals with 4 sc per petal area = 48)
Round 13 :
1 sc in each st (48)
Info :
The petal rounds give the motif the full white floral look. At this point block the motif gently to open the petals: spray lightly with water and pin each petal outward on your blocking mat, allow to dry fully.
Round 14 :
For texture, change to BLO for a ridge round: 1 sc in each st BLO (48)
Round 15 :
Scallop round with deep green: *skip 1 st, in next st work (sc, ch2, 3 dc, ch2, sc), skip 1 st, sc in next 2 sts* repeat around creating 12 scallops. Keep count equivalent to 48 base sts.
Round 16 :
Sc in each st around (48)
Info :
If you want a slightly larger motif, add an additional spacer round here (1 sc in each st) before the final scallop. For the pictured runner the scallop edge is pronounced and in deep green, so keep the final scallop round visible.
Round 17 :
Edging finishing round: *In each scallop shell work (sl st, sc) across the curved edge to neaten; in each straight edge area 1 sc* repeat to create a crisp outer edge (48 anchors). Fasten off and weave in ends.
Info :
Weave in ends toward the center for each motif to avoid showing tails on the underside. Block motifs flat before joining to ensure uniform shape and easier assembly.
— Small Floral Motif (Make 6) :
Round 1 :
6 sc in magic ring (6)
Round 3 :
(1 sc, 1 inc) x 6 (18)
Round 4 :
Change to light green. 1 sc in each st (18)
Round 5 :
Change to deep green: (2 sc, 1 inc) x 6 (24)
Round 6 :
Change to white. Ch2, *3 dc in next st, ch1, skip 1 st, dc in next st* repeat to create 6 small petals (24 base)
Round 7 :
Sc around all petals evenly (24)
Info :
Small motifs are meant to tuck between large medallions as accent flowers. Keep them slightly cupped so they appear dimensional; a light blocking after twisting petals outward will help placement.
Round 8 :
Working around outer edge: *sc in each dc, sc in ch1 spaces* repeat (24). Fasten off and weave ends.
— Leaf Motif (Make 16 mixed deep and light green) :
Round 1 :
Ch 11. In 2nd ch from hook sc, hdc, 2 dc, tr, 2 dc, hdc, sc in last ch. Now working on other side of chain: sc, hdc, 2 dc, tr, 2 dc, hdc, sc (total leaf stitches across both sides create a pointed leaf). This completes a small flat leaf.
Info :
Alternate leaves in deep and olive green to echo photo. For a fuller leaf, increase foundation chain to 13 and add one extra pair of dc near the center on both sides. Block leaves slightly curved for a natural look before joining.
Round 2 :
Optional ridge: Sl st to tip, ch1, 6 sc along center fold to create a raised midrib across the leaf, fasten off leaving tail for sewing.
Round 3 :
For textured leaf: rejoin and work 1 sc in each st FLO for a ribbed effect (approx 20 sc depending on chain count). Fasten off and weave ends.
Info :
Sew leaves with the jagged side up for added depth. Make leaves in two sizes by varying starting chain (10-13). Use smaller leaves to tuck into motif gaps, larger ones to act as corner anchors.
— Join Motifs Layout and Plan :
Info :
Lay out motifs on a large flat surface: arrange eight large flowers in a loose staggered column, intersperse 6 small motifs between them and place 16 leaves around the perimeters as in the photo. The layout pictured shows a tapered runner: three large motifs at center, then gradually fewer toward the ends. Take a photograph of your layout to help during joining.
Info :
We will join motifs using whip-stitch for nearly invisible joins, then reinforce with a single round of joining slip stitches around internal edges before adding final outer edging. You may also use continuous join-as-you-go (JAYG) slip stitch technique if you prefer - instructions below include a sew-together option appropriate for beginners.
— Sew-Together Joining (Preferred for stability) :
Round 1 :
With yarn needle and matching color (deep green), position two motifs with right sides up overlapping slightly at petal bases. Use mattress stitch or whip stitch through outermost rounds where petals meet. Take 2-3 stitches per petal contact area to keep seam flat. Repeat for each adjoining motif.
Info :
Match scallop points and petal tips, ensuring motifs do not overlap in a way that creates bulky seams. If joining three motifs at a juncture, sew them in a triangular sequence: sew left-right, right-center, then left-center to maintain tension and keep center closed.
Round 2 :
After all motifs are sewn together, use deep green yarn and a 4.0mm hook to do a reinforcement round: join yarn with sl st at any seam point, ch1, work 1 sc around the internal seams where motifs meet (approx 2-4 sc per petal-seam depending on overlaps) to unify the runner. Keep count flexible; the goal is even tension across seams.
Info :
If seams gap slightly, add small whip-stitches through the underside to pull the motifs together more tightly. Avoid pulling too tight or motifs will pucker; an even, gentle tension keeps a flat surface.
— Join-As-You-Go (JAYG) Option :
Round 1 :
Work JAYG in the final round of a motif: when you create the final scallop of a motif, slip stitch into the corresponding stitch of an adjacent finished motif instead of chaining or skipping; continue to complete scallops attaching at 3-4 evenly spaced points per adjacent petal. Repeat for each connection point to join motifs without sewing.
Info :
JAYG gives a seamless look but requires careful counting to match petal spacing. I recommend marking attachment points with clips before beginning to avoid mismatches. Practice on two motifs first to become comfortable with the rhythm.
— Reinforcing Inner Edging and Filling Gaps :
Round 1 :
With deep green yarn, sc around all visible inner gaps where petals meet, working 1-3 sc into the seam openings to smooth and stabilize the runner (this is not a fixed stitch count - aim for visual evenness).
Info :
Small accent flowers and leaves are sewn into any triangular spaces formed between petals. Use invisible stitches to secure leaves; stitch through base only so leaves appear to float above the runner slightly. Add two stitches per leaf base and then weave tail inside to secure.
— Outer Border and Final Scallop Edging :
Round 1 :
Change to deep green yarn. Join at any outermost scallop point. Ch1, sc in same st, *sc in next 2 sts, shell in next st (5 dc in same st), sc in next 2 sts* repeat around the entire outer perimeter of the assembled runner creating a scalloped repeat. This will tidy edges and create a continuous frame.
Round 2 :
1 sc in each st around to even out the scallops (counts vary depending on runner layout; focus on even spacing and symmetry). Fasten off and weave in ends carefully on the underside.
Info :
For a crisp edge, after finishing the final round, lightly mist with water and block the entire runner so scallops sit evenly and leaves naturally curve. Allow to dry completely before use; starch lightly if you want a firmer tabletop accent.
— Optional Decorative Surface Stitching :
Info :
Embroider subtle veins on leaves with a running stitch using matching yarn or embroidery thread. Add French knot centers to small flowers for extra dimension if desired. All surface embellishments should be secured tightly and ends woven well under motifs.
— Finishing Touches and Care :
Info :
Weave all tails into the underside and trim. Block the runner to exact shape and let dry thoroughly. Hand wash gently in lukewarm water with mild soap; reshape and lay flat to dry. Avoid machine washing which can stretch and fuzz cotton over time.
Info :
Notes on colors: if you choose different greens or a different main petal color, make a single motif first to check contrast and make adjustments. The pattern is forgiving and looks great with subtle variations in green shades for a natural garden look.
This floral medallion table runner will brighten any dining space with handcrafted botanical charm. Each motif and leaf comes together to form a layered, textured centerpiece that feels both timeless and fresh. Working the motifs is wonderfully calming and the final assembly is incredibly satisfying—watch your table transform one flower at a time. 🧶🌿 Share a photo of your finished runner and enjoy the beauty of handmade decor! 🎉