Make your own lovable Drakosha dragon amigurumi—about 28 cm tall—worked in worsted-like baby yarn with wire-reinforced neck for poseable head. This pattern includes detailed, round-by-round instructions for body, head, tail, legs, arms, wings, eyes, spikes and accessories. Two color versions are shown (orange and blue) and changes are explained so you can customize the look.
Progress Tracker
0% Complete
— Materials & Notes :
Info :
Hook: 1.5 or 1.75 mm (use smallest hook that gives a firm fabric with your yarn). Work in continuous rounds unless otherwise instructed. Use stitch marker to mark first stitch of each round. Gauge is not critical but affects final size - shown dragons measure about 28 cm tall when using yarn noted above and specified hook.
Info :
To make the neck poseable, prepare a 19 cm length of copper wire (2.5 mm section) with both ends folded and wrapped in fabric tape or heat-shrink tubing so there are no sharp ends. Insert wire into body from bottom up leaving 4-5 cm protruding into the neck area before you attach the head.
— Body :
Round 1 :
In magic ring, 6 sc (6)
Round 3 :
(1 sc, inc) * 6 = 18
Round 4 :
1 sc, inc, (2 sc, inc) * 5, 1 sc = 24
Round 5 :
(3 sc, inc) * 6 = 30
Round 6 :
2 sc, inc, (4 sc, inc) * 5, 2 sc = 36
Round 7 :
(5 sc, inc) * 6 = 42
Round 8 :
3 sc, inc, (6 sc, inc) * 5, 3 sc = 48
Round 9 :
(7 sc, inc) * 6 = 54
Round 10 :
4 sc, inc, (8 sc, inc) * 5, 4 sc = 60
Round 11 :
(9 sc, inc) * 6 = 66
Round 12 :
5 sc, inc, (10 sc, inc) * 5, 5 sc = 72
Round 13 :
(11 sc, inc) * 6 = 78
Round 14-26 :
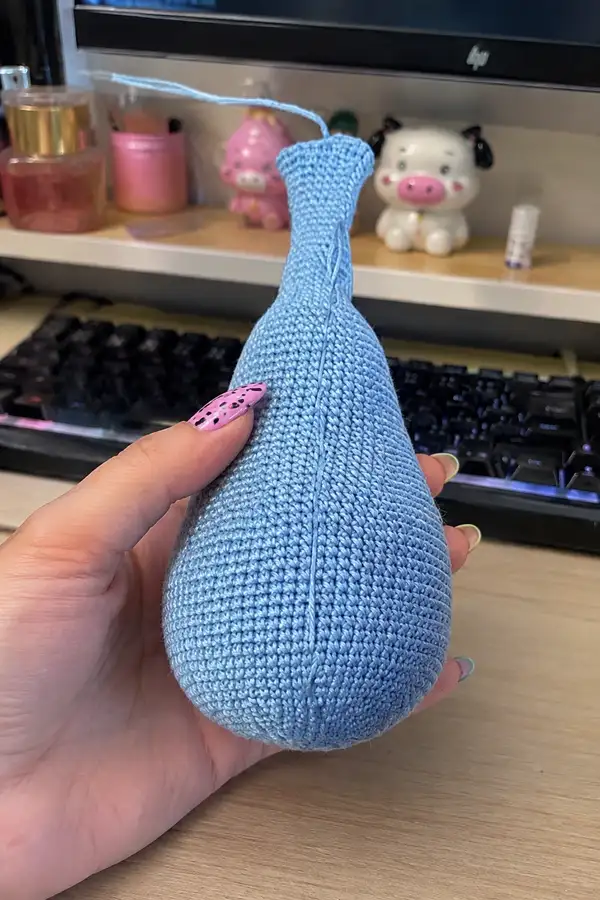
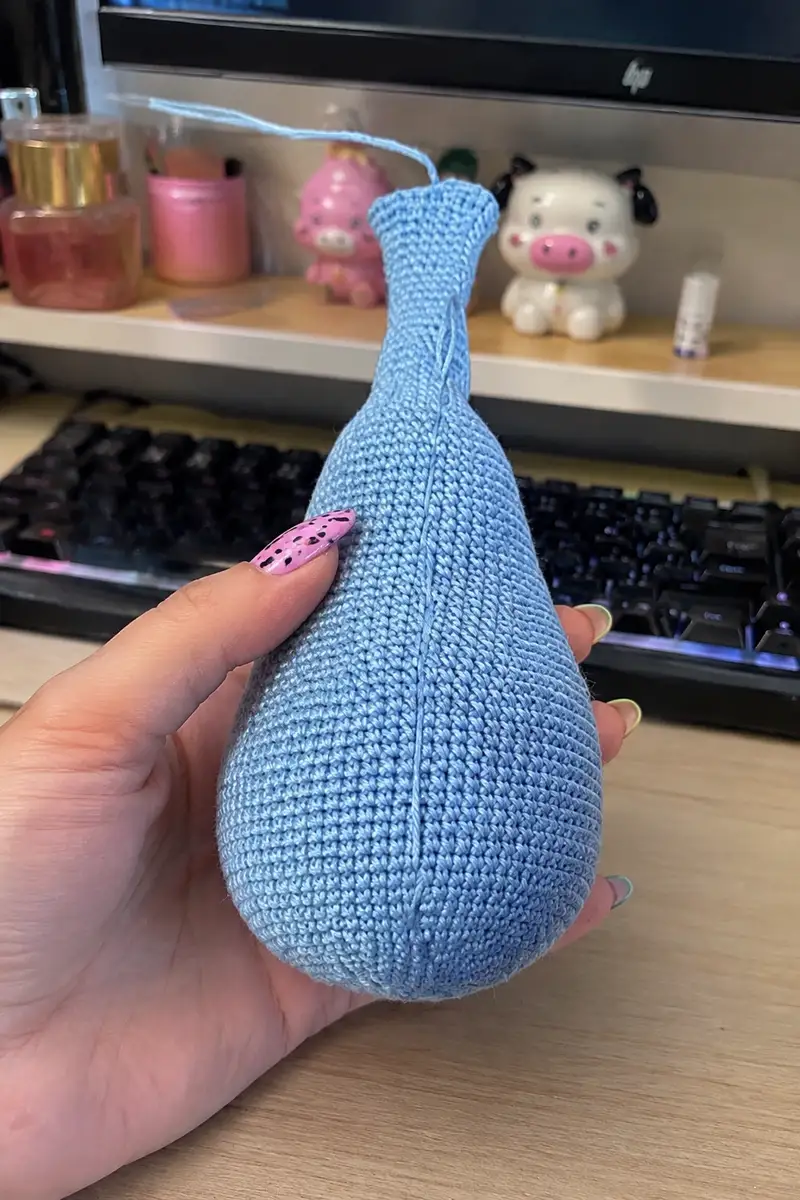
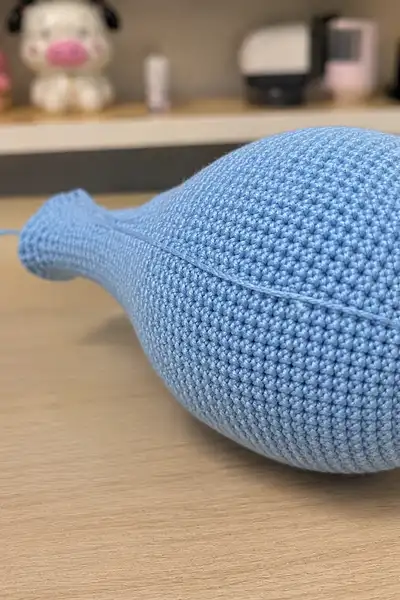
78 sc (13 rounds) — work even for body bulb. Marker should run vertically along the back; watch for marker displacement and realign when necessary.
Info :
These even rounds (14-26) form the widest part of the torso. Keep tension even. Begin stuffing the lower portion of the body firmly after round 18 so the base will be stable. Do not stuff neck yet.
Round 27 :
(4 sc, dec) * 2, 54 sc, (dec, 4 sc) * 2 = 74
Round 28 :
(4 sc, dec) * 2, 50 sc, (dec, 4 sc) * 2 = 70
Round 29 :
70 sc (work even)
Round 30 :
30 sc, dec, 6 sc, dec, sc, 30 sc = 68 (example shaping for belly rounding) — maintain 68 total
Round 31 :
(4 sc, dec) * 2, 44 sc, (dec, 4 sc) * 2 = 64
Round 32 :
27 sc, dec, 6 sc, dec, 27 sc = 62
Round 34 :
4 sc, dec, 50 sc, dec, 4 sc = 60
Round 35-37 :
60 sc (3 rounds even) — continue shaping for taper toward the hip/leg area
Round 38 :
(8 sc, dec) * 3, (dec, 8 sc) * 3 = 54
Round 40 :
22 sc, dec, 2 sc, dec, 2 sc, dec, 22 sc = 51 (subtle waist taper)
Round 41 :
21 sc, dec, 2 sc, dec, 2 sc, dec, 20 sc = 48
Round 42 :
21 sc, dec, 2 sc, dec, 21 sc = 46
Info :
Start filling the body more firmly now to support limbs and the head. Emphasize belly area to keep it rounded—add stuffing in small amounts and shape with your fingers.
Round 43 :
19 sc, dec, 4 sc, dec, 19 sc = 44
Round 45 :
15 sc, dec, 10 sc, dec, 15 sc = 42
Round 46-47 :
42 sc (2 rounds even)
Round 48 :
(5 sc, dec) * 6 = 36
Round 50 :
(4 sc, dec) * 6 = 30
Round 52 :
(3 sc, dec) * 3, (dec, 3 sc) * 3 = 24 (detailed waist shaping)
Round 53-58 :
24 sc (6 rounds even) — these rounds sit above the tail insertion point
Round 59 :
(10 sc, dec) * 2 = 22
Round 60 :
(9 sc, dec) * 2 = 20
Round 61 :
(8 sc, dec) * 2 = 18
Round 62-69 :
18 sc (8 rounds even) — this creates the narrow top of the body base for leg and tail connection
Round 70 :
(2 sc, inc) * 6 = 24
Round 71 :
24 sc — finish body and leave opening for wiring and head neck attachment
Info :
At round 71 stop and prepare to insert the 19 cm copper wire: fold the ends, wrap with cloth tape and thread wire from bottom of body up through the neck area leaving 4-5 cm protruding up into the neck for the head to fit over. Push wire carefully until it reaches the neck top area; secure with stuffing around it so wire stays centered. Leave enough space in the top opening to later sew the neck of the head over the wire.
— Tail :
Round 1 :
In magic ring, 6 sc (6)
Round 2 :
(1 sc, inc) * 3 = 9
Round 3-4 :
9 sc (2 rounds)
Round 5 :
(2 sc, inc) * 3 = 12
Round 6-7 :
12 sc (2 rounds)
Round 8 :
(3 sc, inc) * 3 = 15
Round 9-11 :
15 sc (3 rounds)
Round 12 :
(4 sc, inc) * 3 = 18
Round 13-15 :
18 sc (3 rounds)
Round 16 :
(5 sc, inc) * 3 = 21
Round 17-18 :
21 sc (2 rounds)
Round 19 :
8 sc, inc, 1 sc, inc, 1 sc, inc, 8 sc = 24
Round 20 :
10 sc, inc, 1 sc, inc, 1 sc, inc, 9 sc = 27
Round 21 :
11 sc, inc, 1 sc, inc, 1 sc, inc, 11 sc = 30
Round 23 :
(4 sc, inc) * 3, (inc, 4 sc) * 3 = 36
Round 24-26 :
36 sc (3 rounds)
Round 27 :
15 sc, inc, 4 sc, inc, 15 sc = 38
Round 28 :
16 sc, inc, 4 sc, inc, 16 sc = 40
Round 29 :
(9 sc, inc) * 4 = 44
Round 31 :
(10 sc, inc) * 4 = 48
Round 32-34 :
48 sc (3 rounds)
Round 35 :
(11 sc, inc) * 4 = 52
Round 36-38 :
52 sc (3 rounds) — shape final triangular tail fin area
Info :
Stuff the tail but leave the base slightly less stuffed so it flexes against the body. Attach tail after sewing legs to create a stable base—see assembly notes. You may flatten the tail fin when sewing to make the dragon stand well.
— Dorsal Spikes / Small Cones (Make 12-13) :
Round 1 :
In magic ring, 6 sc (6)
Round 3 :
(1 sc, inc) * 3 = 9
Round 4 :
Fold in half and sc around both sides 4 sc each side (work into both thicknesses) to close and create a little cone — total about 8 sc worked
Info :
Make 12-13 spikes in a darker accent color. Stuff lightly and sew them along the center back and tail spaced evenly. For smaller spikes you can stop at round 3 and flatten.
— Upper Paws / Arms (Make 2) :
Round 1 :
In magic ring, 6 sc (6)
Round 3 :
(5 sc, inc) * 2 = 14
Round 4-6 :
14 sc (3 rounds even)
Round 7 :
(dec) * 7 = 7 — shape the thumb/narrow end
Round 8-9 :
7 sc (2 rounds even)
Round 14 :
(2 sc, inc) * 3 = 12
Round 16 :
(1 sc, inc) * 6 = 18
Round 17-26 :
18 sc (10 rounds even) — lengthen the upper arm
Round 27 :
(1 sc, dec) * 6 = 12 — begin taper for shoulder
Round 28 :
(dec) * 6 = 6 — finish and close; fasten off leaving tail for sewing
Info :
Stuff hands firmly at the bottom (paw) and lightly up the arm. Insert a small amount of fiberfill around the shoulder tip so the arm holds shape when sewn. Pin arms on the sides of the body between rounds 18-22 for a natural placement (see assembly).
— Lower Paws / Feet (Make 2) :
Round 1 :
In magic ring, 6 sc (6)
Round 3 :
(1 sc, inc) * 6 = 18
Round 4 :
(8 sc, inc) * 2 = 20
Round 5-8 :
20 sc (4 rounds even) — marker goes along side of foot
Round 9 :
(8 sc, dec) * 2 = 18
Round 10 :
(7 sc, dec) * 2 = 16
Round 12 :
(6 sc, dec) * 2 = 14
Round 13-15 :
14 sc (3 rounds even) — shape sole; stuff foot loosely so it can have a slightly flat base
Round 16 :
(dec) * 7 = 7 — fasten and pull tight to close
Info :
When stuffing the foot, keep the sole flat: fill loosely near the top and more in the toe area. After closing, embroider toes with running stitch or thin yarn as pictured. Attach the foot to the body by sewing along the side seam created in rounds 1-4 of the foot; place feet spaced evenly at the bottom of the body so dragon stands steadily.
— Spikes for Tail Edge (Optional accent) :
Round 1 :
In magic ring, 6 sc (6)
Round 3 :
(1 sc, inc) * 3 = 9
Round 4 :
Fold and sc around both layers 4 sc each side to shape the small triangular spike
Info :
Make 6 smaller spikes in contrasting color to place along tail tip if desired. Sew firmly using a ladder stitch so spikes are secure under tension.
— Eyes (Make 2 layered whites + iris) :
Info :
Start with white yarn to create rounded eye whites, then change to main color for iris ring. Leave long tail to sew eyes flat onto head and glue pupils later if using beads.
Round 1 :
In white yarn, mr, 6 sc (6)
Round 3 :
(1 sc, inc) * 6 = 18
Round 4 :
(2 sc, inc) * 6 = 24
Info :
Change to main body color (or iris color) by finishing last pull-through with new yarn. Continue working continuous rounds so eye becomes slightly hemispherical.
Round 5-7 :
24 sc (3 rounds even) — form the dome for the eye
Round 8 :
(2 sc, dec) * 6 = 18
Round 9 :
(1 sc, dec) * 6 = 12
Round 10 :
(dec) * 6 = 6 — leave long tail and fasten off, draw up hole to close slightly but keep dome shape
Info :
Sew the flat back of the white hemisphere to the head and position so the white shows forward. Insert 8-10mm safety eyes onto the domes if using; glue pupils after eyes are sewn in place to make sure they look level.
— Head :
Round 1 :
In magic ring, 6 sc (6)
Round 3 :
(1 sc, inc) * 6 = 18
Round 4 :
(2 sc, inc) * 6 = 24
Round 5 :
(3 sc, inc) * 6 = 30
Round 6 :
(4 sc, inc) * 6 = 36
Round 7 :
(5 sc, inc) * 6 = 42
Round 8 :
(6 sc, inc) * 6 = 48
Round 9-14 :
48 sc (6 rounds) — build head height
Info :
Place safety eye placement between rounds 12-13 approximately 6-8 stitches apart depending on desired face spacing. For the large, slightly bulging eye look, sew eye dome so it protrudes a bit and covers part of rounds 11-13.
Round 15 :
(6 sc, dec) * 6 = 42
Round 16 :
(5 sc, dec) * 6 = 36
Round 17 :
(4 sc, dec) * 6 = 30
Info :
Begin stuffing the head firmly. Work in small tufts and use a chopstick to push stuffing into the muzzle area so the face keeps its rounded shape as you decrease.
Round 18 :
(3 sc, dec) * 6 = 24
Round 19 :
(2 sc, dec) * 6 = 18
Round 20 :
(1 sc, dec) * 6 = 12
Round 21 :
6 dec = 6 — leave long tail and fasten off for a tight nose area if you prefer; otherwise close later when sewing to neck
Info :
For the elongated muzzle pictured: after round 8 continue with 6 additional rounds forward-only in the front half by adding small shaping at the muzzle: use reverse increases in the front 12-14 sts to create projection. Alternatively, you can crochet the full head then stretch and stuff the front with extra filling and shape with needle sculpting.
Round 22-25 :
If making neck as part of head option: 1 sc in each st for 4 rounds to create neck tube that will fit over the wire. Leave long tail for sewing to the body top and make sure the inner diameter fits over the wire end (usually 4-5 cm long neck tube).
Info :
When head is stuffed and shaped, position over the protruding wire from the body and slide into place. Sew head to the neck opening by stitching through head neck tube to the body using ladder stitch for invisible join. Alternatively, sew head to the top of the body directly if you did not use wire.
— Horns / Antlers (Make 2) :
Round 1 :
In magic ring, 6 sc (6)
Round 3 :
(1 sc, inc) * 3 = 9
Round 4-6 :
9 sc (3 rounds) — shape the base
Round 7 :
(2 sc, inc) * 3 = 12
Round 8-9 :
12 sc (2 rounds)
Round 10-12 :
BLO 12 sc for a slightly flattened back, then continue for 3-4 rounds straight to form curved horn. Stuff lightly and sew to head between rounds 6-8 close to eyes.
Info :
For striped horns like the orange sample, change color every 2-3 rounds or embroider stripes after completion. For forked antlers like the blue sample, crochet two small branching prongs from the top of a main horn by stitching additional chain stems and single crocheting back down to form branch shapes; attach securely with thread.
— Wing Membranes & Ribs (Make 2) :
Round 1 :
Chain 12, join to ring and work around to make a triangular wing base (or create two identical semicircles then seam). Example method below creates a triangular wing with membrane lines.
Wing Base Method :
Ch 12, sl st to form ring (or ch 9-12 depending on size). R1: 12 sc around chain circle. R2: (1 sc, inc) across to build width. Work increases at edges to create a fan shape until you have 20-24 sc across the widest round. Fasten off.
Rib Detail :
Using contrast color, embroider or single crochet narrow ribs from the wing root to outer edge. Alternatively, make a narrow tube (i.e. 4 sc in a row) and sew as ribbing across the membrane creating 4 evenly spaced ribs as shown in photos.
Info :
Sew the wing base along the side seam of the body between rounds 28-36 so the wings sit slightly behind the front limbs. Use stuffing in the root area only to keep wings slightly raised. For white membrane like pictured, make membrane white and overlay ribs with accent color.
— Belly Stripes & Embroidery :
Info :
Use a contrasting color to embroider vertical belly ribs down the center of the front body. Work mattress stitch or surface slip stitch to create raised lines. For the pictured orange dragon use white ribs about 6-8mm apart; for the blue sample use darker blue. Start at neck seam and stitch downward to around round 26.
— Assembly & Final Touches :
Info :
Weave all ends in, pin components in the exact locations and sew using matching yarn. For a balanced standing posture position the legs symmetrically and sew the tail base so it supports weight. Glue pupils after eyes are sewn in so they sit level and even. Optionally add a little blush to cheeks with fabric paint or cosmetic powder.
Info :
Use ladder stitch when attaching limbs to create an invisible seam. Double-check that wire ends are wrapped and safe before final stuffing and joining. If you choose to make poseable limbs insert thin wire or pipe cleaners but be sure to fold over and tape ends to prevent poking through stitches.
Finishing this Drakosha dragon is so rewarding—the poseable neck, big expressive eyes, and the charming belly ribs make it a delight to gift or display. Each sewn seam and embroidered detail brings the little friend to life. Enjoy putting the last stitches in and sharing your dragon with someone special! 🧶🐉✨