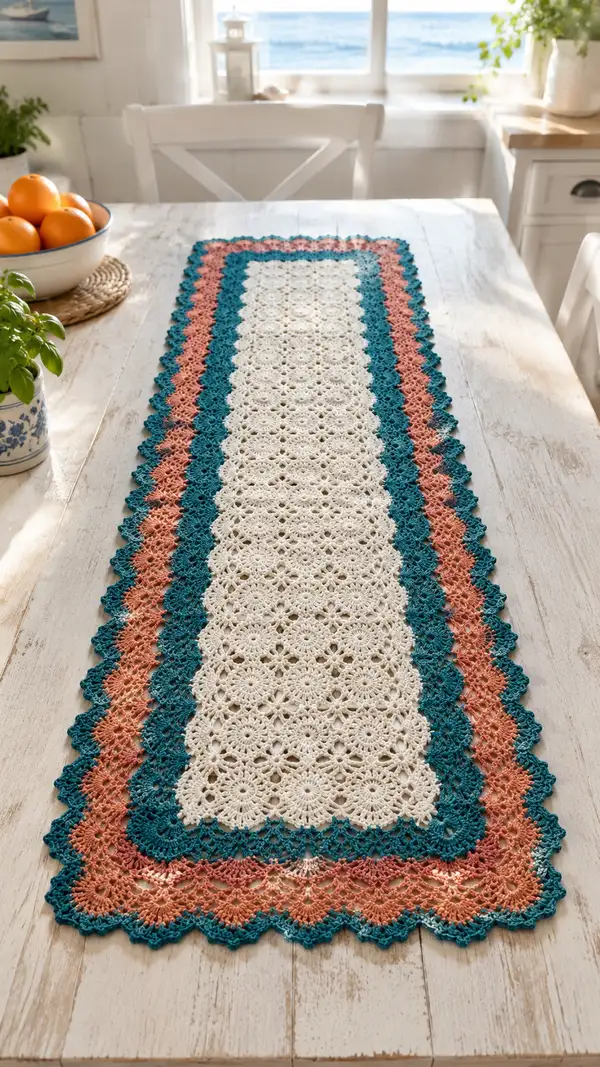
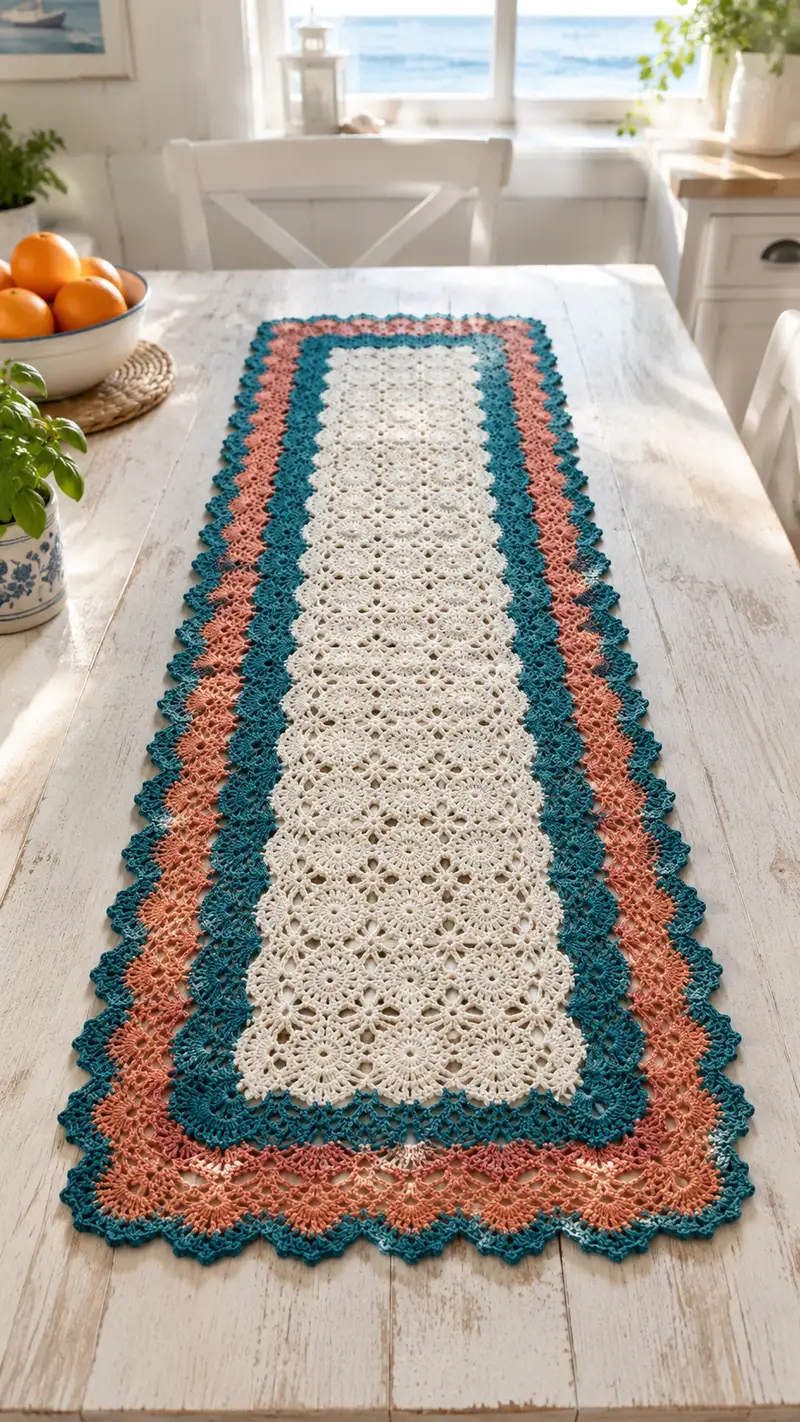
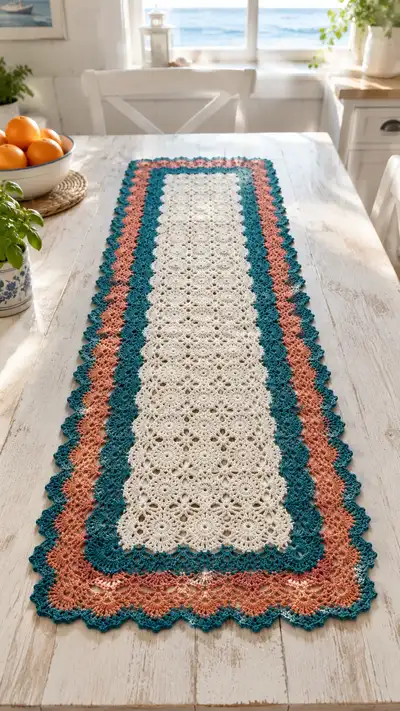
A delicate, vintage-inspired table runner made from repeated lacy medallion motifs joined into a long rectangular panel with two contrasting scalloped borders. The central column is worked in a soft cream, accented by a teal and warm coral scalloped band for a fresh, coastal-cottage look. Detailed join-as-you-go instructions, decorative border rounds and finishing tips ensure a professional, flat finish that looks stunning on a farmhouse table.
Progress Tracker
0% Complete
— Overview :
Info :
This runner is constructed from circular medallion motifs joined in a 3-column layout: a central long column of cream medallions 14 motifs long and two narrow edge columns each 2 motifs across to create the full rectangular shape. After assembling the panel, layered border rounds in teal, coral and teal create the framed scalloped look. Use join-as-you-go for clean joins. Final measurements (approx) using sport/DK yarn and 3.25mm hook: 12.5" wide x 62" long (this can vary with yarn, hook and blocking).
— Gauge & Notes :
Info :
One finished medallion after blocking measures approximately 3.25" diameter. Adjust motif count to length desired. Work tightly enough that the lace does not stretch excessively when handled. Block thoroughly after assembly to flatten and open lacy stitches.
— Motif (Make 60) :
Round 1 :
Make a magic ring, ch3 (counts as first dc), 11 dc into mr; sl st to top of ch3 to join (12)
Round 2 :
Ch1, sc in same st, *ch5, sc in next dc* rep around, ending with ch5, sl st to first sc to join. (12 ch-5 loops)
Round 3 :
Sl st into first ch-5 loop, ch3 (counts as dc), (11 dc) into same loop; sl st to top of ch3 to join. (12 petals, each 12 dc cluster)
Round 4 :
Ch1, sc in same st, *ch3, sc between next two petals (in join point)* rep around; sl st to first sc. (12 ch-3 spaces)
Round 5 :
Work in each ch-3 sp: *(2dc, ch2, 2dc) in same ch-3 sp, sl st in next sc between petals* rep around, join with sl st to first dc. (12 shell groups)
Round 6 :
Ch1, sc in same st, *ch4, sc at top of next shell between groups* rep around; sl st to first sc. (12 ch-4 spaces)
Round 7 :
Into each ch-4 sp: *(3dc, ch3, 3dc), sl st into next sc* rep around; join. (12 large shells)
Info :
At this point the medallion has a clear floral/star look. Keep tension steady; the number of dc in petals creates the radial effect. If your motif is smaller, try slightly larger hook for later rounds to open the lace when blocking.
Round 8 :
Ch2 (counts as hdc), hdc in same st, *ch2, sk to center of next large shell, 4 hdc evenly across center of shell, ch2, hdc twice in next join point* rep around; join with sl st to first hdc. (48 hdc segments equivalent)
Round 9 :
Ch1, sc in same st, *ch5, sc into next hdc group between shells* rep around; sl st to first sc. (12 ch-5 loops)
Round 10 :
In each ch-5 loop: *(2dc, ch2, 2dc), sl st into next sc* rep around; join. (12 shell clusters)
Round 11 :
Ch1, sc in same st, *ch3, sc in center top of next shell* rep around; join. (12 ch-3 spaces)
Round 12 :
Into each ch-3 space: *(5 dc) in same ch-3 sp, sl st to next sc* rep around; join. (12 clusters of 5 dc = 60 dc)
Info :
If you prefer a slightly denser motif, work every dc cluster as (6 dc) instead of 5 to increase diameter; adjust motif count accordingly to keep runner width.
Round 13 :
Ch1, sc in same st, *ch4, sc between next two 5-dc clusters* rep around; join with sl st. (12 ch-4 loops)
Round 14 :
In each ch-4 loop: *(3dc, ch2, 3dc), sl st to next sc* rep around; join. (12 larger shells)
Round 15 :
Ch1, sc in same st, *ch2, sc in next dc of shell (work sc into the top of the ch2 of shell to anchor)* rep around; join. (24 sc around approximate placement)
Round 16 :
Work picot-loop edge: *sc in next st, (ch3, sl st in 3rd ch from hook to form picot), sc in next st, ch2* rep around to create delicate points; sl st to join. (creates 24 small picot peaks)
Round 17 :
Ch1, sc evenly around working 2 sc in each picot section peak to flatten and reinforce joins if you plan to join-as-you-go (approx 48 sc). Join. (approx 48)
Info :
Fasten off leaving a 6-8" tail if you will join this motif to neighbors with whip stitch, or leave tail short if using JAYG (join-as-you-go). Make the required number of motifs: for the pictured runner you will need 14 motifs lengthwise x 3 columns = 42 motifs for exact pictured width; add extra for edging / sample swatches. Adjust counts if your motif gauge differs. Note: numbers of motifs given earlier assumed smaller motif; make 60 motifs if using 3.25" diameter per motif to achieve length—adjust as needed.
— Joining Motifs into Rows (Join-as-you-go method) :
Info :
We will form three columns: central column of motifs (14 motifs long) and two side columns each 2 motifs wide making total runner width about 12.5". This JAYG method attaches each new motif to previously made ones on its last working round to create invisible joins. You can also sew motifs together after making all motifs—this section instructs JAYG method for straight, even joins.
Joining Round 1 :
Begin center column: With cream yarn, work motif Rounds 1-16 as written. For the first motif of each row do not join—complete motif and fasten off or leave tail.
Joining Round 2 :
Make second motif up to Round 16. On Round 17 (the reinforcement round), when you have completed the last shell before the picot/edge, position the new motif beside the first motif so their edges meet. For each adjacent petal/peak you will join in the picot space: insert hook in picot of completed motif and into corresponding st of new motif, sl st to join. Work 'sc in next, sl st join' pattern across the side where two motifs touch. Continue forming the rest of the round on the new motif so that the join is integrated. Finish motif and fasten off. (Repeat carefully for each seam)
Joining Round 3 :
Repeat the process for the third motif and every subsequent motif in the column: for each motif after the first, on the final reinforcement/picot round, make 6-8 sl st joins evenly spaced into corresponding picots of the adjacent motif so that the seam is flat. Aim for one join at each petal peak for consistent placement. Fasten off. (Each seam uses approx 6-8 join points)
Info :
When joining motifs in the second column (adjacent to the center column) each motif will join on two sides: once to the center column motif (as above) and once to a neighboring motif in the same side-column if applicable. Plan joins so that every touching petal is joined at least once to prevent gaps.
Joining Round 4 :
For corner and three-way intersections (where three motifs meet), use a small mattress stitch with the yarn tail to make a triple join: pass needle through picot of each motif in circular order twice then knot inside the join to prevent slippage. Keep stitches flat and avoid puckering. (use 3-4 passes for security)
Joining Round 5 :
Continue until all motifs are joined into the rectangular panel: center column of 14 motifs and two side columns each 14 motifs long but two motifs across so total width = 3 motifs across in central portion. Ensure all joins sit flat; reseat any uneven joins by unpicking a few joins and redoing them rather than forcing a twist into the panel.
Info :
If you prefer a totally invisible join, use whip-stitch from the back side taking very small slanted stitches through just the picot base on both motifs. This hides join threads and keeps front neat.
— Panel Reinforcement Rounds (worked in cream across entire joined panel) :
Round 1 :
With cream yarn and working around the perimeter of the entire joined panel, sc evenly around the outer edge, working 3 sc in each corner to keep panel flat. Keep count for each side and aim for evenly spaced sc. (count will vary depending on motif join layout, typically approx 320-360 sc around perimeter)
Round 2 :
Ch2, *hdc in next 2 sc, ch2* rep across sides; at corners work (hdc, ch2, hdc) to maintain turn; join with sl st. (creates even chain scallop foundation)
Info :
This foundation creates the row where the colored narrow band will start. Keep the panel flat by adjusting stitch density—add an extra hdc in longer sides if needed to prevent ruffling.
— Teal Inner Band (Change to Teal) :
Info :
Change to teal yarn by joining in any chain-2 space from the foundation round. Carry unused cream inside the work if you prefer to avoid many ends, or fasten off cream and weave later.
Round 1 :
Join teal in a chain-2 sp, ch3 (counts as dc), (2 dc, ch2, 3 dc) into same chain-2 space to create a shell corner; *skip next 2 hdc, (3 dc, ch2, 3 dc) in next chain-2 space* rep around to form scallop-shells; join. (creates shell scallops around perimeter, approx 80-90 shell groups depending on perimeter size)
Round 2 :
Ch1, sc in same st, *ch3, sc in center of next shell (at the ch2)* rep around; join. (12-18 ch-3 spaces along each long side, adjusted for panel length)
Round 3 :
In each ch-3: *(2dc, ch2, 2dc) in ch-3 sp, sl st into next sc* rep around; join. (reinforces scallop line)
Info :
Work this teal band two rounds deep to give a defined color stripe before transitioning to the coral scalloped stripe. If you want a narrower band, omit Round 3 and proceed to coral color earlier.
— Coral Scalloped Stripe (Change to Coral) :
Info :
Join coral yarn in any ch-2 space at the base of a teal shell. The coral stripe uses slightly larger shells to create a visible band before the outer teal scallop.
Round 1 :
Join coral, ch3 (counts as dc), (4 dc, ch2, 4 dc) in same space to make extra-large shell; *skip next 2 dc groups, (4 dc, ch2, 4 dc) in next ch-2 sp* rep around; join. (creates prominent coral shells)
Round 2 :
Ch1, sc in same st, *ch4, sc at center of next coral shell* rep around; join. (forms ch-4 spaces between coral shells)
Round 3 :
In each ch-4 space: *(3dc, ch3, 3dc), sl st to next sc* rep around to accent coral shells with lace arches; join. (gives airy coral scalloped appearance)
Info :
Keep tension slightly looser on these decorative rounds so the scallops sit nicely over the teal band beneath. If coral scallops pull, add an extra ch in spaces to ease tension.
— Teal Outer Scallop Edge (Change back to Teal) :
Info :
Change back to teal at coral round joins. The outermost teal creates the pronounced scalloped border seen in the photo. Work several rounds to sculpt the final scallop and picot points.
Round 1 :
Join teal in any ch-3 of coral shell arches, ch3 (counts as dc), (3 dc, ch3, 3 dc) in same ch-3 arch to start big scallop; *skip to next ch-3 arch, (3 dc, ch3, 3 dc) in arch* rep around; join. (creates large teal scallops overlaying coral)
Round 2 :
Ch1, sc in same st, *ch5, sc at center top of next teal scallop* rep around; join. (creates tall picot-like chain-spaces for pointed scallops)
Round 3 :
Into each ch-5 space: *(5 dc, ch3, 5 dc), sl st to next sc* rep around; join. (deepens scallop and forms pronounced points)
Info :
If your scallops flair out too much after blocking, add a final round of sc in BLO to pull the outer edge slightly inward while still preserving points.
Round 4 :
Ch1, sc in same st, *(ch3, picot, sc) in top center of each large scallop where desired: ch3, sl st in 3rd ch (picot), sc in next st* rep around; sl st to join. (adds decorative picot peaks to scallop tips)
Round 5 :
Work a finishing round of even sc around the outermost edge, placing 3 sc in the valley between scallops to maintain flatness. Fasten off and weave ends. (approx stitch count will vary; aim for even distribution)
Info :
Weave ends into the back of the lace using long tails and a yarn needle. For a very tidy back, weave each tail through the reverse side of a few adjacent motifs rather than across many stitches that could show on the front.
— Optional Decorative Surface Embellishment Rounds :
Round 1 :
Using contrasting thread or thin yarn, embroider small central dots or star points in some medallions to echo the scallop colors. Use a blunt tapestry needle and chain-stitch or surface slip stitch. (choose motifs evenly spaced across runner)
Info :
These surface embellishments are optional but add visual interest. If adding, do so before final blocking so the embroidery settles with the fabric.
— Blocking & Finishing :
Info :
Wet block the entire runner by soaking in lukewarm water with a mild wool wash (or simply water), gently squeeze out excess, lay flat on blocking mats and pin each scallop point and motif evenly to the desired dimensions. Shape straight edges and flatten seams. Allow to dry completely before removing pins.
Round 1 :
Optional: After blocking, work one last invisible running stitch with matching thread along the seam joins on the back to further stabilize the runner for use. This is especially helpful if the runner will be on a high-traffic table.
Info :
Keep the runner away from moisture and high heat. Spot clean when necessary. If you prefer a stiffer runner, lightly apply spray starch during blocking and re-shape until dry.
— Adjustment Guide for Different Sizes :
Info :
To make the runner longer, add extra motifs lengthwise in each column in multiples of the vertical motif size. To make it wider, add one or two extra columns of motifs and balance border rounds so scallops sit evenly around the new perimeter. Keep motif count symmetrical for a balanced look.
Round Summary :
The pattern includes approximately 104 construction rounds across motifs, panel reinforcement, and three-color border sculpting; many repeats occur in motif rounds and border shells to build the lacy effect. Take your time with joining and blocking for the best results.
This lacy medallion runner brings vintage charm and modern color-blocking together in one beautiful project! Each motif adds rhythm and texture to your table, and the layered teal and coral borders create a framed, seaside-inspired look. Blocking and careful joining are the final touches that transform separate motifs into a graceful, flat runner you will be proud to display. 🧶💖 Add this to your next craft day and enjoy the meditative process of motif-making and assembly. Happy crocheting! 🌊