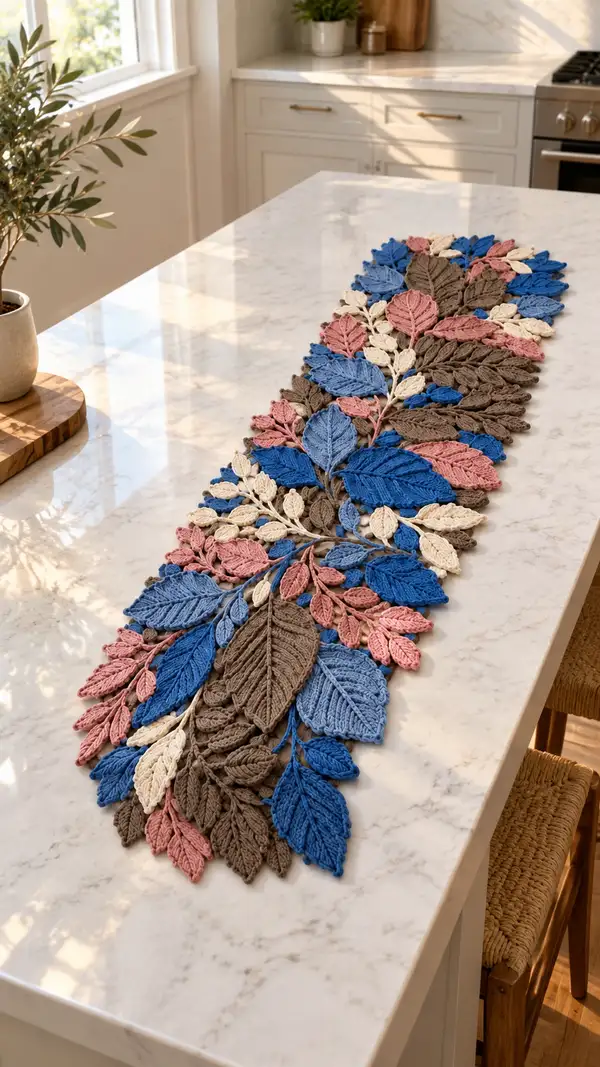
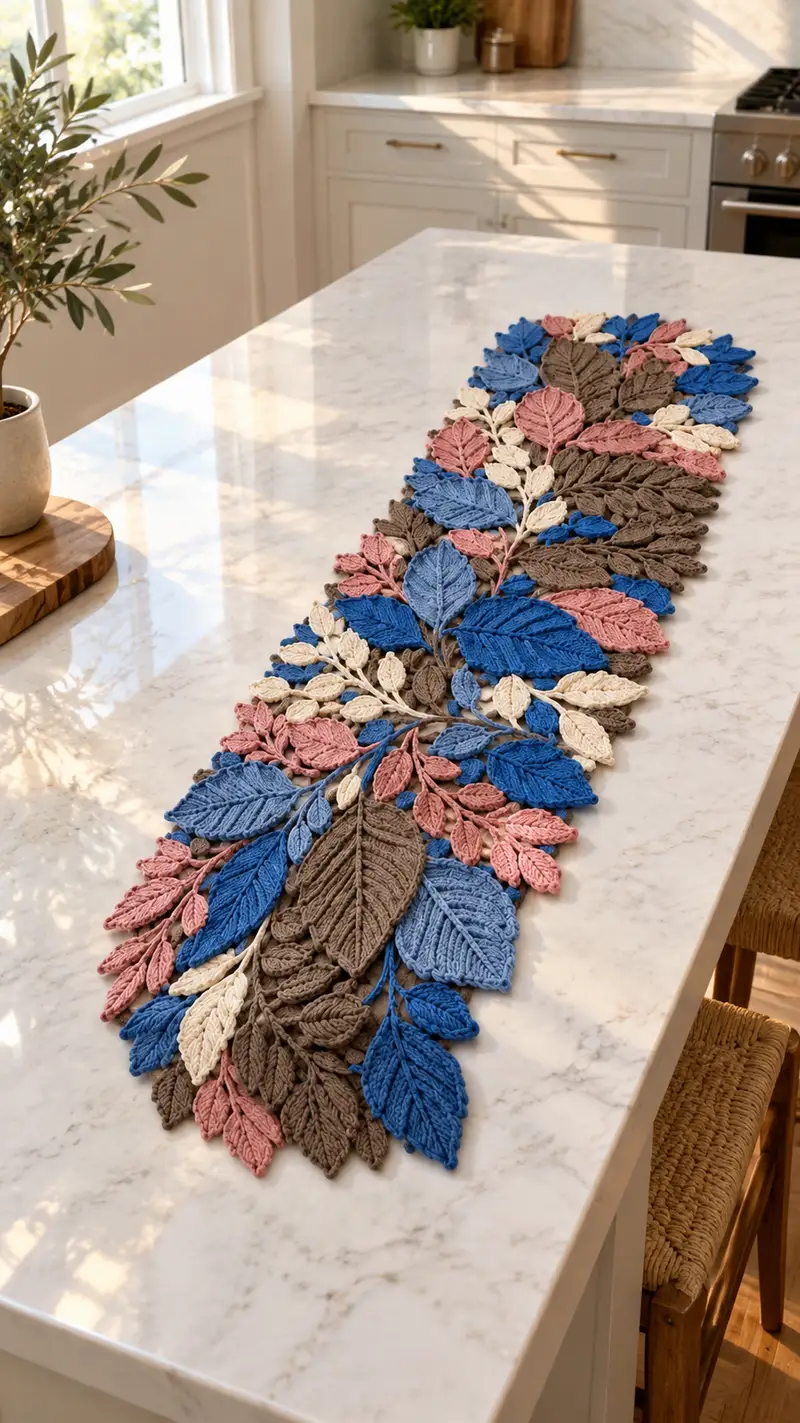
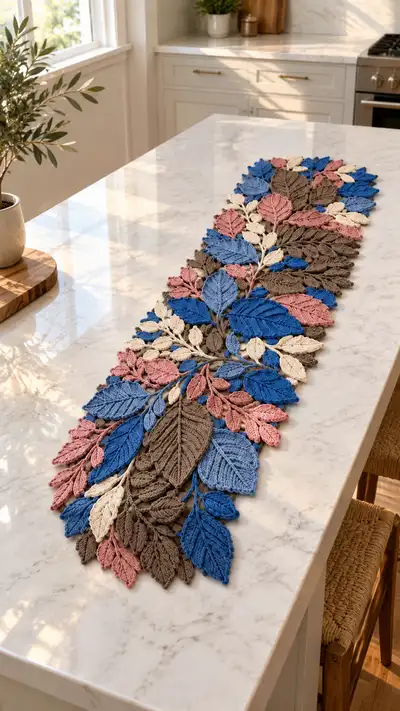
Create a botanical-inspired table runner made from dozens of crocheted leaves in layered colors. This runner features textured, sculpted leaves in blue, dusty rose, cream and warm brown, assembled into a flowing cascade that fits a standard kitchen island or dining table. Instructions include multiple leaf sizes, stems, joining methods, and finishing tips for a professional, flat lay. Perfect for seasonal styling or a year-round centerpiece.
Progress Tracker
0% Complete
— Project Overview :
Info :
This project is modular: you will make many leaves in five standard sizes, plus stems and small filler buds. Leaves are worked in rounds to create a symmetrical, flat leaf with a central vein. Work with worsted cotton for crisp texture; use a slightly smaller hook if your leaves feel loose. Block each leaf lightly for best results before assembly.
Info :
Recommended leaf production: tiny leaves x32, small leaves x40, medium leaves x28, large leaves x14, extra-large leaves x6, stems and buds as listed in Materials. Adjust numbers to fit your desired runner length—this pattern creates a runner approximately 12-14 inches wide and 50-56 inches long using listed quantities.
— Tiny Leaf (Make 32) :
Round 1 :
6 sc in magic ring (6)
Round 3 :
(1 sc, inc) x6 (18)
Round 4 :
(2 sc, inc) x6 (24)
Info :
At this stage the leaf body is forming. Work tightly to produce a flat shape. Place a stitch marker at the beginning of the round to help track the central spine later.
Round 5 :
1 sc in each st (24)
Round 6 :
(3 sc, dec) x6 (18)
Round 7 :
(2 sc, dec) x6 (12)
Round 8 :
(1 sc, dec) x6 (6)
Info :
Fasten off leaving 6-8in tail for sewing. Lightly wet-block and pinch the tip to shape. Use tail to join leaves to stems later.
— Small Leaf (Make 40) :
Round 1 :
6 sc in magic ring (6)
Round 3 :
(1 sc, inc) x6 (18)
Round 4 :
(2 sc, inc) x6 (24)
Round 5 :
(3 sc, inc) x6 (30)
Info :
To create a defined central vein, at the end of Round 5 place a contrasting stitch marker on the stitch opposite round start; this will serve as the leaf center to orient front post work in later rounds.
Round 6 :
1 sc in each st (30)
Round 7 :
(4 sc, inc) x6 (36)
Round 8 :
1 sc in each st (36)
Round 9 :
(5 sc, inc) x6 (42)
Info :
Work a few rounds of even stitches to widen the leaf before shaping the tip. Use FLO on the last even round if you want slight cupping toward the vein.
Round 10 :
1 sc in each st (42)
Round 11 :
(5 sc, dec) x6 (36)
Round 12 :
(4 sc, dec) x6 (30)
Round 13 :
(3 sc, dec) x6 (24)
Round 14 :
(2 sc, dec) x6 (18)
Info :
Begin stuffing lightly with a small amount of fiberfill only if you want slightly padded leaves; most prefer flat leaves with no stuffing. Fasten off leaving a long tail for sewing into stems.
Round 15 :
(1 sc, dec) x6 (12)
Round 17 :
Fasten off and weave in tail; leave long tail for assembly (6)
— Medium Leaf (Make 28) :
Round 1 :
6 sc in magic ring (6)
Round 3 :
(1 sc, inc) x6 (18)
Round 4 :
(2 sc, inc) x6 (24)
Round 5 :
(3 sc, inc) x6 (30)
Info :
For textured veins, mark the stitch at the very center of the leaf. Later rounds will use fpdc around this stitch to make a raised ridge.
Round 6 :
1 sc in each st (30)
Round 7 :
(4 sc, inc) x6 (36)
Round 8 :
1 sc in each st (36)
Round 9 :
(5 sc, inc) x6 (42)
Round 10 :
1 sc in each st (42)
Info :
Begin vein work next 4 rounds: use fpdc and bpdc to create raised central rib down the leaf. Identify central stitch and work around it as described.
Round 11 :
*2 sc, fpdc around next st, 2 sc* repeat 6 times (42)
Round 12 :
1 sc in each st (42)
Round 13 :
(5 sc, dec) x6 (36)
Round 14 :
(4 sc, dec) x6 (30)
Round 15 :
(3 sc, dec) x6 (24)
Info :
Pin the leaf flat after Round 13-15 to help it maintain shape. Light steam-blocking will set the fpdc rib in place for realistic vein texture.
Round 16 :
(2 sc, dec) x6 (18)
Round 17 :
(1 sc, dec) x6 (12)
Round 19 :
Fasten off leaving long tail for assembly (6)
— Large Leaf (Make 14) :
Round 1 :
6 sc in magic ring (6)
Round 3 :
(1 sc, inc) x6 (18)
Round 4 :
(2 sc, inc) x6 (24)
Round 5 :
(3 sc, inc) x6 (30)
Round 6 :
1 sc in each st (30)
Round 7 :
(4 sc, inc) x6 (36)
Round 8 :
1 sc in each st (36)
Round 9 :
(5 sc, inc) x6 (42)
Round 10 :
1 sc in each st (42)
Info :
Large leaves are where you show the most texture. On Round 11 create a pronounced central vein using alternating fpdc rows and raised slip stitches down the center stitch identified at Round 5.
Round 11 :
*3 sc, fpdc around next st, 3 sc* repeat 6 times (42)
Round 12 :
1 sc in each st (42)
Round 13 :
(6 sc, inc) x6 (48)
Round 14 :
1 sc in each st (48)
Round 15 :
(7 sc, inc) x6 (54)
Round 16 :
1 sc in each st (54)
Info :
To emphasize veins, on Round 17 work a row of raised slip stitches (sl st around post) directly over the central fpdc rib. This creates a corded vein and helps the leaf sculpt slightly upward.
Round 17 :
1 sc in first 5 sts, sl st over fpdc rib for next st, rep around (54)
Round 18 :
1 sc in each st (54)
Round 19 :
(7 sc, dec) x6 (48)
Round 20 :
(6 sc, dec) x6 (42)
Round 21 :
(5 sc, dec) x6 (36)
Info :
Pin and steam-block large leaves while still warm for a firm shape. If you prefer a cupped leaf, work the last even round in BLO to lift the outer rim slightly.
Round 22 :
(4 sc, dec) x6 (30)
Round 23 :
(3 sc, dec) x6 (24)
Round 24 :
(2 sc, dec) x6 (18)
Round 25 :
(1 sc, dec) x6 (12)
Round 27 :
Fasten off leaving long tail for assembly (6)
— Extra-Large Center Leaf (Make 6) :
Round 1 :
6 sc in magic ring (6)
Round 3 :
(1 sc, inc) x6 (18)
Round 4 :
(2 sc, inc) x6 (24)
Round 5 :
(3 sc, inc) x6 (30)
Round 6 :
1 sc in each st (30)
Round 7 :
(4 sc, inc) x6 (36)
Round 8 :
1 sc in each st (36)
Round 9 :
(5 sc, inc) x6 (42)
Round 10 :
1 sc in each st (42)
Round 11 :
(6 sc, inc) x6 (48)
Round 12 :
1 sc in each st (48)
Info :
Extra-large leaves receive the most pronounced vein. Work alternating rounds of fpdc and sl st ribbing to create a sturdy central spine that holds shape across the runner's length.
Round 13 :
*4 sc, fpdc around next st, 4 sc* repeat 6 times (48)
Round 14 :
1 sc in each st (48)
Round 15 :
(7 sc, inc) x6 (54)
Round 16 :
1 sc in each st (54)
Round 17 :
(8 sc, inc) x6 (60)
Round 18 :
1 sc in each st (60)
Round 19 :
Round of sl st over central fpdc rib for raised vein; work sl st over the fpdc ribs only every 6th stitch around to form continuous cord (60)
Round 20 :
1 sc in each st (60)
Round 21 :
(8 sc, dec) x6 (54)
Round 22 :
(7 sc, dec) x6 (48)
Round 23 :
(6 sc, dec) x6 (42)
Info :
Pin extra-large leaves on blocking mats while still warm to flatten and set the corded vein. These leaves should remain the most dimensional in the runner.
Round 24 :
(5 sc, dec) x6 (36)
Round 25 :
(4 sc, dec) x6 (30)
Round 26 :
(3 sc, dec) x6 (24)
Round 27 :
(2 sc, dec) x6 (18)
Round 28 :
(1 sc, dec) x6 (12)
Round 30 :
Fasten off leaving long tail for assembly (6)
— Stems and Buds :
Round 1 :
Ch 30 for a long stem (or ch 12-20 for short stems). From 2nd ch from hook work 1 sc in each ch back to base (29)
Round 2 :
Fasten off and leave long tail for sewing. For clustered stems crochet 2-4 stems and sew bases together to form thicker branch.
Info :
To make stems with integrated leaves: leave the working tail long and as you sew, use it to tack leaves along the stem every 3-6 stitches. Wrap stems with additional yarn if you want thicker branches.
Round 3 (Bud) :
Make tiny bud: 6 sc in magic ring (6) ; Round 4: 6 inc (12) ; Round 5: 1 sc in each st (12) ; Fasten off leaving tail for sewing
Info :
Buds act as fill between larger leaves. Use them near clusters to soften gaps and create natural variation.
— Vein Embellishment (Optional Detailed Cord) :
Round 1 :
Using a 3.0mm hook, ch 20, sl st in each ch back to beginning to make a rope cord (20)
Round 2 :
Fold cord in half and sew into the center of a leaf along the midline. Secure both ends and weave in tails.
Info :
This cord gives the runner pronounced 3D rivers between leaves; add to extra-large and large leaves for strongest visual effect.
— Joining Leaves into Clusters :
Round 1 :
Plan layout on a flat surface. Group 3-7 leaves into a cluster, layering sizes with largest at bottom and smallest on top. Position stems to radiate from cluster center.
Round 2 :
Sew leaves to stems: using long tails left on leaves, sew through the base of the leaf to the stem with mattress or whip stitch. Make 6-8 secure stitches per leaf base to prevent movement.
Info :
Use pins to temporarily position leaves; assemble one corner cluster at a time. Keep clusters slightly overlapping for a cohesive cascade rather than a tiled appearance.
Round 3 :
Connect clusters by sewing stems together in a continuous line. Overlap stems by 2-3cm and sew through both layers in an X-stitch for stability.
Round 4 :
Optionally add small buds between clusters; use long tails to sew through underside so stitches remain hidden.
Info :
Check symmetry often: the runner should be visually balanced, with colors distributed along the length rather than clumped. Move leaves around as needed before final sewing.
— Border and Edge Finishing :
Round 1 :
Once clusters are attached and runner length is set, add a crochet slip-stitch edge to give consistent outline: with matching yarn, sl st evenly around outermost leaf edges, working 1-2 sl st in tips and 1 sl st per 3-4 sc along straight edges.
Round 2 :
For a softer edge, add picot trims around tips: *sl st, ch 3, sl st in 3rd ch from hook* spaced every 6-10 stitches depending on leaf size.
Info :
Edge work unifies the silhouette of many leaves so the runner reads as one design. Keep stitches small and tight to avoid frills that catch on tableware.
— Blocking and Final Shaping :
Round 1 :
Lightly mist each leaf and pin on blocking mat to exact shape; use steam or spray on cotton yarn. Allow to dry fully (6-12 hours).
Round 2 :
After drying, assemble pinned clusters onto runner base (if you used a backing fabric) or continue sewing clusters directly to each other. Final pressing sets shape permanently.
Info :
If you want a sturdier runner, tack clusters to a neutral fabric backing using small whip stitches; this also makes storing and laundering easier. Remove backing if you prefer fully crocheted, flexible runner.
— Layout Suggestions and Scale Adjustments :
Round 1 :
To make runner longer, add more cluster repeats. Each repeat of two clusters adds approximately 6-8 inches depending on overlap. To make wider, add mirrored clusters on both sides of the central stem line.
Round 2 :
For a table runner sized for a longer table, double the production of medium and large leaves and increase extra-large leaves accordingly to maintain visual balance.
Info :
Keep a consistent ratio of tiny:small:medium:large:extra-large to maintain the natural look. A recommended ratio for this design is ~3:4:3:1.5:0.5 (tiny:small:medium:large:extra-large).
— Final Weave and Secure Ends :
Round 1 :
Weave in all loose ends along seams and underside of runner using yarn needle. Bury tails along stems or through several leaves to hide them. Trim close to work.
Round 2 :
Inspect both sides of runner and add small reinforcing stitches where clusters meet to prevent shifting when moved or laundered.
Info :
Store runner flat or rolled loosely to avoid bending the corded veins. If using fabric backing, gentle hand wash recommended; otherwise spot clean and re-block as needed.
This Leaf Cascade Table Runner gives your table a handcrafted, botanical feel that reads like a wearable bouquet in crochet. Each leaf is a small, satisfying project, and as they come together you’ll see the runner blossom into a sculptural centerpiece. The layered textures and corded veins make a big visual impact while remaining practical and washable. 🧶🌿 I hope this pattern inspires you to bring a little nature into your home — happy crocheting! 🍃