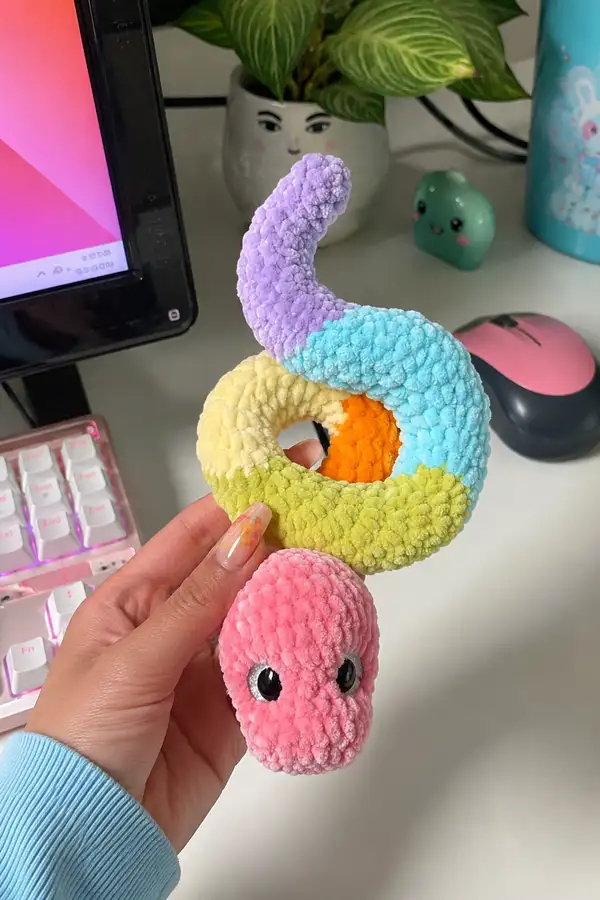
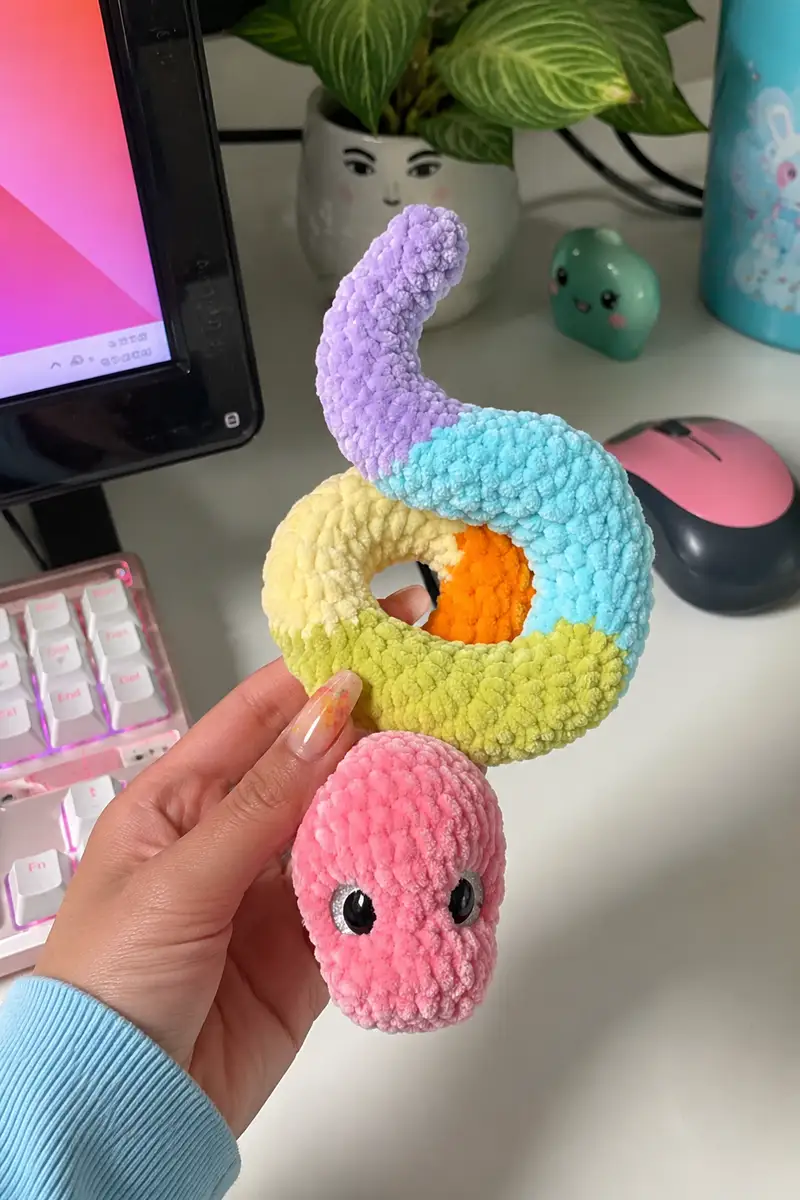
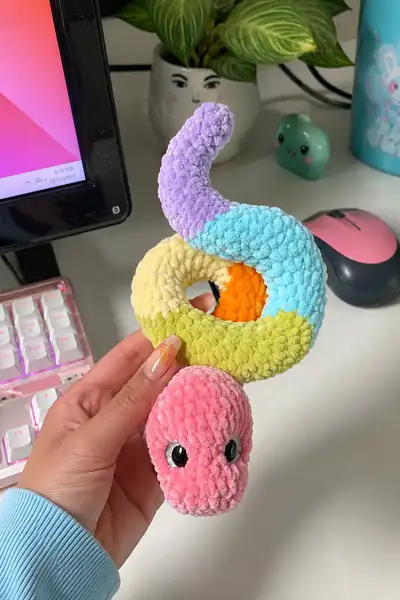
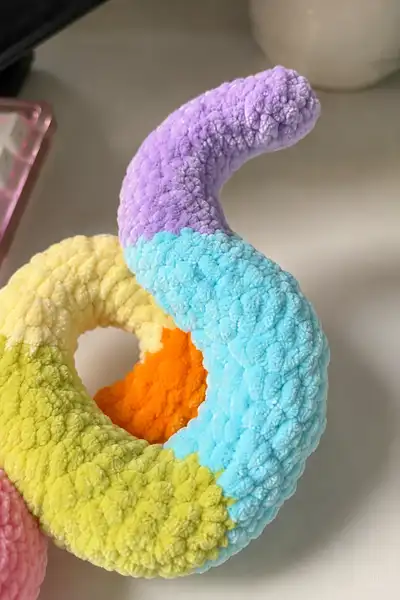
A squishy, pastel spiral snake amigurumi made with plush chenille yarn. This colourful curled snake features a donut-shaped body with a tapering, poseable tail and a sweet rounded head with large safety eyes. Easy to hold and full of tactile texture — perfect as a desk pal or soft toy for older children.
Progress Tracker
0% Complete
— Notes and Gauge :
Info :
This pattern is written in continuous rounds (spiral) unless otherwise noted. Work with a small hook relative to the chenille yarn to minimize gaps. Gauge is not critical for shape but a typical tube of this pattern worked with chenille and 3.5mm hook should give a tube circumference of approximately 10-12 cm (36 sts) and a thickness of about 3-4 cm when stuffed moderately.
Info :
Keep stitch markers at the first stitch of each round, especially during long even sections. Use embroidery thread or yarn for small facial features; safety eyes are secured between rounds specified in the Head section.
— Head :
Round 1 :
6 sc in magic ring (6)
Round 3 :
(1 sc, 1 inc) x 6 (18)
Round 4 :
(2 sc, 1 inc) x 6 (24)
Round 5 :
(3 sc, 1 inc) x 6 (30)
Round 6 :
(4 sc, 1 inc) x 6 (36)
Round 7 :
(5 sc, 1 inc) x 6 (42)
Round 8 :
(6 sc, 1 inc) x 6 (48)
Round 9-14 :
1 sc in each st (48)
Info :
Place safety eyes between rounds 11-12, approximately 8-10 stitches apart depending on expression. For the cute look in the photo, place the eyes about 9 stitches apart (count between eye centers). Insert eyes and secure washers before stuffing head. If using embroidered eyes, mark placement now and embroider after partial stuffing.
Round 15 :
(6 sc, 1 dec) x 6 (42)
Round 16 :
(5 sc, 1 dec) x 6 (36)
Info :
Begin stuffing head firmly but not overstuffed. Use small amounts of fiberfill to create an even shape around the eyes; press stuffing in around facial features with a blunt tool or chopstick for even coverage.
Round 17 :
(4 sc, 1 dec) x 6 (30)
Round 18 :
(3 sc, 1 dec) x 6 (24)
Round 19 :
(2 sc, 1 dec) x 6 (18)
Round 20 :
(1 sc, 1 dec) x 6 (12)
Info :
Stop decreasing here and do not close completely. This smaller cylinder will form the short neck nub that will be sewn into the body ring. Keep stuffing fairly firm at this point so the head keeps its shape when attached.
Round 21-24 :
1 sc in each st (12). Work 4 rounds to create a neck tube (12)
Info :
Fasten off leaving a long tail for sewing the head to the body. Use this tail to anchor head securely to the tube. Do not cut the tail too short—leave at least 25-30 cm to maneuver when sewing.
— Body Tube (make main donut tube) :
Info :
The main donut is worked as a long tube which will later be joined end-to-end to form the spiral donut body. Work the tube in continuous rounds (spiral) so the texture remains uniform. We'll begin with the centre diameter and expand to a comfortable stuffing circumference of 36 sts.
Round 1 :
6 sc in magic ring (6)
Round 3 :
(1 sc, 1 inc) x 6 (18)
Round 4 :
(2 sc, 1 inc) x 6 (24)
Round 5 :
(3 sc, 1 inc) x 6 (30)
Round 6 :
(4 sc, 1 inc) x 6 (36)
Round 7-10 :
1 sc in each st (36)
Info :
Change to the first body colour (pastel blue in photos) at the start of round 11 if you are matching the color blocking. Carry unused yarn inside the tube or fasten off and rejoin at color changes. For smoother color changes, switch at the start of a round by completing the last stitch of previous colour then pulling through new colour on final yarn over.
Round 11-20 :
1 sc in each st (36) — work 10 rounds to build the first colour block (36)
Info :
After round 20 change to the next colour (lime/green). The tube will be worked as several colour blocks of around 8-12 rounds each to recreate the soft pastel ring look. Keep track of where your colour changes occur so the stripes are even.
Round 21-28 :
1 sc in each st (36) — switch to lime/green and work 8 rounds (36)
Round 29-36 :
1 sc in each st (36) — switch to cream/yellow and work 8 rounds (36)
Info :
At round 37 switch to pastel blue (or your next chosen colour) and continue working even rounds. The overall length of this tube will determine the diameter of your final donut — work until you have enough to wrap into a donut shape comfortably (photo shows about 70-80 rounds total before joining, but you can adapt size).
Round 37-44 :
1 sc in each st (36) — blue colour block 8 rounds (36)
Round 45-52 :
1 sc in each st (36) — pastel purple block 8 rounds if making tail continuous here (36)
Info :
To create the inner opening and replicate the visible orange interior in the photos, we'll later crochet a small orange donut insert that sits inside the tube's ring. Do not join tube ends yet; leave a tail of yarn for sewing when joining ends to form a donut.
Round 53-72 :
1 sc in each st (36) — continue in colours as preferred, total of 20 rounds to make enough tube length to form the donut and begin shaping the tail (36)
Info :
At this stage you can measure the length of your tube by wrapping it into a loose coil. For a donut the tube should measure roughly the circumference of a 10-12 cm inner ring when coiled. If your toy will be larger or smaller, add or remove even rounds in blocks of 4-8 rounds to adjust.
Round 73-80 :
1 sc in each st (36) — final rounds before joining for the donut (36)
Info :
Before joining the tube ends, stuff the tube firmly but evenly along its entire length. Use small amounts of fiberfill inserted via the open ends and push stuffing in with a chopstick. The donut in the photos is densely stuffed but still squishy; aim for firm but not rock-hard stuffing.
Round 81 :
Fold tube so ends meet and whip stitch ends together to form a smooth seam — sew through the center of the last round across both end edges so the seam is invisible (36)
Info :
When your tube is joined into a ring, press seam flat and pad any gaps with extra stuffing. Take your time to align colour blocks so stripes meet neatly. If colour blocks do not align, stagger seam to an unobtrusive area on the underside.
— Inner Donut Insert (orange) :
Round 1 :
6 sc in magic ring (6)
Round 3 :
(1 sc, 1 inc) x 6 (18)
Round 4 :
(2 sc, 1 inc) x 6 (24)
Round 5 :
1 sc in each st (24)
Round 6 :
(3 sc, 1 inc) x 6 (30)
Round 7-9 :
1 sc in each st (30) — build a small cup shape to sit into the interior of the donut
Info :
Stuff this small insert lightly. It should not be so firm it distorts the ring; the insert serves to fill the hollow and create that pop of orange colour seen in the center of the coil. Once stuffed, sew the insert inside the ring through both pieces to secure it.
Round 10 :
Optional: if you prefer a thicker insert, add another round of (4 sc, 1 inc) x 6 to reach 36 sts and then 2 even rounds (36)
Info :
Sew the orange insert into the center of the donut by tacking it around the inner circumference with small, even stitches so it does not move. Hide knots and weave tails thoroughly inside the toy.
— Tail (tapering curl) :
Info :
The tail is worked as a tube starting at the full body circumference (36 sts) and tapered gradually to a small rounded tip. You can crochet the tail as a continuation of the tube before joining (if you left extra length) or make it as a separate piece and sew it into the ring where the tube meets. The photos show the tail curling upwards and tapering smoothly.
Round 1 :
Join yarn to the ring where you want the tail to begin. Work 1 sc in each stitch around (36)
Round 2-6 :
1 sc in each st (36) — work 5 even rounds to begin the tail cylinder
Info :
Switch colour to pastel purple at the top of the tail as shown in images if following the colourblocking. Carry tails into the work or fasten off and rejoin. If you want the tail to be poseable, insert a pipe cleaner or floral wire inside the tube before stuffing; fold the ends over and enclose them inside stuffing to prevent poke-through.
Round 7 :
(4 sc, 1 dec) x 6 (30)
Round 8-11 :
1 sc in each st (30) — 4 rounds to elongate taper (30)
Round 12 :
(3 sc, 1 dec) x 6 (24)
Round 13-15 :
1 sc in each st (24) — 3 rounds (24)
Info :
As the tail narrows, begin stuffing more firmly so the tip holds shape for a curl. Use smaller amounts of fiberfill for the final few rounds, pressing stuffing down as you go to keep the tail smooth and even.
Round 16 :
(2 sc, 1 dec) x 6 (18)
Round 17-19 :
1 sc in each st (18) — 3 rounds (18)
Round 20 :
(1 sc, 1 dec) x 6 (12)
Round 21 :
1 sc in each st (12)
Info :
Fasten off leaving a yarn tail for sewing if tail was worked separately. Stuff tail firmly and sew the open hole closed with a ladder stitch. If tail is continuous from the body, sew the head and tail junctions carefully so they blend smoothly without lumps.
— Head Finishing and Details :
Info :
Embroider the nostrils using small French knots or short straight stitches with contrasting yarn. The pictured snake has no mouth embroidered; if you prefer, embroider a tiny mouth between the eyes with 6-8 mm length thread to keep scale. Add a small blush with a tiny dab of fabric paint or chalk if you like.
Round :
Eye placement repeat: double-check eyes are aligned and symmetrical before locking washers. If using safety eyes, put the washer tightly on the shaft backside. For younger children, embroider eyes instead of using safety eyes.
Info :
Ensure all ends are woven inside the head and neck to prevent unraveling. If the chenille yarn slides a bit while sewing, take shorter stitches and work slowly to create an invisible seam.
— Colour Change and Texture Tips :
Info :
When changing colours on chenille yarn, avoid carrying yarn across many rounds as it can become bulky. Fasten off and rejoin new colour at the start of a round for clean transitions. Use the tail ends to stitch through the inside of the tube and weave them across several rounds before trimming to hide them.
Info :
For slightly denser texture use a hook one size smaller than recommended on yarn label. For a softer, looser fluffier result use the hook suggested by the yarn label and expect a slightly larger finished toy.
— Final Touches :
Info :
Pin head into desired position on the donut ring before sewing. The head pictured sits slightly under the donut edge creating a loopy front; experiment with placement by pinning and photographing to check how it will sit upright. When satisfied, sew head to the donut by stitching through the neck tube rounds into the body rounds with the long tail left from the head.
Info :
After attaching inner orange insert and sewing head and tail into position, go around all joins once more with small reinforcing stitches to ensure durability. Weave in all ends and trim flush to avoid bulking the interior.
Info :
If you added wire to the tail, manipulate the tail to create the gentle curl shown in photos; wrap with a small strip of tape around wire ends (before stuffing) so they don't work loose and poke out later. Check that wires are well encased in stuffing and not sharp at the ends.
This pastel spiral snake is a bright and squishy addition to any handmade collection — soft, colourful, and full of charm. Each carefully stitched section builds into a characterful coil that’s as fun to hold as it is to make. I hope this pattern brings you as much joy as it did making it — enjoy every soft stitch and share your cute creation when it’s finished! 🧶💜