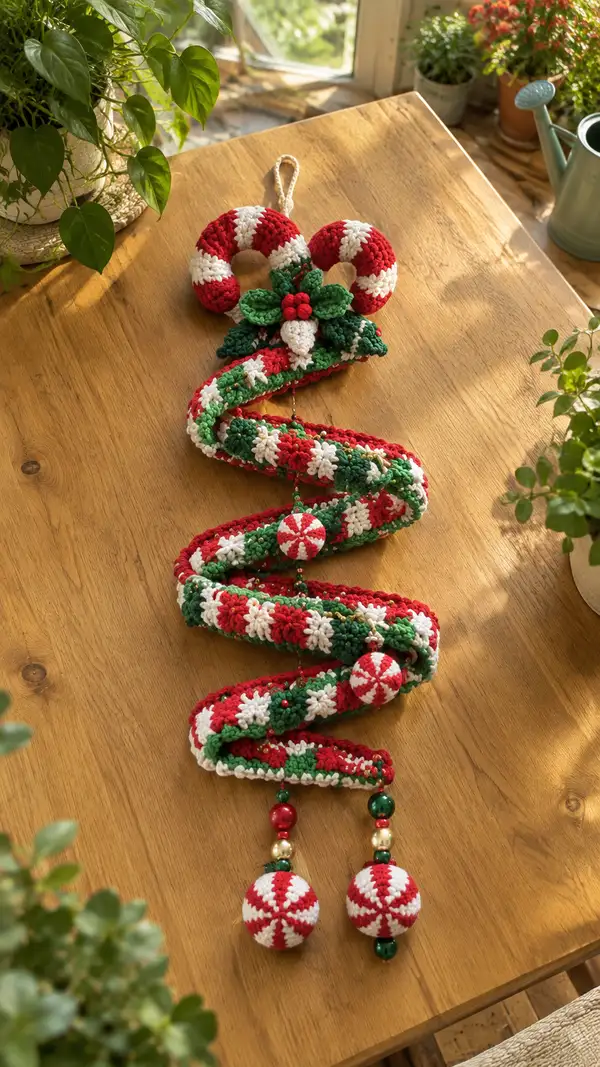
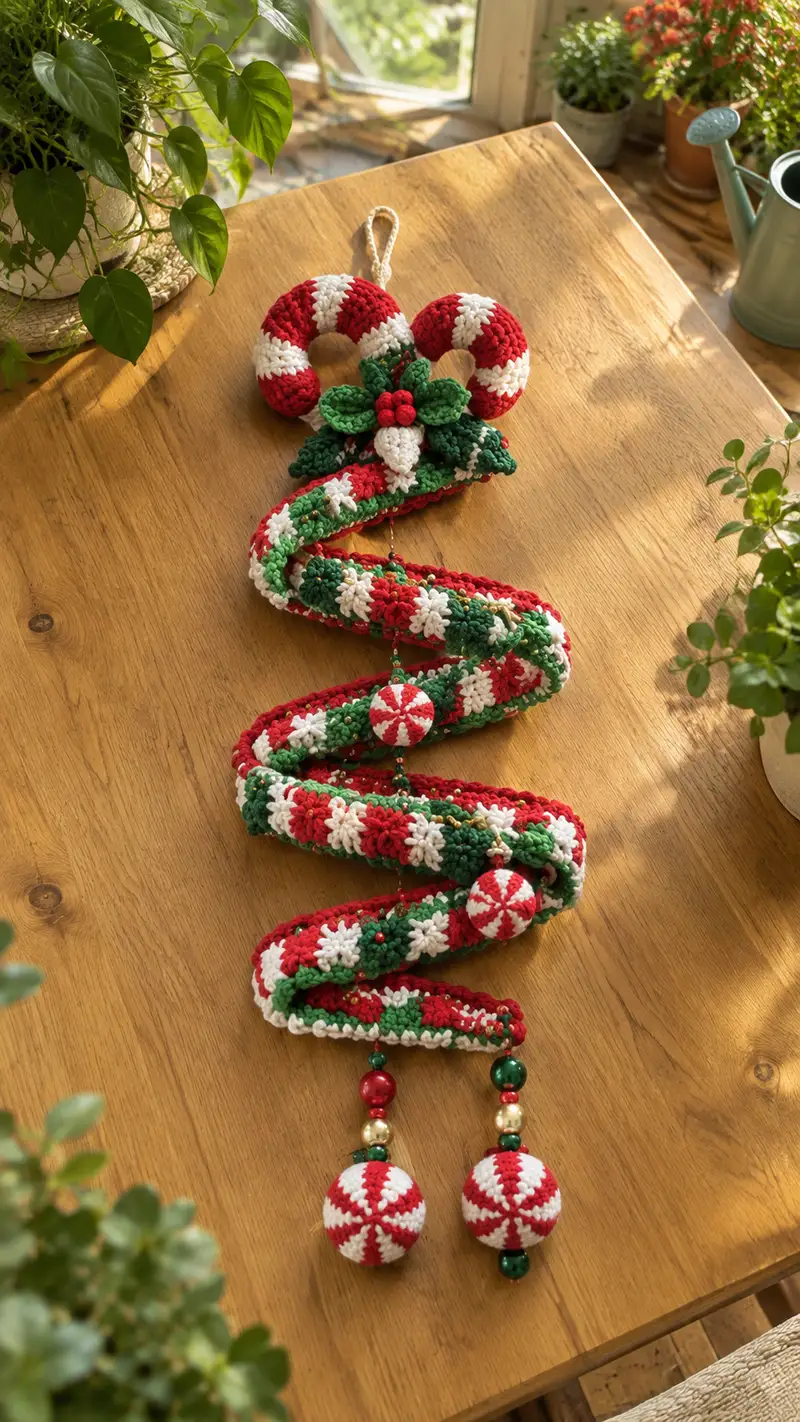
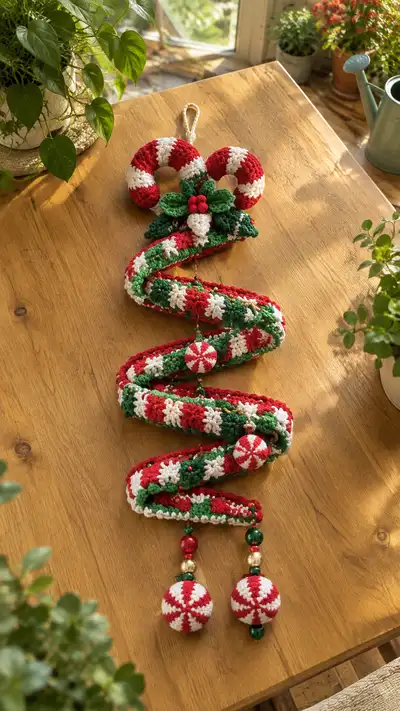
A festive spiral garland inspired by candy canes and peppermint swirls, featuring chunky crocheted tubes, holly accents, and beaded peppermint balls. This cozy hanging decoration uses bright red, forest green and crisp white yarn with gold bead highlights. Finished with a braided hanging loop and decorative dangles, it makes a statement on doors or as a table centerpiece.
Progress Tracker
0% Complete
— Pattern Notes :
Info :
This pattern builds modular elements which are joined to form the spiral garland. Work tightly so stuffing does not show through. Use a stitch marker at the first stitch of each round. I recommend making small test swatches to match tension before beginning the full garland.
Info :
Color changes: carry unused colors inside the tube where possible or cut and weave tails. To make crisp stripes on tubes and balls, switch colors in the last yarn-over of the stitch before the color change so the new color is carried forward.
— Candy Cone Top Rings (Make 2 identical rings) :
Round 1 :
mr, 6 sc into magic ring (6)
Round 3 :
(1 sc, inc) x 6 (18)
Round 4 :
(2 sc, inc) x 6 (24)
Round 5 :
(3 sc, inc) x 6 (30)
Round 6 :
(4 sc, inc) x 6 (36)
Info :
We will build a short tube that will later be seamed end-to-end to make a ring. If you prefer a deeper ring, continue increasing until you reach 48 sts circumference by continuing the increase pattern: (5 sc, inc) x 6 etc.
Round 7 :
1 sc in each st (36)
Round 8 :
1 sc in each st (36)
Info :
Change to white yarn for a stripe now. Carry red inside or fasten off and join white; for neat stripes change color at the last yarn over of the stitch before the round.
Round 9 :
1 sc in each st with white (36)
Round 10 :
1 sc in each st with white (36)
Info :
Change back to red; stripe width in the top rings is two rounds of color. Repeat stripes: two rounds red, two rounds white, until tube height is built.
Round 11 :
1 sc in each st with red (36)
Round 12 :
1 sc in each st with red (36)
Round 13 :
1 sc in each st with white (36)
Round 14 :
1 sc in each st with white (36)
Round 15 :
1 sc in each st with red (36)
Round 16 :
1 sc in each st with red (36)
Info :
At this point you should have a 16-round tube with a circumference of 36 sts and a height of 16 rounds. Lightly stuff the tube with fiberfill so it holds its shape. Do not overstuff.
Round 17 :
(4 sc, dec) x 6 (30)
Round 18 :
(3 sc, dec) x 6 (24)
Round 19 :
(2 sc, dec) x 6 (18)
Round 20 :
(1 sc, dec) x 6 (12)
Info :
Fasten off leaving a long tail for seaming. We will create a tube for the donut/ring by making two identical tubes and seaming their ends together, then closing any small hole left by decreasing. Alternatively make a single longer tube and seam its two ends to form the ring.
Assembly Step (Ring Formation) :
Block the tube lightly and line up ends so stripes match. Fold the tube lengthwise into a ring and sew the two open ends together using mattress stitch so seam is invisible. If using two shorter tubes, overlap ends slightly and stitch through both layers to create a continuous donut ring.
Info :
After seaming, adjust stuffing through the seam by pushing fiberfill into the seam opening. Close final hole with ladder stitch and weave in ends. Repeat to make second identical candy cone ring.
— Spiral Tube (Main Body) :
Overview :
The spiral tube is made from repeating star-flower motif modules assembled into a long tube. Each module occupies 6 rounds and maintains an even circumference of 36 sts. Make 12 modules to reach a long garland (72 rounds). Adjust module count to lengthen or shorten the garland.
Round 1 (Module 1 - Base) :
mr, 6 sc in mr (6)
Round 3 :
(1 sc, inc) x 6 (18)
Round 4 :
(2 sc, inc) x 6 (24)
Round 5 :
(3 sc, inc) x 6 (30)
Round 6 :
(4 sc, inc) x 6 (36)
Info :
We now have a tube circumference of 36 sts. All subsequent rounds for modules keep 36 sts each round. Switch colors here to start the first motif color (for example green).
Round 7 (Module 1 - Star Row) :
Change to green. Begin star stitch row: *draw up loop in next st, draw up loop in next st (you have 3 loops), yarn over and pull through all loops, ch1 to close star; skip next st; repeat from * around until 36 sts / star spaces made (36)
Info :
Star stitch forms a surface texture but does not change stitch count; count star points rather than SC count. Each star is worked over 2 base stitches leaving 36 base stitches total. Use a stitch marker at the start of the round to track repeats.
Round 8 (Module 1 - Anchor Row) :
Switch to white. Work 1 sc in each base st behind the stars (36)
Round 9 (Module 1 - Pop Row) :
Change to red. Work front-loop single crochet (FLO) across to create ridge: 1 sc in each st FLO (36)
Round 10 (Module 1 - Even Round) :
Work 1 sc in each st (36)
Info :
These 4 rounds form one decorative module (star texture + anchor + ridge + even round). Repeat this 6-round module in color order to create the stripe/flower pattern along the tube. To produce a balanced color pattern alternate module color sequences: (green/white/red/green) then repeat with red/white/green/red for a checker-like effect.
Module Repeat :
Repeat Rounds 7-10 for each module. For a 12-module garland repeat modules 12 times (that equals 48 rounds after the initial shaping rounds). Each module keeps 36 stitches.
Info :
Change colors at the start of the star round for crisp motif edges. Carry yarn inside tube or weave tails after finishing each module. Keep tension consistent to avoid the spiral twisting.
Round 11-58 (Modules 2-10) :
Work modules as described: star round, anchor sc round, FLO ridge round, even sc round. Continue alternating colors in your chosen repeating scheme. Maintain 36 sts (36)
Round 59-66 (Modules 11-12 completion) :
Finish modules until you reach the desired total length. End after an even sc round to create a neat edge (36)
Info :
When the tube is as long as you desire, leave a long tail for seaming. Roll the tube on itself in a loose spiral to determine the final spiral shape. You can bend the tube and pin in place on a blocking board or flat surface to set the spiral before seaming.
Round 67 :
Prepare to seam: fold the tube so the first round aligns with the last. Using mattress stitch or whip stitch, sew the two ends together to form a long spiral-ready tube. Ensure stripes align for a continuous pattern before closing (36)
Info :
Stuff lightly through the seam before fully closing if you want the tube slightly padded. Alternatively, leave the tube unstuffed for a floppy spiral. Light stuffing gives shape and allows the spiral to hold curves.
— Assembly of Spiral Curve :
Info :
To form the spiral, we will anchor the tube to a central cord in several places so it coils evenly. Cut a length of strong beading wire or cord equal to the desired hanging height plus 2-3 inches for top tying. Beginning at the top (where the candy cones will attach), stitch the tube around the cord with long whip stitches at four anchor points per coil (approximately every 6-8 inches along the tube). Space anchors evenly to allow the tube to droop between anchors, forming the wide spiral coils shown in the photo.
Info :
For a neat look, use upholstery thread or doubled yarn for internal anchoring stitches and hide ends inside the tube.
— Peppermint Balls (Make 3) :
Round 1 :
mr, 6 sc in mr (6)
Round 3 :
(1 sc, inc) x 6 (18)
Round 4 :
(2 sc, inc) x 6 (24)
Round 5 :
(3 sc, inc) x 6 (30)
Round 6 :
(4 sc, inc) x 6 (36)
Info :
We will make a compact sphere. For striped look work color wedge increases to build the peppermint pinwheel effect. Use an even number of increases so wedge sections are symmetrical.
Round 7 :
1 sc in each st (36)
Round 8 :
1 sc in next 9 sts, change color to white, 1 sc in next 9 sts, change to red, 1 sc in next 9 sts, change to white, 1 sc in next 9 sts (36)
Info :
Round 8 creates four colored wedges; continue increasing symmetrically at wedge boundaries to create a smooth sphere with alternating stripes.
Round 9 :
(4 sc, inc) x 6 maintaining wedge color boundaries (42)
Round 10 :
1 sc in each st (42)
Round 11 :
(5 sc, inc) x 6 (48)
Round 12 :
1 sc in each st (48)
Round 13 :
(5 sc, dec) x 6 (42)
Round 14 :
(4 sc, dec) x 6 (36)
Round 15 :
(3 sc, dec) x 6 (30)
Round 16 :
(2 sc, dec) x 6 (24)
Round 17 :
(1 sc, dec) x 6 (18)
Info :
Stuff firmly but evenly before the last decreases. Fasten off leaving a long tail for sewing onto beaded dangles. Repeat to make 3 peppermint balls. Alternatively, use a small foam bead core and crochet around it for a very firm ornament.
— Holly Leaves (Make 6) :
Round 1 :
ch 7, sc in 2nd ch from hook, hdc in next, dc in next 2, hdc in next, sc in last ch; rotate to work along opposite side of foundation chain: sc in first, hdc in next, dc in next 2, hdc in next, sc in last; sl st to join at base (12 stitches total along perimeter)
Round 2 :
ch1, sc in each st around (12)
Round 3 :
*sc in next 2, (hdc, dc, hdc) in next, sc in next 2, picot (ch3, sl st in 1st ch) at tip; repeat to form 3 lobes across leaf* (12)
Round 4 :
1 sc in each st around to tidy edge (12)
Info :
Work leaves in dark green and lightly steam-block or stretch while damp to shape. Embroider a central vein with contrasting green thread using backstitch if desired.
Round 5 :
Fasten off leaving a long tail for sewing. Make 6 leaves and arrange in pairs or clusters of three for holly groups.
— Holly Berries (Make 6 small berries and 3 double clusters) :
Round 1 :
mr, 6 sc into mr (6)
Round 3 :
1 sc in each st (12)
Round 4 :
(1 sc, dec) x 4 (8)
Info :
Stuff these tiny berries very lightly, then fasten off leaving tails to sew into clusters of three. Use a small dab of glue inside cluster to secure if needed before sewing to garland.
— Bead and Dangle Assembly :
Info :
Thread your beading wire: sequence beads as pictured — small green spacer, medium red bead, small gold bead, then the crocheted peppermint ball, then repeat in mirror. Leave 3-4 inches of wire at top to tie/secure into tube anchors. Tip: knot a loop and apply a tiny dot of glue to keep beads from sliding while assembling the garland.
Info :
Sew peppermint ball to the end of the wire by passing the long tail from the sphere through a strong needle and wrapping several times around the wire core and through the sphere, then knotting inside the ball. Use pliers to crimp bead ends or wrap wire loop over itself for security.
— Hanging Loop and Top Assembly :
Round 1 :
Using white yarn ch 40 (or desired hanging length doubled for thicker loop)
Round 2 :
Fold chain in half and sl st through both strands back to the tip to create a sturdy flat loop; fasten off and weave tail in (40)
Info :
Sew the hanging loop to the top center of the pair of candy-cone rings. Pin rings together with their concave sides facing outward forming a small bow shape. Position the loop so it sits between the rings and stitch through the seam to secure the loop and the two rings together.
Info :
Arrange holly leaves and berries in a layered cluster between the two candy rings: sew two or three leaves on either side and sew berry clusters centrally. Use small running stitches to secure and hide tails inside the rings.
— Final Assembly (Joining all parts) :
Info :
With the hanging loop and top candy rings assembled, position the spiral tube beneath the rings. Align the cord anchor at the top of the tube with the center of the rings and stitch the anchor point into the seam where the two rings meet. This holds the garland upright and centers the spiral.
Info :
Space the beaded peppermint ball dangles along the spiral. Pass the beading wire through the tube interior at the planned anchor points (use a large-eyed needle or awl to pierce through), then secure the wire knot inside and sew a few stitches around the exterior to hide the entry point. Repeat for all three dangles, spacing them down the spiral so they hang freely between coils.
Info :
Sew holly clusters to the tube seam where it meets the top rings, and add a few scattered single berries along the spiral using small stitches. Add gold seed beads to star round centers if desired by sewing them through the tube edge for subtle shimmer.
Info :
Weave in all ends, trim threads close to fabric, and tuck remaining tails into the tube interior. Lightly steam or block the completed garland to set the spiral shape if working with acrylic/wool blends that can be steamed (do not steam acrylic at high temperatures).
Info :
Optional finishing: tie a small bow of ribbon around the top loop or add a name tag for a personalized gift. Hang the garland and adjust coil spacing by re-positioning anchor stitches if needed.
This cheerful spiral garland blends nostalgic candy-cane charm with modern crochet texture to make a standout holiday accent. Each module brings tactile interest and the beaded dangles add playful movement — an eye-catching piece that will brighten doorways or tabletops. Enjoy the rhythmic meditative process of repeating motifs as the holiday cheer builds stitch by stitch. 🧶🎁