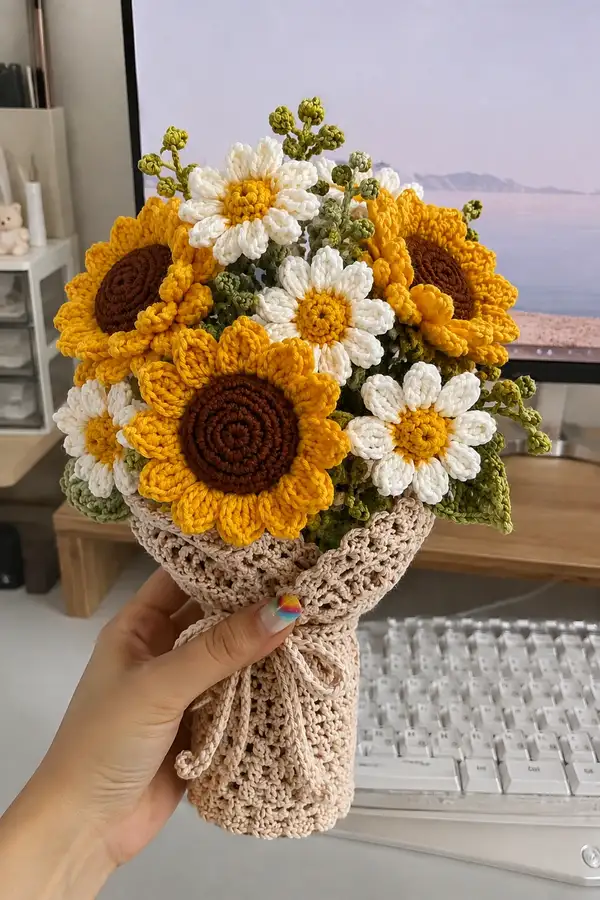
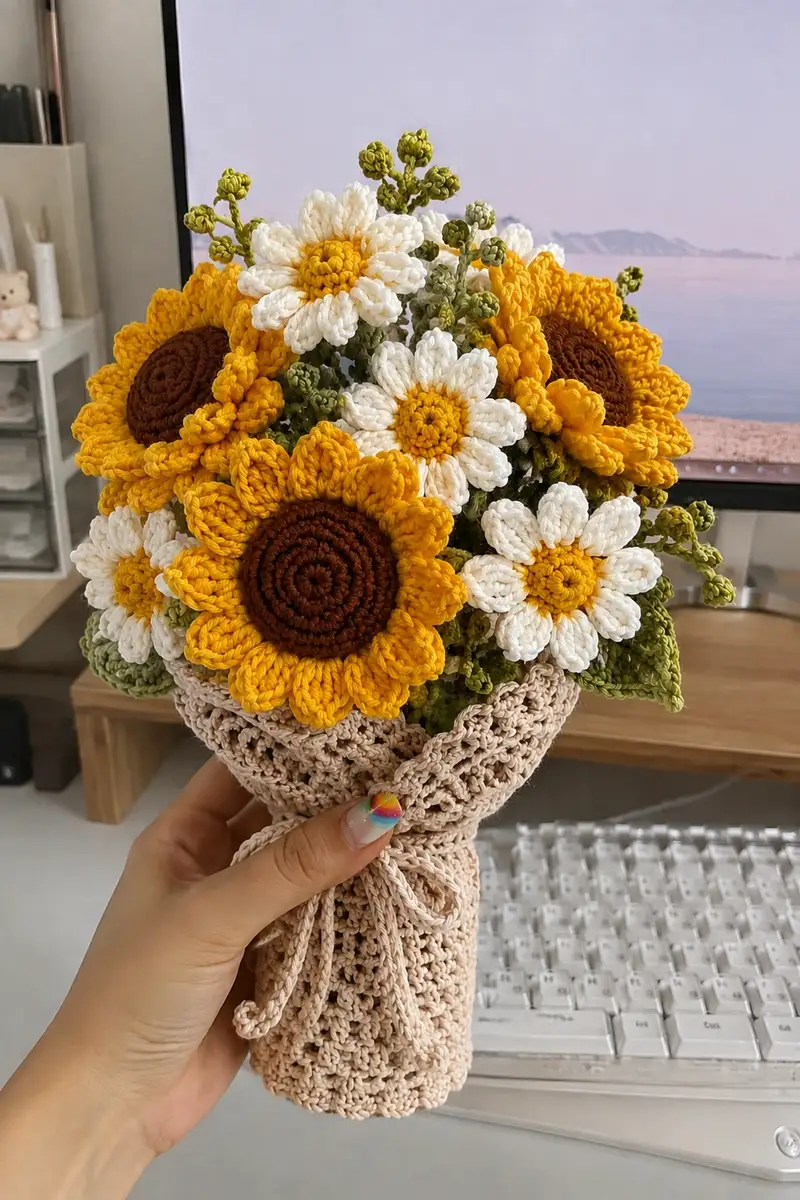
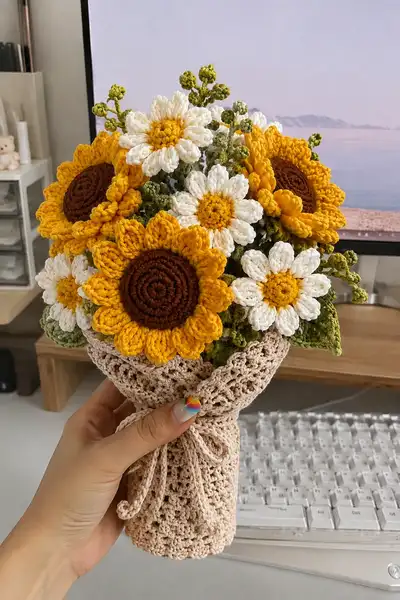
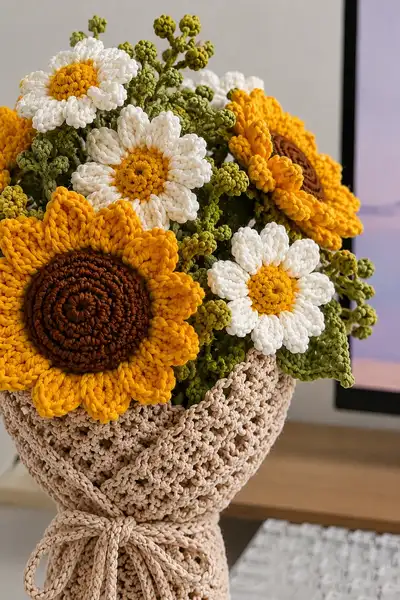
Make a bright everlasting bouquet of sunflowers, daisies and leafy filler in soft cotton yarn. This pattern recreates the layered sunflower centers, rounded daisy petals, delicate green buds and a lacy wrap to hold the stems — perfect as a gift or table accent. The pattern uses modular pieces so you can scale the arrangement up or down and customize colors. Clear round-by-round instructions and assembly guidance included.
Progress Tracker
0% Complete
— Sunflower Center (Make 3 large centers) :
Round 1 :
6 sc in magic ring (6)
Round 3 :
(1 sc, inc) x 6 (18)
Round 4 :
(2 sc, inc) x 6 (24)
Round 5 :
(3 sc, inc) x 6 (30)
Round 6 :
(4 sc, inc) x 6 (36)
Info :
Work in a rich brown yarn for a realistic sunflower disk. Keep rounds flat by counting increases. Do not stuff centers — centers are made flat and slightly firm by tension.
Round 7 :
(5 sc, inc) x 6 (42)
Round 8 :
(6 sc, inc) x 6 (48)
Round 9 :
1 sc in each st (48)
Round 10 :
1 sc in each st BLO (48)
Info :
Working one round in BLO creates a subtle ridge around the disk that helps petals anchor and gives the center a dimensional look.
Round 11 :
1 sc in each st (48)
Round 12 :
1 sc in each st (48)
Round 13 :
Work a textured spiral: *sc in next 2 sts, hdc in next st* around (48)
Round 14-18 :
1 sc in each st (48)
Info :
Keep tension slightly firmer than normal to maintain the disk's roundness. If you want a slightly smaller center, omit one even round (adjust petal counts accordingly).
Round 19 :
Join with sl st to first st, fasten off leaving a tail for sewing (48)
Info :
We will attach petals around the outside; leave tail long enough (20-30 cm) to baste petals securely.
— Sunflower Petal Ring (Attach to each center) :
Info :
Each sunflower pictured has 12 large rounded petals. The petals are worked in a petal motif attached around the center. Use golden yellow yarn for the petal round. Join yarn with sl st to any st on edge of center.
Round 1 :
*ch 2, (3 dc, ch 2, sl st) in same st to form petal base; sl st in next 3 sts; rep from * around to create 12 petals, ending with sl st to join (12 petals)
Round 2 :
Turn each petal up and working into the chain spaces: in each ch-2 sp work (sc, hdc, 5 dc, hdc, sc) to create a rounded petal. Repeat for all 12 petals
Info :
Work petals loosely so they have a natural curve. After completing petals, pinch the base then baste through the first 2 rounds of the petal to the center to anchor securely.
Round 3 :
Optional decorative row: With BLO, sc around base of petals once to create a ruffled seam (48)
Round 4 :
Fasten off and weave in tails. Shape petals by pinching the center of each petal and pressing slightly to give petal depth.
Info :
If you prefer fuller petals like the picture, work a second petal round slightly offset between first petals: join yarn to middle of a space between two petals and repeat petal motif to create second staggered petal layer (adds volume).
— Sunflower Petal Inner Layer (Optional for extra fullness) :
Round 1 :
Join yellow yarn between petals and work *sl st, ch2, (2 dc, ch1, 2 dc) in space between petals; sl st in next st* around to form 12 smaller inner petals
Round 2 :
Working into each inner petal ch-1 sp: sc, 3 dc, sc. Repeat 12 times. Fasten off (12 small petals)
Info :
These inner petals add the sculpted scalloped look behind the main petals as pictured. Stiffen lightly with a spray starch if you prefer crisper petals.
— Sunflower Back Disk (Reinforcement) :
Round 1 :
6 sc in magic ring (6)
Round 3 :
(1 sc, inc) x 6 (18)
Round 4 :
(2 sc, inc) x 6 (24)
Round 5 :
1 sc in each st (24)
Round 6 :
1 sc in each st BLO (24)
Round 7 :
1 sc in each st (24); fasten off leaving a long tail for sewing
Info :
Sew this back disk to the back of the sunflower center, sandwiching the petal bases between the front center and this back disk for a clean finished look and a firm base to sew in the stem.
— Daisy Center (Make 5-7 small daisies) :
Round 1 :
6 sc in magic ring with yellow yarn (6)
Round 3 :
(1 sc, inc) x 6 (18)
Round 4 :
1 sc in each st (18)
Info :
Daisy centers are small and slightly domed. Keep tension a bit snug to create a tiny raised center that contrasts with white petals.
Round 5 :
Optional: one round of BLO sc to create ridge (18)
Round 6 :
Fasten off leaving tail for sewing to petals (18)
— Daisy Petals (Attach around each small center) :
Info :
Each daisy in the image has 8 rounded petals. Join white yarn to the edge of the yellow center with a sl st.
Round 1 :
*ch 3, (2 dc, ch2, sl st) in same st to create petal base; sl st in next st; rep from * around to make 8 petal bases (8)
Round 2 :
Working into each ch-2 sp: (sc, hdc, 5 dc, hdc, sc) to form a rounded petal. Repeat for all 8 petals. Fasten off and weave in ends
Info :
For a softer petal, you may work petals in half-twist: work into last loop only of dc for an inward curl, or make petals slightly longer for a floppier look.
— Daisy Back Disk :
Round 1 :
6 sc in magic ring with white or contrast yarn (6)
Round 3 :
Fasten off leaving long tail to sew to the back of daisy petals and attach to stem (12)
Info :
Sew center and petal layers together sandwiching the back disk for a clean finish and stable place to sew the stem.
— Small Bud / Berry Sprigs (Make multiple filler bits) :
Info :
Filler in the bouquet consists of small clustered buds worked in olive green. Each bud is a tiny puff or popcorn made by working 3-4 dc into a single stitch, closing them to create a bulb. Multiple buds are crocheted onto short stems and grouped.
Round 1 :
Ch 6; join with sl st to form loop; 6 sc into loop (6) — this becomes bud base
Round 2 :
*Make a popcorn: yo, insert in next st, pull up loop, yo, insert same st pull up loop (repeat 3 times) then draw through all loops and sl st to close*; sc in next st; rep * once more to create two little popbuds on the base
Round 3 :
1 sc in each st (6). Fasten off leaving tail for attaching to stem
Info :
For longer sprigs, chain 6-8 from base and attach another bud cluster. Vary bud sizes for natural look. Use smaller hook for tighter buds.
— Leaf (Make 6-8 leaves) :
Round 1 :
With leaf green, ch 10 (or more for larger leaf), sc in 2nd ch from hook, hdc in next, dc in next 2, trc (treble) in next 2, dc in next 1, hdc next, sc last ch. Work down the opposite side: hdc, sc, sl st to join at tip. (This creates a teardrop leaf)
Round 2 :
Work 1 sc around entire leaf, placing 2 sc at the broadest points to maintain shape (count variable depending on length, typically 20-26 sts). Fasten off and leave tail for sewing
Info :
For veining effect, run a yarn needle with contrasting green through the middle from base to tip to create raised vein. Or work a row of sl st down the center for subtle ridge.
— Stem (Make as many stems as needed, 10-14 stems recommended) :
Info :
Stems in the image are firm and slightly bendable; use florist wire wrapped with yarn or a crocheted tube stuffed very lightly. Below are two options — wrapped wire and crocheted stem — choose one.
Option A - Wire Wrapped Stem Round 1 :
Cut a length of 18-22 gauge florist wire to 18-24 cm depending on desired stem length. Wrap with green yarn by sl st around the wire tightly from base to tip, or wrap with floral tape for clean finish
Info :
Leave 2-3 cm bare at top to twist through back disk of flower and secure the head. Wrap base with floral tape or yarn to cover any sharp ends.
Option B - Crocheted Tube Stem (i-cord style) Round 1 :
With green yarn, ch 3. Round 2: Work 6 sc in second ch from hook and next ch (around both chains) to start a tube (6)
Round 3-16 :
1 sc in each st around (6) — repeat to desired stem length (approx 14 rounds for 18-20 cm length)
Info :
Stuff the tube very lightly as you go to keep it straight but pliable. Insert a piece of wire inside the tube before fully closing if you want a poseable stem.
Round 17 :
Fasten off leaving long tail for sewing to the flower back disk (6)
— Small Filler Leaf Sprig (Make 6-8 sprigs) :
Round 1 :
ch 8, sc in 2nd ch from hook, hdc next, dc next, hdc next, sc next. Fasten off with long tail
Round 2 :
Create 2-4 of these small leaves on a short crocheted stem (ch 6; attach leaf; ch 4; attach leaf; fasten off leaving tail)
Info :
Group sprigs in sets of 2-3 when arranging to mimic the image's clustered green filler.
— Bouquet Wrap (Base lace wrap) :
Info :
The wrap in the image is a soft lace-style wrap worked flat then folded and tied. Use light beige cotton. The sample wrap measures roughly 18-22 cm tall and 12-14 cm wide after folding.
Round 1 :
With beige yarn ch 48 (or ch to desired width). Row 1: sc in 2nd ch from hook and each ch across (47)
Round 2 :
ch1, turn, *skip 1 st, (5 dc in next st), skip 1 st, sl st into next st* repeat across to create shell lace pattern. End row with sc to create even edge
Round 3-26 :
Repeat row 2 to desired height (approximately 24 rows to create a tall wrap). Fasten off leaving long tail to seam sides
Info :
Block the wrap lightly to open the lace before assembling the bouquet. Fold the wrap into a cone and seam the side with slip stitches, leaving top open to insert stems.
Round 27 :
Edge finish: sc evenly around top and bottom edges of wrap to tidy the lace (approx 48 sc depending on width)
Info :
Create a tie cord by chaining 60, fold in half and braid or slip-stitch through top eyelets of the wrap to tie
— Tie Cord :
Round 1 :
Ch 60. Fasten off. Fold chain in half and join with sl st to create a looped cord. Alternatively, make a 3-strand braid using three strands of ch 60 each.
Info :
Wrap should be tied snugly but not overly tight so the stems keep their shape. The pictured wrap uses a braided cord tied in a bow over the seam.
— Assembly and Final Shaping :
Info :
Before assembly, block and lightly starch petals if you want crisper edges. Gather stems and determine flower placement: three large sunflowers visible in front and two or three daisies interspersed with filler buds.
Step 1 :
Sew each sunflower back disk to the back of the center/petal sandwich using mattress stitch or whip stitch through both layers. Insert the stem (wire or crocheted tube) into the back disk opening and secure by wrapping green yarn around the base or stitching through the disk into the stem tail.
Step 2 :
Sew each daisy back disk similarly, attaching stems so the flower head sits slightly above the wrap when arranged. Space daisies between sunflowers to create visual contrast.
Info :
Use pins to arrange flowers and filler before final sewing. Trim stems to desired length for a balanced bouquet: sunflowers slightly taller in back and daisies a touch lower in front for depth.
Step 3 :
Group bud sprigs and small filler leaves and wrap their stems together with green yarn or floral tape into small clusters (2-4 pieces per cluster). Insert clusters in gaps between main flowers to mimic the photo's dense, natural appearance.
Step 4 :
Once satisfied with composition, slide wrap cone over stems and seam the wrap along its side with whip stitch using the long tail. Tie tie-cord through eyelets and finish with a bow at the front.
Info :
Final shaping: bend petals slightly outward or curl under to mimic the photo. Tug a petal lightly and use a small amount of textile glue if needed to maintain shape permanently.
Step 5 :
Tuck any visible wire ends under the wrap and secure with a few stitches of yarn for safety. Trim all loose threads and weave in ends neatly behind wrap or inside back disks.
Info :
If you plan to ship or gift, optionally add a small water-safe tape inside the wrap and insert a tiny florist water packet to keep any natural elements safe; this pattern is fully artificial and does not require water.
— Variation Notes & Scaling :
Info :
You can scale the bouquet by increasing the diameter of sunflower centers (add extra increase rounds) and adding extra petal layers. For a miniature posy, work the same motifs with DK weight yarn and a 2.75mm hook — reduce stem rounds accordingly.
Final Tips :
Work petals with consistent tension, block pieces if necessary, and assemble with pins first to get a pleasing composition. Use color contrasts like deep amber for centers and golden yellow petals to achieve the vibrant look in the photo.
This bright crochet bouquet brings a sunny, handmade touch to any space and lasts forever — no watering required! Each sunflower and daisy is lovingly layered and shaped for a realistic, happy arrangement. Wrap it up, tie a bow, and you have a perfect handmade gift that will brighten someone's day. 🧶🌻 A beautiful keepsake and a gratifying project to make and share. Happy crocheting! 🎁