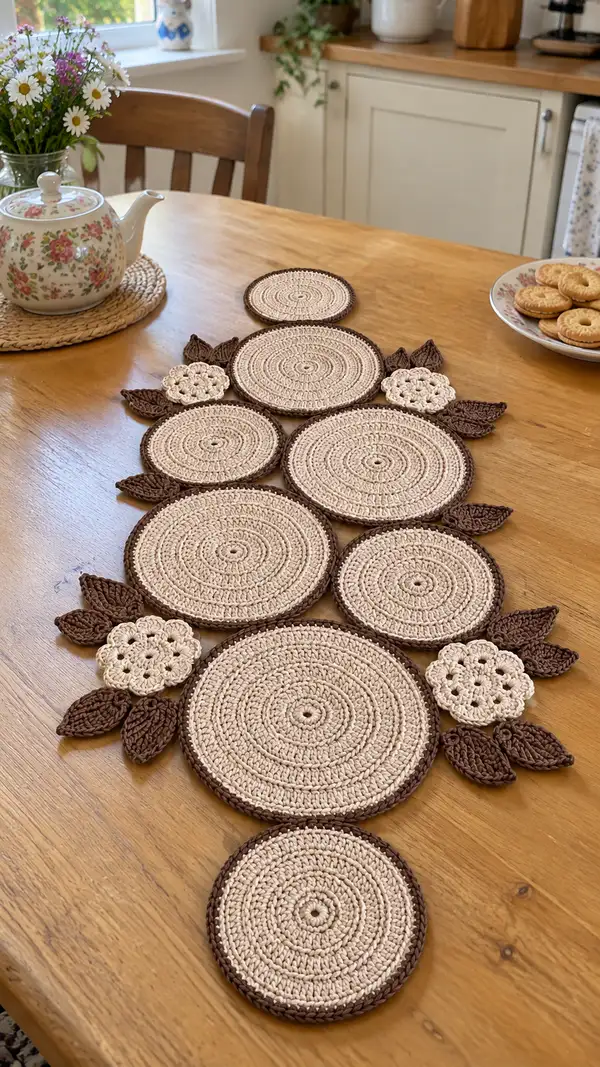
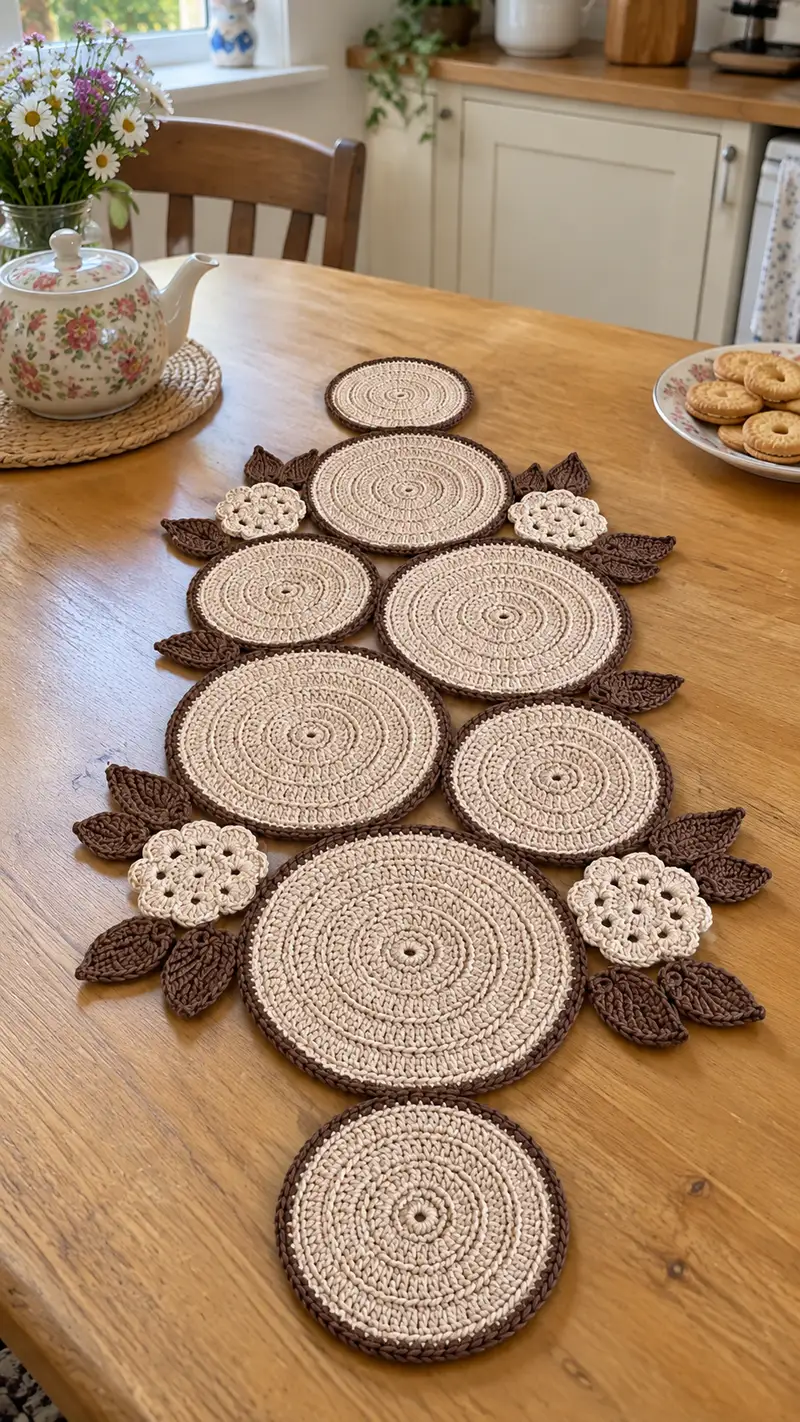
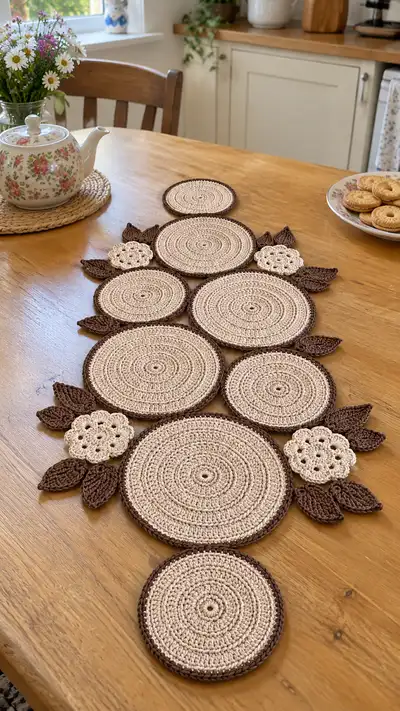
Create a warm, nature-inspired table runner made from stacked round coasters, leafy motifs and delicate floral accents. This neutral-toned runner features concentric stitched discs with a contrasting brown border, layered leaves and small flowers to form a long, elegant centerpiece. The pattern uses sturdy cotton cord or bulky cotton yarn for structure and minimal stretch, perfect for tabletops. Clear round-by-round instructions and tips make it easy to reproduce this cozy, rustic piece.
Progress Tracker
0% Complete
— Large Round Coaster (Make 3) :
Round 1 :
6 sc in magic ring (6)
Round 3 :
(1 sc, inc) x 6 (18)
Round 4 :
(2 sc, inc) x 6 (24)
Round 5 :
(3 sc, inc) x 6 (30)
Info :
Work each round in continuous spiral or join rounds with sl st and ch1 – spiral gives a seamless look; I prefer spiral for flat coasters. If using spiral, use a stitch marker at the first stitch of each round to track increases.
Round 6 :
(4 sc, inc) x 6 (36)
Round 7 :
(5 sc, inc) x 6 (42)
Round 8 :
(6 sc, inc) x 6 (48)
Round 9 :
(7 sc, inc) x 6 (54)
Info :
If your circle starts ruffling, omit one increase evenly across the round; if it cups, add additional increases evenly in next round. The goal is a flat disc.
Round 10 :
1 sc in each st (54)
Round 11 :
1 sc in each st (54)
Round 12 :
1 sc in each st (54)
Round 13 :
1 sc in each st (54)
Info :
These even rounds build height for the coaster and create strong stitch definition. Keep tension consistent; using a slightly smaller hook than yarn label helps the coaster stay firm.
Round 14 :
1 sc in each st (54)
Round 15 :
1 sc in each st (54)
Round 16 :
1 sc in each st (54)
Round 17 :
1 sc in each st (54)
Info :
Begin color change to contrast brown for the outer edge on next round. Fasten off main beige if you plan to join color by sewing, or simply join contrast with sl st in any stitch and continue.
Round 18 :
Change to dark brown. 1 sc in each st BLO (54) — working BLO gives a defined ridge where the border sits (54)
Round 19 :
1 sc in each st (54)
Round 20 :
1 sc in each st (54)
Round 21 :
sl st around to finish, work 2 sl st in the top of some stitches to create a smooth round edge if needed (54)
Info :
Fasten off leaving a 15-20 cm tail for sewing if you are going to join motifs by whipstitch later. Weave in ends neatly into the back of the coaster.
— Medium Round Coaster (Make 3) :
Round 1 :
6 sc in magic ring (6)
Round 3 :
(1 sc, inc) x 6 (18)
Round 4 :
(2 sc, inc) x 6 (24)
Round 5 :
(3 sc, inc) x 6 (30)
Info :
For medium disc sizes we stop increasing a few rounds earlier than the largest coaster so diameter sits slightly smaller when grouped. Keep stitch counts accurate to maintain flatness.
Round 6 :
(4 sc, inc) x 6 (36)
Round 7 :
(5 sc, inc) x 6 (42)
Round 8 :
(6 sc, inc) x 6 (48)
Round 9 :
1 sc in each st (48)
Round 10 :
1 sc in each st (48)
Round 11 :
1 sc in each st (48)
Info :
When switching to the brown border, consider working 1 round in BLO to create a crisp line between the beige and brown yarn.
Round 12 :
Change to dark brown. 1 sc in each st BLO (48)
Round 13 :
1 sc in each st (48)
Round 14 :
sl st around to finish and fasten off leaving long tail for joining (48)
Info :
Repeat to make three medium discs. Blocking with steam or a damp cloth will flatten and set rounds for even assembly.
— Small Round Coaster (Make 3) :
Round 1 :
6 sc in magic ring (6)
Round 3 :
(1 sc, inc) x 6 (18)
Round 4 :
(2 sc, inc) x 6 (24)
Round 5 :
1 sc in each st (24)
Round 6 :
1 sc in each st (24)
Info :
Small discs create visual rhythm. If you prefer a shallower coaster, stop at Round 5; for a more dish-like coaster add one more even round.
Round 7 :
Change to dark brown. 1 sc in each st BLO (24)
Round 8 :
1 sc in each st (24)
Round 9 :
sl st to finish and fasten off leaving long tail for assembly (24)
Info :
Make three small discs. Place them at the top and bottom ends of the runner for balance as shown in the image layout.
— Scalloped Flower Motif (Make 4) :
Round 1 :
6 sc in magic ring (6)
Round 2 :
ch1, 2 sc in each st around (12)
Round 3 :
ch1, (sc in next st, ch2, skip next st) x 6 — forming 6 petals as small loops (12 loops)
Round 4 :
Working into each ch2 space: (sc, hdc, 2 dc, hdc, sc) in each ch2 space to create rounded petal (6 petals)
Info :
Use cream or beige for flowers to contrast the dark leaves. Fasten off and leave a 15 cm tail for sewing. Block petals gently to open them out evenly.
Round 5 :
Weave in end, or if you prefer, add a small center: join cream and work 6 sl st into center then fasten off (optional)
— Leaf Motif (Make 18) :
Round 1 :
Ch7. Row 1: sc in 2nd ch from hook, hdc in next, dc in next 2, hdc in next, sc in last (6 sts across chain)
Round 2 :
Working down other side of chain: sc in next, hdc, dc in next 2, hdc, sc — sl st to join at base (12 sts total including both sides)
Round 3 :
Ch1, (sc in next 2, hdc in next 2, dc in next 4, hdc in next 2, sc in next 2) — shape the leaf and fasten off short tail (12)
Info :
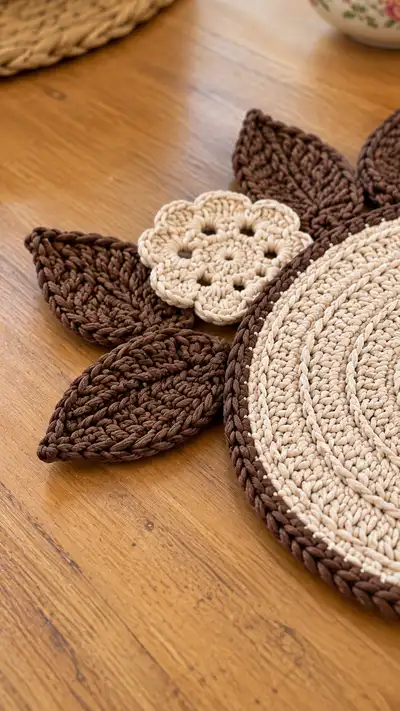
Leaf sizing: The pattern uses elongated stitches to create veins. Use dark brown and a slightly smaller hook if you want a crisper leaf edge. Make 18 leaves total to frame the runner as shown.
Round 4 :
If you prefer a more structured leaf, work 1 round in BLO with sc to create a ridge along the center then fasten off. (12)
Round 5 :
Optional: Embroider a central vein with a running stitch using matching yarn for extra definition
— Joining & Layout Info :
Info :
Lay out motifs in the arrangement shown in the reference image: a vertical stack of large, medium and small circles; place leaves in pairs around the joins and tuck small flowers between circle edges. Pin motifs in place on a flat surface. Take a photo or mark positions so you can reassemble precisely.
Round 1 :
Begin joining: place two adjacent discs (for example, one large and one medium) overlapping by approximately 8-10 stitches depending on size. Using a yarn needle and long tail, make whipstitches through corresponding loops around the overlap for 8-12 stitches to secure (do not worry about counts here; secure evenly across overlap).
Info :
Sew slowly and check that discs remain flat. Keep pull even so discs do not pucker. For a stronger join, go through both loops of the stitch on each motif; for a neater, less visible seam, sew through back loops only on each motif.
Round 2 :
Continue joining motifs pairwise until the vertical runner shape is achieved: small circle, large circle, medium, large, medium, large, small (use your layout). Add leaves in positions where discs meet — sew 2-3 leaves under each join and 1-2 flowers over the top of the leaf group to create layered clusters.
Info :
When attaching flowers, position them offset from the center of the join so they sit visually between discs. Use long tails and a running stitch beneath petals to secure without flattening them.
— Reinforcing Joins & Decorative Border :
Round 1 :
Once main motifs are sewn together, join dark brown yarn and work 1 round of sc around the entire assembled runner, working through both layers where discs overlap to bind edges. Work evenly with 1 sc per stitch across (counts vary by assembled width; maintain even tension).
Info :
This binding round unifies the motifs visually and secures loose joins. Work slowly and keep gauge consistent so the runner remains flat.
Round 2 :
Work 1 round of sc in BLO to create a ridge defining the outer border (this will be visible as the thick brown rim in the photo).
Round 3 :
Work 1 round of sl st for neat finish. In areas where leaves extend beyond the border, work around them carefully, shortening sl st placement so the border hugs the whole composition.
Info :
Optional: For a thicker border, work 2 rounds of sc after the BLO round. If you choose this, make sure you do not stretch the runner as you crochet; keep stitches relaxed.
— Final Decorative Rounds & Finishing Touches :
Round 1 :
With contrast brown, work a decorative picot or crab stitch round (reverse sc) to give a twisted rope-like finish: (sc, picot) around selected curved edges — pick 1 picot every 4-6 stitches to avoid crowding.
Round 2 :
Weave in all remaining ends using yarn needle. Bury tails in the thickness of the border by threading through several stitches; trim close to surface. Hide yarn tails from leaves and flowers on the underside of the runner for cleaner top side.
Round 3 :
Block the entire runner flat: pin onto a blocking board and steam lightly or spray with water and let dry. This step sets stitches and allows motifs to sit evenly on the table.
Info :
If you expect heavy use, consider adding small non-slip fabric pads under each large disc or a light fabric backing adhered with fabric glue to protect the underside and prevent sliding.
— Alternative Edge Treatment (Optional rope braid) :
Round 1 :
Join brown yarn and single crochet evenly around the edge; then chain 3 and sl st into next st to create a looped braid effect, repeating around to form a decorative outer rope. Keep consistent loop sizes.
Round 2 :
For a finished polished look, work a final sl st round over the chain loops to flatten them slightly and secure them. Fasten off and weave away ends.
Info :
Alternative edging is decorative and helps hide minor mismatches between discs. Choose a treatment that complements your home decor.
This Woodland Round Coaster Table Runner brings a touch of calm, natural beauty to your table. Layered circles, sculpted leaves and soft floral accents create a handmade centerpiece that is elegant yet approachable. The modular construction means you can adapt the layout, scale, or colors to suit any season or decor. 🧶 Add a pot of tea and some biscuits, and this runner will make every gathering feel cozy and special. Happy stitching and enjoy the process! 🌿