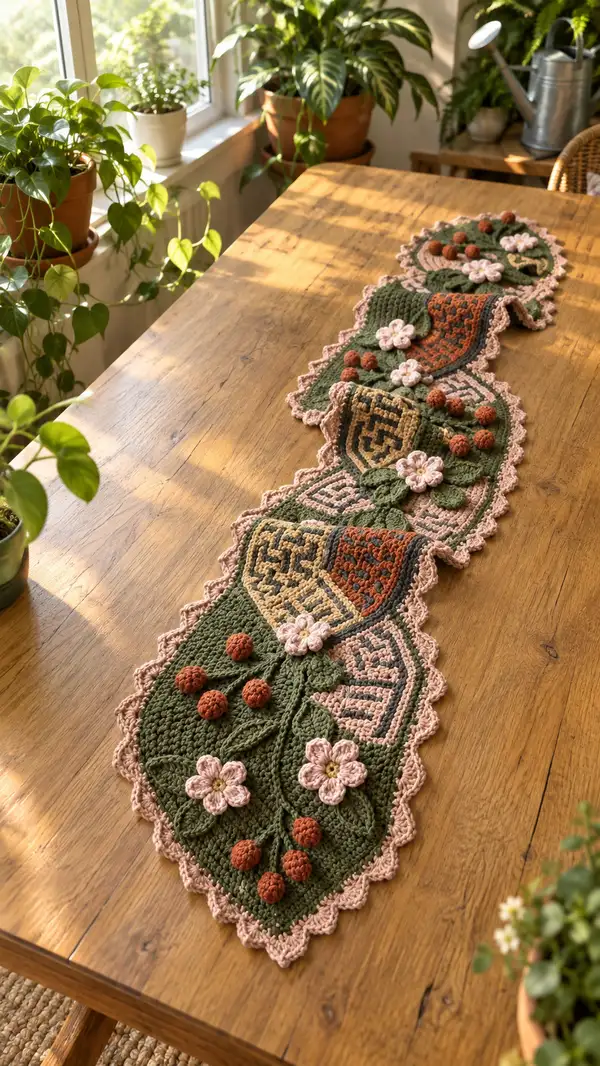
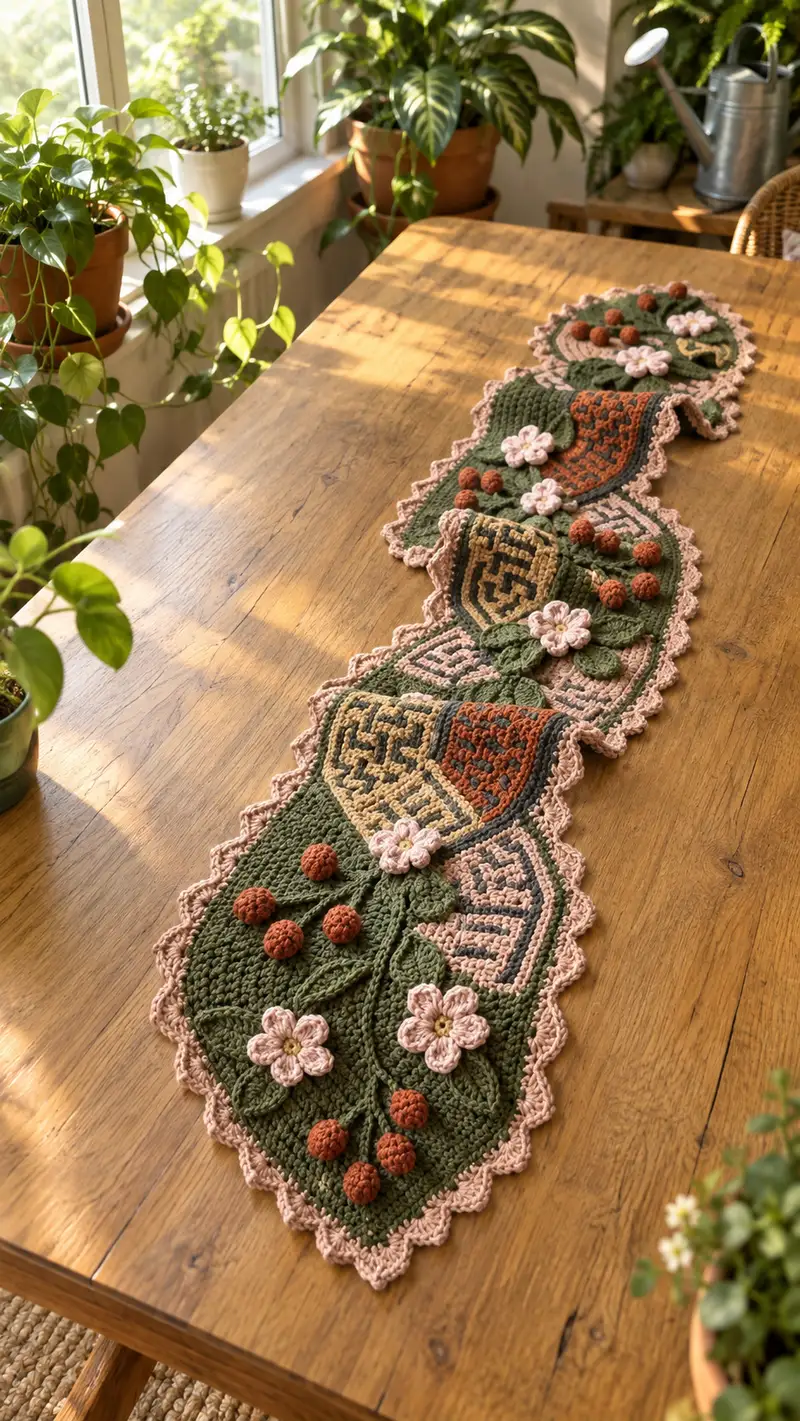
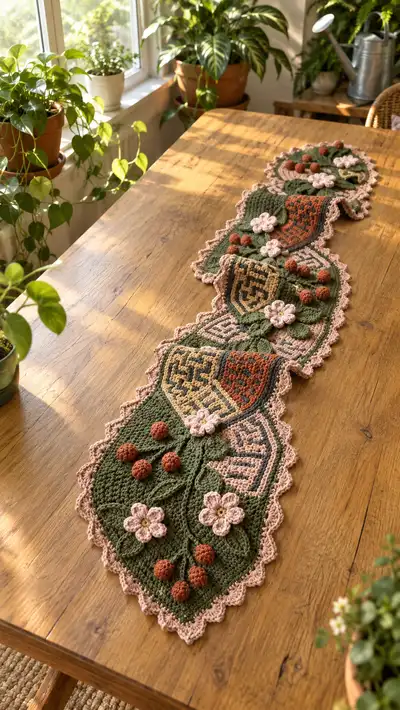
A long botanical-inspired table runner built from elegant teardrop medallions, textured leaves, delicate five-petal flowers, and little bobble berries. This runner shows layered mosaic-style colorwork, raised applique leaves and flowers, and a scalloped picot edge. Worked in worsted weight yarn with color changes and three-dimensional accents for an heirloom look.
Progress Tracker
0% Complete
— Overview & Gauge :
Info :
Gauge is not strict for this decorative runner but helps keep medallions consistent. Aim for about 12 sts x 8 rows = 4 inches in sc on 4.0mm hook in worsted yarn. Make swatches if substituting yarn. The runner in the photo measures approximately 48-52 inches long and 8-10 inches wide composed of five large teardrop medallions linked end-to-end with modest spacing and several leaf/flower appliques.
— Large Teardrop Medallion (Make 5) :
Round 1 :
6 sc in magic ring (6)
Round 3 :
(1 sc, 1 inc) x 6 (18)
Round 4 :
(2 sc, 1 inc) x 6 (24)
Round 5 :
(3 sc, 1 inc) x 6 (30)
Round 6 :
(4 sc, 1 inc) x 6 (36)
Round 7 :
(5 sc, 1 inc) x 6 (42)
Round 8 :
(6 sc, 1 inc) x 6 (48)
Info :
These initial increase rounds form a roughly circular disk. Keep tension even. Place a stitch marker at the first stitch of Round 1 and move it each round to mark beginning.
Round 9-12 :
1 sc in each st (48)
Info :
Rounds 9-12 create the flat body of the medallion. At the end of Round 12 prepare to start shaping the teardrop point — we'll work increases primarily on one side and shorten the other side to elongate the circle into a teardrop.
Round 13 :
(7 sc, 1 inc) x 6 (54) — change to warm tan in last st of round if working mosaic panel.
Round 14 :
1 sc in each st (54)
Round 15 :
(8 sc, 1 inc) x 6 (60)
Info :
Working rounds 13-15 increases the front arc; when you change color for mosaic patterning, carry the previous color loosely behind or fasten off depending on length of float. Use color panels as shown: divide the disk into three visual sections (tan, rust, dark moss) with tightly woven colorwork using single crochet tapestry/mosaic technique.
Round 16-18 :
1 sc in each st (60)
Round 19 :
(9 sc, 1 inc) x 6 (66)
Round 20 :
1 sc in each st (66)
Round 21 :
(10 sc, 1 inc) x 6 (72)
Info :
At this point your medallion is broad and round. We will begin to introduce targeted decreases along one arc to create the narrowing tip typical of a teardrop. Decide which side will become the point and keep a consistent orientation for all medallions you make.
Round 22 :
Work 30 sc across the 'widest' arc in established colors, then for the remaining 42 sts work (2 sc, 1 dec) x 12, then 6 sc (result 30 + (12*2) + 6 = 30 + 24 + 6 = 60) — adjust count visually to keep symmetry (60)
Round 23 :
1 sc in each st (60)
Round 24 :
Work across the wide arc 28 sc, then on the narrowing section work (1 sc, 1 dec) x 12, then 8 sc (result 28 + 24 + 8 = 60)
Info :
By staggering decreases only on one side of the medallion you begin to form an elongated teardrop silhouette. Keep stitch marker at the first stitch and re-count after shaping rounds to ensure accuracy.
Round 25 :
1 sc in each st (60)
Round 26 :
Continue shaping: 26 sc across wide arc, then (1 dec, 4 sc) x 6 across the narrowing arc (26 + 30 = 56)
Round 27 :
1 sc in each st (56)
Round 28 :
Work across wide arc 24 sc, then (1 dec, 3 sc) x 6 across narrowing arc (24 + 24 = 48)
Info :
At Round 28 you should clearly see the teardrop form. Check overall diameter and flatten with light blocking if necessary before adding mosaic overlay or color panels. If doing mosaic stitched panels (the geometric panels seen in the photo), pick your contrasting colors and work surface slip-stitch mosaic overlay rounds after Round 28 using charted repeats.
Round 29 :
1 sc in each st (48)
Round 30 :
(3 sc, 1 dec) x 8 (32)
Round 31 :
1 sc in each st (32)
Round 32 :
(2 sc, 1 dec) x 8 (24)
Info :
Begin to prepare for joining edges and applique placement. Leave long tails when fastening off color segments. You can also work a surface mosaic panel across the broader upper portion now by carrying a second color and making alternating mosaic slip-stitch rows to create the geometric block seen in the photograph.
Round 33 :
(1 sc, 1 dec) x 8 (16)
Round 34 :
6 dec, then 1 sc in remaining 4 sts to shape the very tip (10)
Round 35 :
4 sc, then decrease across next 3 sts to make a firm narrow point (6)
Round 36 :
6 sc around to round out the tip and create an even edge (6)
Info :
Fasten off leaving long tail for seaming. Block each medallion lightly to open mosaic panels and keep edges even. Make five of these medallions for the runner in the arrangement shown in the image.
— Mosaic Quarter Panels & Accent Blocks (Use to decorate top area of each medallion) :
Round 1 :
Join accent yarn to the top outer arc at a chosen point. Ch1, sc around 12 sts along this quarter arc (12)
Round 2 :
(2 sc, 1 inc) x 3 along the quarter to widen (15)
Round 3 :
1 sc in each st (15)
Round 4 :
(3 sc, 1 inc) x 3 (18)
Info :
These small mosaic panels are worked into rows or tightly woven tapestry single crochet to create the geometric motif seen. You may also overlay with surface slip stitches to form the grid lines. Work matching panels in tan, rust and dark moss to emulate the photo.
Round 5 :
1 sc in each st (18)
Round 6 :
Work two even rows of sc maintaining color changes as needed to form small motif (18)
Round 7 :
Fasten off and weave in ends, leaving long tail if seaming to medallion
Info :
Sew mosaic quarter panels to medallion top arc using whip stitch. Place panels offset so adjacent medallions visually alternate tan/rust panels as in photo.
— Connector Panel / Central Narrow Linking Strip (Make 4) :
Round 1 :
Ch30, join with sl st to form a long oval base, ch1, 1 sc in each ch around both sides of chain (60)
Round 2 :
1 sc in each st (60)
Round 3 :
1 sc in each st BLO (60)
Round 4-6 :
1 sc in each st (60)
Info :
The connector panels are narrow rectangular oval strips that sit between medallions. Work them slightly smaller or larger depending on desired spacing. You will join these to the medallion tips to create the continuous runner.
Round 7 :
Work a simple ridged texture using fpdc around one round: 1 fpdc in each st (60)
Round 8-10 :
1 sc in each st (60)
Round 11 :
Fasten off leaving long tails for seaming. Make 4 to link 5 medallions end-to-end.
— Leaf Applique (Make 8-10) :
Round 1 :
Ch2, 6 sc in 2nd ch from hook (6) — or make a small mr with 6 sc (6)
Round 2 :
Inc in each st around (12)
Round 3 :
(1 sc, 1 inc) x 6 (18)
Round 4 :
Work 1 sc in next 9 sts along one side to build leaf length, then turn and work down opposite side 9 sc (18)
Info :
We will shape into a pointed leaf by working increases at the base and decreases to the tip. For a raised look, work surface slip stitches down the center vein in a darker shade after finishing the leaf.
Round 5 :
At the far tip work 1 sc, (1 dec) then sc back along the other side to create point — effectively reduce 2 sts (16)
Round 6 :
(4 sc, 1 dec) x 3 (12)
Round 7 :
(3 sc, 1 dec) x 3 (9)
Round 8 :
Sc around the leaf edge once to neaten and create a slight curl; work sl st into final st and fasten off leaving a long tail (9)
Info :
Stitch the leaf to medallion using the long tail. Arrange leaves in pairs or clusters near the bobble berries and flowers to mimic the composition in the photograph. For raised veins: with contrasting darker green, work two parallel surface slip-stitch veins from base to tip.
— Five-Petal Flower (Make 6-8) :
Round 1 :
6 sc in magic ring (6)
Round 2 :
Ch2 (counts as first hdc), in same st work 2 hdc, *skip 1 st, in next st work 3 hdc; rep from * until you have 3 clusters (total petals = 3 clusters + initial cluster). If you prefer 5 distinct petals, work: in each of 6 base sts work (sc, ch2, sc) to make loops for petals (6 loops)
Round 3 :
For loop petals: In each ch2 loop work (5 dc, sl st) to form a rounded petal. Work around to make 6 small petals; you can remove one cluster later to leave 5 petals if desired. Fasten off leaving long tail for sewing.
Info :
The flowers in the photo are soft pale pink with a tiny yellow center. Make petals looser using a slightly larger hook or more dc per petal for a floppy petal. Use flower centers in cream or soft yellow by embroidering a ring of French knots or a small puff/cluster stitch.
Round 4 :
Make a small center by attaching cream yarn to center and working 6 sc in center to form a little cup; fasten off and weave tail through center to tidy.
Round 5 :
Sew flower to medallion surface at arrangement points. Use hidden stitches through the back of the flower and into medallion base for stability.
— Bobble Berries (Make 18-24) :
Info :
Bobble berries are small stuffed bobbles in a rust color. They are worked in rounds of bobble stitches and closed, then lightly stuffed before cinching shut. Work several to cluster near leaves and flowers.
Round 1 :
6 sc in magic ring (6)
Round 2 :
Inc in each st around (12)
Round 3 :
Make 6 bobble stitches around: *bobble in next st, sc next st; rep from * around (12 with 6 bobbles)
Round 4 :
Sc around to tighten shape (12)
Round 5 :
Dec evenly across to reduce to 8 (8)
Round 6 :
Stuff lightly, then 4 dec (4)
Round 7 :
Fasten off leaving a long tail; use tail to close by running through remaining 4 sts and pulling tight, then weave tail into berry body to secure
Info :
Use small amounts of fiberfill. Do not overstuff or the berry will look too round; aim for a slightly rustic, textured berry like the photograph. Attach berries in clusters of 3-5 using the long tail or embroidering through the medallion surface and leaf stems.
— Raised Stem & Vine Embroidery :
Info :
Use a length of the deep green yarn and a yarn needle to embroider raised vine lines across the medallion: bring yarn up from back at start point, use surface slip stitch or chain embroidery (chainless) method across the medallion to create stems. Secure ends at back and weave in. Stitching will anchor leaves and flower clusters and mimic the organic stems visible in the photo.
— Scalloped Picot Border (Work around entire assembled runner) :
Round 1 :
With blush pink join to edge of runner, 1 sc evenly around all outer edges and around medallion perimeters that are exposed; work 1 sc in each stitch (count will vary depending on assembly)
Round 2 :
Work 1 sc in each st BLO to create a subtle ridge (this helps anchor picots) (same count)
Round 3 :
*Ch3, sl st into 3rd ch from hook to create a picot, skip 2 sts, sc in next 4 sts; rep from * around to create scallop rhythm
Round 4 :
Work into scallop peaks: (sc, hdc, 3 dc, hdc, sc) in each scallop to create deep shell picot edging for a decorative border
Round 5 :
In between shells work sl st spacing so scallops remain even; fasten off and weave in ends
Info :
Blocking the runner after adding scallops will open the edging and make the runner lay flat. Pin shells evenly and lightly dampen or use a steam block appropriate for your yarn fiber.
— Assembly & Joining Medallions :
Info :
Lay out five medallions alternating orientation so teardrop tips point toward the next medallion body and leaves/flowers cluster where medallions meet. Use connector strips to space them evenly, tacking connector ends to the medallion tip and to the adjoining medallion base. Sew with long tails from medallion fast-offs or with matching yarn and hidden stitches.
Round 1 :
With long tail and yarn needle, whip stitch medallion tip to one end of connector panel using mattress or ladder stitch to create an invisible join, picking up the same number of edge stitches from both pieces for an even seam
Round 2 :
Repeat joining on opposite end of connector panel to the next medallion tip. Join all medallions sequentially with connector panels to create the full runner.
Info :
When joining, frequently check that motifs lay flat and that applied leaves and flowers are placed where seams will not distort edges. Add extra reinforcement at join points by sewing an extra row of slip stitches through both layers if you expect wear.
— Finishing Touches :
Info :
Sew leaves, flowers and berries to the medallion surfaces as in the photo: flowers centered near the midline of each medallion, leaves radiating outward and berries clustered near leaf bases. Use a thread of matching color for the underside to keep the front tidy.
Round 1 :
Weave in all tails and check back of runner. Tidy any stray floats from mosaic work by securing them at seam intersections or with small whipstitches on the back so they do not show through the front.
Info :
After assembly and finishing, give the runner a final gentle block: pin to desired dimensions on a blocking board and lightly mist. Allow to dry fully. This will even the panels and make edging sit nicely.
Completing this botanical medallion table runner is a delightful journey through texture and color! Each medallion becomes a little garden tile, and sewing them together reveals the whole story as it grows into a beautiful table accent. The layered flowers, leaves and bobble berries make a tactile heirloom you'll love to touch and display. 🧶🌿 Add this runner to your home as a charming focal point or gift it to someone special—it's handmade happiness in every stitch! 🎁