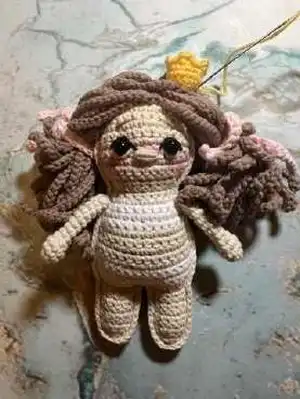
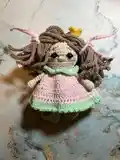
Create a whimsical castle perfect for your little princess with this delightful crochet pattern! The pattern includes intricate details for both the castle and princess doll, ensuring a beautiful and enjoyable crafting experience. Join in on the fun and bring your imaginative creations to life with vibrant colors and charming designs, making this the perfect project for crochet enthusiasts of all levels!
Progress Tracker
0% Complete
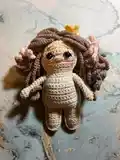
— Princess Doll :
— Head :
Head
With Cream yarn. Work in rows.
Round 1 :
ch5, start from the second chain on the hook: inc, 2sc, inc, turn (6)
Round 2 :
ch1, inc, 4sc, inc, turn (8)
Round 3 :
ch1, inc, 6sc, inc, turn (10)
Round 4 :
ch1, inc, 8sc, inc, turn (12)
Round 5 :
ch1, inc, 10sc, inc, turn (14)
Round 6 :
ch1, 14sc, turn (14)
Round 7 :
ch1, inc, 12sc, inc, turn (16)
Rounds 8-11 :
ch1, 16sc, turn (4 rounds) (16)
Round 12 :
ch1, dec, 12sc, dec, turn (14)
Round 13 :
ch1, dec, 10sc, dec, turn (12)
Round 14 :
ch1, dec, 8sc, dec, turn (10)
— Neck :
Neck
15-16. ch1, 10sc, turn (2 rows) (10)
— Body :
Body
17. Change color to White.
Round 1 :
ch1, inc, 8sc, turn (12)
Round 2 :
ch1, 12sc, turn (12)
Round 3 :
ch1, 10sc, inc, turn (14)
Round 4 :
ch1, 14sc, turn (14)
Round 5 :
ch1, 14sc, turn (14)
Round 6 :
ch1, 14sc, turn (14)
Round 7 :
ch1, 14sc, turn (14)
Round 8 :
ch1, 14sc, turn (14)
Round 9 :
ch1, 14sc, turn (14)
Round 10 :
ch1, 14sc, turn (14)
Round 11 :
ch1, 14sc, turn (14)
Round 12 :
Change color to Cream.
Round 12 :
ch1, 14sc, turn (14)
Round 13 :
ch1, 14st; turn (14)
Round 14 :
ch1, 14sc; turn (14)
Round 15 :
ch1, 14sc; turn (14)
Round 16 :
ch1, 14sc; turn (14)
— Legs :
Legs
30. Change color to Cream.
Round 1 :
ch1, 6sc, turn (6)
Round 2 :
ch1, 6sc, turn (6)
Round 3 :
ch1, 6sc, turn (6)
Round 4 :
ch1, 6sc, turn (6)
— Accessories :
Belt (P1) :
Tan belt: Make 23 ch and crochet 22 sc in return
Pouch (P2) :
Tan pouch: Make 5 ch and work both sides: 1 inc, 2 sc, 3 sc together, 2 sc, 1 sc (10)
Logo (P3) :
Deadpool logo: Black 8 sc in MR, then red 1 sc in each st BLO (8), add red line in middle and 2 small white lines as eyes
This enchanting Castle for a Princess pattern invites you to create a magical realm with a delightful princess companion! 🏰✨ Infuse vibrant colors and charming details to make playtime truly special. 🎀🧶 Let your creativity shine!