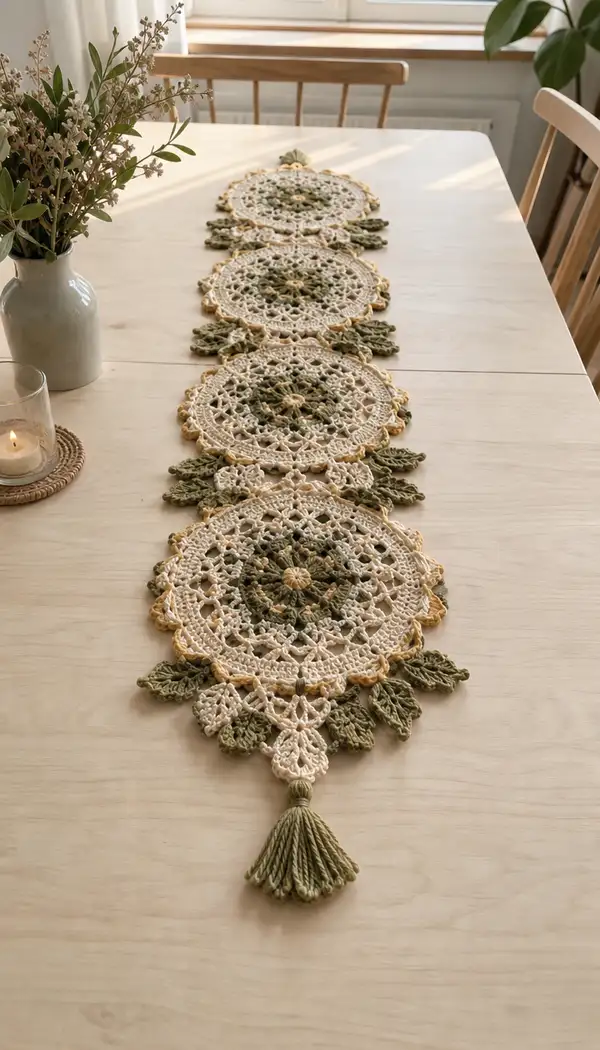
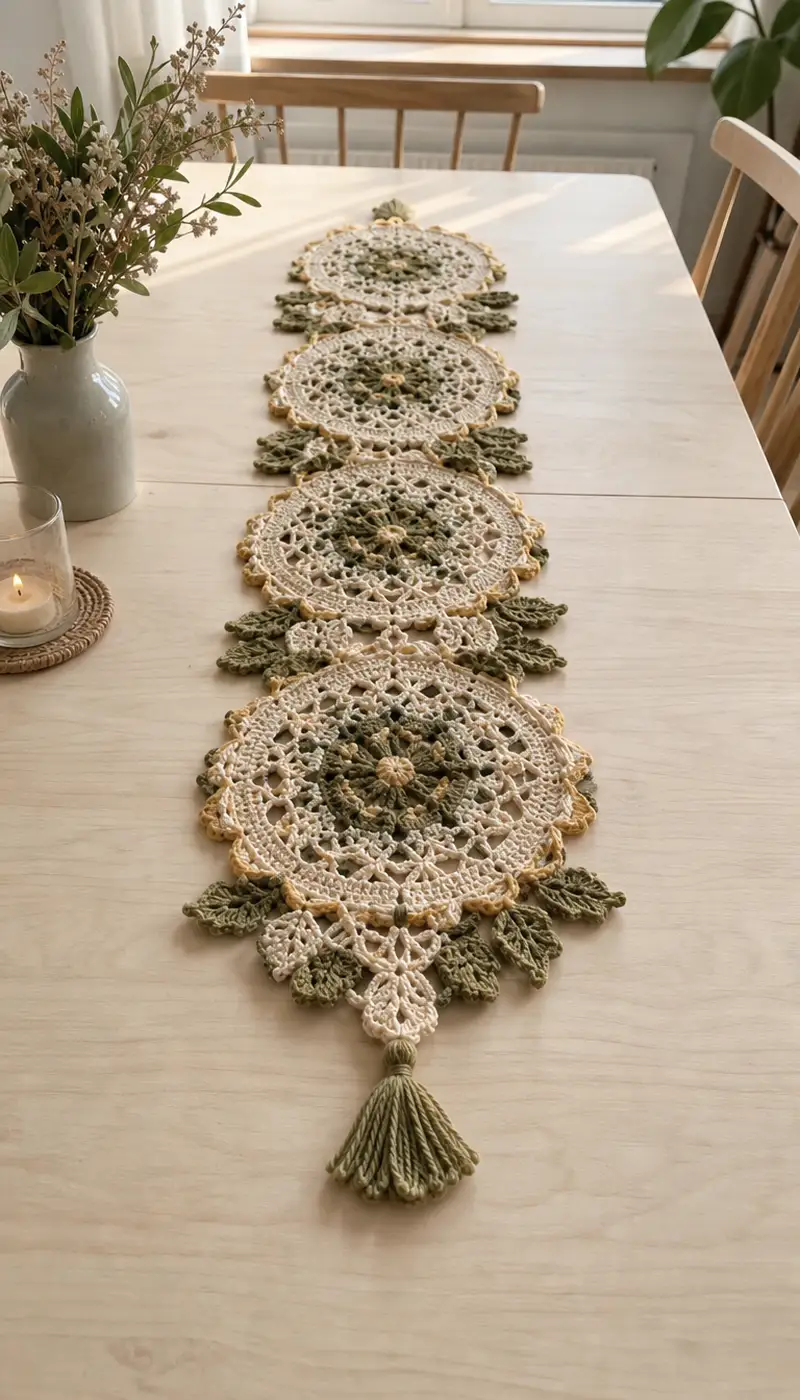
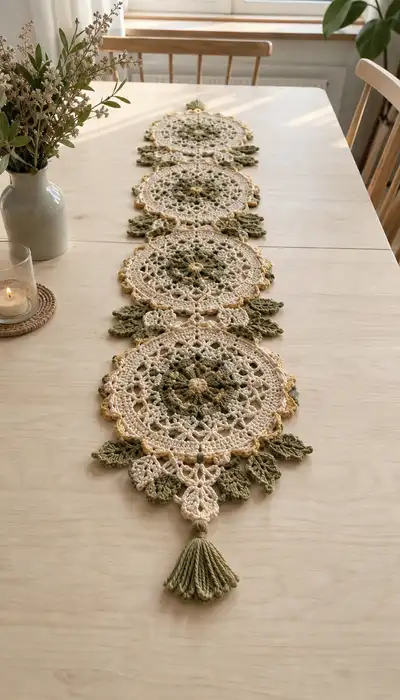
Create a timeless cream and olive leaf medallion table runner with this detailed pattern. The design features four linked lace medallions, delicate leaf clusters, scalloped edges and a luxe tassel at each end. Soft cream, muted olive and warm golden highlights give it a natural, vintage-inspired palette perfect for dining tables or sideboards. Clear round-by-round instructions, joining tips, and finishing notes make this an accessible project for intermediate crocheters.
Progress Tracker
0% Complete
— Materials, Gauge & Notes :
Info :
Gauge is not critical for a decorative runner, but for a similar finished size: 20 dc rows = 10 cm and approximately 108 stitches around round 9 when using 3.5mm hook and worsted cotton. Work tightly enough to keep lace shape but not so tight that the hook struggles through chains. Block all motifs flat before joining.
Info :
Color key used in this pattern: MC = Cream (main rounds and lace), CC1 = Olive (leaf motifs and tassel), CC2 = Golden Yellow (accent rounds/scallops). Carry unused yarn loosely at the back when working short distances between color changes; alternatively fasten off and rejoin for very distinct color edges.
— Center Medallion Motif (make 4) :
Round 1 :
With MC, make a magic ring, ch1, 12 sc in mr. Pull ring closed. (12)
Round 2 :
Inc in each st around (2 sc in each) (24)
Round 3 :
(1 sc, inc) x 12 (36)
Round 4 :
(2 sc, inc) x 12 (48)
Round 5 :
(3 sc, inc) x 12 (60)
Info :
Begin creating small raised petals next using short groups of stitches; keep tension even to ensure round lies flat.
Round 6 :
*Ch3 (counts as dc), sk next st, dc in next st, ch1, dc in same st, ch3, sl st to form a picot-like petal across every 5th st* — work 12 petals spaced evenly by working into the established 60-st anchor points. (60 petal anchors)
Info :
The petal technique above creates tiny clusters sitting on top of the round; use a longer tail to block them open if needed.
Round 7 :
Ch1, sc in each st and in each picot chain space around (maintain 60 sc total by placing 1 sc into each petal anchor and chain spaces) (60)
Round 8 :
Change to CC2 (Info: Change to golden yellow yarn now for a highlight round. Carry MC behind if you prefer subtle floats) — ch3, *2 dc in next st, ch2, sk 2 sts, dc cluster into next st* rep around creating 20 clusters and spaces. (60 cluster anchors)
Round 9 :
With MC, ch1, sc in each st (sc into each dc and ch2 space anchor), keep even (60)
Round 10 :
(4 sc, inc) x 12 (72)
Info :
Round 10 increases the medallion diameter, setting up for open lace rounds — maintain stitch counts and do not twist work.
Round 11 :
Ch5 (counts as tr + ch2), *sk 3 sts, tr into next st, ch2* rep around to form 24 tr arches around the circle (24 arches)
Round 12 :
Into each ch2 arch: (sc, ch3, sc) to create little chain loops; into each tr st: dc. End with sc in last arch. Work counts equivalent to 72 structural anchors.
Round 13 :
Ch1, sc into each stitch and chain-space around to tidy and pull lace into a stable ring (72)
Round 14 :
(5 sc, inc) x 12 (84)
Info :
Now begin a decorative lattice section — we will create alternating chains and crossed stitches to form openwork that resembles the photo’s airy center.
Round 15 :
*Ch6, sk 4 sts, sc in next st, ch3, sc in next st* rep around. This forms 24 chain arches; total structural sc anchors remain 84.
Round 16 :
Into each ch6 arch: (sc, ch4, sc) to create extended loop motifs; into each sc anchor do dc. Keep even tension to ensure arch size matches. Effective stitch anchors: 84.
Round 17 :
Ch1, sc in each st and in chain spaces to close loops and create base for next round (84)
Round 18 :
(6 sc, inc) x 12 (96)
Info :
Switch to CC1 (olive) now for the central leaf-toned cluster. Use Info: Change to olive for textured rounds that will form the visual leaf ring in the photo.
Round 19 :
With CC1, ch1, sc in each st around (96) — this picks up the stitch anchors and lets the olive ring sit on top of the cream base.
Round 20 :
*Ch3, dc cluster (3 dc cluster) in next st, ch2, sl st in same st as cluster base* rep around to create 32 small raised cluster petals set into the olive ring. Maintain 96 anchors for placement.
Round 21 :
With MC, ch1, sc in each st and in each chain space to unify motif (96)
Round 22 :
(7 sc, inc) x 12 (108)
Round 23 :
Ch4, *sk 3 sts, dc in next st, ch2, sk 1, sl st in next* rep around forming 36 arches (108 anchors)
Round 24 :
Into each ch4 arch: (sc, ch5, sc) to create openwork loops; into structural dc: dc. Use MC to keep lace consistent (108)
Round 25 :
Ch1, sc in each st and chain space around to tidy (108)
Round 26 :
(8 sc, inc) x 12 (120)
Round 27 :
Change to CC2 (Info: work golden yellow for a scallop highlight). *Ch2, 3 dc in next st, ch2, sl st in next st* rep around to create 40 small scallops anchored across (120 anchors)
Round 28 :
With MC, ch1, sc into each stitch and each ch2 space to secure scallops and create a tidy face for the next decorative round (120)
Info :
If your medallion now measures approximately 12-13 cm across (unblocked), you are on target. Adjust hook size if necessary to match pictured scale. Block motif flat and pin points of scallops for consistent shape.
Round 29 :
Ch5, *sk 4 sts, picot (sl st, ch3, sl st back into same), ch3, sc in next st* rep around forming 40 airy decorative segments; stabilize by ending with sc in starting anchor (120)
Round 30 :
With MC, sc in each st and in chain spaces to produce a uniform base (120)
Round 31 :
(9 sc, inc) x 12 (132)
Round 32 :
Work a decorative open scallop: *ch7, sl st into anchor, ch3, sl st into next anchor* rep around to create large lacy loops (66 large loops, working two anchors per loop) — counts remain effectively 132 anchors for placement.
Round 33 :
Into each large loop: (sc, ch6, sc) to form firm lacy petals and create a stable outer edge for leaf attachments (132)
Round 34 :
Finish outermost edge with MC: *sl st into loop, ch3, (3 dc, ch3, 3 dc) into same loop to form a shell, sl st into next loop* rep around creating 66 shells; weave ends and block flat.
Info :
Fasten off and weave in ends after blocking. Make 4 medallions total. Ensure centers and scallops are pinned consistently so all medallions match shape and diameter.
— Leaf Motif (Make 10-12, two per join plus ends) :
Round 1 :
With CC1 (olive), ch6, sc in 2nd ch from hook, hdc, dc, tr, dc, hdc, sc to make a long pointed leaf base. (8 stitches including ch beginning)
Round 2 :
Turn to work along opposite side of chain: sc in next 3 loops, hdc in next, dc in next 2, tr in center top, dc down the other side matching the previous stitches; sl st to base to close leaf. Leaves count as 1 small motif.
Round 3 :
Ch1, working into both sides: sc around entire leaf edge placing 2 sc at the widest points to round and shape (approx 16 sc total). (16)
Info :
Use BLO on this round to create a textured midrib: work sc in each st BLO only to leave the outer loop free for later join tucks and a raised seam.
Round 4 :
BLO: (sc in each st BLO) around leaf (16)
Round 5 :
Ch1, switch to MC at the leaf base for a small connecting triangle: sc5 across the base and sl st to form a small base triangle to ease sewing to medallion. Fasten off leaving a 20cm tail for joining.
Info :
Make leaves slightly dense by using smaller hook (3.0mm) if you want pronounced raised texture. Make 12 leaves to match photo spacing (3 between each medallion join, 3 at each terminal end).
— Small Joining Triangle Motif (Make 6 per runner) :
Round 1 :
With MC, ch4, join with sl st into first ch to form small loop. Ch1, 6 sc into loop. (6)
Round 2 :
(1 sc, inc) x 3 (9)
Round 3 :
Ch1, sc across to form a slightly triangular shape: sc9 in round. (9)
Info :
Fasten off leaving long tail for joining. These small motifs sit between medallions and help distribute leaf attachments evenly; make 6 (3 between each medallion pair and 3 at center connections depending on layout).
— Medallion Edge Leaf Attachment and Final Scalloping (per medallion) :
Round 1 :
Info: Arrange one medallion on flat surface. Position three leaf motifs evenly around one medallion edge where two medallions will join. Sew leaf base triangle to outermost shell round using mattress stitch, spacing leaf points evenly between shells.
Round 2 :
Info: When sewing, use tapestry needle and MC tail, pick up the outer shell loops and secure the BLO edge of the leaf to hide seam. Use small, even stitches and pin leaf before sewing.
Round 3 :
Continue around full medallion edge in the same manner attaching leaves along the intended runner sides. Attach 6 leaves per medallion if using photo layout (two clusters of three on each long side) leaving top and bottom joins for connecting motifs.
Info :
Keep leaf orientations alternating so the runner edge appears organic — some leaves pointing slightly outward, some angled toward next medallion.
— Joining Medallions Together :
Round 1 :
Lay two medallions side by side with scalloped edges overlapping slightly. Use long MC tails to whipstitch through outer shell loops and corresponding chain spaces on the neighboring medallion. Join by sewing through both layers with small, even stitches to avoid visible bulk.
Round 2 :
Info: Join across the center of the scallops — position small joining triangle motifs at the center of joined scallops (sew triangle between scallop shells to create a decorative bridge). This both decorates and stabilizes the join.
Round 3 :
After joining two medallions, attach three leaves across the seam on either side using the leaf base triangles. Balance weight and visual composition by spacing leaves evenly from the seam center outward.
Round 4 :
Repeat joining process to add the third medallion, then the fourth, creating a single row runner of four medallions. Fasten off and weave tails securely after each join.
Info :
Test the runner by laying it on your table. Make adjustments by resewing leaves or repositioning triangles before permanently securing — pins and blocking will help guide final placement.
— Decorative Edge Refinement & Final Rounds (Across Entire Runner) :
Round 1 :
Once all medallions are joined and leaves sewn, pick up MC around the full outermost perimeter including scallops and leaf edges. Work 1 sc evenly around edge to tidy joins and hide seam tails; add 2 sc at leaf bases to keep edges flat. Maintain count by working around each distinct edge feature. (Work approx 420-480 sc total across entire runner depending on placement)
Round 2 :
Change to CC2 for small golden picot highlights: *sc in next 2 sts, picot (sl st, ch3, sl st) into next st* rep around outer scallops and leaf tips to add warm highlights. Space picots every 4-6 stitches to echo the photo’s golden touch.
Round 3 :
With MC, work one final decorative rope round: *ch3, sc into next st, ch2* around outer edges to create a slight raised rope detail; sl st to join and fasten off. Weave in ends securely on the back side.
Info :
After the final round, re-block the entire runner flat. Use steam or starch if desired to create a firm, flat finish. Pin scallops and leaf points precisely and leave to dry for 24 hours.
— Tassel Finishing (Make 2) :
Step 1 :
Wrap CC1 yarn around 6 cm wide card or book about 40-60 times depending on desired fullness. Slide loops off carefully and tie a short length of yarn tightly around the top to create the tassel head. Trim bottom loops evenly for a neat finish.
Step 2 :
Attach tassel to runner ends by threading the tied head length through the outer triangular joining motif at each end and secure with a tight knot on the underside. Add a dab of fabric glue inside the knot if you expect heavy use.
Info :
Tassels add weight and balance to the runner — if you prefer a subtler look, make smaller tassels or use a simple looped fringe instead.
— Blocking & Care :
Info :
Block by pinning each medallion into perfect circles and shaping scallops and leaves. Use a spray bottle to mist water or gentle starch sizing to set shape. Allow to dry completely before removing pins. Hand-wash gently in lukewarm water; reshape and air dry flat. Iron on low heat with a cloth cover if needed.
Info :
Store flat or rolled with tissue to avoid creases. Avoid heavy traffic on delicate lace table runners; intended for decorative use under light items.
This medallion table runner pattern brings serene natural tones and elegant lacework to your home. Each motif is a small work of art that, once joined, creates a graceful, continuous pattern perfect for dining tables, sideboards, or a decorative dresser. The combination of airy medallions, textured leaves and subtle golden highlights gives a handcrafted heirloom look. I hope you enjoy piecing together each medallion and seeing the runner come to life stitch by stitch. 🌿🧶