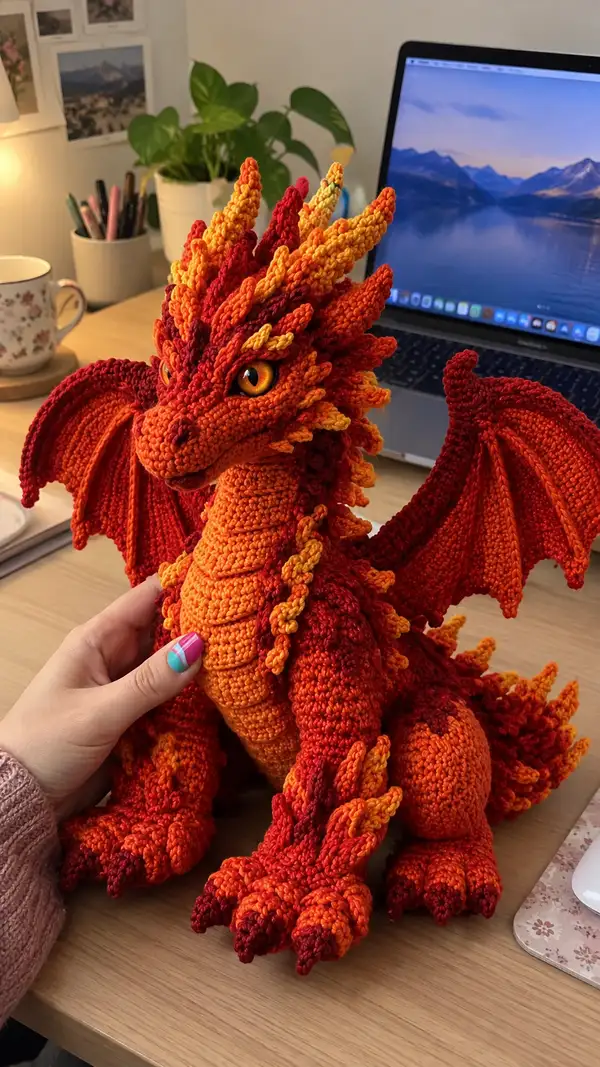
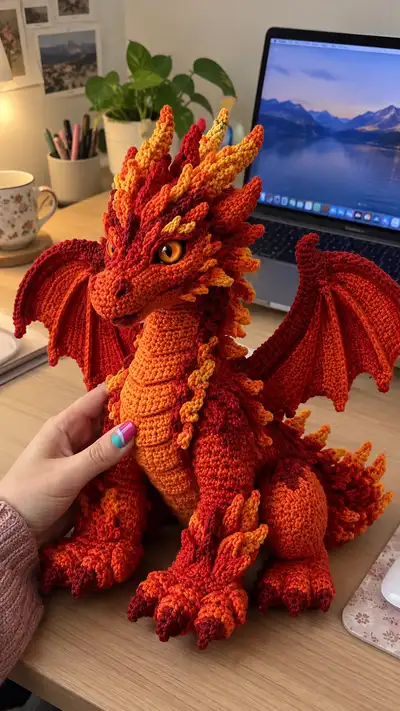
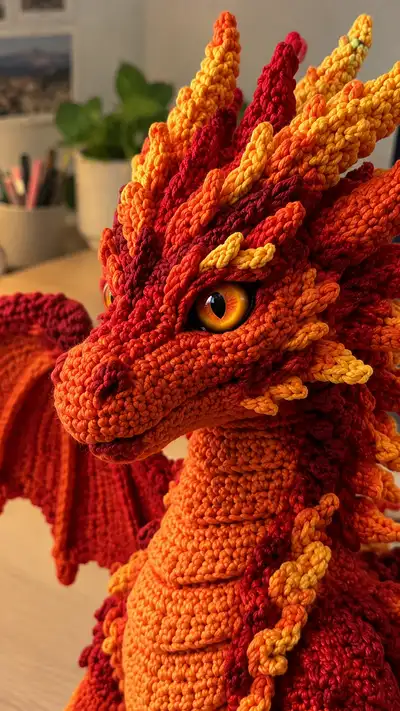
About This Firecrest Dragon Amigurumi Pattern
This detailed pattern recreates the fiery dragon shown: deep red-to-orange variegated body yarn, layered flame-shaped head crest and back spikes, sculpted snout and articulated jaw, and large articulated wings. The dragon has an elongated neck with segmented belly plates, sturdy legs with defined claws, and a full tail with graduated spikes. The dramatic eye placement and contrasting highlight colors make the expression bold and lifelike.
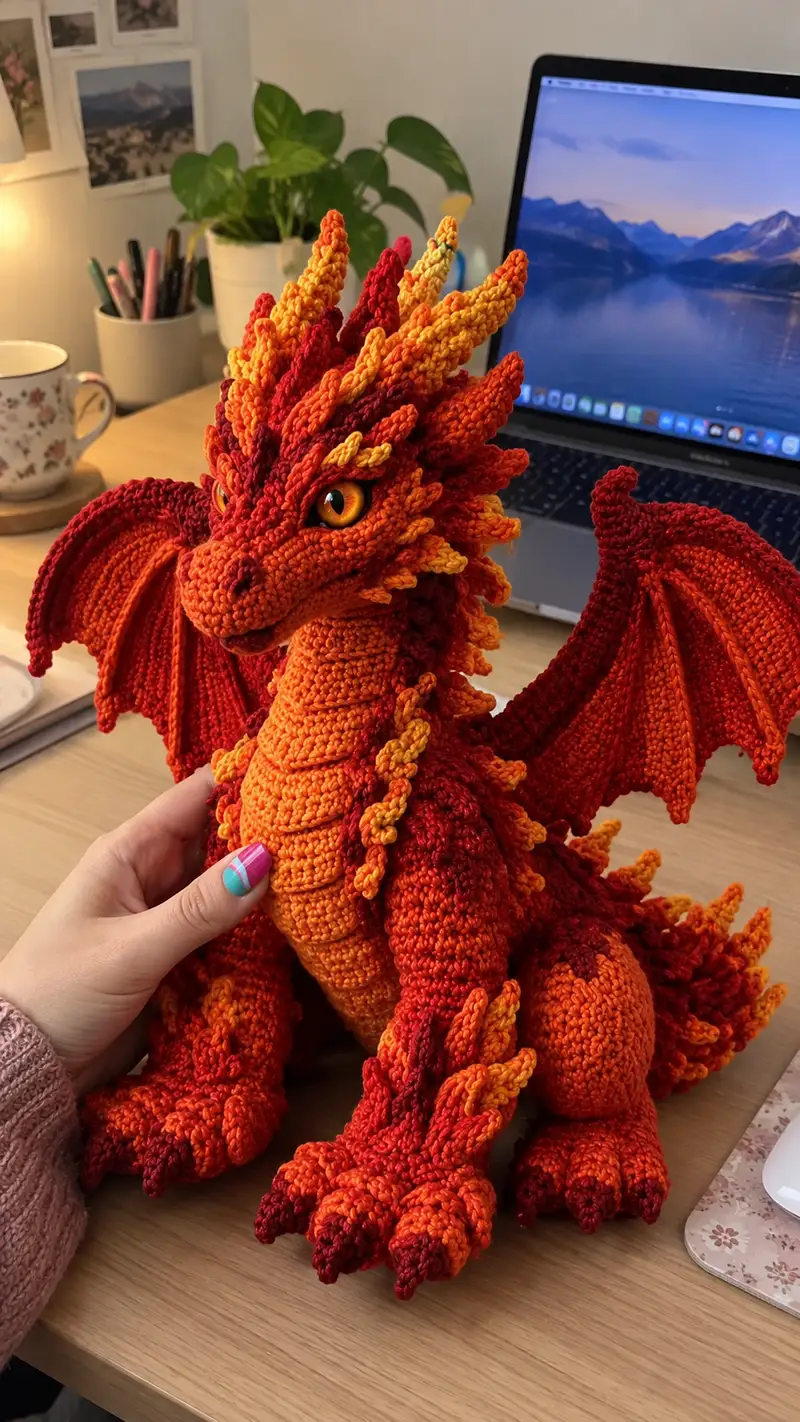
The pattern is modular with separate pieces you crochet then sew together—ideal for stitchers who enjoy assembly and sculptural shaping. Recreate the variegated flame look by layering three warm shades and adding smaller spike pieces for texture.
Why You'll Love This Firecrest Dragon Amigurumi Pattern
I love this pattern because it combines sculptural shaping with playful texture—those flame crests and layered belly plates give the dragon so much character. The color shifts from deep red to bright yellow create movement like real fire, and the wings and claws make it feel poseable and tactile. I enjoy how the separate components let you customize expression and scale placement to make each dragon truly your own.
Switch Things Up
I absolutely loved designing this pattern because the flame crest and layered belly plates are so visually dramatic and fun to make. The structure is modular so you can change one section without remaking the whole creature.
You can customize colors easily: try cooler blues and teals for an 'ice' variant or greens and purples for a forest guardian. If you want a smaller dragon, switch to a DK or sport yarn and a 3.0mm hook; for a larger display piece use bulky yarn and a 4.5mm hook.
I like adding tiny embroidered scars or a different eye color to give personality. You can also mix spike sizes and spacing to make each dragon’s crest unique—no two need look the same, and that’s part of the joy!
Common Mistakes & How to Fix Them
✗ Skipping stitch markers at round starts can cause misaligned features and uneven shaping; always mark your first stitch of each round
✗ Inconsistent tension between rounds creates lumpy or uneven surfaces; practice maintaining steady, even tension throughout the entire project
✗ Not stuffing gradually as you work causes difficulty reaching inside later; stuff sections as you complete them for best results
✗ Placing safety eyes after finishing stuffing makes repositioning impossible; place and secure eyes before fully stuffing the head
✗ Sewing pieces without pinning first can result in crooked attachments; pin and check symmetry before stitching permanently
✗ Using a hook too large for amigurumi makes stuffing show through; choose a slightly smaller hook than yarn label suggests
✗ Forgetting to weave in long tails for strong joins leads to loose seams over time; leave long tails for sewing and weave securely
✗ Not alternating spike sizes and positions can make the crest look uniform and unnatural; vary sizes and spacing for organic results