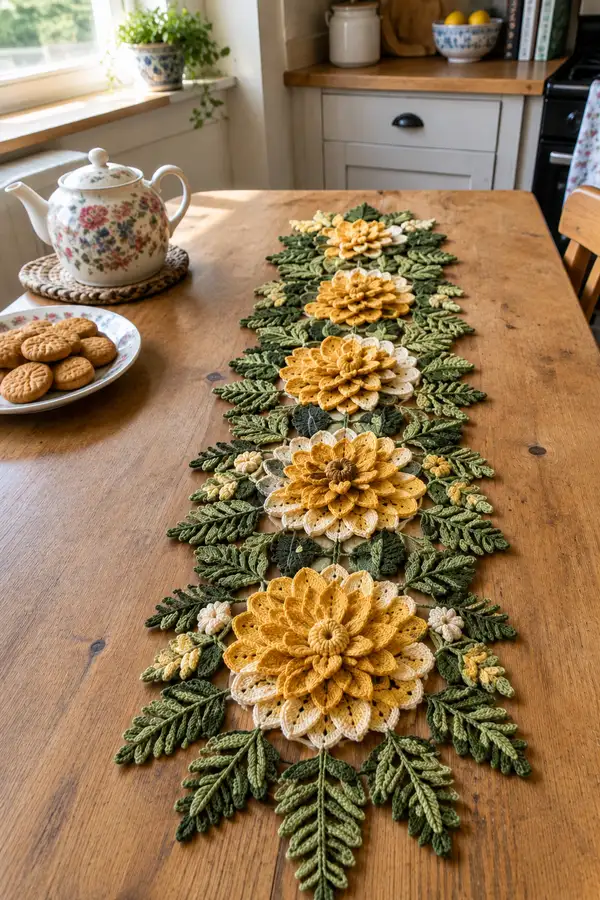
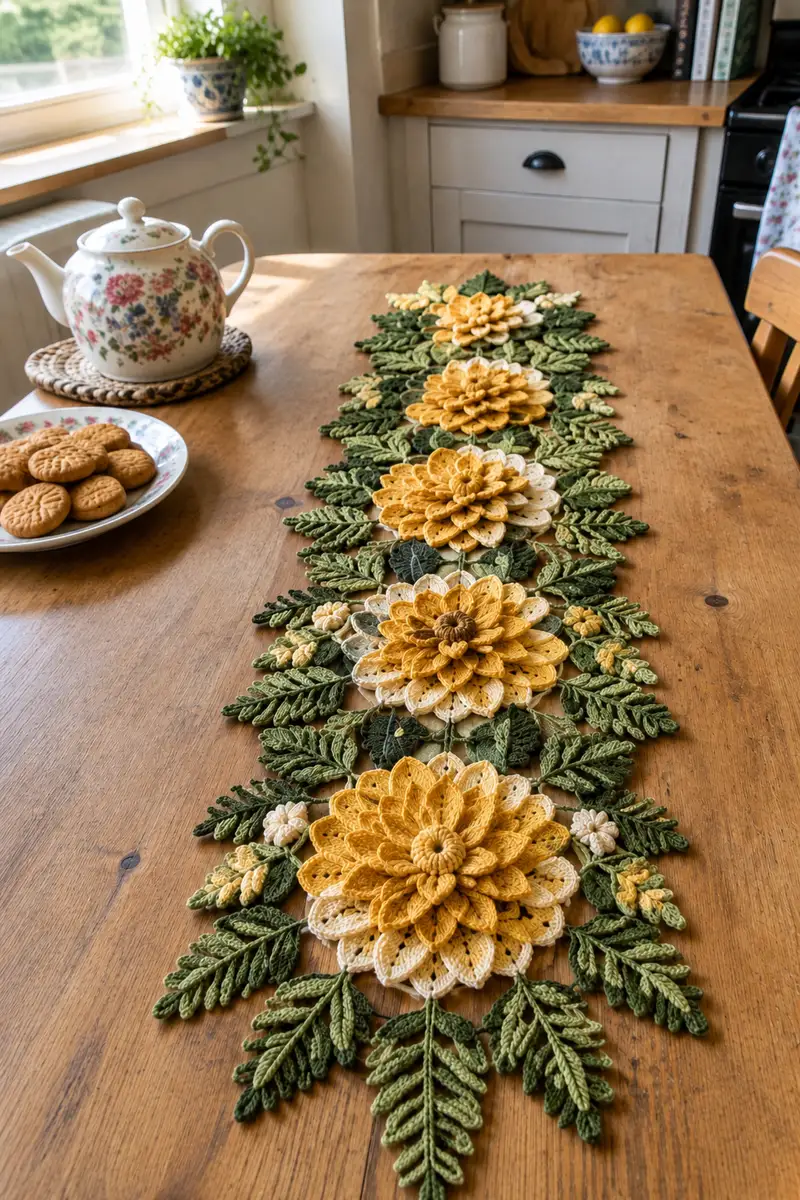
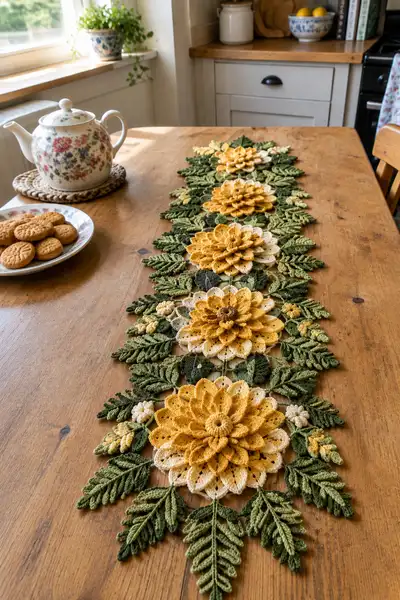
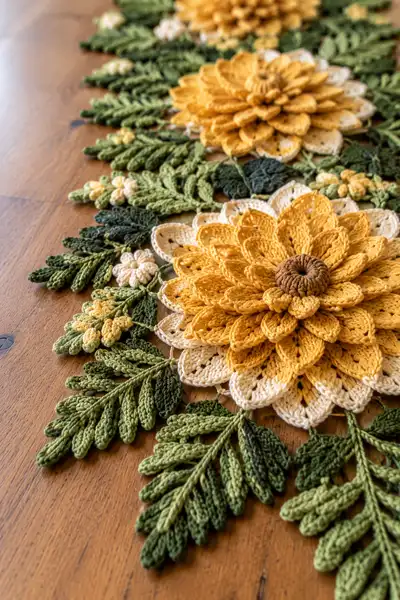
Create a stunning Golden Dahlia and Fern table runner made from separate floral and leafy motifs joined into a long, elegant centerpiece. This pattern features layered dahlia-style petals in warm mustard and cream tones, textured fern fronds and small buds in three greens—perfect for a nature-inspired table display. Detailed instructions guide you through all components and assembly for a polished finished runner.
Progress Tracker
0% Complete
— Large Dahlia Motif : (complete flower assembly)
Info :
Work each Dahlia motif separately. Use Color G (brown) for the very small center, Color A (mustard) for main petals, Color B (cream) for underlayer petals and Color C sparingly for highlights. Adjust hook to 3.0mm for crisp petal edges or 3.5mm for slightly softer petals.
Center - Round 1 :
Make a magic ring, 6 sc into ring (6)
Round 3 :
(1 sc, inc) x 6 (18)
Round 4 :
(2 sc, inc) x 6 (24)
Round 5 :
(3 sc, inc) x 6 (30)
Info :
Change to Color A (mustard) using last yarn-over of the last sc in Round 5 to hide color join under subsequent petals. The brown core will sit slightly recessed when petals are worked around it.
Round 6 :
1 sc in each st (30)
Round 7 :
1 sc in each st (30)
Round 8 :
Work 30 evenly spaced single crochet bumps: (ch3, sl st in next st) x 10 across to create 10 anchor points for simple petal layers OR see petal anchor option below (30)
Info :
We created 30 stitches; we will build three sets of petal anchors: 10 large petals, 10 medium, 10 small by working petals into grouped spaces. Mark every third stitch if you want three tiers of 10 petals each (i.e., stitches 1,4,7 etc.).
Petal Layer 1 - Base Petals (lowest layer) - Round 9 :
*(Sk 1 st, in next st work: ch2, (puff stitch made by drawing loop through st 6 times, yarn over and pull through all loops), ch2, sl st in same st) - This creates a single puff petal anchor* Repeat across 10 anchor points (10 petals)
Round 10 :
Work into each puff petal base: sl st into base, ch2, 3 dc, ch2, sl st into base (creates rounded petal edge) x10 (10 rounded petals)
Info :
When working puff stitches keep consistent tension—draw the loops evenly and tug gently before closing the puff so each petal has the same height. Use a smaller hook for the puff if desired to make petals firm.
Round 11 :
Carousel round to define underlayer: *ch1, sc in space between petal bases, ch3, sc in next space* x 10 (creates 10 small chain loops for second layer attachment)
Petal Layer 2 - Middle petals - Round 12 :
Into each chain-3 loop: (sc, hdc, 3 dc, hdc, sc) - work the petal shell x10 (10 petals)
Round 13 :
Join behind each petal base with sl st and then work a short petal ridge: *(fpdc around base stitch, sl st) x2* across to create a textured underside for stability (20 actions total, no total stitch count)
Info :
If adding a cream underlayer, work Layer 2 in Color B for contrast, then switch back to Color A for Layer 3. Carry the unused color loosely behind petals or weave in later.
Petal Layer 3 - Upper lily petals - Round 14 :
Mark 10 evenly spaced points around the motif - into each point work: ch2, (puff stitch using 7 loops), ch2, sl st to form tall petal base x10 (10 tall bases)
Round 15 :
In each tall base make a sculpted petal: sl st into base, ch2, (2 dc, tr, tr, 2 dc), ch2, sl st (10 sculpted petals)
Round 16 :
Edge round for top petals: *sc evenly around each top petal working 8 sc per petal shell* x10 (80 sc in total around top layer petals counted as grouped shells)
Info :
Counting by petal shells keeps petal spacing uniform. If you prefer more petals, you can increase the initial anchor points from 10 to 12—adjust subsequent rounds proportionally.
Petal Layer 4 - Finishing petals and shaping - Round 17 :
Working in Color A, make an accent row: *ch1, sc around tip of each petal (work through both loops) then sc into space between petals* to tidy and slightly cup petals (approx 120 actions total depending on petal density)
Round 18 :
Surface shaping round: *working behind top petals, sc into back loops only around previous rounds to create a ridge that holds petals upright* (approx 60-80 sc depending on layout)
Info :
At this stage you can add a tiny picot edge or slight blocking: pin petals gently with steam from a distance to set the cup. Do not press directly; cotton can flatten if over-blocked.
Upper Center Cap - Round 19 :
Switch to Color G (brown). Make a small raised center: in a magic ring make 8 sc (8)
Round 20 :
*(1 sc, inc) x 4 (12) then sl st to first st and leave long tail for sewing. Coil this cap slightly and sew to center, tucking the brown core into the petal bases
Info :
Weave the long tail through the back loops of the round 5/6 area to anchor the cap, then sew onto the center firmly. This helps petals sit naturally around the core.
— Small Dahlia Motif (smaller variant used between large flowers) :
Round 1 :
Magic ring, 6 sc (6)
Round 3 :
(1 sc, inc) x 6 (18)
Round 4 :
Change to Color B, 1 sc in each st (18)
Round 5 :
*ch2, puff stitch in next st, ch2, sl st in same st* repeat 6 times to create 6 small petals (6)
Round 6 :
Work into each puff base: sl st, ch1, 5 dc cluster, sl st (6 small round petals)
Info :
This small motif acts as filler between main dahlias. Make as many as needed to match runner spacing—typically 6 small motifs for the runner in the images.
— Leaf Module : (make many - small single leaf)
Round 1 :
With Color D (olive), ch12, sl st to form a loop (12 ch)
Round 2 :
Working along one side of chain: sc in 2nd ch from hook, hdc, 3 dc, hdc, sc, (turn to other side of chain) sc, hdc, 3 dc, hdc, sc (structure produces a mirror leaf) - do not join; leave final loop to fasten off (approx 14-16 st per leaf)
Info :
Use BLO on Round 2 first pass to create a midrib later by working a central row of sc in the chain foundation. Adjust chain length for larger or smaller leaves.
Round 3 :
Optional texture row: with FLO work sc around leaf edge working 2 sc in each corner to create a slight ruffle (approx 18 sc)
Round 4 :
Fasten off leaving long tail for sewing. Make leaves in Color D, Color E and Color F to vary tones. For each large dahlia motif make 8-12 leaf modules to achieve the dense look.
Info :
Pin leaves in position around each flower before sewing; layering darker greens nearest the flower and lighter greens outward gives depth similar to the photo.
— Fern Frond Module : (long layered fern branch)
Round 1 :
With Color D, ch30 to create a central stem base (30 ch)
Round 2 :
Row along chain: sc in 2nd ch from hook, hdc in next, dc in next, hdc in next, sc in next, skip 1 ch, attach a small leaf sprig (see sprig), repeat pattern down stem to create paired leaf bases (approx 14 pairs depending on stem length)
Info :
Each sprig will be a small 6-ch chain worked into with sc/hdc to create a teardrop leaf; attach multiple sprigs down the stem alternating sides to mimic fern structure. Use stitch markers to mark the center of the stem to keep symmetry.
Sprig - Round 1 :
Ch6, sl st back into 2nd ch forming small loop
Sprig - Round 2 :
Work around: sc, hdc, 3 dc, hdc, sc - fasten off leaving tail to sew to stem (approx 8-9 st)
Frond - Round 3 :
Sew sprigs to ch stem alternating left/right, spacing evenly. After attaching sprigs, work a final row of sc along stem to firm up base (approx 30 sc)
Info :
For a denser runner add a second layer of smaller sprigs (use Color E) interspersed between the primary sprigs to mimic the multi-tonal depth of the photo.
— Small Bud Cluster Module :
Round 1 :
With Color C ch4, join to form ring, make 8 sc into ring (8)
Round 2 :
*(Ch2, puff in same st, sl st) x8 to make small rounded buds across 8 positions (8)
Round 3 :
Fasten off leave tail for sewing. Group 3-4 buds on a short chain and sew them as small clusters near leaf junctions to echo the photo's tiny yellow clusters.
Info :
Make multiple bud clusters and place them asymmetrically around each flower for an organic look; typically 3-5 clusters per large motif are used.
— Joining Chain and Connector Stitches :
Round 1 :
Using Color D, ch10 to begin connector strand for linking motifs (10 ch)
Round 2 :
Work back along chain with sc in each ch, ch1 at ends to create a narrow cord (10 sc)
Round 3 :
Where motifs meet, use sl st to join connector into the outermost petals or leaf tips of each motif. Use a decorative picot or small loop (ch3, sl st) to create visual interest between motifs.
Info :
Vary connector lengths to stagger motifs visually—short connectors produce tight clusters, longer connectors give an airy runner. The photographed runner uses short connectors between flower centers and longer leaf bridges toward the ends.
— Assembly & Layout Prep :
Info :
Layout sequence for the photographed runner: large dahlia, leaf clusters, small dahlia, leaf clusters, large dahlia, repeat for total length shown (4 large dahlias and 3 small between them). Adjust number of modules to fit your table.
Step :
Pin all motifs onto a blocking mat or flat surface using the desired layout. Aim to overlap leaves slightly under petals to give the illusion of a continuous garland.
Step :
Baste motifs together with long running stitch using yarn tails before final sewing. This allows you to reposition easily. Ensure petals are not folded under when sewing to keep 3D texture.
Info :
For final joining use an invisible mattress stitch or small whip stitch through back loops of adjacent motif rounds to produce a nearly invisible seam. Reinforce high-traffic junctions with two passes of stitching.
— Finishing & Edging :
Round 1 :
Once motifs are sewn together, create a decorative edge by working Color F around the entire runner: *sc evenly around exposed edges, picot every 8 sc* to create a subtle border (total sc depends on final runner perimeter)
Round 2 :
Fasten off and weave in all tails carefully. Use blocking pins to shape petals and leaf tips into final flowing layout and allow to dry completely if wet-blocked.
Info :
Use light steam from a distance to encourage petal cupping. Avoid over-stretching leaves; the texture aims to look natural rather than stiff.
— Gauge & Sizes :
Info :
Using DK cotton and 3.5mm hook, each large Dahlia motif measures approximately 18-20cm (7-8 inches) across when petals are fluffed; small dahlia motifs are approx 10-12cm (4-5 inches). Full runner length will depend on number of motifs—photo shows approx 4 large + 3 small modules totaling 120-140cm (47-55 inches).
Info :
Adjust hook and yarn weight to scale motifs up or down. Thicker yarn will produce larger, softer petals; thinner yarn produces crisper, flatter petals and more delicate leaves.
This Golden Dahlia and Fern table runner brings a touch of botanical elegance to any dining space. Each motif is a little piece of textile sculpture—layered petals, sculpted centers and multi-tonal leaves combine for a luminous, handcrafted table statement. Work at your own pace, savoring the shaping and the way each module grows into the next. 🧶🌼 Enjoy arranging and rearranging the motifs until you find your perfect composition. Happy stitching and may your table bloom! 🌿✨