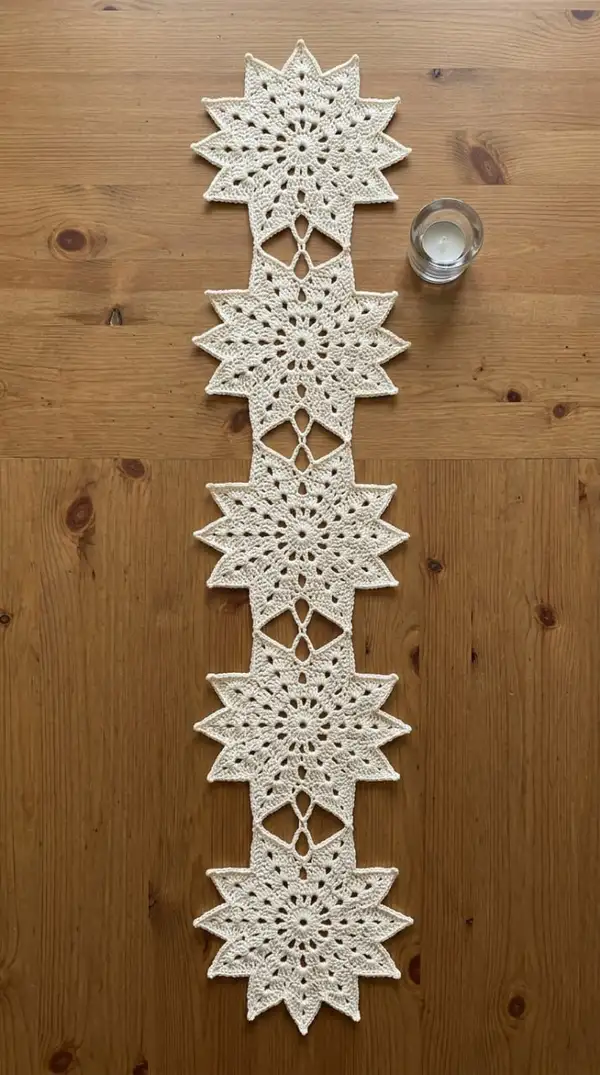
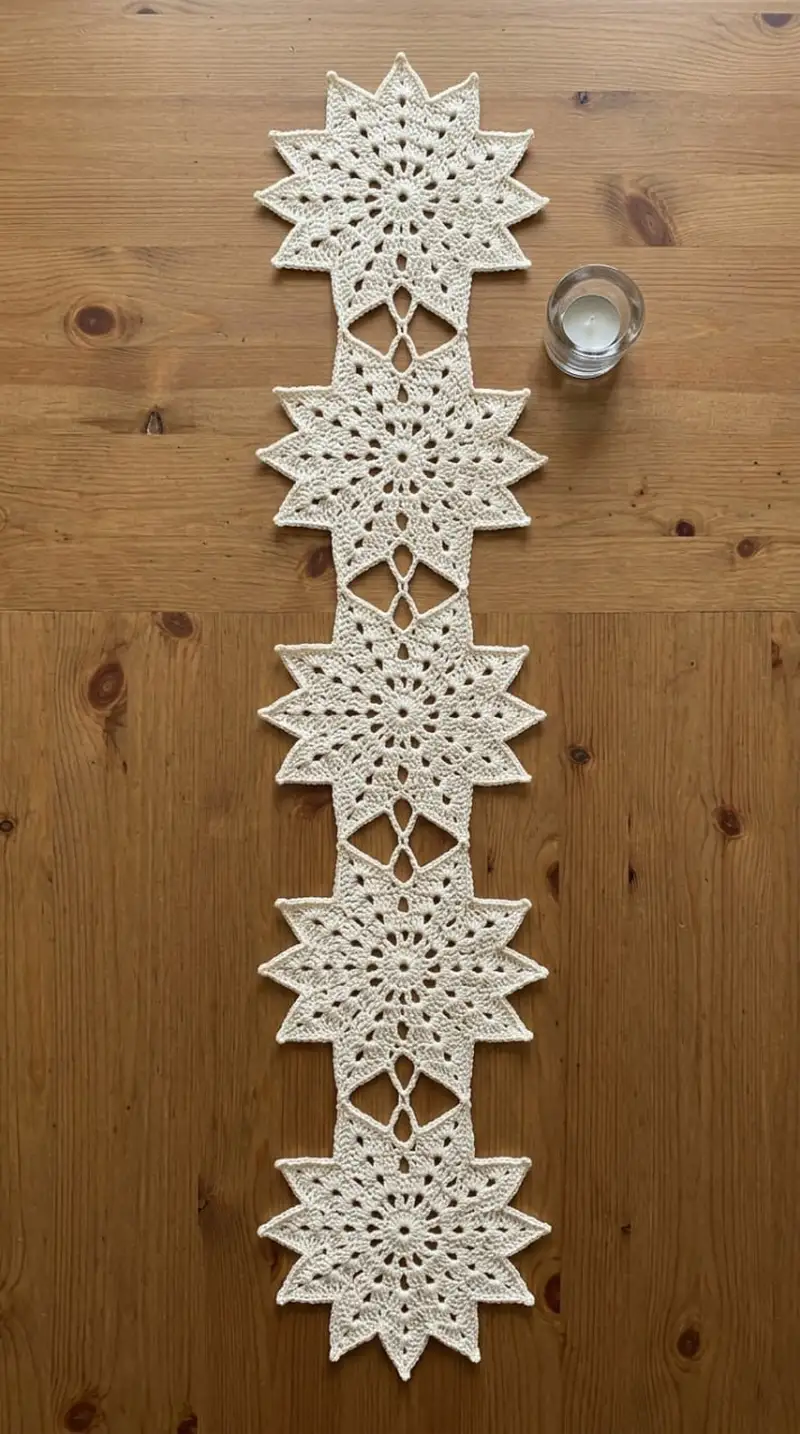
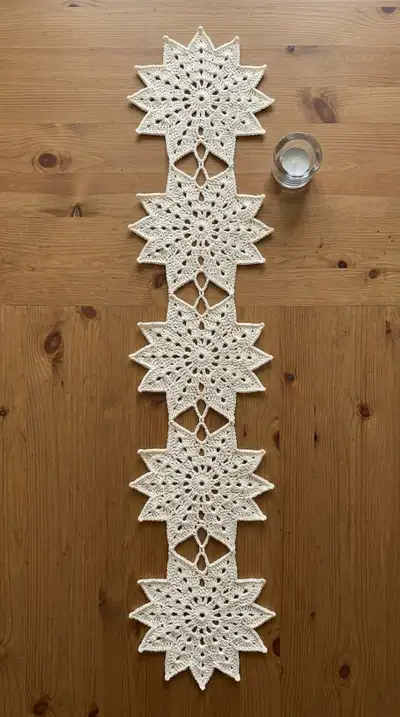
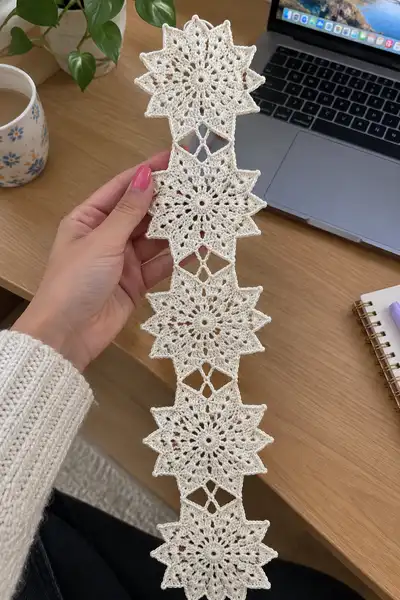
Create an elegant Ivory Snowflake Star Runner made of linked twelve-point star motifs. This delicate table runner features lacy star motifs joined by diamond-shaped connectors for a continuous, vintage-inspired look. Worked in a soft ivory cotton/DK yarn, the runner is lightweight, flat, and perfect for seasonal tables, console tops, or windowsills. The pattern uses simple lace stitches, join-as-you-go options, and a neat picot-edged border to finish.
Progress Tracker
0% Complete
— Overview :
Info :
This runner is made from five identical twelve-point star snowflake motifs joined by four diamond-shaped connector panels. The pattern below lists every round for one motif and continues motif sections as separate sets (Motif 1 through Motif 5) with sequential round numbering so you can track progress. After making motifs, follow join and edging sections to assemble and finish. Gauge is not critical, but using a DK cotton yarn with a 3.5mm hook gives crisp points similar to the sample photographed.
— Motif (Star Snowflake) - Motif 1 :
Round 1 :
Work a magic ring, ch3 (counts as dc), 11 dc into ring, pull ring closed and join with sl st to top of ch3 (12 dc total)
Round 2 :
Ch1, *sc in next dc, ch3; rep from * around to create 12 ch-3 loops, join with sl st to first sc (12 sc + 12 ch-3 loops)
Info :
Work into chain spaces to form initial petals. Keep tension even to keep petals uniform. Place a stitch marker in the beginning stitch of this round to help counting.
Round 3 :
*(sc, ch2, 3 dc, ch2, sc) into each ch-3 loop; rep from * 12 times. Join with sl st to first sc (12 petal clusters; counts: 12 sc at base plus the dc clusters within petals)
Round 4 :
Ch1, *sc in next sc (base of petal), ch5; rep from * around making 12 ch-5 arches, join with sl st to first sc (12 sc and 12 ch-5 loops)
Info :
These ch-5 arches will form the outer points. Work evenly into each arch to build height and a sharp tip.
Round 5 :
*(sc, hdc, 7 dc, hdc, sc) into each ch-5 arch; rep from * 12 times. Join with sl st to first sc (12 point clusters; main stitches per point include the 7 dc peak)
Round 6 :
Ch1, *sc in next sc, ch3, sl st into center dc of previous 7-dc cluster to make a small peak anchor; rep from * around; join with sl st to first sc (12 small picot arches formed)
Info :
Round 7 tightens and shapes the tips with picots. If you prefer extra crisp points, use a slightly smaller hook for this round only to pull the points in.
Round 7 :
*(sl st over center dc, ch4, picot (ch3, sl st in last ch made), sc in next sc) rep around to accent tips, join with sl st to first sl st (decorative picot detail on 12 points)
Round 8 :
Ch1, *sc around the base of each point across the back loops to create a tidy underside; place 5 sc between each point evenly; rep around (approx 60 sc) and join with sl st to first sc (count will equal around 60 sc depending on tension)
Info :
Round 9 builds the inner lace ring to add a second row of decorative holes. Work into spaces between points to create delicate chain diamonds that will later help with connector joins.
Round 9 :
*Ch3, sk 2 sc, sl st in next sc; rep around creating 12 small chain triangles; join with sl st (12 chain arches forming inner lace)
Round 10 :
Ch1, *sc in sl st, ch4, sc in next sl st; rep around to lengthen inner diamonds; join with sl st (12 elongated diamond spaces)
Info :
At this stage the star motif is taking shape. Check point symmetry regularly; you can pin out the motif and steam-block lightly to check alignment before proceeding.
Round 11 :
*Into each ch-4 space work (sc, ch2, sc) to box the inner diamonds; rep around to make 12 boxed diamond spaces; join with sl st (12 boxed diamonds)
Round 12 :
Ch1, *sc around the top of each boxed diamond and across 4 sc on the inner ring to create a uniform ring of 48 sc total; rep evenly around and join with sl st (approx 48 sc)
Info :
If you want a slightly more open motif, replace Round 12 with ch-3 arches. For the photographed runner, the tighter Round 12 and 13 create sturdier motifs that lay flat.
Round 13 :
*Working into spaces between povots, ch6, sl st into base to create long arches between points; rep 12 times to make 12 long chain arches; join with sl st (12 long arches)
Round 14 :
Ch1, *(sc, ch3, sc) into each ch-6 arch; rep around to make a ring of 12 raised loops; join with sl st (12 small loop clusters)
Info :
Round 15 strengthens the tip edges before final shaping. Make sure each point is symmetrical; if a point is narrow, add an extra dc in the outer peak as you work Round 15 to balance.
Round 15 :
*Around each outer point, work (sc, hdc, 3 dc, hdc, sc) into previous point top to reinforce tip; rep for all 12 points; join with sl st (12 reinforced points)
Round 16 :
Ch1, *sc evenly around outer tip edges placing 6 sc between each point; rep around to create a tidy edge (approx 72 sc total); join with sl st to first sc
Info :
Final decorative round: picots on each point will create crisp star tips. If you prefer a softer look, do a single sc round instead of picots.
Round 17 :
*At the center of each point: (sc, ch3, sl st in first ch to form picot, then 5 sc across the next arc); rep around to add 12 picot accents; join with sl st
Info :
Fasten off and weave in ends neatly. Block the motif to a 22-24cm diameter depending on yarn and tension. Use pins to shape each point to be sharp and even. Allow to dry thoroughly before joining.
— Motif (Star Snowflake) - Motif 2 :
Round 19 :
Repeat Rounds 1-18 exactly as Motif 1 to create Motif 2. Block and set aside (these rounds correspond to the same sequence listed previously but numbered sequentially for tracking). Ensure all five motifs are consistent in size before joining.
Info :
When repeating, work with the same tension and blocking technique. Lay motifs side-by-side as you finish them to check consistent diameters between all motifs.
— Motif (Star Snowflake) - Motif 3 :
Round 37 :
Repeat Rounds 1-18 for Motif 3. Numbering continues to help you document each finished motif. Block flat and ensure points are even—trim any long tails and weave them in on the wrong side.
Info :
If one motif comes out slightly smaller, you can re-block it slightly larger by stretching gently while wet; however consistent hook size is the best prevention.
— Motif (Star Snowflake) - Motif 4 :
Round 55 :
Repeat Rounds 1-18 for Motif 4. Block and check gauge with previous motifs. If you prefer a longer runner, continue making additional motifs and follow the join instructions to add them in sequence.
— Motif (Star Snowflake) - Motif 5 :
Round 73 :
Repeat Rounds 1-18 for Motif 5. Block and arrange all five motifs in a linear sequence to prepare for joining. The sample runner uses five motifs with four diamond connectors between them.
Info :
Before joining, lay motifs flat on your blocking board in final order. Use pins to hold them and check where the inner diamond spaces align from motif to motif so connectors match cleanly.
— Connector Panel (Diamond Join) :
Info :
Connector panels are worked either as separate little diamond-shaped motifs and sewn in, or worked as join-as-you-go rounds bridging between motifs on the final round. Below is the join-as-you-go method that creates clean, nearly invisible joins.
Round 91 :
Identify the boxed diamond space on the bottom of Motif A (the top of Motif 1) and the top boxed diamond space on Motif B (the next motif down). With right sides up on both motifs, hold spaces aligned. From the edge of Motif A, attach yarn with sl st into the base of the boxed diamond (wrong side out), ch1.
Round 92 :
Work into the boxed diamond of Motif A: sc, ch3, sc to make half of a diamond; do not fasten off. Carry yarn across to align with Motif B boxed diamond and sl st into corresponding sc of Motif B to join. Ch3 then sl st back to Motif A to anchor. This forms the first chain bridge.
Round 93 :
Repeat the chain bridge twice more forming three small loops between the motifs (these create the open diamond you see in the photos). After making three bridges, fasten off and weave ends. Count: each connector uses 3 ch-x loops; spacing will be equal when motifs are blocked correctly.
Info :
If you prefer a sewn join, use matching yarn and whip stitch the motifs together through the inner boxed diamonds, spacing stitches evenly and invisibly on the wrong side.
Round 95 :
Repeat Rounds 91-93 to join Motif 1 to Motif 2, Motif 2 to Motif 3, Motif 3 to Motif 4, and Motif 4 to Motif 5. Four connectors will be made total. Check symmetry as you go and pin motifs lightly after each join.
— Alternate Join (Sewn Connector) :
Info :
For a sturdier but nearly invisible join, place motifs right sides together and use a yarn needle and matching yarn to sew through both boxed diamond backing loops with small whip stitches. Lock ends and weave in on the wrong side.
— Edging & Final Picot Trim :
Round 97 :
With assembled runner laid flat and all joins completed, pick up yarn at the top point of the first star. Attach yarn on the wrong side with sl st and work a neat edging around the entire runner to unify motifs.
Round 98 :
*Along outer edges of star points: (sc in next 3 stitches, picot (ch3, sl st in top ch), sc in next 3 stitches) at each point tip; rep around all outer edges of all five motifs and along connectors where a tidy edge is needed. Join with sl st at end.
Info :
This picot trim sharpens all points and unifies the runner visually. If you prefer a subtler edge, replace picots with (sc x7) around the point for a rounded finish.
Round 99 :
Work 1 sc evenly across connector edges and inside diamond holes to tidy the joins (approx 2-4 sc per connector side); fasten off and weave ends neatly.
Info :
Weave all ends to the wrong side, then block the entire runner pinned to shape. Use a spray bottle to mist evenly and allow to dry fully. For stiffened display, apply a spray starch lightly following manufacturer's instructions.
— Blocking & Finishing :
Info :
Blocking is essential for lace definition—pin each point to a foam board to the desired distance, ensuring symmetry. Measure across the runner width to ensure uniform points on all motifs. Allow to dry fully (overnight) before removing pins.
Round 102 :
Optional: For a crisper finish, steam lightly with an iron held above the piece (do not press), or use a diluted fabric starch spray while blocked. Avoid excess heat on cotton to prevent flattening of subtle lace textures.
Round 103 :
Final inspection: Trim any stray fibers and tuck all ends under stitches with a yarn needle. Lay runner flat on your surface to check joins; if any gaps appear, add a few discreet slip stitches on the wrong side to secure.
Info :
If you want to lengthen the runner, continue making motifs and repeating connector rounds; for a table centerpiece, use 3 motifs, for a console runner use 5 motifs as shown.
This Ivory Snowflake Star Runner blends delicate lacework with a timeless star motif, perfect for adding a handcrafted accent to any table. Each linked star feels like a little vintage medallion, and the join-as-you-go method keeps the runner neat and sturdy. Blocked points, soft ivory cotton, and a crisp picot trim make it a charming centerpiece for holidays or everyday decor. 🧶✨ Give your table seasonal sparkle or leave it out year-round for a cozy, classic look. 🌟