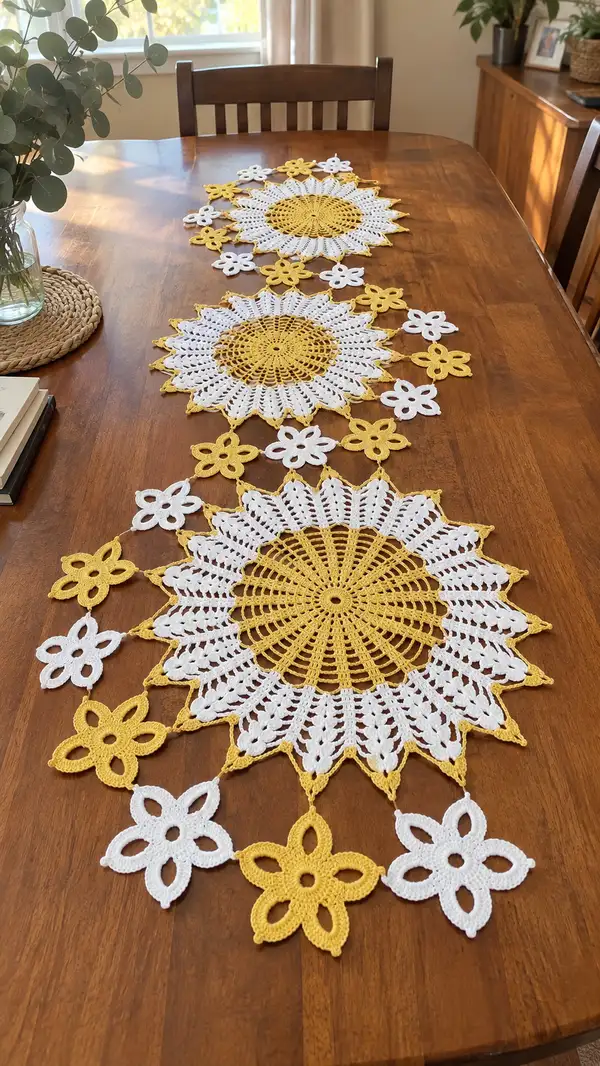
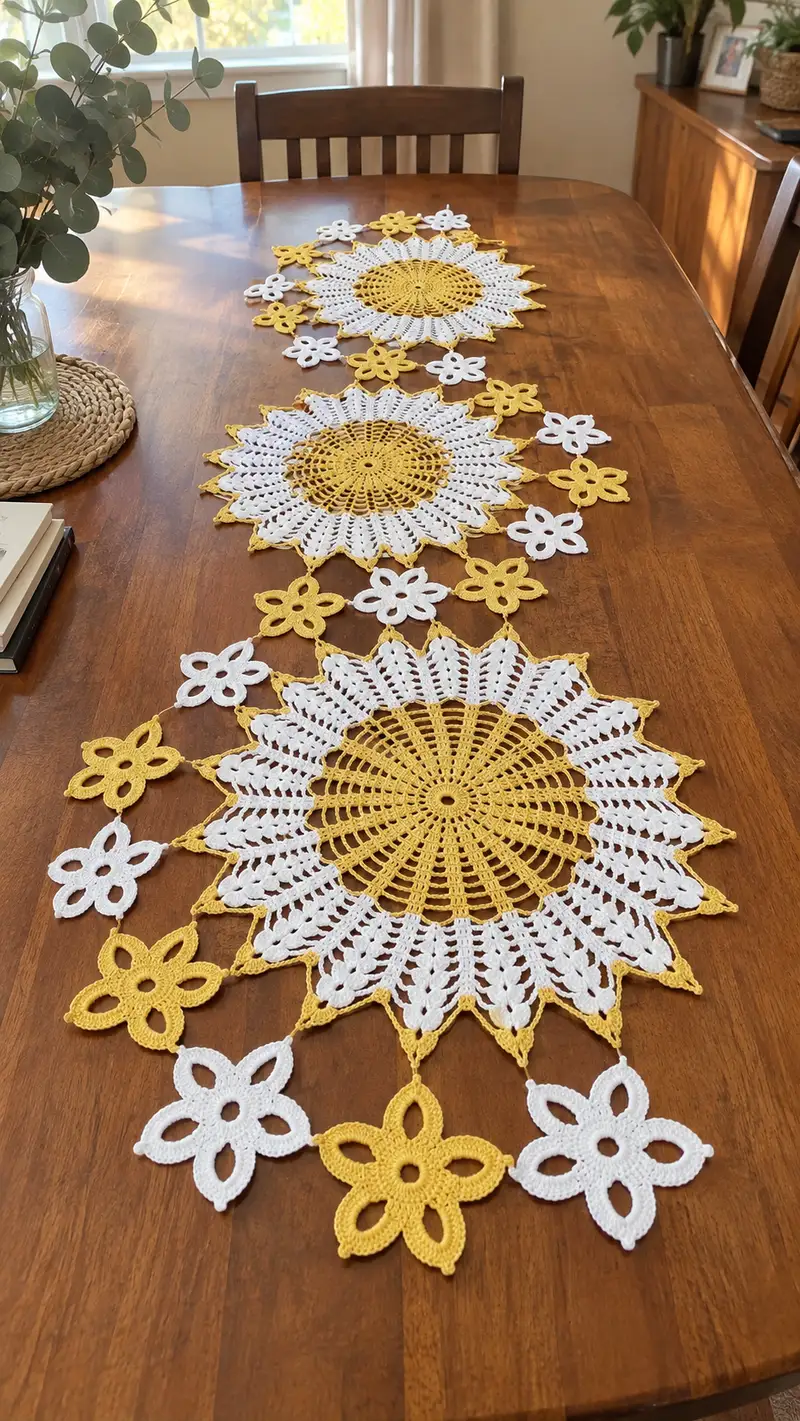
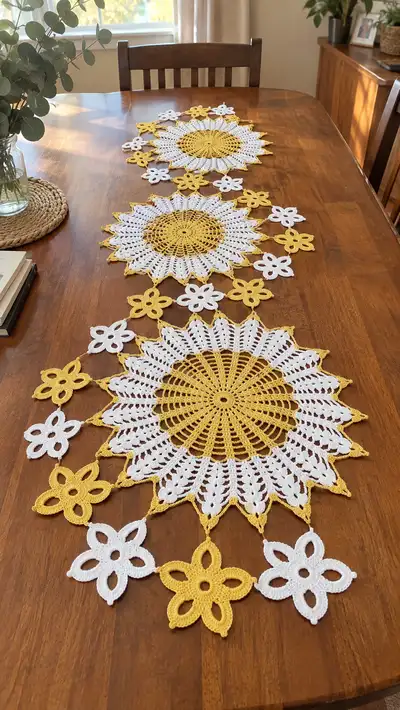
A bright, airy table runner made from three large sunflower doilies joined by delicate five-petal flower links. Worked in sunny mustard yellow and crisp white cotton, this runner adds a handmade, vintage-modern touch to any dining table. The pattern includes full round-by-round instructions for the large sunflower motifs, the small connecting flowers, detailed joining chains, and finishing edging. Perfect for gifting or giving your home a cheerful focal point.
Progress Tracker
0% Complete
— Notes & Gauge :
Info :
Gauge is not strict for this decorative runner, but for consistent size work a 10 cm (4") circle in double crochet rounds should measure approximately 14-16 dc rounds across the initial centre when using sport/DK cotton and 3.5 mm hook. Keep tension steady and block motifs after finishing for uniform shape.
Info :
Each large sunflower motif is worked flat in joined rounds, alternating mustard yellow and white. The small five-petal flowers are crocheted flat and used as connectors. Read through the entire pattern first, then work swatches to confirm stitch density and desired size.
— Large Sunflower Motif (Make 3) :
Round 1 :
Using mustard yellow, 8 sc in magic ring (8)
Round 2 :
Inc in each st around (16)
Round 3 :
(1 sc, inc) x 8 (24)
Round 4 :
(2 sc, inc) x 8 (32)
Info :
Work the centre in mustard using tight, even sc to form a dense sunflower core. Change hook size down 0.25-0.5 mm if your stitches are loose.
Round 5 :
(3 sc, inc) x 8 (40)
Round 6 :
(4 sc, inc) x 8 (48)
Round 7 :
1 sc in each st (48)
Round 8 :
1 sc in each st (48)
Info :
Fasten off mustard if you prefer to join white later. We will begin the radiating wheel of dc spokes in the next rounds. If carrying yarn, carry mustard inside and pick up white for the next round.
Round 9 :
Join white with sl st to any stitch. Ch3 (counts as dc), *sk 1 st, dc in next st; rep from * around to create evenly spaced dc pairs, ending with dc in last st. Join with sl st to top of ch3 (48 dc positions, worked as pairs of dc with skipped sts)
Round 10 :
Ch3 (counts as dc), dc in same st, *ch2, sk next dc pair, 2 dc in next dc (creating 2-dc clusters separated by ch2 spaces)* rep around, join to top of ch3 (16 clusters, 16 ch2 spaces)
Round 11 :
Sl st into next ch2 space, ch3 (counts as dc), 2 dc, ch2, 3 dc all in same ch2 space (shell), *3 dc, ch2, 3 dc in next ch2 space* rep around (16 shell groups). Join with sl st to first dc.
Round 12 :
Ch1, sc in same st, *ch4, sc in center dc of next shell (this creates elongated open arches around the center); rep around to form 16 arches. Join with sl st to first sc (48 counting points including arches)
Info :
These chain arches will form the base for the petal ribs. Keep arch tension even so petals will align symmetrically. If you prefer smaller arches, ch3 can be substituted for ch4 but pattern proportions will change slightly.
Round 13 :
Work petals: Sl st into next ch4 arch, ch3 (counts as dc), (2 dc, ch2, 3 dc) all in same arch (large shell), *skip to next arch and repeat shell in each ch4 arch* (16 large petal shells). Join with sl st.
Round 14 :
Ch1, sc in first dc of shell, (ch5, sc in center of next shell) repeat across to create tall loops between shells, ending with join to first sc. This forms a tall open lace row between petal rows.
Round 15 :
Switch to mustard yellow (Info: Change to mustard yarn now. Carry white behind or fasten off white and rejoin mustard). Ch2 (counts as hdc), then work 3 hdc in each ch5 loop to form a dense rib: (3 hdc in ch5), sc in center dc of shell. Repeat around to form a ribbed linkage for outer points. Join.
Round 16 :
Ch3, dc in same st, *ch2, sk next rib, (2 dc, ch2, 2 dc) in next rib-loop* rep around to create staggered clusters. Join.
Info :
This section begins building the pointed outer petals; the mustard highlights add visual definition to the tips. Maintain consistent spacing: there should be 16 outer points matching the core segments.
Round 17 :
Ch1, sc across clusters and ch2 spaces to stabilize work: sc in each dc and sc in ch2 spaces (total stitch count should be 64 including sc placed in all available stitches and spaces). Join.
Round 18 :
Switch to white. In each of the 16 ch2 spaces, work: (ch3, 5 dc, ch3) all in same ch2 gap to create elongated fan petals (this will form tall white petal lobes between mustard points). Join. (16 fans)
Round 19 :
Ch1, sc into base of each fan and sc into the 4th dc of fan to create pivot points; around you will place 48 sc altogether to stabilize the fans. Join.
Round 20 :
Ch4 (counts as tr), tr in next 11 sts to create a long rib (12 tr total), *sl st into tip between fans, ch4, tr11 across next section* rep around so that 16 long ribs radiate outward from center. Join.
Info :
These long treble ribs create the dramatic sunray effect. If your yarn or hook makes these too loose, reduce to ch3+dc cluster to tighten. Keep the stitch count consistent: 16 ribs in total.
Round 21 :
Ch1, sc evenly along each tr rib (approx 12 sc per rib) and sc into sl st joins (total approx 192 sc). This flattens ribs and prepares the base for shell petals.
Round 22 :
Ch3, skip next st, (3 dc in next st, ch1, 3 dc in same st) — shell in every 12th stitch along edge to start scalloped petals; rep around for 16 shell-petals. Join. (Each shell consumes approx 1-2 stitches and is spaced evenly by sc sections.)
Round 23 :
Ch1, sc in each dc and ch1 space of shells, and 2 sc between shells to secure spacing — count should be consistent with previous round plus shells; join.
Round 24 :
Switch to mustard. Work point tips: in each shell from previous round work (sc, ch3, sc) into the central ch1 space, then sc down the outer edge to create 16 small points. Join. This forms the pointed triangular mustard tips visible on the outer edge in the photo.
Info :
At this stage your motif should measure roughly 10-12 inches across before blocking depending on yarn and hook. Keep motifs consistent by using the same tension and hook throughout.
Round 25 :
Ch2, hdc around next 3 sts, sl st to top of previous point, *ch5, sl st into the base between next two outer petals* rep around forming small connectors between triangular points (there should be 16 ch5 loops). Join.
Round 26 :
In each ch5 loop, work (sc, hdc, 3 dc, hdc, sc) to form a decorative scallop that slightly extends between points. Join. This adds the delicate scalloped eyelet rows that give the doily airy spacing.
Round 27 :
Ch1, sc in each st and sc in center of each scallop, placing 2 sc between scallops to keep round flat. Join.
Round 28 :
Switch to white. Create final tall petals: *ch6, sk across 6-8 sc spacing, sl st into next base; rep around to create 16 tall loops; join.* These tall loops will be returned to with shells to create the open white scalloped petals shown in photo.
Info :
Make sure tall loops are even in height. Use a stitch marker to mark the top of the first loop to count loops easily on next round.
Round 29 :
In each ch6 loop work (3 dc, ch2, 3 dc) shell to form an airy petal. Join after completing 16 shells.
Round 30 :
Ch1, sc around the base of each petal and place 3 sc in the center top of each shell to shape the petal curvature. Join.
Round 31 :
Switch to mustard. At evenly-spaced points between petals, work (sl st, ch4, sl st) into top of petal to form picot-like points; repeat around to create a pointed outline. Join.
Round 32 :
Ch1, sc around each picot and into the base of petals to refine the edge; place 2 sc between each picot for stabilization. Join.
Round 33 :
Edge finishing row: *sc in next 3 sts, picot (ch3, sl st in first ch)* rep around to give subtle textured edge. Join.
Info :
Fasten off and weave in ends for the large motif. Block each motif flat with pins and a damp cloth or light steam. Repeat to make three identical motifs. If you want a larger runner, make additional motifs and adapt joining layout accordingly.
— Small Five-Petal Connector Flower (Make 14-16) :
Round 1 :
Using white (or mustard for alternating color), 6 sc in magic ring (6)
Round 2 :
Inc in each st (12)
Round 3 :
(1 sc, inc) x 6 (18)
Round 4 :
Join mustard/white for petal edge if alternating color (Info: Change color now for contrast). Ch4, (3 dc, ch3, 3 dc) into same stitch to form first petal shell; *sl st to next st, ch4, (3 dc, ch3, 3 dc) in same next st* rep around to make 6 petals. Join. (6 petals)
Round 5 :
Ch1, sc in center of each petal shell and place 5 sc evenly around center ring to tidy. Join.
Round 6 :
To form pointed petal tips, work (ch3, sl st) at the tip of each petal shell or work 3 sc in top to create a rounded effect. Join and fasten off leaving long tail for sewing if desired.
Info :
Make small flowers alternating colors (mustard and white) as shown in the photo — these alternate along the runner chain creating a rhythmic decorative link. Make more if you plan a longer runner.
— Small Flat Flower Variation (Make additional alternates) :
Round 1 :
Using mustard or white, ch5, join to form ring, ch1.
Round 2 :
Work (sc, ch3, sc) five times into ring to create five loops, slip stitch to join forming five loops (5)
Round 3 :
In each ch3 loop work (sc, 3 dc, sc) to make small rounded petals. Join and fasten off. These shallow 5-petal flowers make delicate connectors that sit flatter than the shell-style flowers.
Info :
Make a total of 14-16 small flowers to link three large motifs in the photo layout. The pattern pictured uses alternating color small flowers with spacing of approximately 4-5 small flowers between each pair of large motifs.
— Joining Chains & Link Units :
Info :
Connector chains are short chain bridges that link petals of large motifs to small flowers; they are worked as simple ch-bridges and small picot joins so the runner flows across the table. Test layout on table and pin motifs and connectors in place before stitching.
Round 1 :
Decide join points: choose every other outer point on large motif to attach chains (there are 16 outer points; you will attach at points spaced to give three decorative chains between motifs). For each join, attach mustard at the outer triangular tip: sl st into tip, ch10 (or ch8 for shorter bridge), sl st into center hole of small flower petal, then ch6 back to next targeted tip and sl st into tip. Repeat to form a chain bridge linking a large motif tip to a small flower then to the next large motif tip.
Round 2 :
Secure chains: working on chain bridges, go back and reinforce each chain by working single crochet into chain loops from tip to flower, then into the flower hole, then back into chain to the other tip (this hides slack and secures bridge). This creates a slightly corded chain rather than a loose chain which keeps runner flat.
Info :
Adjust ch lengths for desired spacing. The pictured runner uses ch10 for the longer outer arcs and ch6 for inner shorter arcs, alternating to create a flowing visual between motifs. Keep symmetry consistent between each large motif pair.
— Alternating Link Clusters (Optional Decorative Join) :
Round 1 :
Make small clusters connecting three small flowers: attach yarn to center ring of small flower, ch3, sl st into adjacent small flower center, ch3, sl st into next small flower center, fasten off. This creates a subtle three-flower cluster between large motifs as in the example photograph.
Info :
Use small clusters strategically between motifs to hide join stitches and create the aesthetic braid-like chain seen in the photo. Use a long tail to stitch through central holes of small flowers to secure cluster instead of slip stitches if preferred.
— Final Edging & Surface Trim :
Round 1 :
After motifs are joined, work a light edging around entire runner edge for consistent finish: Join white at any outer petal point, ch1, sc evenly around every exposed edge including small flower outer edges and chain bridges; place 2 sc at each picot to maintain flatness.
Round 2 :
Ch3, *sk 2 sc, (sc, ch3, sc) in next st* rep around to create small decorative picots spaced along the entire runner. This gives the delicate bobbled edge visible in the photo. Join and fasten off.
Info :
Weave in all ends with a tapestry needle. Pay special attention to tails at color-change points: weave back along the color-change path for at least 1/2" for security. Trim ends close after weaving through several stitches.
— Blocking & Finishing :
Info :
Blocking is essential: dampen motifs lightly with spray bottle or steam gently, then pin each large motif to blocking mat to exactly the same diameter. Use enough pins to make each petal tip and chain join lie flat. For the connected runner, block each motif individually first, then pin assembled runner flat to maintain consistent spacing while dryer. Allow to dry fully (12-24 hrs).
Round 1 :
Final checks: examine joins for slack; add extra whip-stitches on underside where chains meet petals to eliminate gaps. Optionally tack small flowers at additional points to prevent sagging when the runner is placed on the table.
Info :
To launder later, hand-wash in cool water and lay flat to dry. Reblock if necessary to restore shape. Avoid machine washing which can distort delicate lace cotton.
Finishing this sunflower chain runner is such a joyful moment — three bright sunbursts and delicate floral links stitched together create a statement piece for your dining table. The combination of mustard centers and crisp white petals makes it both cheerful and elegant, and blocking really brings the lacework to life. I hope you enjoyed every rhythmic round and the satisfying assembly step where everything comes together. 🌼🧶