About This Winnie The Pooh & Friends Amigurumi Pattern
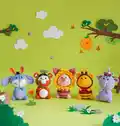
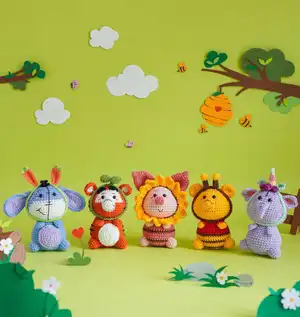
This pattern set lets you crochet Winnie the Pooh and his friends as small amigurumi figures with charming details. Each character includes full head, body, limbs, and accessories instructions using clear rounds. Youll learn color changes, small accessory construction (like headbands and sunflowers), and placement for facial features. The patterns are designed for compact, giftable toys with friendly expressions and personality.
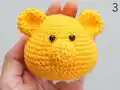
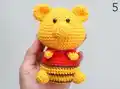
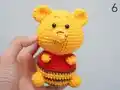
Complete stitch-by-stitch rounds and assembly instructions are provided for each toy, along with materials and abbreviation references. Photos accompany many steps to help you position and finish details with accuracy and charm.
Why You'll Love This Winnie The Pooh & Friends Amigurumi Pattern
I absolutely love this pattern because it captures the sweetness of classic characters in a compact, approachable amigurumi format. I enjoy adding small accessories like the bee headband or sunflower to bring playful personality to each friend. The clear round-by-round instructions make shaping precise and predictable, which is satisfying to see come together. I also love that you can mix yarn colors and textures to create your own versions while following the same structure.
Switch Things Up
I love how easy it is to customize these characters by changing yarn colors and small details; swap the shirt color or stripe colors to create a fresh look every time.
Want a larger version? Use a worsted weight yarn and a larger hook to scale up the whole design while keeping the same stitch counts.
I often add embroidered freckles or switch safety eyes for embroidered eyes for a softer, baby-safe toy option; this small change really alters the expression.
Try adding tiny props like crocheted honey pots, carrots, or tiny scarves to give each friend a unique personality and photo-ready styling.
For a different texture, use a boucle or fuzzy yarn for the body while keeping facial parts in smooth yarn to retain definition.
If you prefer poseable limbs, insert flexible wire into the arms or antennae before finishing for better shaping and play possibilities.
I like to make keychain versions by using thinner yarn and a smaller hook, then attaching a keyring to the top of the head or the headband.
Experiment with surface crochet or embroidery stripes and markings for more detailed characters like Tigger — the pattern lets you add as many stripes as you like.
Try combining parts from different characters to create mash-up pals: Poohs head on Pigglets body or a sunflower accessory on Eeyore for playful hybrids.
Use felt or tiny buttons for costume details to add mixed-media interest and stability when making toys for display rather than play.
Common Mistakes & How to Fix Them
✗ Skipping stitch markers during rounds causes miscounted stitches and uneven shaping; use a stitch marker at the start of each round and move it as you finish each round.
✗ Overstuffing parts makes seams bulge and shapes distort; stuff gradually and evenly, checking the shape as you go to avoid lumps.
✗ Changing colors without finishing yarn tails leads to messy joins and loose ends; fasten off and weave in or carry color carefully during transitions.
✗ Not counting after increases/decreases results in incorrect stitch totals and warped pieces; count stitches at the end of each round to ensure accuracy.
✗ Sewing parts without pinning causes misaligned placements; pin pieces in place and check symmetry before sewing to secure a neat finish.