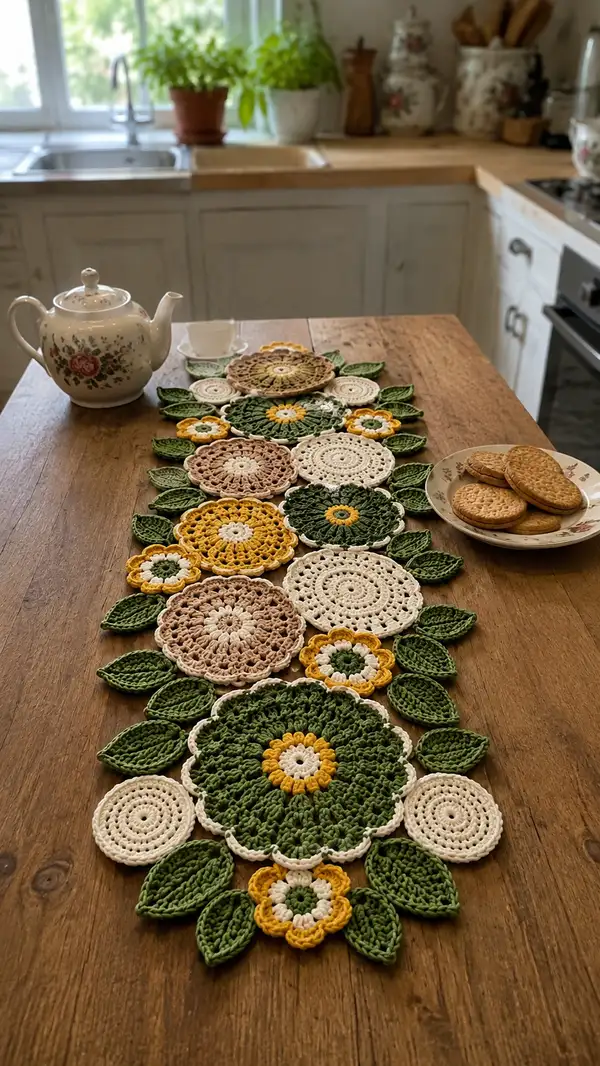
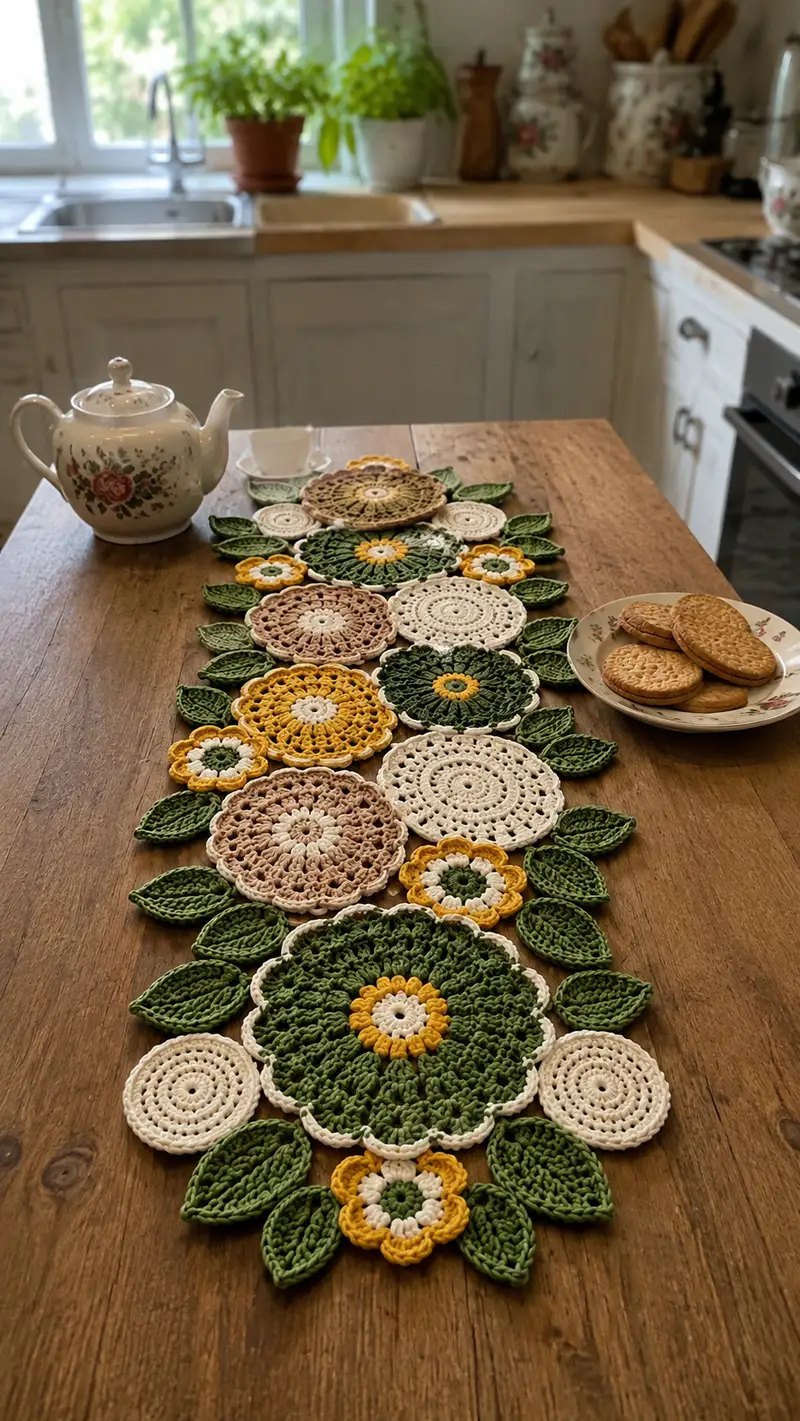
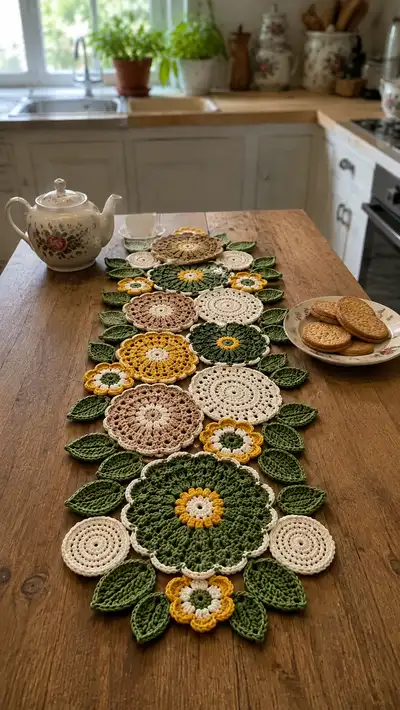
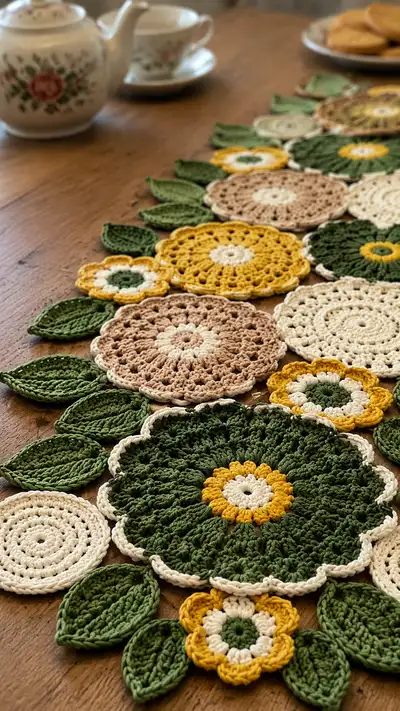
A warm, cottage-inspired floral table runner made from layered crocheted motifs: large scalloped flowers, textured medallions, small daisies and leafy connectors. Soft greens, creamy neutrals, mustard yellow and dusty rose combine to create a vintage botanical look that lays beautifully down a wooden table.
Progress Tracker
0% Complete
— Large Scalloped Flower (Make 4) :
Round 1 :
Make a magic ring, ch1, 6 sc into ring (6)
Round 2 :
Inc in each st around (2 sc in each) (12)
Round 3 :
(1 sc, inc) x6 (18)
Round 4 :
(2 sc, inc) x6 (24)
Round 5 :
(3 sc, inc) x6 (30)
Info :
Change to main petal color (forest green). Carry or fasten off center color. Keep hook tension slightly loose to allow petals to sit nicely.
Round 6 :
(4 sc, inc) x6 (36)
Round 7 :
(5 sc, inc) x6 (42)
Round 8 :
(6 sc, inc) x6 (48)
Info :
This round gives a solid foundation of 48 stitches; count carefully. Place a stitch marker at the first sc to know your round start.
Round 9 :
1 sc in each st around (48)
Round 10 :
*Ch3, skip next 3 sts, sc in next* repeat 12 times, sl st to first sc to join (12 loops created; base still 48)
Info :
These ch-3 loops will form the petal foundation; keep loops even and taut but not stretched.
Round 11 :
Into each ch-3 loop: (sc, hdc, 3 dc, hdc, sc) in loop. Sl st to next base sc to locate next loop (petal count 12, round maintains base 48)
Round 12 :
Change to cream/ivory to add a contrast scallop. Attach yarn at any sc between petals, *(sc, ch2, sc) in the tip of each petal (in 3 dc center), 2 sc in the single base sc between petals* repeat 12 times. This creates a scalloped edge and evens the edge. (approx 72 sc including the added 2-sc joins)
Info :
Count your stitches after the scallop round; placement of (sc,ch2,sc) into petal tips produces small picot-like arches. Use this cream edge to visually separate petals.
Round 13 :
1 sc in each st around in cream to tidy edge (72)
Info :
Fasten off and weave in ends. Block gently if needed so petals lay flat. Repeat to make 4 large flowers.
— Medium Lacy Medallion (Make 4) :
Round 1 :
Make mr, ch2 (counts as dc), 11 dc into ring, sl st to top ch2 to join (12)
Round 2 :
Ch2, dc in same st, 2 dc in each st around (inc in each) (24)
Round 3 :
(1 dc, inc) x12 (36)
Info :
Change to a soft dusty rose (or cream) for a two-tone effect if desired. These medallions will sit slightly flatter and create contrast with texture.
Round 4 :
Ch3 (counts as dc), *skip 2 dc, (3 dc, ch1, 3 dc) in next st (shell), skip 2 dc, dc in next* repeat around to create 12 lace shells (36 base sts remain)
Round 5 :
Work 1 sc in each dc and sc in ch-1 spaces to tidy (36)
Round 6 :
*Ch4, sc in center of next shell (into ch1 loop from previous), ch4, sc in next dc* repeat around to form airy loops (12 loops)
Info :
These loops will serve as a point to join with smaller motifs later. Keep tension relaxed so loops are open.
Round 7 :
Into each ch4 loop make (sc, hdc, 3 dc, hdc, sc) to form petite petals; sl st to base sc between loops (12 petals)
Round 8 :
1 sc in each st around to finish (approx 60) - fasten off and weave ends
Info :
Make 4 medallions. These sit as mid-sized motifs between the large flowers and small daisies in the layout.
— Small Daisy (Make 8) :
Round 1 :
Make mr with cream, ch1, 6 sc into ring (6)
Round 2 :
Inc in each st (12)
Round 3 :
Change to mustard yellow. Ch3, *skip 1, sc in next* repeat to create 6 ch-3 loops (6 loops)
Round 4 :
Into each loop: (sc, hdc, 3 dc, hdc, sc) to form compact petals (6 petals). Sl st to join. Fasten off (no change to base count)
Info :
Small daisies are quick and create bright pops. Use them to fill gaps and add color contrast around large motifs.
— Solid Round Disc (Make 6) :
Round 1 :
Mr, ch1, 6 sc into ring (6)
Round 3 :
(1 sc, inc) x6 (18)
Round 4 :
(2 sc, inc) x6 (24)
Round 5 :
(3 sc, inc) x6 (30)
Round 6 :
1 sc in each st around (30)
Info :
These neat discs offer calm neutral grounding around the busier flowers. Make in cream for contrast.
Round 7 :
Optional: 1 sc BLO in each st around to create a ridge (30) - fasten off
— Leaf (Make 20-28) :
Info :
Leaves are worked flat in rounds to create an oval leaf that has a raised central rib created with front post stitches. Leaves can be made in two sizes by varying the number of increases and rows.
Round 1 :
Ch10, sc in 2nd ch from hook and across (8 sc), 3 sc in last ch, continue down opposite side of foundation chain, sc in next 8, sl st to first sc to join (19 sts) - this closes the oval base
Round 2 :
Ch1, sc in same st, inc in next, sc across next 7, 2 sc in each of 3 turning chain sts (6 sts across), sc across next 7, inc in last, sl st to join (approx 27)
Round 3 :
Ch2 (counts as hdc), hdc in same, *hdc in next 3, inc (hdc in same st twice)* repeat across to shape point, hdc in last 2, sl st to join (approx 33)
Info :
For a central rib, change to front post technique next round. This makes the leaf look carved and adds body for assembly.
Round 4 :
Ch1, sc in each st around working BLO on the return half to create a subtle ridge (33)
Round 5 :
Ch1, *fp sc around the center sts across the long axis of the leaf for 7-9 stitches to create a raised midrib, sc in remaining sts* sl st to join (33)
Round 6 :
1 sc in each st around, tighten joins and fasten off (33)
Info :
Make 20-28 leaves depending on how full you want the runner edge. Leaves can be made in two sizes by adding or removing a round of increases.
— Small Connector Petals (Make 10-12) :
Round 1 :
Mr, ch1, 6 sc into ring (6)
Round 2 :
Inc x6 (12) - fasten off in contrasting mustard to create tiny flowerlets used between larger motifs
Info :
These are quick fills used to stabilize joins and add color accents in tight spots between large motifs and leaves.
— Joining and Layout Preparation :
Info :
Before joining, lay all motifs on a large flat surface and arrange in desired order. The pictured runner alternates large flower / medallion / disc down a central axis with leaves radiating out to frame each side. Pin motifs lightly with sewing pins.
Step 1 :
Decide your central column: place large scalloped flower, medallion, cream disc, rose medallion, green scalloped flower, repeating until you reach desired length. Use small daisies and tiny connector petals to fill gaps.
Info :
Measure the overall runner width and length before permanently joining. Adjust motif count for desired size. Keep a note of motif order to reproduce the runner later.
Step 2 :
Join motifs using single crochet join or whip stitch. For a raised, slightly visible seam, use sc join: With right sides up, place two motifs overlapping where edges meet and sc through both loops for each stitch location where motifs touch.
Info :
Where motifs meet at petal tips and loops (for example the medallion loops to the large petal tips), join at the open loops and secure with 1 sc in each loop for an invisible, flexible join.
Step 3 :
When joining leaves, position each leaf so its base tucks slightly under the adjacent motif edge. Sew the base firmly with a whip stitch or small sc into motif edge every 3-4 stitches (approx 3-5 sewing passes per leaf base) to secure.
Info :
Always pin leaves before sewing and make mirror pairs for symmetrical placement along runner edges.
— Detailed Joining Rounds (Row-style steps used to shape seams) :
Round 1 :
Select one large flower and one medallion to join. Place them right sides up overlapping slightly at the petal tip. Using cream yarn, sc through petal tip of large flower and into outer sc of medallion, *sl st in next base st of medallion, sc through next petal tip* repeat around contact points until motifs are joined (approx 8-12 joins depending on contact points)
Info :
Make small, evenly spaced joins to avoid puckering. If motifs only touch at single points (petal tips), do a double stitch (sc through both layers twice in same point) for strength.
Round 2 :
Continue joining medallions to discs with the same sc-through-both technique, alternating colors for visible seams or matching colors for invisible seams. Use a small darning needle to weave tails through the join as you go to keep threads tidy.
Info :
Use connectors (tiny petal motifs) to bridge triangular gaps where three motifs meet. Sew connector at center of gap to stabilize intersection.
Round 3 :
Sew leaves around outer edges by placing leaf bases under motif edges and stitching through both leaf base and motif edge with a whip stitch at 3-5 points per leaf for a firm hold. Add two stitches in a V-shape if leaf sits flush.
Info :
Leave long tails while sewing to allow last-minute adjustments. Trim once all joins are secure and blocked.
— Outer Scalloped Edging and Finishing Rounds :
Round 1 :
With cream yarn, work 1 sc in every exposed stitch around entire runner edge (this is a long round; count as you go). This evens the edge and secures loose motif edges. (st count variable depending on joined pieces)
Info :
Keep counts even by making (sc, ch1) or (2 sc) at points where motifs form small gaps to maintain a smooth border. The goal is a consistent foundation for the scallop round.
Round 2 :
Work a scallop: *skip 2 sc, 5 dc in next st, skip 2 sc, sl st into next* repeat around until edge is scalloped evenly. Adjust where needed by adding extra sl st joins to keep scallops evenly spaced.
Round 3 :
1 sc in each st around to tidy scallops and secure (this creates a neat white frame around the runner). Fasten off and weave ends.
Info :
Optional: Add a final tiny picot border by *(sc, ch3, sl st into sc)* around scallop tips for a delicate finish.
— Optional Structural Rounds for Stability and Weight :
Round 1 :
If you want the runner to lie extra flat, add a backing: create a long single crochet strip that follows the runner underside and whip stitch it in place. Work 1 sc row across back edges where seams are weakest.
Info :
Alternatively, use a thin interfacing or lightweight cotton fabric backing, sewn to the underside by hand to give weight and protect the tabletop from yarn impression.
— Final Blocking and Care :
Info :
Gently wet-block each motif flat with pins and let dry for crisp edges if you prefer a very tidy look. Use steam-blocking carefully for cotton. Machine wash on gentle cycle in a lingerie bag and reshape while damp for routine cleaning.
Info :
Trim all loose ends and weave in tails on the back of runner. If using bright accents, check for colorfastness before washing.
Info :
Congratulations! Your runner is complete. Recheck joins and add small reinforcing stitches if any motifs feel loose. Enjoy styling it on your table, and experiment with longer or shorter layouts by adding or removing motif sets.
This floral table runner brings a hand-stitched botanical charm to any tabletop — a perfect mix of texture, color and vintage-inspired detail. Each motif comes together like placing fresh flowers, creating a cozy, layered statement that’s both decorative and washable. I hope making it brings you as much joy as arranging a bouquet; enjoy the peaceful rhythm of stitches and the beauty of your finished piece. 🧶🌿✨