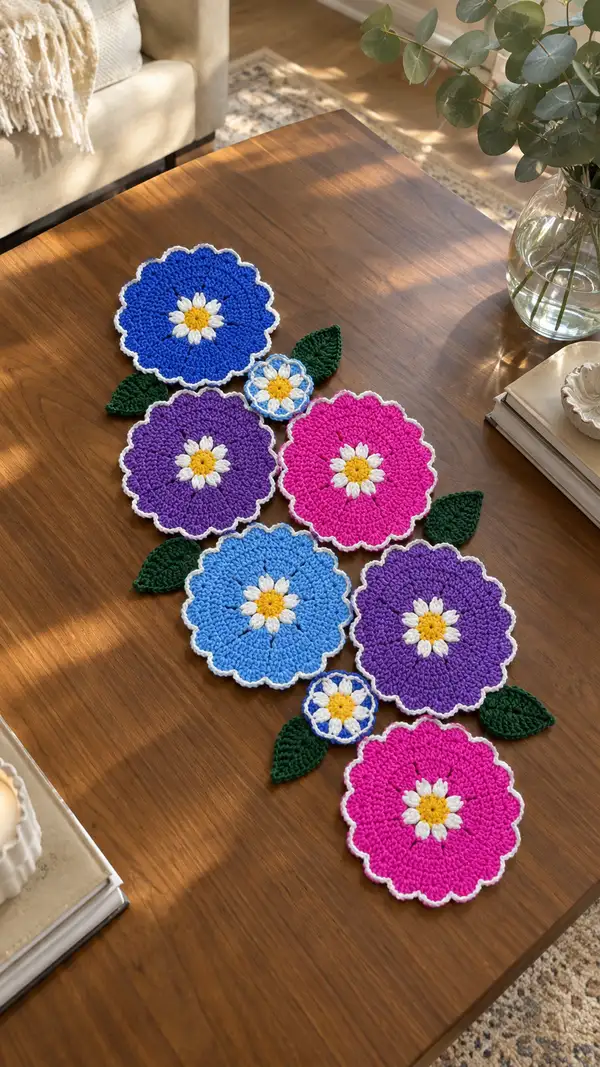
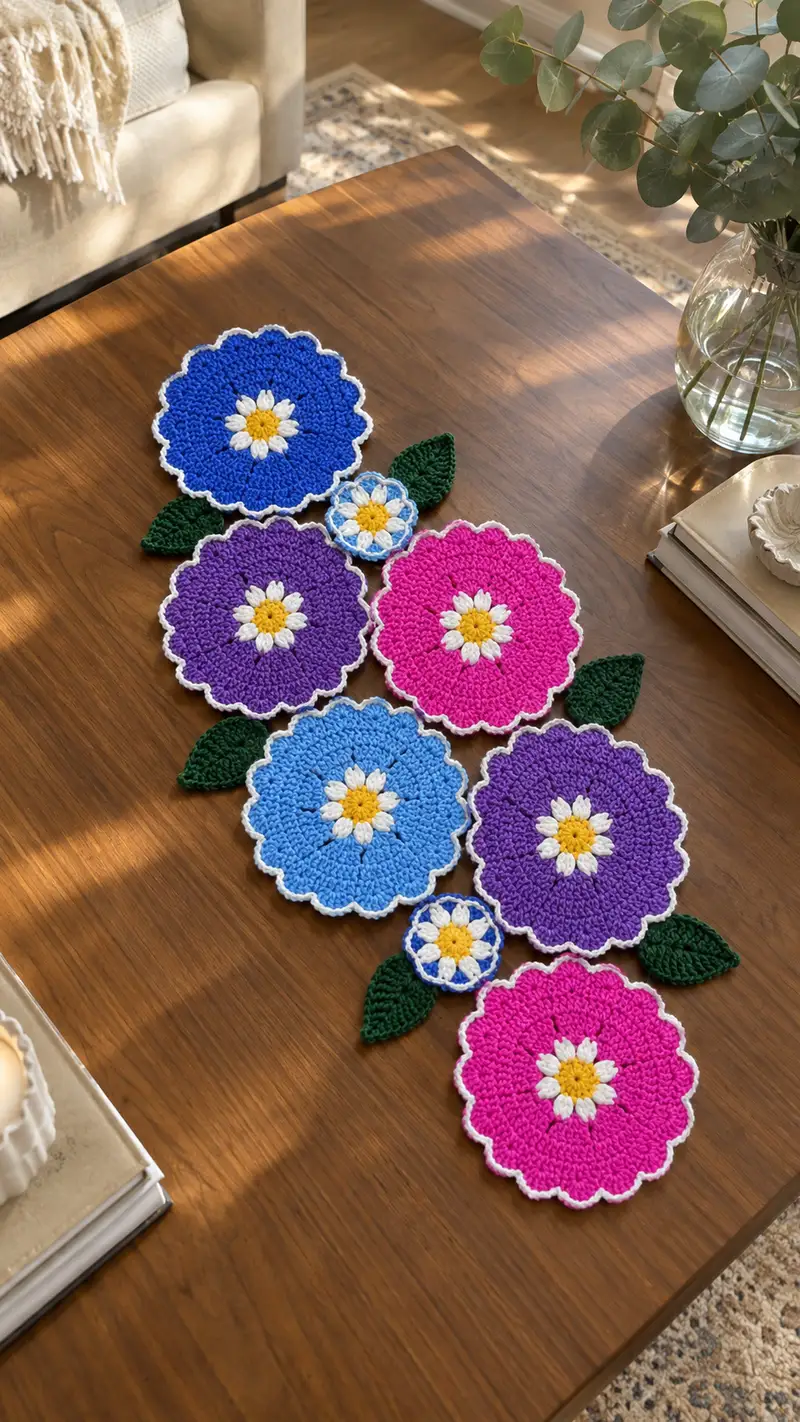
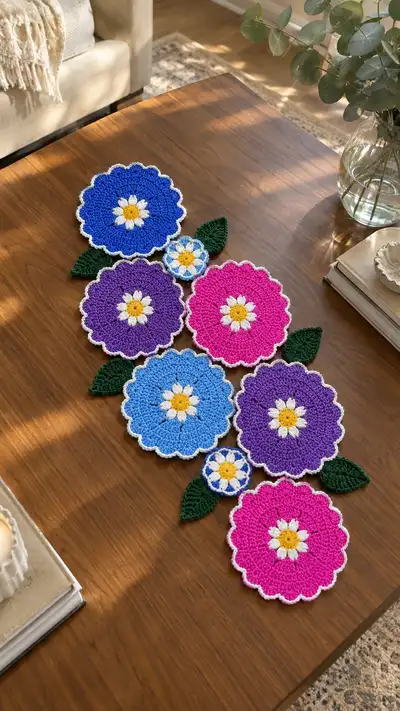
A cheerful floral table runner made from clustered daisy motifs and leafy connectors. This pattern features bold, saturated round flowers with a sunny yellow center, white daisy petals, colorful textured discs, scalloped white edges, and deep green leaves. Perfect for brightening a coffee table or dressing a sideboard, the motifs are crocheted individually and joined for a custom-length runner.
Progress Tracker
0% Complete
— Large Daisy Flower (Make 4 in assorted colors) :
Round 1 :
Using yellow yarn. 6 sc in mr (6)
Round 2 :
Inc in each st around (12)
Round 3 :
(1 sc, inc) x6 (18)
Round 4 :
(2 sc, inc) x6 (24)
Info :
Center should look like a flat disk. Count to ensure 24 sts total. Fasten off yellow and weave tail toward petal placement carefully.
Round 5 :
Join white yarn in any stitch. *Sk 2 sts, in next st work (sc, ch3, sc) to form a petal anchor; rep from * around to make 8 petal anchors (24)
Round 6 :
Working into each ch3 loop: *(sl st, ch2, dc, tr, dc, ch2, sl st) in ch3 loop* around (8 petals). Finish last petal and sl st to join (24 anchors, petals are decorative and do not change stitch count)
Info :
Petal shaping: use taller stitches (dc and tr) for a lifted petal look. Keep tension consistent so petals sit flat on the center.
Round 7 :
Change to main flower color (e.g., cobalt blue). Join with sl st in any sc between petals. Ch1, sc in same st and in each st around (24)
Round 8 :
(1 sc, inc) x8 then 1 sc in remaining 0 sts to maintain sector count (32)
Round 9 :
(2 sc, inc) x8 (40)
Info :
At this stage the motif is becoming a solid disc. If you want a slightly larger bloom, add an extra increase round as shown below in optional rounds.
Round 10 :
(3 sc, inc) x8 (48)
Round 11-14 :
1 sc in each st around (48)
Info :
These even rounds build the texture of the flower body. Work tightly to avoid gaps in the fabric so the white scalloped border will sit evenly.
Round 15 :
(6 sc, 1 dec) x6 (42)
Round 16 :
(5 sc, 1 dec) x6 (36)
Info :
Begin gentle decreases to create a slight cup so petals appear raised from the center. Do not over-decrease — the motif should still lie mostly flat.
Round 17 :
1 sc in each st around (36)
Round 18 :
Change to white for scalloped edge. Work in BLO for a crisp edge: 1 sc BLO in each st around (36)
Round 19 :
*Skip 1 st, (5 dc, sl st) in next st (shell), skip 1 st, sc in next st; rep from * around to create 12 scallops; sl st to join. (36 sc anchors still present but shells create scalloped appearance)
Info :
Count shells as you go: this pattern uses 12 shell scallops around the final circle based on 36 sts (3-st anchors per scallop). Adjust anchors if you prefer more or fewer scallops (e.g., 16 scallops require 48 anchors).
Round 20 :
Optional: If you want a pronounced scallop rim, in each shell: (sl st into shell, ch1, 5 dc in shell, ch1, sl st) to deepen scallop. Finish and weave in ends.
Info :
Fasten off leaving a 20-25 cm tail to help sew motifs together later. Block each large motif gently to flatten and even out scallops before joining.
— Medium Daisy Flower (Make 2) :
Round 1 :
With yellow yarn. 6 sc in mr (6)
Round 3 :
(1 sc, inc) x6 (18)
Round 4 :
Change to white. Petal anchors: *Sk 1 st, in next st work (sc, ch3, sc); rep from * around (18)
Round 5 :
Working into each ch3 loop: (sl st, ch2, dc, tr, dc, ch2, sl st) around to form 6 petals. Sl st to join (18)
Info :
Medium flowers use 6 petals and fewer increase sectors. They sit slightly smaller than large flowers and are used to add variety to the runner composition.
Round 6 :
Join main color (e.g., light blue). Ch1, sc in each st around (18)
Round 7 :
(1 sc, inc) x6 (24)
Round 8 :
(2 sc, inc) x6 (30)
Round 9-11 :
1 sc in each st around (30)
Round 12 :
Change to white. 1 sc BLO in each st around (30)
Round 13 :
*Skip 1 st, (4 dc, sl st) in next st (shell), sc in next st; rep from * around to make 10 scallops. Sl st to join. (30)
Info :
Fasten off and weave in ends. Block for consistent shape and diameter to match large motifs proportionally.
— Small Daisy Medallion (Make 2) :
Round 1 :
With yellow yarn. 6 sc in mr (6)
Round 3 :
Change to white. Petal anchors: *Sk 1 st, in next st work (sc, ch3, sc); rep around to make 4 petal anchors (12)
Round 4 :
Work into ch3 loops: (sl st, ch2, dc, dc, ch2, sl st) around for 4 small petals. Sl st to join (12)
Round 5 :
Join a contrast color (e.g., pale blue). 1 sc in each st around (12)
Round 6 :
Optional: *Skip 1 st, (3 dc, sl st) in next st; rep around for a tiny scalloped rim. Fasten off and weave ends (12)
Info :
Small medallions are decorative and can sit between larger flowers or be layered atop them for a clustered look. Make two and block lightly.
— Leaf (Make 6) :
Round 1 :
With deep green. Ch 12, sc in 2nd ch from hook and next 4 ch (5 sc), 3 hdc, 3 dc in next ch, turn and work along opposite side of chain: 3 dc, 3 hdc, 5 sc; sl st to first sc. (Count anchors: symmetrical leaf shape, total approx 24 sts)
Round 2 :
Ch1, sc around leaf working 2 sc in each tip stitch and 1 sc in each side stitch to round out shape (approx 28-30 sc). Sl st to join.
Info :
Work tightly at the tip increases to keep a neat point. If you prefer a more shredded leaf, use sl st spike stitches along the midline to create veins.
Round 3 :
To create a vein, switch to BLO and work 1 sc BLO in each st around (approx 28). This flattens edges and makes the leaf lie nicely under flower edges.
Round 4 :
Optional decorative ridge: With same green, in the center top of the leaf embroider a running stitch down the middle with contrasting green yarn to mimic a midrib. Fasten off leaving long tail for sewing.
Info :
Make 6 leaves of roughly equal size. Block leaves slightly with steam or a damp cloth to set shape and curl edges slightly upward for realism.
— Extra Texture Rounds for Larger Scale Flowers (Optional expansion) :
Round 1 :
If you want the large flower to be bigger, after Round 10 of Large Daisy: (4 sc, inc) x8 (56)
Round 2 :
Round of even stitch: 1 sc in each st around (56)
Info :
Add an extra decrease phase later to restore flatness before scallops. This gives a larger bloom for a dramatic runner.
— Connecting & Joining Motifs :
Info :
Lay out all motifs on a flat surface in the desired arrangement before joining. The sample photograph shows a central linear cascade: large-large-medium-large-small-large-large, with leaves tucked between. Pin in place and space motifs so scallops touch slightly (approx 1-2 cm overlap) for a unified look.
Joining Step 1 :
Using matching main color or white for a visible seam: With wrong sides up, place two motifs overlapping where scallops meet. Using yarn and tapestry needle, mattress stitch through back loops of scallop anchors to sew motifs together. Make 6-10 evenly spaced stitches to secure each connection.
Info :
Alternatively, for a crocheted join: place two motifs wrong sides together and use white yarn to sl st through both rims by inserting hook through back loop of scallop st on both motifs and sl st around each anchor point. This creates a tidy crocheted seam.
Joining Step 2 :
Attach medium/small medallions slightly overlapping the larger discs using whip stitch or a few secure sl sts at three anchoring points (top, center, bottom) so they appear as layered flowers.
Info :
When joining, keep motifs flat and avoid pulling yarn too tight or slipping scallops out of alignment. Use blocking pins to maintain shape while sewing and allow join seams to relax for several hours before final blocking.
Joining Step 3 :
Sew leaves into gaps between motifs using long tails left from leaves. Position leaf tip under the edge of a scallop, tack with 6-8 small stitches along the central vein then catch a couple stitches into adjacent motif to anchor securely.
Info :
Leaves can be sewn pointing outward or tucked under scallops for a natural trailing appearance. Place them asymmetrically to mimic organic growth.
— Final Edging & Finishing Touches :
Round 1 :
After all motifs are joined, with white yarn work a unifying picot edge around exposed outer scallops: Join yarn and *sl st into next st, ch3, sl st in base of ch3 (picot), sl st into next 2 sts; rep around only on outer-most edge stitches to bind loose joins. Fasten off.
Info :
Picot edging is optional but gives a crisp, handmade border that visually connects all motifs. If you prefer a smoother finish, slip stitch evenly around the outermost perimeter instead.
Round 2 :
Weave in all tails using tapestry needle. Work tidy hidden finishes by threading tails through several stitches inside motif layers then trimming close.
Info :
After weaving ends, block the whole runner ensemble gently on a flat surface to even depths and allow to dry fully before use. This will flatten scallops and hold the runner layout.
— Tips, Variations & Finishing Notes :
Info :
Color Variations: Swap the body color of each flower to create seasonal palettes. Use pastels for spring, jewel tones for autumn, or neutrals for modern décor. Size & Length: Add or subtract large or medium motifs to lengthen or shorten runner. Small medallions can be layered for a 3D cluster look.
Info :
Yarn choice: Worsted weight gives a nice drape while staying sturdy. If you prefer a softer drape, use DK weight and a smaller hook—remember motif counts will change slightly; block to adjust size.
Info :
Blocking: Pin scallops and leaves into shape, spritz lightly, and allow to dry. Use blocking mats to keep edges rigid if you desire a firm runner. Storage: Store flat or rolled to protect scallops from permanent creasing.
Info :
Maintenance: Spot clean gently. Handwash if necessary and lay flat to dry. Avoid hot water to keep colors vivid and edges stable.
Finishing this floral table runner is such a rewarding craft — every scallop and petal comes together to create a joyful, handmade accent that brightens your table instantly. The layered motifs and tucked leaves create depth and interest, and the white edging ties the whole piece together for a polished, cohesive look. Enjoy displaying your runner proudly or gifting it to someone special. 🧶🌼✨