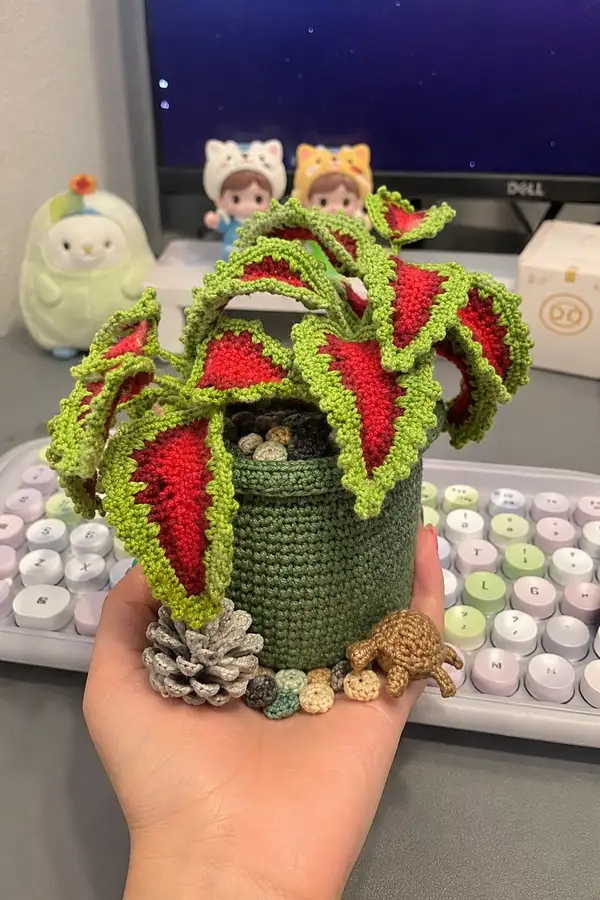
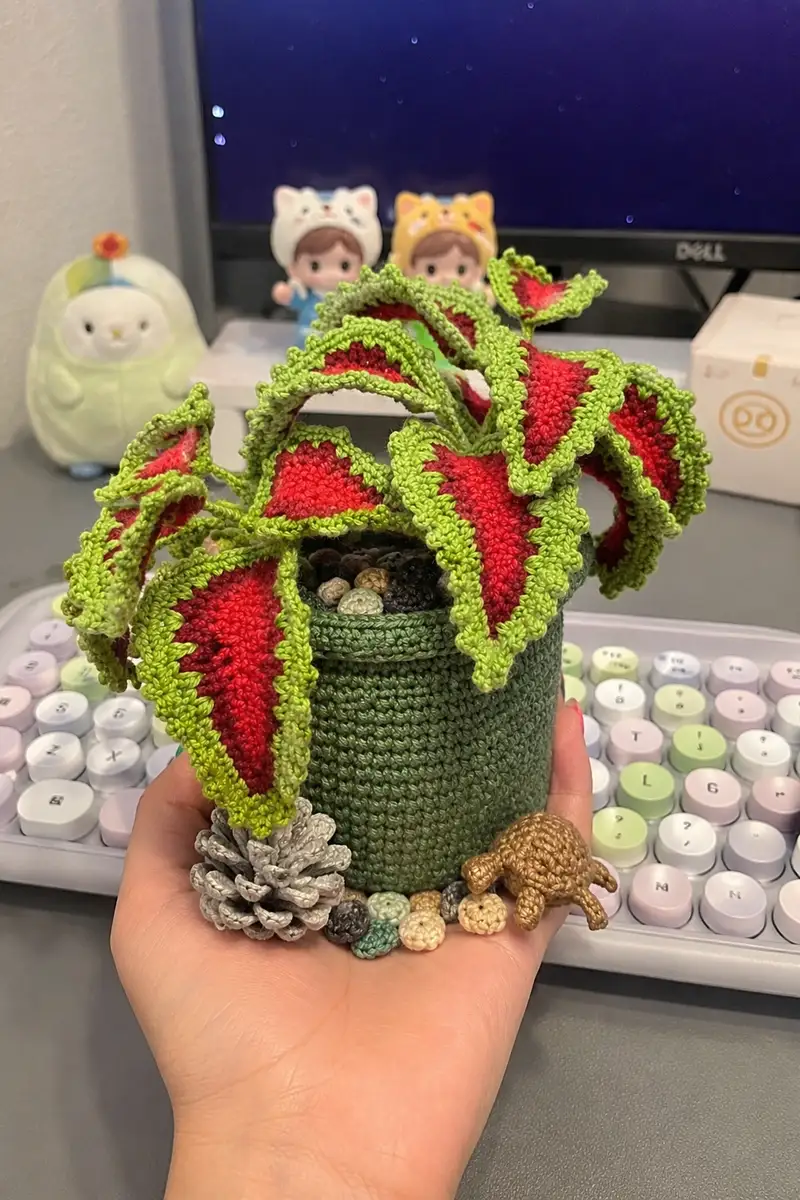
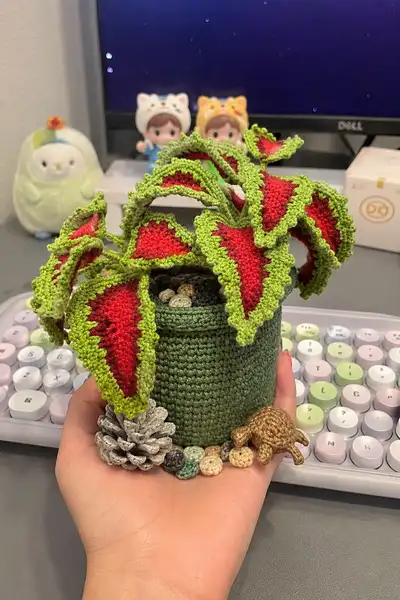
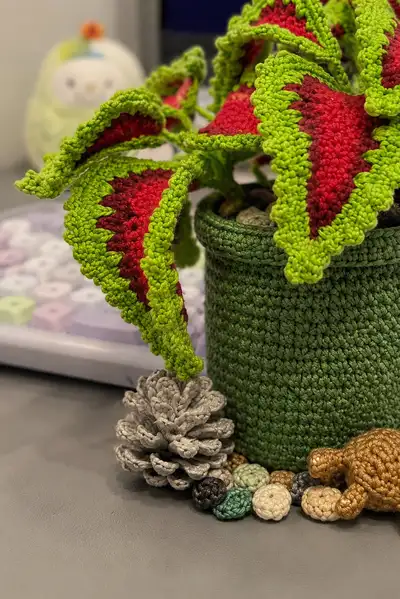
Create a spooky-cute coleus houseplant amigurumi with bright red leaves edged in lively lime green, a neat crocheted pot, and tiny crocheted pebbles and pinecone accents. This pattern walks you through making many layered leaves with ruffled edges, stems, and a textured cylindrical pot so your finished plant will sit beautifully on a shelf or desk. The finished piece is decorative, compact, and perfect for gifting or seasonal decor.
Progress Tracker
0% Complete
— Materials & Gauge :
Info :
Use worsted weight 100% cotton for crisp stitch definition so leaves hold shape well. Gauge is not critical, but pot diameter will be approximately 6-7 cm across when worked with 3.5 mm hook. Keep tension firm for amigurumi-style density so stuffing and stems are not visible through stitches.
— Notes & Techniques :
Info :
All parts are worked in continuous rounds unless otherwise specified. Use a stitch marker at the start of each round and move marker up as you work. Color changes are worked with last loop of previous stitch to pick up new color for a tidy join. When an instruction says 'Make X', make that many identical pieces. For ruffled/edging rounds, maintain even tension so edges ripple naturally.
— Pot (cylindrical) :
Round 3 :
(1 sc, 1 inc) x 6 (18)
Round 4 :
(2 sc, 1 inc) x 6 (24)
Round 5 :
(3 sc, 1 inc) x 6 (30)
Round 6 :
(4 sc, 1 inc) x 6 (36)
Info :
You can stop increasing one round sooner or later to adjust the pot diameter. For the photographed pot the base increases to 36 sts then continues even to form a cylinder.
Round 7 :
(5 sc, 1 inc) x 6 (42)
Round 8 :
(6 sc, 1 inc) x 6 (48)
Round 9 :
1 sc in each st (48)
Round 10 :
1 sc in each st (48)
Info :
Begin working the pot wall in continuous rounds; do not increase further. If you want a slightly wider pot, add one more increase round before working even rounds. Transfer to BLO here to create a subtle rim ridge if desired.
Round 11 :
1 sc in each st BLO (48)
Round 12-36 :
1 sc in each st (48) (work 25 rounds total for a tall cylinder; adjust height as desired)
Info :
Stuff the bottom lightly around round 12-14 with a little fiberfill to support the soil layer. Do not overstuff; the pot should be sturdy but slightly compressible so you can insert stems later.
Round 37 :
(6 sc, 1 dec) x 6 (42)
Round 38 :
(5 sc, 1 dec) x 6 (36)
Round 39 :
(4 sc, 1 dec) x 6 (30)
Round 40 :
(3 sc, 1 dec) x 6 (24)
Info :
These last decreasing rounds are optional if you intend to leave the pot open. For a finished rim that folds outward, stop decreasing and add one round in BLO, then finish off and fold rim over. Fasten off leaving long tail for sewing if you prefer to close the bottom.
— Pot Rim (optional folded rim) :
Round 1 :
Join to top edge, ch1, 1 sc in each st BLO around the top (48)
Round 2 :
1 sc in each st (48)
Info :
Fold the rim outward and sew the inside to the outside with mattress stitch to hold the fold if you want a neat, finished rim like the sample pot.
— Soil Fill & Pebble Bed :
Info :
The pot in the photo is finished with a bed of small crocheted pebbles and a little faux soil look. Make several small spheres to nest the stems and give weight.
Small Pebble (Make 12-20) :
Round 1: 6 sc in mr (6)
Round 3 :
(1 sc, 1 inc) x 6 (18)
Round 4 :
1 sc in each st (18)
Round 5 :
Change to a darker tone and sc around (18)
Info :
Leave a short tail and stuff very lightly - pebbles are mostly flat; flatten slightly and sew pebbles into place to fill the pot. Vary colors: tan, cream, moss, dark grey for a natural look.
— Large Leaf (Make 6) :
Info :
These are the dramatic triangular coleus leaves: worked in rounds as a flat triangular/oval shape by increasing to a wide center, working several even rounds to develop the red center, then decreasing to form a tapered tip. After the red center is finished, change to lime green for the border and add a ruffled picot edge.
Round 3 :
(1 sc, 1 inc) x 6 (18)
Round 4 :
(2 sc, 1 inc) x 6 (24)
Round 5 :
(3 sc, 1 inc) x 6 (30)
Info :
At this point the leaf is a round disk. To form a long leaf, we will transition into an elongated increase pattern: this creates a long lozenge/leaf rather than a circular puff.
Round 6 :
(4 sc, 1 inc) x 6 (36)
Round 7 :
(5 sc, 1 inc) x 6 (42)
Round 8 :
(6 sc, 1 inc) x 6 (48)
Round 9 :
1 sc in each st (48)
Round 10 :
1 sc in each st (48)
Info :
Work rounds 9-12 even to build the red center length. You may choose to work FLO or BLO for a subtle texture in the red section; the sample used regular sc for a tight fabric.
Round 11-12 :
1 sc in each st (48)
Round 13 :
(6 sc, 1 dec) x 6 (42)
Round 14 :
(5 sc, 1 dec) x 6 (36)
Info :
Begin stuffing the leaf just slightly near the base if you want a curved three-dimensional effect; leaves in the photo are mostly flat but have a soft curve. Stuff minimally if using wire inside; otherwise leave flat and shape later.
Round 15 :
(4 sc, 1 dec) x 6 (30)
Round 16 :
(3 sc, 1 dec) x 6 (24)
Round 17 :
(2 sc, 1 dec) x 6 (18)
Round 18 :
(1 sc, 1 dec) x 6 (12)
Round 19 :
6 dec (6) - shape tip (6)
Info :
Fasten off red center leaving a long tail to whip-stitch the lime border. Alternatively, work the border in a joined round: do not fasten off, slip stitch up along one side to join border color.
Border Join :
Join lime green with sl st to the last round at the leaf edge or use the long tail to attach lime green by sewing.
Round 20 :
With lime green, ch1, 1 sc evenly around the entire leaf edge, placing 2 sc in each stitch at the widest lobes to keep edge flat (approx 60 sc)
Round 21 :
1 sc in each st (60)
Info :
To create the frilly scalloped edge seen in the photo, we use small picot points and small cluster increases to force a ripple. Maintain even tension; the border is what gives the leaf its dramatic ruffle.
Round 22 :
(1 sc, picot (ch3, sl st in 3rd ch from hook)) x around with occasional (2 sc, picot) at wider points to exaggerate scallops (60 + picots)
Round 23 :
Work 'sc, 2 sc in next st' alternating across to add small frills where needed: (1 sc, 1 inc) x 30 (90)
Round 24 :
Fasten off and leave a 20-25 cm tail for sewing into stem base. Block flat gently with a damp cloth and shape the edges to your liking while wet; clip in place if needed.
Info :
If adding wire for poseable leaves, insert a length of floral wire or pipe cleaner along the midline before closing the red center (insert through one of the central rounds and crochet over lightly), then continue border rounds around it so the wire is enclosed. This yields bendable leaves that hold a drape.
— Medium Leaf (Make 4) :
Round 3 :
(1 sc, 1 inc) x 6 (18)
Round 4 :
(2 sc, 1 inc) x 6 (24)
Round 5 :
(3 sc, 1 inc) x 6 (30)
Round 6-8 :
1 sc in each st (30)
Info :
These medium leaves are shorter than large leaves and will be used to fill in beneath and around the larger leaves for a layered look.
Round 9 :
(3 sc, 1 dec) x 6 (24)
Round 10 :
(2 sc, 1 dec) x 6 (18)
Round 11 :
(1 sc, 1 dec) x 6 (12)
Round 13 :
Join lime green, sc evenly around edge (approx 36 sc)
Round 14 :
1 sc in each st (36)
Round 15 :
(1 sc, picot) x around to create small scallops (36 + picots)
Info :
Fasten off leaving long tail for sewing. These medium leaves typically require less shaping and will tuck near the center of the pot for fullness.
— Small Leaf (Make 8) :
Round 3 :
(1 sc, 1 inc) x 6 (18)
Round 4 :
1 sc in each st (18)
Round 5 :
Change to lime green, sc around edge (approx 22 sc)
Round 6 :
(1 sc, picot) x around (22 + picots)
Round 7 :
Fasten off leaving long tail for sewing (shape as needed)
Info :
Small leaves fill gaps along the rim of the pot and peep between larger leaves for a natural layered appearance.
— Stem (Make 6-8) :
Round 3-10 :
1 sc in each st (6) (work 8 rounds to create a tube approximately 2-3 cm long)
Info :
For firmer, poseable stems insert thin floral wire into the tube before closing. If using wire, leave about 1.5-2 cm of wire at the base to be sewn into the pot securely. Stuff stems very lightly if you want them to hold a heavier leaf.
Round 12 :
Fasten off leaving long tail (approx 20 cm) for sewing stems to leaves and into the pot base. Thread tail through inside of stem to hide end.
— Small Pinecone Accent (Make 1) :
Round 3 :
(1 sc, 1 inc) x 6 (18)
Round 4 :
1 sc in each st (18)
Round 5 :
Work 6 small petal loops: *ch3, sc in next st* repeat across to create scale texture (18)
Round 6 :
Fasten off and shape scales with a touch of starch or fabric stiffener if you want a rigid pinecone look. Sew into pot bed near edge.
Info :
Pinecone petals can also be made separately and layered with hot glue; the crocheted scale approach is fully yarn-based and looks neat with cotton yarn.
— Mini Turtle Accent (optional) :
Head Round 1 :
6 sc in mr (6)
Head Round 3 :
(1 sc, inc) x 3 (9)
Head Round 4 :
1 sc in each st (9)
Body Round 1 :
In green, 6 sc in mr (6)
Body Round 3 :
(1 sc, inc) x 6 (18)
Body Round 4 :
1 sc in each st (18)
Legs (Make 4) :
6 sc in mr; 6 sc around (work 2 rounds), stuff slightly and sew to body
Finishing :
Sew head to body, sew legs under shell shape, embroider eyes with tiny French knots or use 2 mm black beads. Fasten off and weave in tails.
Info :
The tiny turtle in the photo is purely decorative and optional. It adds personality to the display; make in tan/brown tones for contrast with the green pot.
— Assembly Info & Shaping :
Info :
Arrange your leaves before sewing: large leaves are placed symmetrically around the pot rim, medium leaves tucked under for layering, and small leaves used to fill gaps and make edges look natural. Use pins to position before stitching. Insert stems into pot by sewing through the base of the stem into the pot base and knotting tails on the inside of the pot for security.
Info :
For a natural drape, position large leaves so they droop over the pot edge. If you used wire in stems, bend gently to create dramatic curves. If not using wire, shape leaves by tacking down small hidden stitches to the pot rim or to other leaves to hold the arranged silhouette.
Info :
Place the small pebbles and pinecone on top of the soil bed to hide stem bases and add visual interest. Glue or sew pebbles in place if necessary. Weave in all ends and tidy the inside of the pot so stems do not slip out.
This cheerful coleus amigurumi turns yarn into living decor that brightens any shelf or desk. With dramatic red centers and lime scalloped edges, each leaf makes a statement. Gather your yarn and enjoy bringing this tiny handmade plant to life—it's a delightful gift or seasonal accent. 🌿🧶