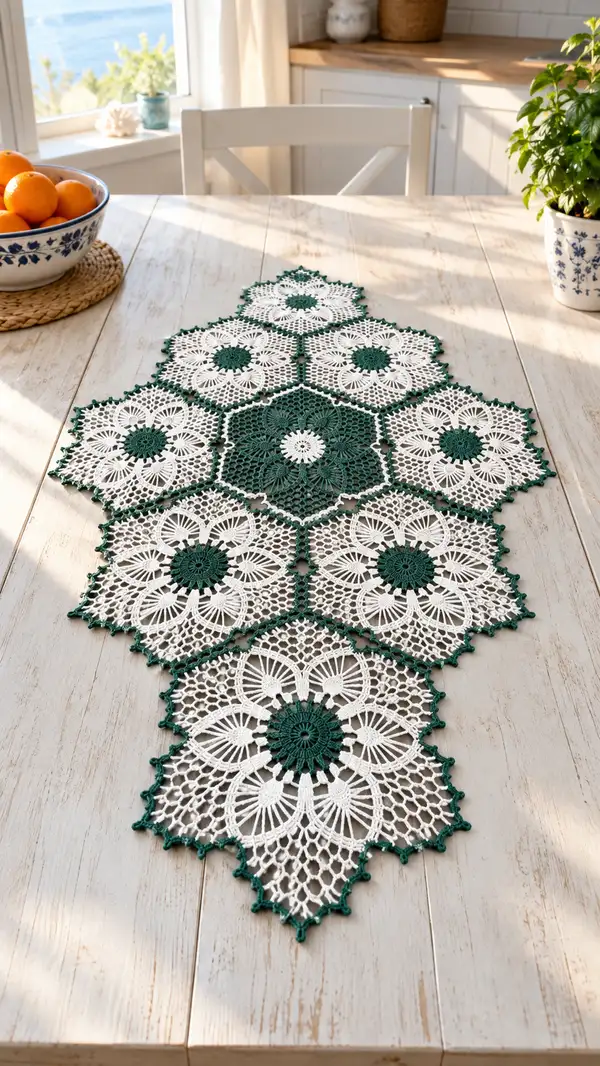
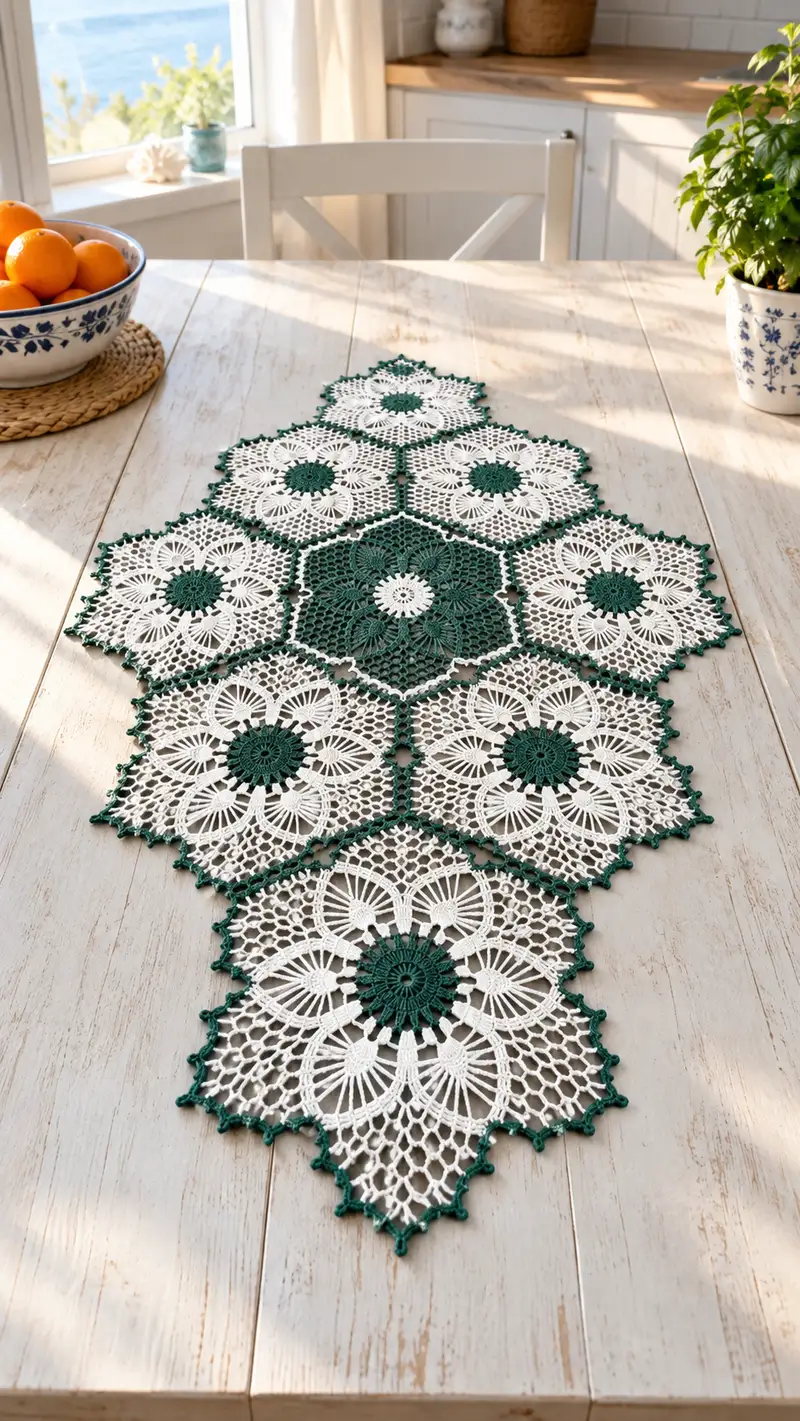
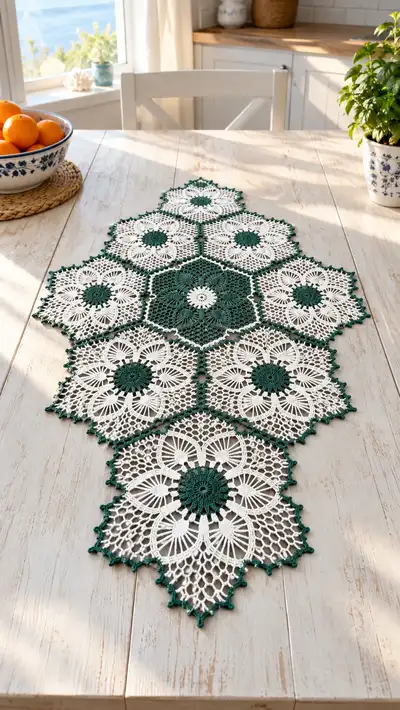
Create a stunning lacy table runner composed of joined hexagon motifs with a deep green contrast center and delicate white lace petals. This elegant runner features openwork petals, decorative picot edging, and a unified green join-and-border that gives a classic vintage look. Modular design makes it easy to adapt length and width to your table. Detailed step-by-step motif and joining instructions included.
Progress Tracker
0% Complete
— Overview :
Info :
This runner is made from 10 hexagon motifs: 1 central hex (green center, green body), 6 white floral hexagons with green small centers, and 3 end/connector hexagons to create the pointed runner shape. Each full floral hex is worked in white thread after a small green center; the central hex starts green and is worked outward in green until the white join round. Work motifs flat, block, then join with green using join-as-you-go or mattress stitch. Final edging is worked in green with decorative picots. Gauge is not critical but use a small hook for crisp lace. Pattern rounds below provide full step-by-step instruction for each motif type and the border.
— Materials & Notes :
Info :
Use size 10 crochet cotton thread and a 1.75 mm hook unless you prefer a denser or looser lace; different thread/hook will change final size. Work tightly and maintain consistent tension. Block each motif well to hexagon points before joining. Use stitch markers to mark corner chains on each hexagon side to ensure consistent shaping.
— Flower Hexagon Motif (White Petals with Green Small Center) :
Round 1 :
Using green: mr, ch1, 12 sc in mr; pull tight and join with sl st to first sc (12)
Info :
Keep the green center relatively tight for contrast. Do not fasten off yet if you plan to change to white in the same round later; otherwise fasten off and weave ends.
Round 2 :
Change to white: join with sl st to any sc, ch3 (counts as dc), dc in same st, (ch2, sk 1 sc, 2 dc in next st) around to create radial spokes; join with sl st to top of starting ch3 (12 clusters and 12 ch2 sps total)
Round 3 :
In each ch2 sp: (ch3, 3 dc, ch3, sl st) into same ch2 sp to form petal loop, sl st to next ch2 sp and repeat around (creates 12 rounded petals) (12 petals)
Info :
Petals can be adjusted to be fuller or slimmer by adding or removing dc in petals; maintain symmetry by keeping petals identical.
Round 4 :
Working behind petals: sl st to base of a petal, ch6, sk petal base and sl st into next base to form chain arches between petals; repeat around to create a ring of ch6 arches (12 arches)
Round 5 :
Into each ch6 arch: (sc, ch3, 5 dc, ch3, sc) to create fan arches that widen the lace (work evenly so each fan sits in its arch) (12 fans)
Round 6 :
Between fans: ch5, sk fan top to next fan base, sl st to next gap to form elongated chain mesh (12 ch5 sps)
Info :
At this stage the motif begins to flatten; use a light tension and check for even spacing across all sides. Place stitch markers at every second fan to mark hexagon corners to guide later rounds toward 6-sided shaping.
Round 7 :
Establish side corners: working in groups of (2 fans per hex side): for each pair: (sc in fan base, ch7, sc in next fan base) then ch1 between side sets for separation; repeat for all six sides (this creates 6 key corner arches) (6 corner arches + 6 small ch1 sps)
Round 8 :
In each corner arch (ch7): (sc, ch3, 7 dc, ch3, sc) to build larger petal sets forming each of the six sides; in each ch1 sp between sides: sl st to secure (this shapes motif into hexagon) (6 side-fans)
Round 9 :
Between each side fan: ch5, sk 3 dc of side-fan, sl st in base to make a lacy net; repeat around to form a netting area between side fans (24 ch5 sps roughly distributed)
Info :
From round 9 onward, count stitches carefully and keep the pattern symmetrical: the motif needs 6 repeat-sides. Use markers at each of the 6 major side centers to avoid drift.
Round 10 :
Work into net arches: into each ch5 sp: (sc, ch4, 3 dc, ch4, sc) to create diamond net sections linking side fans (this increases motif diameter evenly)
Round 11 :
Ch3, *sk next sc, 7 dc cluster into center of next diamond, ch3, sl st into next diamond center; rep from * around to add raised clusters that will read as the inner lace rays (counts vary by spacing - ensure clusters align with 6 sides)
Info :
These raised clusters create the visual petals; keep tension even. If necessary place a pin at the center of each side to keep six-sided geometry during the next rounds.
Round 12 :
Ch6, sk cluster, sl st to create longer chain wings between clusters; repeat around to open lace and prepare for final lace filet section (number of ch6 sps equal to number of net diamonds)
Round 13 :
Work mesh row: in each ch6 sp: (sc, ch5, sc) to create flexible mesh; this is the transition zone to the final filet lace (mesh counts correspond to previous round arches)
Round 14 :
Start shaping points: *(ch4, sk next sc, sc into next sc) x repeat across side until you reach corner marker, at corner work (sc, ch8, sc) to form point; rep for all 6 corners
Round 15 :
Along each side between corner points: (ch3, sc into mesh base, ch3, sc) to create a laddered net; at each corner work a cluster of (sc, ch5, sc) to emphasize points (this completes the lacy hexagon body)
Info :
Fasten off and weave in ends if you like, or continue with decorative picot edging in green during assembly. Block the motif into a neat hexagon using the corner chains as points; pin carefully and steam or use spray starch per thread instructions.
— Central Green Hexagon Motif (Larger central hex, green) :
Round 1 :
Using green: mr, ch1, 12 sc in mr; pull tight and join with sl st (12)
Round 2 :
(1 sc, inc) x6 (18)
Round 3 :
(2 sc, inc) x6 (24)
Round 4 :
(3 sc, inc) x6 (30)
Info :
These increases set up the six-sided growth. Place stitch markers at the end of each repeat to mark 6 side centers for later shaping.
Round 5 :
(4 sc, inc) x6 (36)
Round 6 :
(5 sc, inc) x6 (42)
Round 7 :
(6 sc, inc) x6 (48)
Info :
Now create textured petals in green: this center will be more solid than surrounding motifs, so work slightly denser stitches to provide visual weight.
Round 8 :
*ch3, sk next sc, 3 dc in next st, ch3, sl st into the next sk st base; rep around to create raised spokes (48 spacing points)
Round 9 :
Into each ch3 arch: (sc, ch5, sc) to build lattice under spokes (48 ch5 sps)
Round 10 :
Form side fans: at each group of 8 sts (approx two spokes per side): (sc, ch7, sc) to mark side centers; repeat to have 6 larger arches representing each side (6 large ch7 arches)
Round 11 :
In each ch7 arch: (sc, ch3, 9 dc, ch3, sc) to build the side fan (6 fans)
Round 12 :
Work mesh between fans: ch6, sl st to fan base, repeat creating an even net that brings motif to a larger hexagonal diameter (counts will vary; ensure even spacing between 6 fans)
Info :
Block this central hex larger than the floral motifs so it reads as the visual anchor. If you want a deeper center, add another solid round of sc in green before working fans.
Round 13 :
Into each net arch: (sc, ch5, sc) to strengthen mesh (this helps when joining motifs later)
Round 14 :
Create corner picot anchors: at six equally spaced points work (sc, ch4, picot, sc) to produce small raised points that will align with adjacent motifs (6 anchors)
Round 15 :
Even round: sc in each st around to even out the edge and reach desired diameter (estimate 96-108 sts depending on spacing)
Info :
Fasten off and block to exact shape; the central hex should fit neatly with neighbor motifs. Weave in ends. If you prefer a thinner center, substitute some rounds with ch-based lace instead of sc rounds.
— Small Connector Hex Motif (Used between flower motifs) :
Round 1 :
Using green: mr, ch1, 6 sc in mr (6)
Round 3 :
(1 sc, inc) x6 (18)
Round 4 :
(2 sc, inc) x6 (24)
Info :
This small hex is designed as a tiny hexagon connector that fills small gaps and forms crisp join points when motifs are tessellated. Keep it tight and flat.
Round 5 :
1 sc in each st around (24)
Round 6 :
*(ch3, sk 1 st, sl st) around to form small arches; join (24 arches)
Round 7 :
Into each ch3 arch: sc, ch2, sc to form a simple lacy ring (24 small fans)
Info :
Use these connector motifs to fill the small gaps between large hexagons where the pattern requires a small central join point. You may substitute a small ring of ch and sc instead if you prefer fewer motifs to sew.
— Joining Motif Rows & Join-As-You-Go Technique :
Info :
We recommend joining motifs using a join-as-you-go (JAYG) slip-stitch method during the final round of the floral hexagon (when working the corner anchors or picot points). Alternatively, block all motifs and join with whip stitch or mattress stitch using green. The JAYG method produces a tidy single-colored seam that reads like part of the border.
Round (JAYG step) :
On the floral/white motif final round: when you reach a corner anchor that will meet an adjacent motif, sl st into the corresponding anchor st on the blocked adjacent motif instead of working the ch or sl st in your own motif. Continue the round, alternating between working your own edging and joining to neighboring motifs, so that each join is made at the same point on both motifs.
Info :
Pin both motifs together on the blocking board to align points before joining. For each join count the same number of sts between joins so the seam lies flat. If you have multiple motifs to join on one side, join the second and third motifs sequentially to distribute tension evenly.
Round (Alternate sew join) :
If sewing after blocking: with green thread and yarn needle, mattress stitch through edge loops on both motifs at equal intervals; avoid pulling too tight. Secure at start and end with several backstitches then weave ends into the seam.
Info :
When joining hexes in the runner arrangement, assemble them flat in the pattern: start from the bottom-most motifs and work up to the central hex, then attach the top motifs. This prevents distortion and concentrates joins toward the center as you build outwards.
— Full Layout & Assembly Order :
Info :
Suggested layout (from one pointed end to the other): 1 floral hex, 2 floral hexes side-by-side, 3 hexes across the central width with central green hex in the middle row, then mirror back down to 1 at far end. Place the central green hex in the center row and join surrounding floral hexes around it to create the triangular/pointed runner silhouette shown.
Info :
Pin all motifs down after blocking and before final joining. Check that the runner shape is symmetrical. Adjust by easing joins or removing/adding a connector motif if necessary.
— Decorative Border & Picot Edge (worked in green) :
Round 1 (Border start) :
With green, join at any edge st of the assembled runner, ch1, sc evenly around entire runner edge, working 2 sc in outside corner points to maintain flatness (maintain stitch count approximate to number of edge sts; aim for uniform spacing)
Info :
Measure as you go; if fabric pulls in add an extra sc in a wider area to ease tension. Conversely, if edge ruffles, decrease or sc fewer sts on next round to flatten.
Round 2 :
1 sc in each st around (even out counts), sl st to join (this evens the working base for picots) (st count same as previous round)
Round 3 :
*sc, ch3, picot (ch3, sl st in first ch), sc into next 3 sts, rep around to create spaced picots along edge; at points where motifs meet, work picot over seam to visually connect motifs (picots spaced every 4 sts roughly)
Info :
If you prefer a subtler edge, work (sc, ch2, sl st) picots instead. For a more pronounced beaded look, increase to ch4 picots and use slightly larger loops.
Round 4 :
Finish with one even sc round to lock picots: 1 sc in each st and picot loop around, sl st to join, fasten off and weave ends
Info :
Block entire assembled runner carefully: pin out all motif points evenly, use plenty of pins along edges and inside mesh areas, and allow to fully dry with starch or spray if using stiffener for a crisp, flat result.
— Optional Small Decorative Details :
Info :
If you want an extra decorative center in the green hex, work a small raised rosette by slip-stitching a small spiral of green chain and sewing it to the motif center. You can also add a tiny bead at each picot point for sparkle; secure beads before final blocking.
— Final Finishing Tips :
Info :
Weave all ends on the back of the runner neatly and trim close. If the runner feels too limp, mist lightly with fabric starch and reshape on the blocking board until dry. For storage, roll instead of folding to avoid point creases.
Putting the final border on this runner brings everything together — the green centers anchor the airy white petals and the picot edging gives a touch of refinement. Blocking is the final magic step: pin, steam or spray, and watch the lace open into perfect hexagon points. I hope this project becomes a treasured tabletop accent in your home — enjoy the slow, satisfying rhythm of lace crochet and the beautiful result you made by hand. 🧶✨