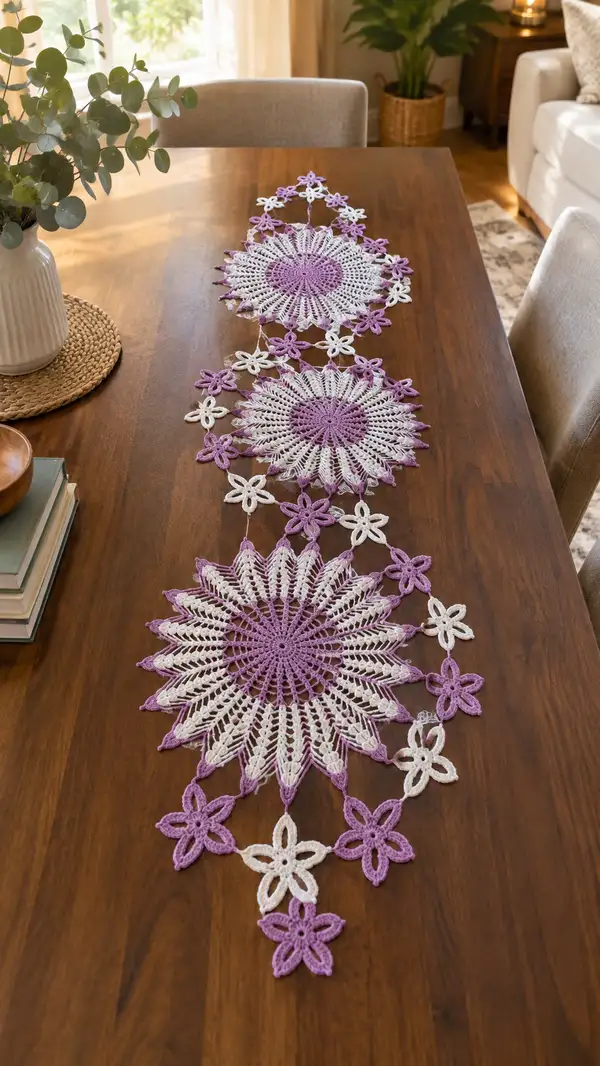
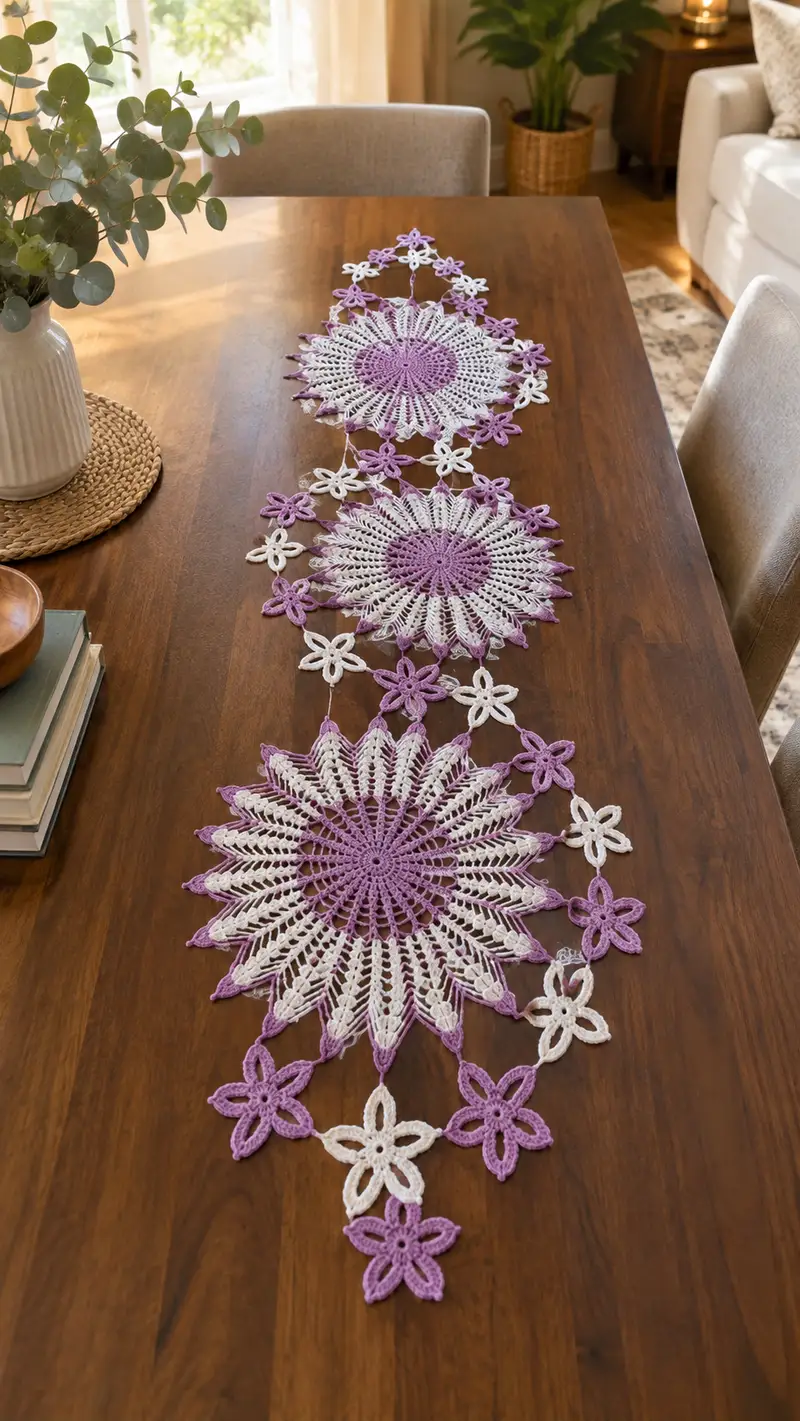
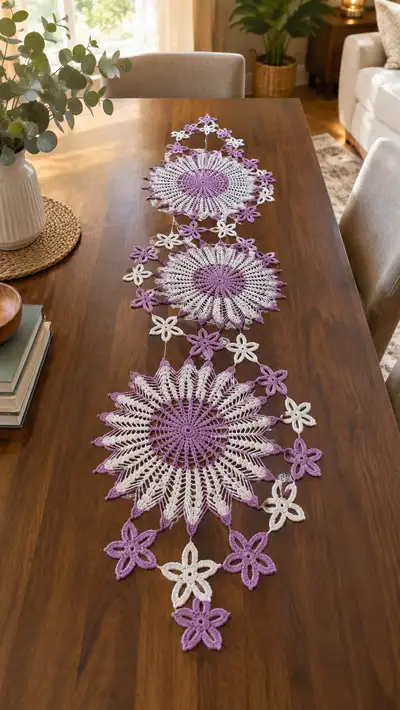
Create a beautiful lacy table runner featuring three large mandala medallions joined by delicate six-petal flowers in alternating lavender and cream. This pattern uses simple motifs repeated and joined-as-you-go to create an elegant, airy runner perfect for dining tables, sideboards, or as a seasonal centerpiece. The layered petals and scalloped edges give a vintage-meets-modern look, while the join motifs add a whimsical flow down the length of the runner.
Progress Tracker
0% Complete
— Pattern Notes :
Info :
This runner is built from three identical large mandala medallions and a set of repeating six-petal flower motifs used as connectors. Medallions are worked in two colors to create the lavender/cream effect as shown in the photo. All rounds are worked continuously in the round unless otherwise noted; use a stitch marker to mark the first stitch of each round and move it up as you go. Gauge is not critical for fit but matters for drape; blocking opens the lace and evens petals.
Info :
Read through entire pattern before starting. Colors: I will refer to Lavender and Cream; change colors where directed. Carry color not in use along wrong side if you prefer fewer ends to weave in, or fasten off and rejoin for crisp color changes.
— Large Mandala Motif (Make 3) :
Round 1 :
6 sc in magic ring (6)
Round 3 :
(1 sc, 1 inc) x 6 (18)
Round 4 :
(2 sc, 1 inc) x 6 (24)
Round 5 :
(3 sc, 1 inc) x 6 (30)
Round 6 :
(4 sc, 1 inc) x 6 (36)
Round 7 :
(5 sc, 1 inc) x 6 (42)
Round 8 :
(6 sc, 1 inc) x 6 (48)
Info :
Switch to Lavender for this round if you want a colored center. Counting repeats in groups of 6 keeps radial symmetry. Place marker after first stitch each round.
Round 9 :
(3 sc, 1 inc) x 12 (60)
Round 10 :
(4 sc, 1 inc) x 12 (72)
Round 11 :
(5 sc, 1 inc) x 12 (84)
Round 12 :
(6 sc, 1 inc) x 12 (96)
Info :
Rounds 9-12 increase to create space for the spoke-like petal pattern. You should now have 12 major spokes around the medallion. If using two colors, change to Cream after Round 12 for the lacy spokes to show contrast.
Round 13 :
Ch 3 (counts as first dc), *sk next st, dc in next, ch 1, dc in sk st (crossed dc creating a small arch)*; rep from * around (96)
Round 14 :
Ch 3, dc in each dc and ch-1 sp around to the end (96)
Round 15 :
*Ch 5, sk 3 sts, sc in next st* around to create open chain spokes; adjust number of chains if your tension varies (96)
Info :
Check layout: after Round 15 you should see 12 open chain spokes (groups) forming the beginning of each petal. If any spokes look squashed, block lightly before continuing outer shaping.
Round 16 :
Working into chain loops from previous round: *(sc, hdc, 5 dc, hdc, sc) into each ch-5 loop* around (12 shells; stitch count remains 96 but worked as 12 shells)
Round 17 :
Ch 1, sc in same st, *ch 4, sk shell center, sc in top of next shell* rep around creating picot-like arches between shells (96)
Round 18 :
Into each ch-4 arch: (sc, hdc, 7 dc, hdc, sc) to elongate petals (12 tall petals; working density still corresponds to 96 counted stitch positions)
Info :
These tall petals are the visual focal point. Use a slightly smaller hook for Rounds 16-18 if you prefer more upright petals. Also maintain consistent tension when working long dc clusters.
Round 19 :
Ch 1, sc in top of first dc cluster, *ch 3, sk center of petal, sc in top of next cluster* around to create smaller arches defining points (12 arches)
Round 20 :
Into each ch-3 arch: *(sc, 3 dc, sc) in arch* to form a pointed cap atop each petal (12 points; stitch count represented as 12 caps)
Round 21 :
Ch 2 (counts as hdc), hdc in same st, *sk to middle dc of each petal, 5 tr cluster into middle, hdc in next sc to anchor* repeat around (12 clusters; approx stitch positions remain grouped into 96 placements)
Info :
When working clusters and trebles, keep consistent stitch height to maintain even outer edge. If your petals begin to curl, block and adjust tension or reduce treble height by substituting dc if desired.
Round 22 :
Ch 1, sc around each outer stitch and into small spaces between clusters to even edge (approx 96)
Round 23 :
*Ch 4, sl st into tip of each petal (creating chain picots between points)* around (12 picots)
Round 24 :
Switch color now if desired to create contrasting outer edge. Join new color with sl st to any sc and ch 1, sc in same st, *ch 6, sc in next sl st between picots* around to create elongated connectors (12 loops)
Round 25 :
Working into each ch-6 loop: *(sc, hdc, 7 dc, hdc, sc) to form delicate outer scallops* around (12 scallops)
Info :
At this stage decide whether you want a very lacy filigree edge or a stronger framed edge. For a firmer edge, replace some dc with hdc; for more open lace, add chains within scallops. Keep in mind that blocking will open and smooth these shapes.
Round 26 :
Ch 3, dc around each scallop and add a small picot at the tip: *(3 dc, ch 3, sl st into top dc)* repeat in each scallop (12 outer picoted points)
Round 27 :
Ch 1, sc evenly around entire outer edge in each dc and st to stabilize and finish (approx 96)
Round 28 :
For more points: *into each outer picot: (sc, ch 3, sc)* to add decorative loops between points (12 added loops)
Round 29 :
Optional decorative row: switch back to Lavender; join with sl st and work 1 sc in each st BLO around to create a neat raised ridge (approx 96)
Round 30 :
Final outer finishing: *(ch 2, sc) into each picot or loop to create tiny scallops; fasten off and weave in ends securely
Info :
Fasten off leaving long tail if you plan to join medallions directly by sewing. If you prefer join-as-you-go, do not fasten off; instead slip-stitch to next motif when ready. Block medallions flat, pinning each petal tip to open lace fully. Use light steam or a wet-block method.
— Small Six-Petal Flower Motif (Make 18-22 for connectors) :
Round 1 :
6 sc in magic ring (6)
Round 3 :
(1 sc, 1 inc) x 6 (18)
Round 4 :
*ch 5, sl st into next sc* around to create 6 loops (6 ch-5 loops)
Round 5 :
Into each ch-5 loop: *(sc, hdc, 5 dc, hdc, sc)* to create petal, rep around (6 petals)
Round 6 :
Ch 1, sc around base of petals and in spaces between petals for stronger hold (approx 36)
Round 7 :
Optional picot edging: *sc in next st, ch 3, sl st into same st* repeat around each petal tip (6 picot tips)
Round 8 :
Fasten off leaving a 20-30 cm tail for joining. Weave in any short ends but keep the join tail to sew motifs together or to slip-stitch when connecting.
Info :
Make small flowers in alternating colors (Lavender, Cream) to match photo and layout. Block flowers flat to open petals and make joining easier. Number of small flowers depends on how far apart you space medallions; plan 6-8 flowers between medallions and additional flowers at ends for the flowy look.
— Connector Chains & Join-as-you-go Instructions :
Round 1 :
Decide connection points: for each Large Mandala, choose 4-6 equally spaced outer loops where small flowers will attach. Mark these with pins during blocking.
Round 2 :
Make long slip-stitch chains or ch-chains between flowers to create a delicate strand: ch desired length (generally 10-20 ch depending on stretch) then join to next flower with sl st at center back of petal (do not twist chains)
Round 3 :
Join small flower motifs by sewing through back loops of petals and through chain stitches for a neat flat seam. Use tail left from flower to whip-stitch through corresponding marks on medallion edge and secure firmly.
Info :
For a clean look use slip-stitch join on wrong side where possible and hide ends inside chain strands. Work joins loosely enough for slight drape yet tight enough so motifs do not flop apart.
Round 4 :
For join-as-you-go option: When finishing a medallion outer scallop where a small flower attaches, instead of fastening off, ch specified number and sl st to center of small flower before finishing scallop. Continue medallion rounds then move to next join.
Round 5 :
If using sewing method: lay out all medallions and flower motifs in final arrangement on blocking board; pin positions and confirm symmetry before sewing. Use invisible ladder stitch or whip-stitch to join motifs securely.
Info :
Alternate between slip-stitch chaining and sewing for variety in drape. The photo shows many small flowers connected by short chains—mimic by keeping chain lengths between 6-14 ch for a gentle undulating line.
— End-Point Flower Clusters (Make 6 for each end) :
Round 1 :
Make 3 small flower motifs and join them in a triangle cluster: sew centers together with whip stitch or join by sl st through center back loops.
Round 2 :
Sew this cluster to medallion outer points so cluster hangs off the edge as in photo, creating a tapered finish to runner ends.
Info :
Create mirror-image clusters for both ends of the runner to balance the visual flow. Trim tails and weave them into cluster backs tightly for a neat finish.
— Optional Edging Variation (Delicate Picot Edge) :
Round 1 :
Using contrast color, join with sl st on wrong side at any outer sc and work 1 sc in each st around outer edge to create a base round (approx 96 per medallion)
Round 2 :
*Ch 3, sl st in next sc* across entire outer edge to form uniform tiny loops (approx 48-96 depending on spacing)
Round 3 :
Into each loop: (sc, ch 2, sc) making delicate loops or tiny scallops; fasten off and weave in ends
Info :
This optional edge gives a finished frame to each medallion and helps secure attachment points for small flowers. If you prefer a raw, airy look, skip this and join flowers directly to the scallops.
— Blocking & Finishing :
Info :
After completing all motifs and joining, wet-block the entire runner. Pin each petal tip to open the lace and stretch connectors to desired length. Allow to dry completely before removing pins. For extra stiffening, use light starch or diluted fabric stiffener and reshape as desired.
Info :
Weave in all ends on wrong side using yarn needle. For a very secure finish, knot join ends in the center of motifs then weave through several stitches. Trim threads close but avoid cutting too short to allow for reworking if needed.
This lacy lavender and cream runner is a delightful project that combines pretty mandala medallions with delicate floral connectors to create a romantic centerpiece. The modular construction makes it easy to work a bit at a time and see the runner grow as you join each motif. Blocking transforms the motifs into elegant, defined petals, giving a professional finish you will be proud to display. 🧶🌸 Add it to your home for an instant handcrafted accent or gift it to someone who loves delicate home decor. Happy crocheting! ✨