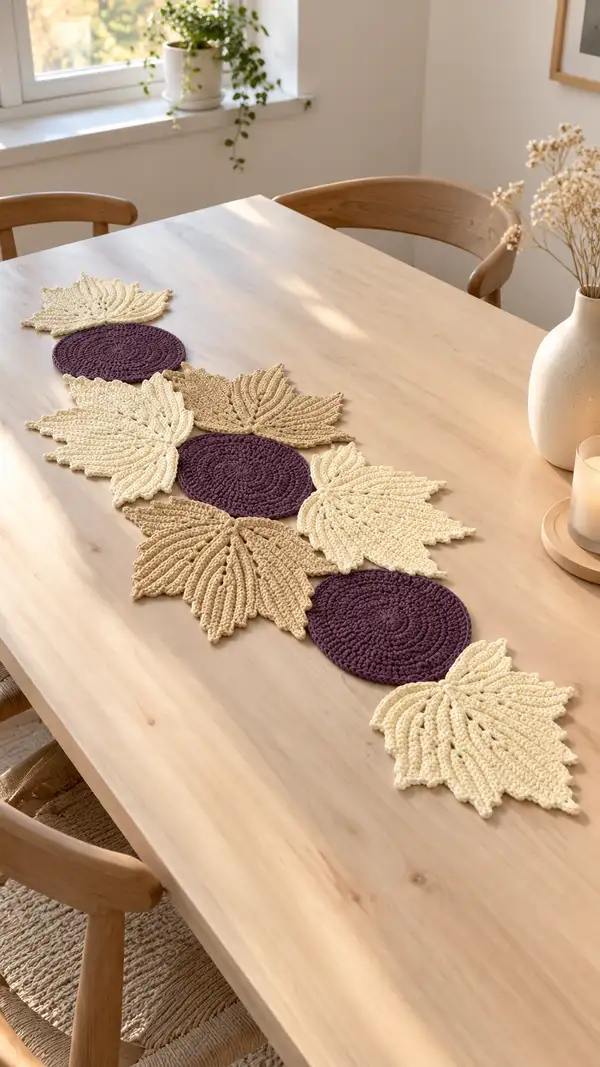
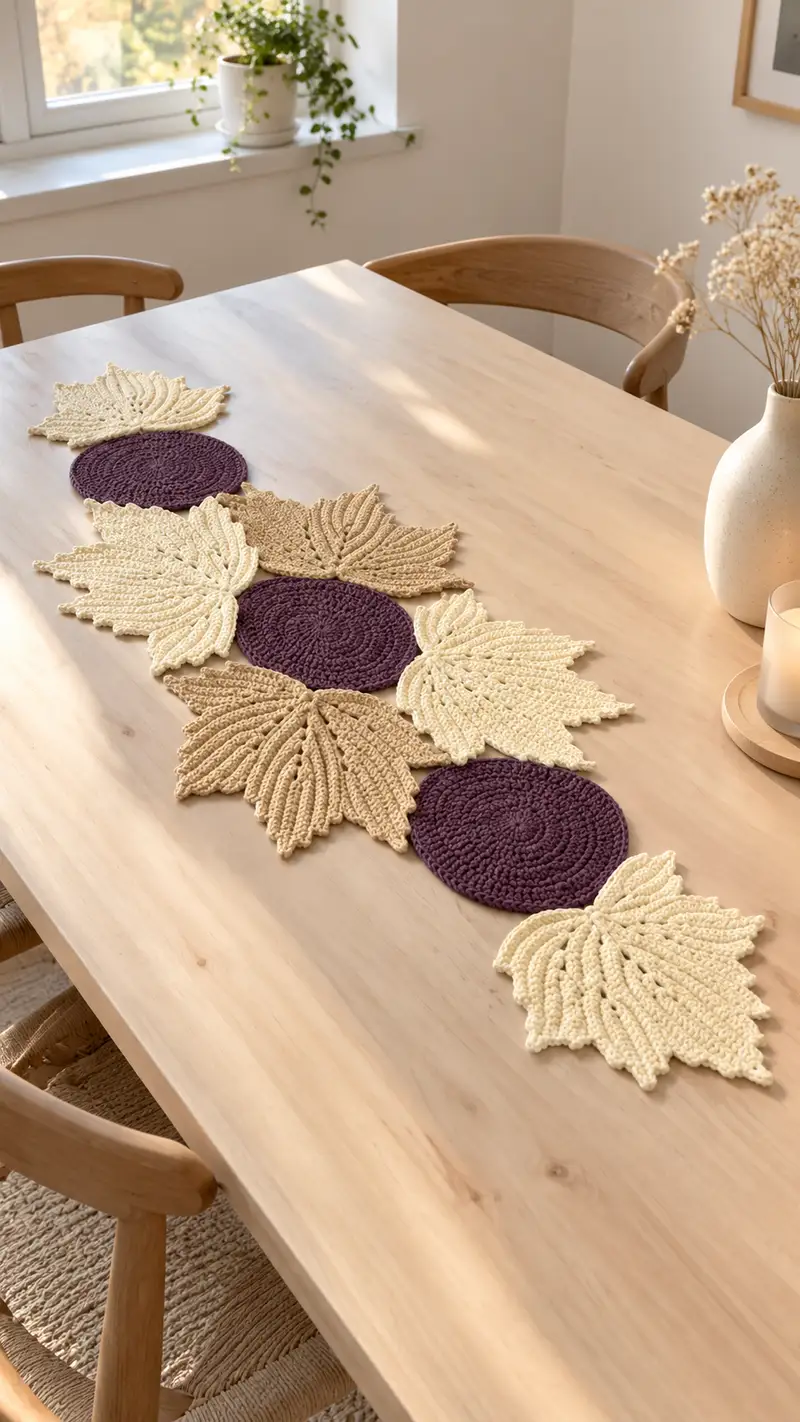
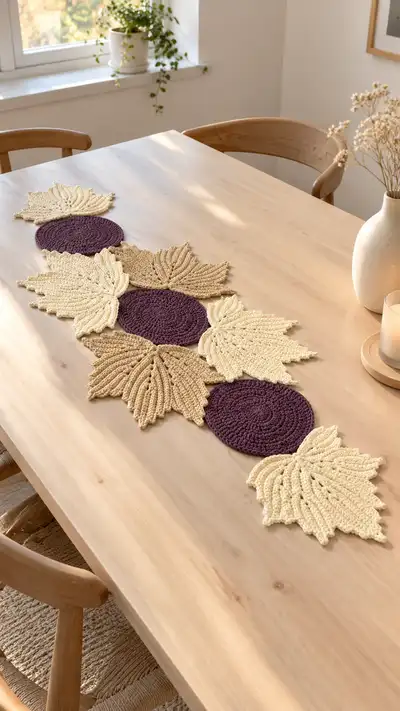
Create a stunning layered table runner made from round motifs and sculpted ribbed leaves. This pattern uses a mix of flat circular medallions in a rich plum and sculpted cream and tan leaves worked with post stitches for a pronounced texture. The motifs are crocheted separately and joined into an elegant runner perfect for dining tables or sideboards.
Progress Tracker
0% Complete
— Circular Medallion (Make 3) :
Round 1 :
6 sc in magic ring (6)
Round 3 :
(1 sc, inc) x 6 (18)
Round 4 :
(2 sc, inc) x 6 (24)
Round 5 :
(3 sc, inc) x 6 (30)
Info :
Use a stitch marker at the first stitch of each round if working in joined rounds or counting becomes difficult; this medallion is worked in continuous rounds for a smoother spiral look
Round 6 :
(4 sc, inc) x 6 (36)
Round 7 :
(5 sc, inc) x 6 (42)
Round 8 :
(6 sc, inc) x 6 (48)
Info :
If you prefer a slightly larger medallion work one additional increase round: (7 sc, inc) x 6 to reach 54 sts; keep in mind layout spacing when making all medallions consistent
Round 9 :
1 sc in each st (48)
Round 10 :
1 sc in each st (48)
Round 11 :
1 sc in each st (48)
Info :
Maintain even tension; if the medallion begins to cup, try using a slightly larger hook for the next round, and if it ripples, switch to a slightly smaller hook
Round 12 :
1 sc in each st (48)
Round 13 :
1 sc in each st (48)
Round 14 :
1 sc in each st (48)
Round 15 :
1 sc in each st (48)
Info :
You can add texture by substituting every 6th round with a round of hdc to thicken the medallion slightly; mark that round for consistency across all medallions
Round 16 :
1 sc in each st (48)
Round 17 :
1 sc in each st (48)
Round 18 :
1 sc in each st (48)
Info :
Fasten off leaving a 20-25cm tail for joining. Weave in the small tail into the back of the medallion to create a neat finish and to avoid bumps under the joining leaf.
Round 19 :
Optional: Join two rounds with slip stitch in BLO for a subtle ridge (48)
Round 20 :
Optional final tidy round: sl st in each st to flatten edge and prepare for joining (48)
— Sculpted Leaf Motif (Make 8–10, cream & tan) :
Info :
The leaf is worked in a flat row-round style: a central chain forms the spine and we work across one side, create a rounded tip, and return down the opposite side. This creates a symmetrical leaf that lies flat. Use front- and back-post double crochets (fpdc/bpdc) for pronounced ribs. Work with slightly smaller hook if you want a firmer leaf.
Round 1 :
Ch 14, 1 sc in 2nd ch from hook and in each ch across to last ch, 3 sc in last ch; continue down opposite side of chain, 1 sc in each ch back to beginning (total 29)
Round 2 :
Ch 1, sc in first 3 sts, 2 sc in next st, sc in next 7 sts, 2 sc in next st, sc in next 3 sts, 2 sc in next st, sc in remaining (increase points placed evenly) (33)
Round 3 :
Ch 1, sc around maintaining symmetry: (sc 4, inc) across both sides mirrored; place increases at the three tip points (37)
Info :
From here we will build vertical ribs by working fpdc and bpdc groups on alternating rounds to form raised veins. Keep your stitch marker at the first stitch to keep track of the start of each round while you shape.
Round 4 :
Ch 2 (counts as hdc), hdc in next 3 sts, (hdc, fpdc) in next 2 sts to start rib, *hdc in next 4 sts, (hdc, fpdc) in next 2 sts; rep from * once, hdc in remaining sts (keep counts symmetrical) (41)
Round 5 :
Ch 1, sc around in each st BLO to create a defined outer edge (41)
Round 6 :
Ch 2, dc in next 2 sts, fpdc around next 3 sts to raise central rib, dc in next 6 sts, fpdc around next 3 sts, dc in remaining sts (41)
Round 7 :
Ch 1, sc in each st (41)
Info :
As you work post stitches, pull the post stitch up slightly to exaggerate the rib for a more sculpted leaf. Keep tension even so that the leaf does not pucker.
Round 8 :
Ch 2, (dc 2, fpdc 2) across central area, dc around curve tips to maintain shape (41)
Round 9 :
Ch 1, sc in each st (41)
Round 10 :
Ch 2, increase at 4 evenly spaced points to lengthen leaf: (dc, inc) at each increase point across both sides (45)
Round 11 :
Ch 1, sc in each st (45)
Round 12 :
Ch 2, work alternating fpdc and bpdc rows to create deeper ribs: fpdc around 4 sts, bpdc around next 4 sts, rep across (45)
Round 13 :
Ch 1, sc around in each st (45)
Round 14 :
Ch 2, dec shaping at base of leaf: (dc 6, dec) x 4 to narrow base while keeping ribs defined (41)
Round 15 :
Ch 1, sc around (41)
Info :
From rounds 10–16 the leaf will reach full size; pause and place it on a flat surface to check shape and symmetry before proceeding with tip scalloping.
Round 16 :
Ch 2, work tip scallop: in each of four tip sections work (sc, hdc, dc, hdc, sc) to create rounded lobes (41)
Round 17 :
Ch 1, sc around (41)
Round 18 :
Ch 2, add small picot edges along leaf perimeter: *sc 3, picot (ch 3, sl st in 3rd ch from hook), sc 3; rep across edge (41)
Round 19 :
Ch 1, sc around to tidy picot bases (41)
Round 20 :
Ch 2, work an additional row of fpdc along each major rib to deepen texture; place 6 fpdc sets evenly (41)
Round 21 :
Ch 1, sc around (41)
Round 22 :
Ch 2, decrease round to refine base: (dc 5, dec) x 5 (36)
Round 23 :
Ch 1, sc around (36)
Round 24 :
Ch 2, gentle shaping round: dc in each st (36)
Round 25 :
Ch 1, sc around (36)
Info :
Fasten off leaving a 20–25 cm tail for sewing. Lightly block each leaf flat to open the ribs and set shape. Use pins on a blocking board and mist lightly, then let fully dry before assembly.
Round 26 :
Optional: Work a final decorative edge in cream or contrasting tan: sc in each st BLO to form a rim (36)
Round 27 :
Optional decorative stitches: add small raised veins with surface slip-stitch embroidery along the center of each rib
Round 28 :
Optional: add 3 small chain loops at the base to ease joining to medallion if required
Round 29 :
Optional finishing: weave in ends and trim
Round 30 :
Leaf complete; repeat to make 8–10 total leaves mixing cream and tan to match layout
— Small Connecting Petal Motif (Make 4) :
Round 1 :
6 sc in magic ring (6)
Round 3 :
(1 sc, inc) x 6 (18)
Round 4 :
(2 sc, inc) x 6 (24)
Round 5 :
1 sc in each st (24)
Round 6 :
Form petal tip: *ch 6, sl st to base to form a looped petal; rep 6 times evenly around to create 6 small petals; end with sl st (24)
Info :
These small connectors are used to fill gaps and anchor leaves to medallions; make them in neutral colors for a seamless look
Round 7 :
Round of sc in BLO to flatten base for sewing (24)
Round 8 :
Fasten off leaving long tail for sewing
Round 9 :
Optional: add single row of slip-stitch around petals for crisp edges
Round 10 :
Connectors complete
Round 11 :
Make 4–6 to use between medallions and leaves
Round 12 :
Set aside for assembly
— Joining & Assembly (Join medallions, leaves, connectors) :
Info :
Layout your runner on a flat surface before sewing. The sample uses 3 plum medallions spaced evenly with leaves radiating between them. Pin motifs in place, keeping symmetry: medallion - 3 leaves - medallion - 3 leaves - medallion. Use small connectors to fill gaps and create smooth transitions. We recommend joining with a matched yarn and an invisible whip stitch or slip-stitch join-as-you-go technique.
Round 1 :
Position first medallion in center; align three leaves around it: one at top, two at sides (pin each leaf with tip pointing outward). Using tapestry needle and long tail, sew leaf base to medallion edge with neat whip stitch through adjacent sc loops (stitch evenly across base until secure)
Round 2 :
Attach small connecting petal between each leaf base and medallion edge: with yarn tail, whip-stitch connector to both motifs to create a flat, secure join (use 6–8 stitches per join)
Round 3 :
Repeat joining for second medallion then arrange final medallion; link the medallions with pairs of leaves overlapping between medallion edges so the runner reads as continuous
Round 4 :
Once all motifs are pinned and tentatively sewn, flip the runner over and add reinforcement stitches along each joining seam: single crochet through both layers along the joint using a 3.5 mm hook for a tidy corded seam (work sl st or sc across joint to close any gaps)
Info :
When sewing leaves to medallions, aim for the leaf base to overlap about 6–8 sts of the medallion edge for a stable seam. Keep stitches small and close to the edge so seams are not visible from the right side.
Round 5 :
Trim any excess tails and weave them into the back of nearby stitches for a clean finish
Round 6 :
Check runner for gaps; where small open spaces remain, add an extra connector or create a small surface chain and sl st to close the hole
Round 7 :
Optional: Hand-stitch a few strategic cross-stitches at overlapping leaf tips to keep leaves lying flat when the runner is handled
Round 8 :
After assembly, lightly block the entire runner to even out joins. Pin flat and steam or mist lightly then let dry.
Round 9 :
Optional: add a crocheted underside ledger row by single crocheting along the bottom edge through both layers to give a finished backing (sc through both layers, spacing evenly)
Round 10 :
Assembly complete; check every seam and reinforce if needed
— Decorative Border & Final Finishing :
Info :
The decorative border unifies the runner and gives a polished edge. Work the border after all motifs are joined. Use a 4.0 mm or 3.5 mm hook depending on how tight you want the edge to be. Work evenly around the entire runner, picking up stitches across medallion edges and leaf tips.
Round 1 :
With cream yarn, join at an unobtrusive point with sl st; ch 1, sc evenly along the edge of the runner, working approximately 1 sc per visible stitch (st count varies by runner width)
Round 2 :
Sc in each st around; at leaf tips work (sc, picot, sc) into the tip to create delicate points; at medallion curves work 2 sc in same st to maintain flatness
Round 3 :
1 sc in each st BLO to form a neat inner ridge (this uses the back loops of the last round to create a corded effect)
Round 4 :
Decorative round: *ch 3, skip 1 st, sc in next st; rep around to make scallops; where scallops meet seams use sc to maintain even tension
Round 5 :
Optional: Work one final round of crab stitch (reverse sc) around the outermost edge to create a clean, slightly raised finish
Round 6 :
Fasten off and weave in ends carefully on the back side
Info :
Final blocking will relax the border and even out scallops. Pin scallops gently to desired shape and mist lightly or steam at a safe distance; allow to dry completely before use.
Round 7 :
Care instructions: hand wash gently in cool water and reshape while damp; avoid tumble drying to preserve shape
This table runner marries sculptural texture with modern color contrast to bring a cozy, hand-crafted accent to your table. Each medallion and leaf is made separately, giving you the freedom to personalize colors and layout. The layered ribs and scalloped edges create a luxurious tactile surface that feels like a small celebration on any table. 🧶🌿 Enjoy the process of making each motif and take pride in stitching them together into a cohesive, elegant runner. Happy crafting and display proudly! ✨