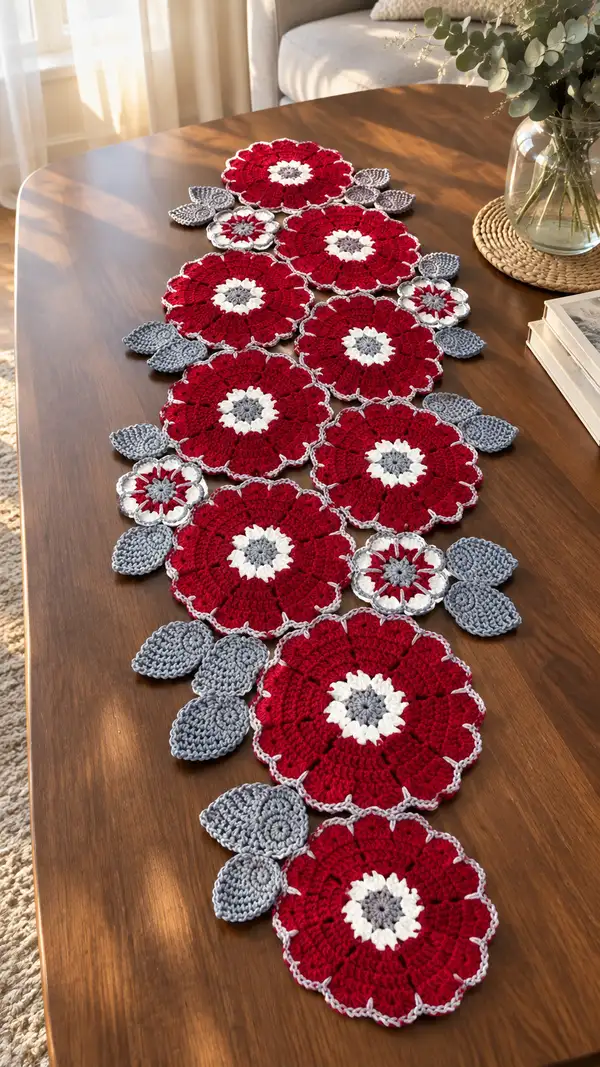
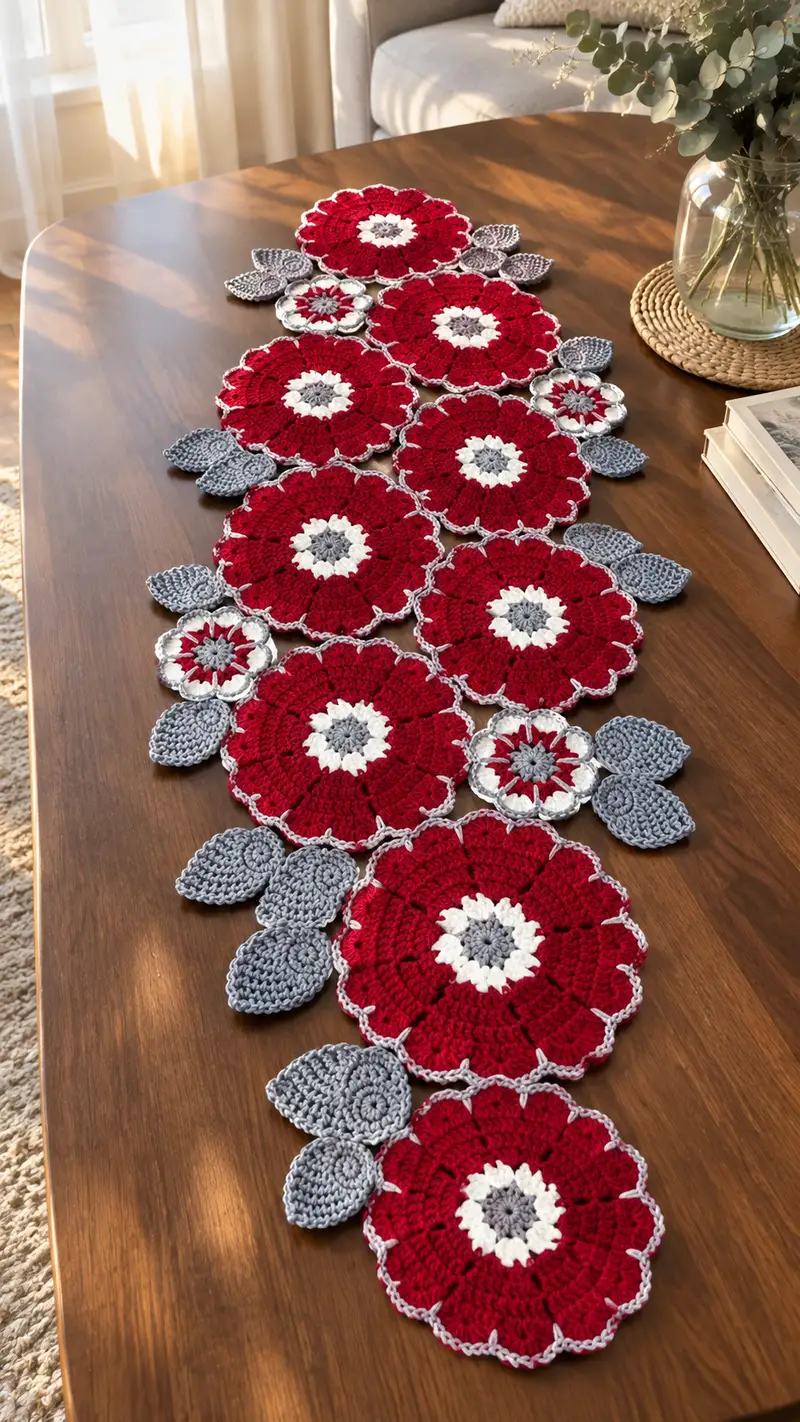
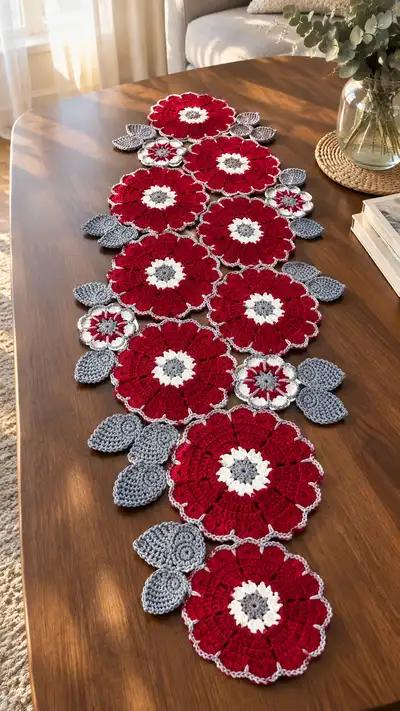
A striking, floral table runner composed of large poppy-style motifs, smaller star flowers, and delicate gray leaves joined into a flowing centerpiece. Bold red petals with crisp white and gray centers create a modern, festive contrast. Designed to lie flat on a dining or console table, the motifs are joined with a soft gray chain edge for a handmade, polished finish. This pattern includes clear motif instructions, joining steps, and finishing tips so you can create a beautiful statement runner.
Progress Tracker
0% Complete
— Notes & Gauge :
Info :
Gauge is approximate for motifs: one large flower motif measures roughly 18-20 cm (7-8 inches) across after blocking when using worsted weight yarn and a 5.0mm hook. Make a test motif to confirm tension. The runner in the photo is constructed of 9 large flowers, 4 small flowers and 18 leaves arranged in an elongated cluster; make more or fewer motifs to fit your table.
Info :
Color sequence used in photographs: Center small round in medium gray, next round in white, main petal body in deep red, with light gray join and leaf color. You can substitute any palette but keep contrast between center and petals for best effect.
— Large Flower Motif (Make 9 or as many as needed) :
Round 1 :
With medium gray, 6 sc in mr (6)
Round 2 :
Inc in each st around (12)
Round 3 :
(1 sc, inc) x 6 (18)
Info :
Center is a tight small circle; use a small amount of tail to pull ring closed but do not fasten off yet if you prefer to carry gray to next round.
Round 4 :
Change to white. (2 sc, inc) x 6 (24)
Round 5 :
(3 sc, inc) x 6 (30)
Info :
White rounds form a small star ring; weave in tail or carry it if you prefer continuous color changes for a neater back.
Round 6 :
Change to red. (4 sc, inc) x 6 (36)
Round 7 :
(5 sc, inc) x 6 (42)
Round 8 :
(6 sc, inc) x 6 (48)
Round 9 :
1 sc in each st (48)
Round 10 :
1 sc in each st (48)
Info :
Rounds 9-10 build the depth of the bloom. Keep tension even so petals later sit flat. Place a stitch marker at the start of each 6th repeat to help when creating petal segments.
Round 11 :
1 sc in each st (48)
Round 12 :
1 sc in each st BLO (48)
Info :
Working BLO on round 12 creates a subtle ridge around the base of the petals for texture. If you prefer a flatter result, work in both loops.
Round 13 :
Change to red if not already. *Ch2, sk next 3 sc, 7 dc in next sc (shell made in same st), ch2, sk next 3 sc, sl st in next sc* - repeat across to create 12 shell placements. (12 shells, base 48 sts)
Info :
This round builds the petal scallops. You are creating 12 shells across 48 base stitches; shells are worked into single base stitches so the base stitch count remains conceptually 48. Place shells evenly by counting 4 base sts between shell centers.
Round 14 :
Sl st to join, ch1, *in center dc of next 7-dc shell: (sc, hdc, 3 dc, hdc, sc) in same center to create a petal cup* - repeat 12 times (12 petals)
Info :
Each petal is worked into the group of 7 dc you made previously. This creates fuller petals with a slight cup—if you prefer flatter petals, work (3 dc, sl st) across shell instead.
Round 15 :
1 sc around the edge of each petal, working 8 sc evenly around each petal (total: 8 x 12 = 96sc around petal edge). Be mindful: base count changed to petal perimeter = 96
Info :
Round 15 increases the visible circumference to create petal definition. Count carefully to place 8 sc per petal evenly; use temporary stitch markers between petals to avoid miscounting.
Round 16 :
*(sc in next 2 sc, inc) x 2 then sc in next 4 sc* repeat around (calculate in multiples to keep petals even) (96)
Round 17 :
1 sc in each st (96)
Info :
Rounds 16-17 stabilize the petal rim so motifs sit flat. If you wish for a slightly cupped petal, work the 1 sc rounds more loosely or use a larger hook for these rounds only.
Round 18 :
Change to light gray. *Ch3, sl st in next sc (picot-style connector) around the tip of each petal to form a delicate trim* - work 12 picots spaced evenly across petals (96 base picot anchors)
Info :
The light gray picot joins will be used in the join-as-you-go method to link motifs. Keep picots neat and consistent in size; consistent tension makes joining easier later.
Round 19 :
Finish with 1 sl st into base, fasten off and weave in ends. Block flat to open petals and set shape.
Info :
Blocking: dampen motif and pin petals flat on blocking mat, spacing petals evenly. Allow to dry fully before joining. Make all large motifs before moving to smaller elements for consistent size.
— Small Flower Motif (Make 4 or more for accents) :
Round 1 :
With medium gray, 6 sc in mr (6)
Round 2 :
Inc in each st (12)
Round 3 :
Change to white. (1 sc, inc) x 6 (18)
Round 4 :
Change to red. (2 sc, inc) x 6 (24)
Round 5 :
1 sc in each st (24)
Info :
Small flower gives a secondary scale for visual interest. Keep it flatter than large motifs; do not add deep petal cups unless you prefer raised texture.
Round 6 :
*Work (3 dc) in next st, sk 1 st, sl st in next st* around to create small petals or clusters. Repeat 8 times creating 8 small petals (base reference 24 sts)
Round 7 :
Sl st to join, ch1, sc evenly around petals to tidy edge (32 sc total approx depending on petal stitch count)
Round 8 :
Change to light gray. *Ch2, sl st in tip of each petal to create tiny picot edging* repeat across petals (approx 8 picots)
Round 9 :
Fasten off and weave in ends. Block lightly on flat surface to shape.
Info :
Small flower motifs are used as fillers between large motifs; place them in pictured layout or adapt. Blocking helps them sit flat when sewn in.
— Leaf Motif (Make 18 or as needed in clusters of 2-3) :
Round 1 :
With light gray, ch4, sc in 2nd ch from hook, hdc, dc, hdc, sc across, do not turn; continue along opposite side of chain: hdc, dc, hdc, sc (total approx 10 sts forming leaf base)
Round 2 :
Ch1, sc in same st, (sc, hdc, 3 dc, hdc, sc) down to the tip to increase width, then mirror on return to base. (Leaf edge now approx 18 sts)
Info :
Work evenly to shape so both sides of leaf mirror each other. Adjust number of increases at tip for wider or narrower leaves. Leaves in the photo are slightly domed but block flat.
Round 3 :
1 sc around entire leaf edge to even out shape (approx 18 sc)
Round 4 :
*Ch3, sl st into every 3rd edge stitch to make veins effect* repeat along one side then other (approx 6 chain loops per side)
Info :
Leaves are made in two sizes in the photo—make half larger by adding an extra increase at the tip (add (hdc, dc, hdc) at center) and leave the other half smaller by skipping the extra increase.
Round 5 :
Fasten off leaving a 20-25 cm tail for sewing. Block leaf flat, pinning edges gently to shape.
— Joining & Connector Chain (Join-as-you-go method) :
Info :
Joining motifs is the key to creating the runner. Use the picot anchors on large and small flowers (light gray loops) to join motifs together. Lay out motifs in desired arrangement on a flat surface and pin each motif in position before joining. Work with right sides up so joins are clean on top.
Round 1 :
Attach light gray yarn to a picot on large flower A by sl st. Ch6 to form connector loop, sl st to corresponding picot on large flower B. Repeat across all adjacency points so motifs are linked by small chain loops forming a delicate connecting lattice. Use ch6 for a 1.5-2cm spacing; adjust ch count for tighter/looser join.
Info :
When joining, make sure the chain tension is consistent across the runner. If you prefer a sturdier join, use ch4 or ch5. For a looser, lace-like join, use ch7 or ch8. Keep joins all the same for uniform look.
Round 2 :
After creating primary chain connectors between large motifs, attach small flowers by sl st into spaces created between large flowers, using ch4 connectors and a sl st through a small flower picot to anchor. Add leaves by sewing or slip stitching leaf tails into chain junctions to create natural clusters.
Info :
If a connector loop falls too close to petal edges, adjust by reseating motif slightly and re-pin. Pinning layout first prevents puckers and overloaded connectors.
Round 3 :
Reinforce joins: with light gray, work a single round of sl st along connection chains on top side only to tidy edges and secure motifs against movement (no stitch count; work along connectors only).
Info :
Use a tapestry needle and thin yarn tail to invisibly whip-stitch through picot loops and chain connectors on the underside for extra security if the runner will be handled often.
— Outer Edging & Scallop Finish :
Round 1 :
With light gray, join at any chain junction and ch1. Work 1 sc evenly along outermost edges of runner, placing 2 sc in outermost petal tips to avoid curling and 1 sc on leaf edges (work entire perimeter). Count total sc as you go to ensure even distribution (estimate depends on number of motifs; aim for balanced spacing).
Info :
This sc round creates a firm perimeter that ties petals and leaves into a single silhouette. Keep tension slightly looser than earlier rounds to allow the edge to lie flat.
Round 2 :
*Ch3, sk 2 sc, sl st into next sc* repeat around to create small arch scallops; adjust ch count for desired scallop size. Work larger scallops (ch4) at outer petal extremes to emphasize silhouette.
Round 3 :
In light gray, into each scallop arch work (sl st, ch1, 5 dc, ch1, sl st) to form a larger decorative shell edging. Repeat across scallops for consistent finish.
Info :
Edge shells are decorative and help the runner feel complete. If your runner will be washed frequently, consider a tighter sc round and smaller scallops for durability.
Round 4 :
Fasten off neatly and weave in all ends. Gently re-block whole runner, pinning perimeter scallops evenly and shaping leaves so they sit naturally outward from motif body.
Info :
Blocking the assembled runner is essential; pin all seams flat and shape the scallops. Allow to dry completely for a professional finish that lays flat on the table.
— Alternate Joining (Sewn Invisible Join) :
Info :
If you prefer not to use the join-as-you-go chain, arrange motifs, pin them, then sew together through the picot bases using a yarn needle and matching gray yarn: whipstitch picot to picot on the reverse side to hide seams. This method creates a flatter join at the cost of extra sewing time.
— Finishing Touches & Variations :
Info :
For a more formal runner, make all petals less cupped (reduce dc clusters) and use smaller scallop edges. For a whimsical, textural runner add beaded accents or embroidery to center rounds (use large-eye sewing needle to attach small beads at petal junctions).
Info :
To change scale, use DK yarn with 4.0mm hook for a slightly smaller motif, or bulky yarn and a 6.0mm hook for a larger, chunky runner. Adjust yarn amounts accordingly and make a sample motif to estimate finished size.
Info :
Care: Handwash flat or use gentle machine cycle in laundry bag; reshape and dry flat to preserve motif shape. Avoid high heat ironing; steam and pin shape if needed.
Finishing this table runner is a joyful moment—watching each petal and leaf come together into a flowing floral centerpiece feels wonderfully rewarding. The deep red blooms contrasted by soft gray leaves give a modern, handcrafted look that elevates any table setting. With blocking and careful joining, your runner will lay beautifully flat and be ready to delight guests for gatherings or quiet meals. 🧶🌸 Enjoy the process and treat yourself to the satisfaction of a handmade centerpiece you'll use and treasure.✨