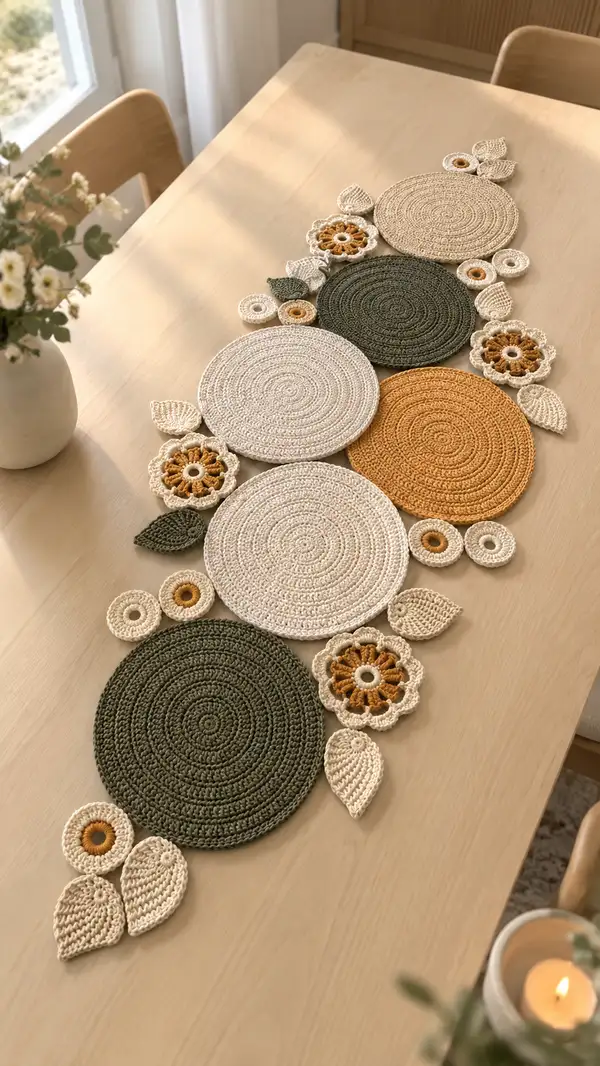
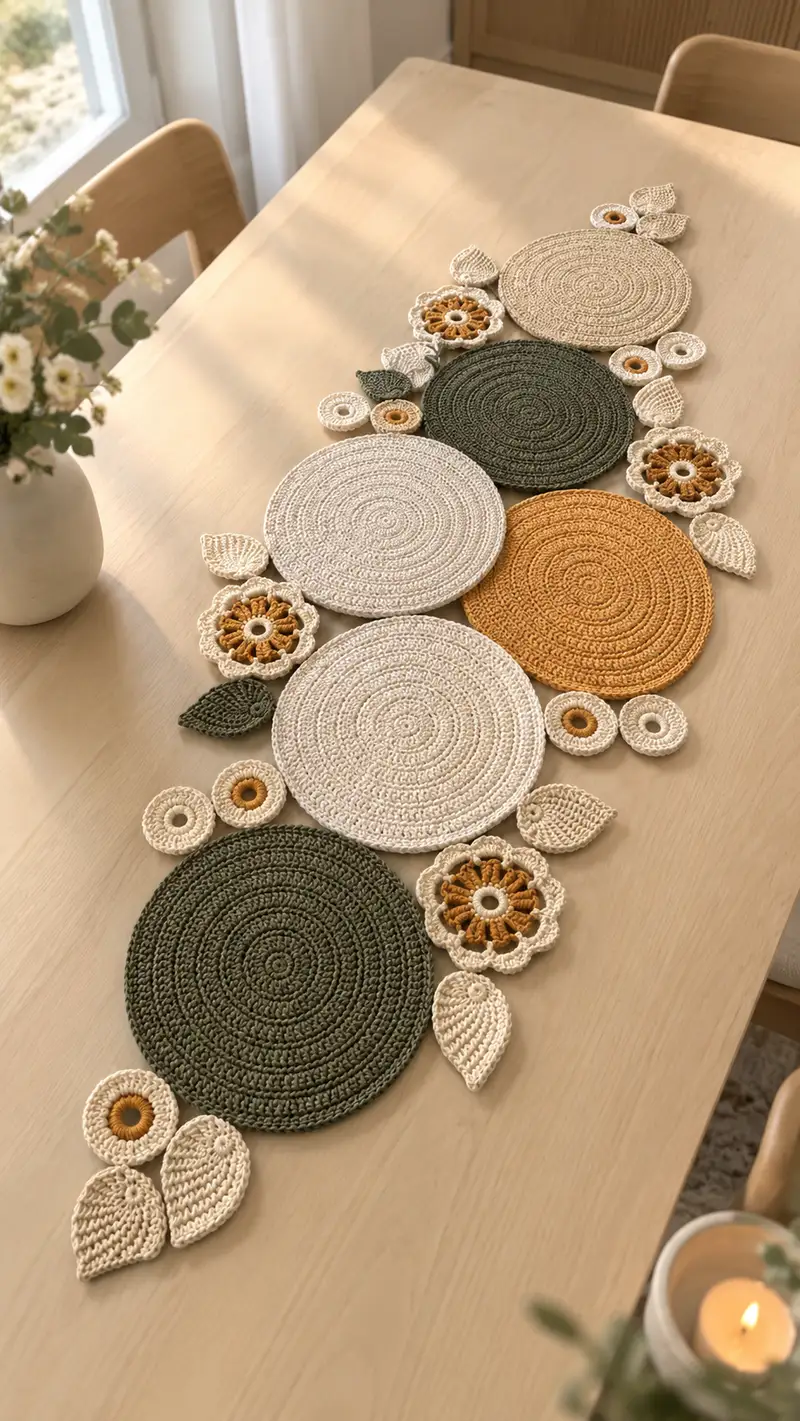
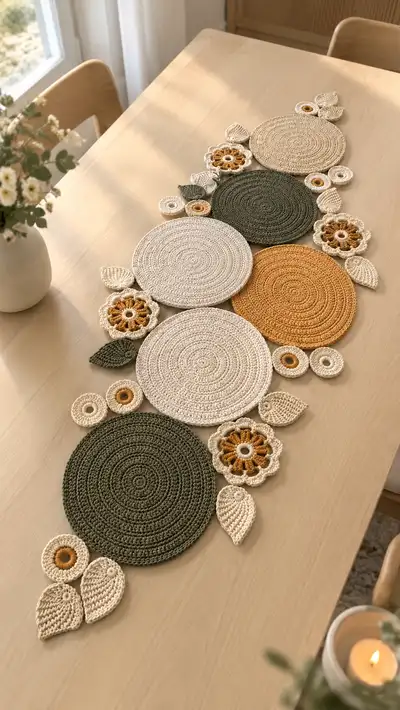
A warm, nature-inspired table runner made from layered round motifs, delicate crochet flowers and textured leaves. Neutral creams, mustard and deep green combine for a modern botanical look. Each motif is crocheted flat and joined into an elegant runner—perfect for dining tables, sideboards, or a cozy centerpiece.
Progress Tracker
0% Complete
— Overview & Gauge :
Info :
This pattern builds the runner from separate flat motifs: Large Circle (A), Medium Circle (B), Small Ring (C), Flower (D) and Leaf (E). Gauge is flexible for a runner but for consistent motif size: With 3.5mm hook and worsted cotton, after Round 18 of Large Circle (A) you should have approx. 5.5"/14cm diameter. Adjust hook if necessary to match proportions.
Info :
All rounds are worked in continuous rounds unless otherwise stated. Use a stitch marker to mark the start of each round. We recommend blocking each motif lightly on completion for flatness and even edges.
— Large Circle Motif A (Make 4) :
Round 3 :
(1 sc, inc) x 6 (18)
Round 4 :
(2 sc, inc) x 6 (24)
Round 5 :
(3 sc, inc) x 6 (30)
Round 6 :
(4 sc, inc) x 6 (36)
Round 7 :
(5 sc, inc) x 6 (42)
Round 8 :
(6 sc, inc) x 6 (48)
Round 9 :
(7 sc, inc) x 6 (54)
Round 10 :
(8 sc, inc) x 6 (60)
Round 11-18 :
1 sc in each st around (60)
Info :
Rounds 11-18 establish the flat face of the circle. Keep tension even. If the circle begins to cup, switch to a slightly larger hook for next motifs; if it ruffles, switch to a slightly smaller hook.
Round 19 :
1 sc in each st BLO (60)
Round 20 :
1 sc in each st BLO (60)
Info :
Working two rounds in BLO creates a subtle ridge and texture that helps motifs sit together and adds a handcrafted rib detail. Keep stitches even and do not stretch.
Round 21-24 :
1 sc in each st (60)
Round 25 :
(7 sc, dec) x 6 (54)
Round 26 :
(6 sc, dec) x 6 (48)
Round 27 :
(5 sc, dec) x 6 (42)
Info :
Begin gentle decrease shaping to slightly soften the outer edge. Do not over-decrease or you will pucker the circle; these decreases are optional if you prefer a perfectly flat disc.
Round 28 :
(4 sc, dec) x 6 (36)
Round 29 :
1 sc in each st around (36)
Round 30 :
Work a finishing round: sl st in each st around to create a neat edge or reverse single crochet (crab stitch) for a decorative border (36)
Info :
Fasten off and weave in ends. Lightly block the circle to flatten and hold shape. Repeat for total of 4 Large Circle Motifs (A). Place colours as desired—photo shows 3 cream and 1 mustard and 1 deep green for contrast.
— Medium Circle Motif B (Make 2) :
Round 3 :
(1 sc, inc) x 6 (18)
Round 4 :
(2 sc, inc) x 6 (24)
Round 5 :
(3 sc, inc) x 6 (30)
Round 6 :
(4 sc, inc) x 6 (36)
Round 7-12 :
1 sc in each st (36)
Info :
These medium discs fill gaps and create staggered layering. Use olive green for one and cream for the other to echo the pictured palette.
Round 13 :
1 sc in each st BLO (36)
Round 14-16 :
1 sc in each st (36)
Round 17 :
(4 sc, dec) x 6 (30)
Round 18 :
1 sc in each st (30)
Round 19 :
Finishing round: sl st around or reverse sc for a firm edge (30)
Info :
Fasten off, weave ends and block flat. Make 2 Medium Circle Motifs (B) to layer among the larger discs.
— Small Donut / Ring Motif C (Make 8) :
Info :
These small rings are the tiny round accents. You can make a yarn-only donut or use a small cardboard ring (approx. 1"/2.5cm) to strengthen the center. Instructions below create a small hollow center.
Round 1 :
Ch 8, sl st to join into a small loop (or make magic ring and ch 4 for smaller hole).
Round 2 :
Work 12 sc evenly around the chain ring (12)
Round 3 :
(1 sc, inc) x 6 (18)
Round 4 :
(2 sc, inc) x 6 (24)
Round 5 :
1 sc in each st (24)
Round 6 :
Optional: sl st in BLO around to create a ridge for stacking (24)
Round 7 :
Fasten off leaving a tail for sewing; weave in or outline the center with contrasting color using surface slip stitch for visual pop
Info :
For a neat hole, pull the starting chain slightly or work over a small ring. Use mustard centers in some rings and cream in others to echo the photographed accents.
— Flower Motif D (Make 5) :
Round 3 :
(1 sc, inc) x 6 (18)
Info :
Change to mustard yarn for the flower center now, or work the center in mustard and switch to cream for petals later. The pictured flowers have a mustard center ring with cream scalloped petals.
Round 4 :
Switch to mustard if not already. 1 sc in each st around (18)
Round 5 :
(2 sc, inc) x 6 (24)
Round 6 :
Fasten off mustard center OR continue: If you want a raised center, work 1 sc in each st then a round of hdc in same round to create a slight dome (24)
Round 7 :
Attach cream yarn to any st—*ch 3, (skip 1 st, sl st in next st) repeat around to create 12 chain loops for petals*
Round 8 :
In each chain loop: (sc, hdc, 2 dc, hdc, sc) to form a petal. Repeat in each loop (12 petals)
Round 9 :
Finish petals: sl st into base to secure and make a final round of sc around petal bases to tidy edges (48 if 4 sts per petal approx.)
Info :
Adjust petal size by using fewer or more chains in Round 7. Block petals gently to open them and stitch flower centers to a large or medium disc as pictured.
Round 10 :
Optional decorative round: 1 sc in each st around petal bases or picot edging for lacy effect; fasten off and weave in tails
— Leaf Motif E (Make 12) :
Round 1 :
Ch 6, sc in 2nd ch from hook, hdc in next, dc in next, hdc in next, sc in last (5 sts along chain) — turn working along opposite side of chain and repeat to create a filled leaf body; join with sl st (10)
Round 2 :
ch 1, sc evenly around leaf edge working 2 sc at the point of the leaf to shape tip (approx. 14 sc) (14)
Round 3 :
Work 1 sc in next st, (hdc, dc, hdc) in center top to create raised spine, then 1 sc along other side (maintain symmetry) (14)
Round 4 :
1 sc in each st BLO to create a crisp ridge on one side (14)
Info :
For a more sculpted leaf, after Round 4 use a slip stitch seam down the center back; blocking will flatten and open the lace texture.
Round 5-8 :
Repeat rounds adding 1 sc round and finishing with a decorative picot or sl st edge if desired (14 each round)
Round 9 :
Optional: embroider vein with surface slip stitch using contrasting green for visual interest
Round 10 :
Fasten off, leaving long tail for sewing. Block leaves with a slight curve for natural look.
Info :
Make leaves in deep green and cream to scatter around motifs. Vary sizes slightly by using ch 5 or ch 7 starts for smaller or larger leaves.
— Assembly & Joining :
Info :
Lay out completed motifs on a flat surface to match the reference photograph: an organic column of overlapping circles. Position large circles as the backbone, and tuck medium circles, flowers, donut rings and leaves into the negative spaces. Pin in place with blocking pins if necessary.
Joining Step 1 :
Place two motifs with wrong sides facing and align edges where they overlap by 1–2 inches (2.5–5 cm). Using a tapestry needle and matching yarn tail, whip stitch through both motifs along the overlap with small, even stitches. Use 6–10 stitches per 1 inch depending on yarn thickness.
Info :
For a flat seam, stitch through the outermost row only and pull stitches snug but not tight. If you prefer a crocheted join, use single crochet around joined edges with both motifs held together and a 3.5mm hook to create a visible seam.
Joining Step 2 :
Sew flowers to the edges of larger circles by placing the flower base at the overlap and stitching through the back loops of the flower base into the circle edge. Secure with 10–16 small stitches making sure petals lay flat.
Joining Step 3 :
Sew small donut rings decoratively between larger discs using a few cross-stitches to secure each ring at 3 equidistant points. On rigid centers, use an extra back stitch to keep rings stable.
Info :
Use leftover yarn tails to tack leaves in place with 3–5 stitches at their base. Make some leaves float free with only one anchor point to create movement and a natural arrangement.
Joining Step 4 :
Once main motifs are sewn in place, add small reinforcing stitches to all joins from the wrong side so top surface remains neat. Weave in all ends into the back of the runner and trim flush.
Round 1 (Edge) :
After motifs are joined, work a single crochet tidy round around outer edge where possible: sl st to starting point, 1 sc in each exposed edge stitch; where motifs meet closely, work 1 sc into each motif edge stitch to create a continuous border (work evenly).
Round 2 (Edge) :
Optional: work 1 sc in each st BLO for a subtle ridged frame (this helps runner keep flat edges).
Round 3 (Edge) :
Optional decorative finish: sc, ch 2, skip 2, sc in next to create airy picot-lace along outermost edges where appropriate
Info :
Block the entire assembled runner by pinning it to size and lightly steaming or wet-blocking. Use blocking wires if you have many scalloped edges to keep them neat.
— Finishing Touches & Variations :
Info :
For stability on a table, place a length of thin felt under high-traffic areas (center) or attach small non-slip pads under certain discs. If you want a sturdier runner, you can crochet a thin backing panel to sew to the underside, leaving motifs visible on top.
Info :
Color variation ideas: swap mustard for dusty rose for a softer floral palette, or swap olive for teal for a cooler tone. Increase number of motifs to make a longer runner or reduce motifs for a small table centerpiece.
Info :
Care instructions: gently hand-wash in cool water and lay flat to dry. Cotton may relax after blocking; re-shape gently after washing.
Finishing this runner is so satisfying—each round and petal comes together into a flowing botanical centerpiece that brightens the table. I love how the textured BLO rounds and scalloped petals create soft depth, and the neutral palette suits many styles. Block, sew, and step back—you've made a special handmade heirloom! 🌿🧶