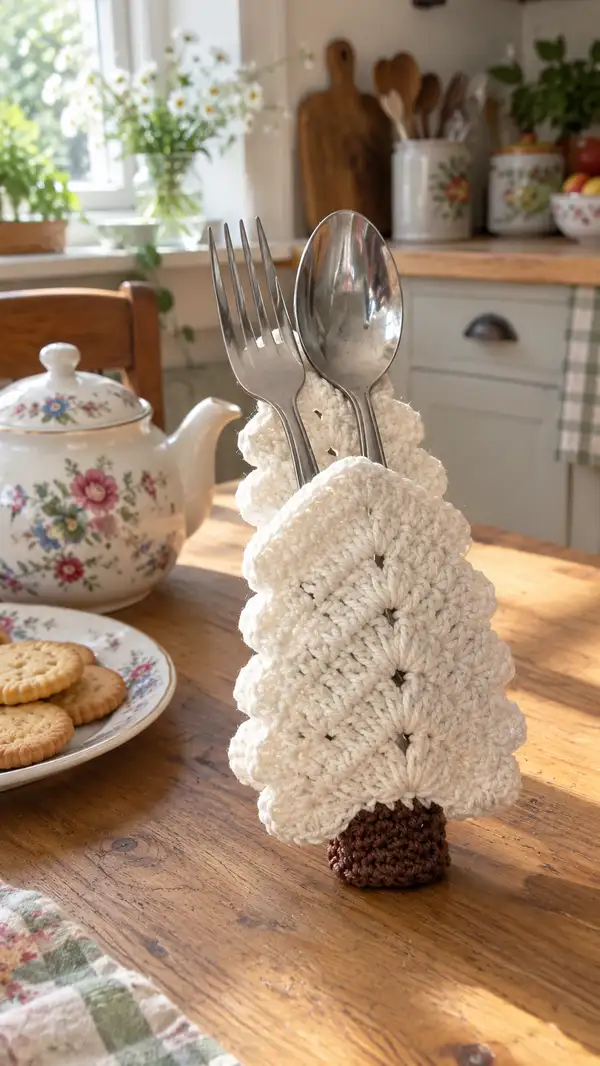
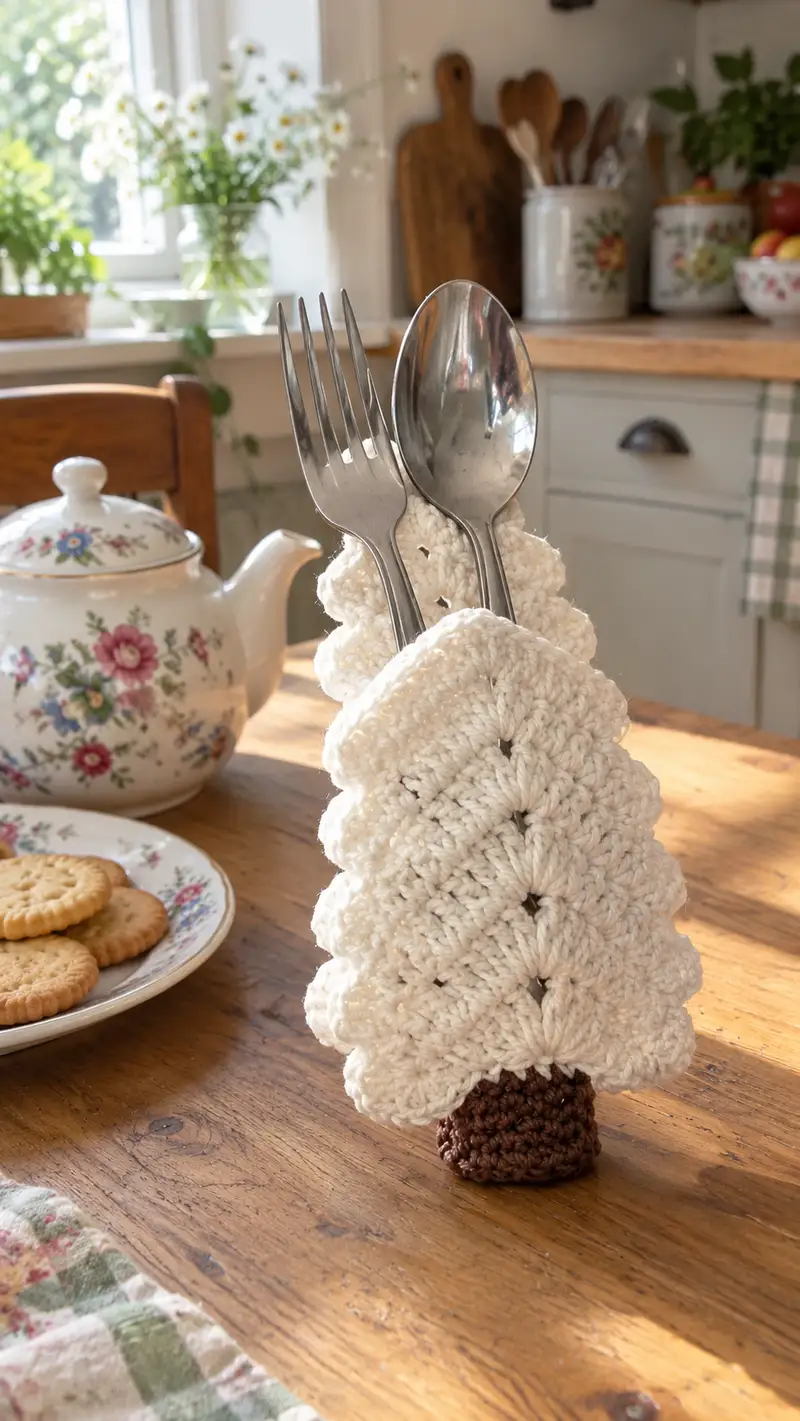
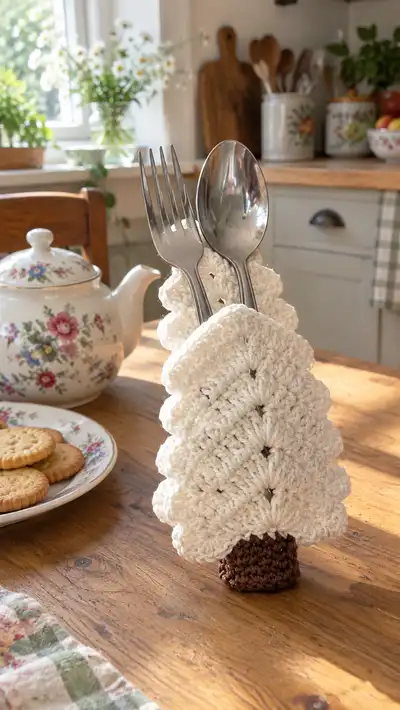
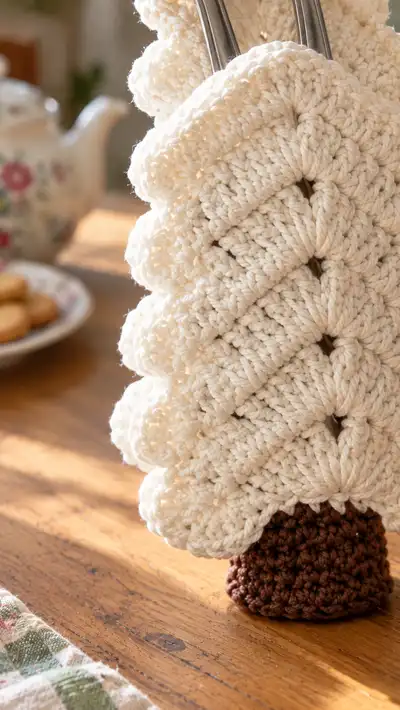
A cozy, cottage-style scalloped tree cutlery holder worked in soft cream cotton with a sturdy brown trunk. This decorative, freestanding holder stacks layered shell motifs to create a plush tree silhouette that neatly holds forks and spoons. Perfect for seasonal table decor or a permanent kitchen accent — the design features textured scallops, a solid inner cone for stability, and a simple crochet trunk base.
Progress Tracker
0% Complete
— Notes & Gauge :
Info :
Gauge is flexible for this decorative piece. Aim for a firm fabric where you cannot see stuffing through the stitches. Use a slightly smaller hook than recommended on your yarn label if you need tighter tension. This pattern shows counts for standard worsted cotton (#4) and a 4.0mm hook for the foliage and 3.5mm hook for the trunk.
Info :
All rounds are worked in continuous rounds (spiral) unless stated. Use a stitch marker at the start of each round and move it up as you work. When making identical motifs, weave in a short tail to help with sewing later; leave long tails for attachment where noted.
— Inner Cone (Core Support) :
Round 1 :
6 sc in magic ring (6)
Round 3 :
(1 sc, inc) x 6 (18)
Round 4 :
(2 sc, inc) x 6 (24)
Round 5 :
(3 sc, inc) x 6 (30)
Round 6 :
(4 sc, inc) x 6 (36)
Round 7 :
(5 sc, inc) x 6 (42)
Round 8 :
(6 sc, inc) x 6 (48)
Info :
These initial increases form the cone tip. Keep tension consistent. This cone will be the internal support that motifs sew onto; it should be firm but not overly stiff. If you prefer a very rigid core, stuff lightly as you work or insert a cardboard cone later.
Round 9 :
1 sc in each st (48)
Round 10 :
1 sc in each st (48)
Round 11 :
(6 sc, inc) x 6 (54)
Round 12 :
1 sc in each st (54)
Round 13 :
(7 sc, inc) x 6 (60)
Round 14-19 :
1 sc in each st (60)
Info :
Rounds 14-19 build the central body height. Measure your cone: at round 19 the cone should be roughly half the final height of your finished tree depending on motif thickness. Stuff the cone lightly from the top so it retains shape but remains compressible; you will not close this top — motifs will cover it.
Round 20 :
(7 sc, dec) x 6 (54)
Round 21 :
(6 sc, dec) x 6 (48)
Round 22 :
(5 sc, dec) x 6 (42)
Round 23 :
1 sc in each st (42)
Round 24 :
1 sc in each st (42)
Info :
These decreases create a slight inward tuck toward the cone bottom so motifs lay nicely without flaring. Stuff from the bottom now if you haven't already — add enough stuffing or use a rolled piece of scrap fabric to make the cone stable and slightly weighted at the bottom to help the finished tree stand.
Round 25 :
(5 sc, dec) x 6 (36)
Round 26 :
(4 sc, dec) x 6 (30)
Round 27 :
1 sc in each st (30)
Info :
Fasten off leaving a long tail for sewing if you plan to sew the top of the cone into the trunk later. At this stage the cone measures approximately the height of your planned layered motifs once assembled; if you want a taller tree, continue even rounds (1 sc each) in 30-st rhythm until you reach desired height.
— Scalloped Shell Motif (Make 12 identical motifs) :
Info :
Each motif is a compact fan/shell piece that will be layered over the cone. Work motifs in cream (main color). Make 12 motifs for a three-tiered look; increase or decrease the number for a fuller or slimmer tree. These are worked in the round; each motif finishes flat and is sewn to the cone along its straight edge.
Round 1 :
6 sc in magic ring (6)
Round 3 :
(1 sc, inc) x 6 (18)
Round 4 :
(2 sc, inc) x 6 (24)
Round 5 :
(3 sc, inc) x 6 (30)
Info :
Rounds 1-5 form a small circular foundation; the shell rows that follow will create the scalloped fan effect. Keep your tension consistent — if your shells are too loose, try a slightly smaller hook.
Round 6 :
Shell row: *(5 dc) in next st, sc in next 2 sts* x 10 (60 - worked as 10 shells + 10 sc)
Round 7 :
1 sc in each st around (60)
Round 8 :
Repeat Shell row: *(sc in next st, (5 dc) in next st, sc in next st)* x 20 (140 - worked as 20 shells with 40 sc before/after shells)
Info :
The counts in Round 8 are larger because this round builds wider fans that form the outer scallops. Each shell uses five double crochets which creates the puffed scallop. If you prefer a more subtle scallop, work (3 dc) shells instead and recalculate counts accordingly.
Round 9 :
1 sc in each st around (140)
Round 10 :
Edge finish: *ch1, skip 1, sl st in next st* around to create small picot-like edging (70 sl st approx, adjust to fit) (counts will vary - treat as edging)
Round 11 :
Work even single crochet along the straight base edge: join at the base edge and work 1 sc in each base-round stitch across so you have a neat straight edge for sewing (approx 30 sc depending on how you join) (approx 30)
Round 12 :
Fasten off leaving a 25-30 cm tail for sewing. Weave in remaining small ends but keep the long tail visible for assembly.
Info :
Make 12 motifs total. Block each motif lightly by pinning to shape on a flat surface and spritzing with water or steam (do not over-saturate cotton). Blocking evens scallops and makes consistent assembly easier.
— Trunk / Base (Make 1) :
Round 1 :
With brown yarn and 3.5mm hook: 6 sc in magic ring (6)
Round 3 :
(1 sc, inc) x 6 (18)
Round 4 :
(2 sc, inc) x 6 (24)
Round 5-12 :
1 sc in each st (24)
Info :
The trunk is a short cylinder to anchor the cone and provide a flat base. Work 8 rounds even in 24 sts for a stable base; if you prefer a shorter trunk, work fewer even rounds. Stuff the trunk lightly so it stays rounded but not stiff. Leave a small opening at the top for inserting the cone base later or sewing the cone directly into the trunk.
Round 13 :
(2 sc, dec) x 6 (18)
Round 14 :
(1 sc, dec) x 6 (12)
Info :
Fasten off and leave a long tail for sewing to the cone. Alternatively, do not close the bottom of the trunk fully if you wish to insert a weighted base; instead, leave the last few rounds open and attach a cardboard circle inside before closing.
— Optional Base Reinforcement :
Info :
To make the tree stand sturdier, cut a circle of heavy cardboard or felt approx 3.5-4cm diameter and insert at the bottom of the trunk before closing final rounds. Sew trunk closed around the circle to hold it in place. This helps prevent tipping when cutlery is added.
— Edging & Decorative Detail :
Round 1 :
If you want a contrasting edge, with a decorative color join yarn at any outer scallop and work *sl st, ch1, sl st in same st* 1-2 times per scallop to make a tiny rope-like edge (work around whole tree after assembly) (approx counts vary)
Info :
This edging is optional but helps visually separate tiers and gives a finished look. Use a finer yarn or embroidery cotton for a delicate rim, or the same yarn for a more graphic outline.
— Finishing Loops (Optional for hanging) :
Round 1 :
Add a loop of yarn at the top of the cone before layering motifs if you want to hang this decoration: ch 20, sl st to secure, fasten off and weave in ends.
Info :
If you plan to use this on a table as a cutlery holder, omit hanging loop to keep the silhouette clean.
— Assembly & Layering :
Info :
Assembly is done by sewing the flat straight edge of each motif to the cone in overlapping tiers. Use pins to position motifs before sewing — this is crucial for symmetry. The cone has 30 stitches at its widest points (see Round 27); you will distribute motifs evenly around the cone so the tree looks balanced.
Step 1 :
Identify the center front of your cone (place a pin). This is where the central vertical seam in photos appears; you will center three motifs down this front as the focal column.
Step 2 :
Working from top to bottom, position the smallest motif at the cone tip: align the straight base of the motif across the top-most region and pin every 5-6 stitches to hold it. Use the long tail from motif Round 12 to sew in place with mattress stitch or whipstitch. Leave the top of the motif slightly free so the scalloped edge lays outward.
Step 3 :
Position the next motif so it overlaps the lower portion of the first motif by 1-2 rows of fans; pin in place and sew along the straight base edge. Continue this process down the cone, placing motifs with even vertical spacing (approximately 1.5-2 cm overlap depending on motif size). Repeat for the center column of 4 motifs.
Step 4 :
After center column, add motifs on either side, working row by row outward to create a triangular outline. For a balanced tree you will place 12 motifs in a rough pattern: 4 center column, then 3 on each side for two additional tiers (example layout: 1 top + 2 row under = 3; center column 4; lower row 4 = 12). Adjust counts if you used a different number of motifs.
Info :
When sewing, keep stitches small and hidden in the straight base row. Use matching cream yarn or a thinner yarn in the same color to nearly disappear into stitches. Check symmetry after sewing each motif by spinning the cone and comparing side-to-side.
Step 5 :
Once all motifs are sewn to the cone, sew the trunk to the cone base. Insert the bottom of the cone into the trunk opening; if trunk top is closed, use the trunk's long tail to stitch the cone bottom into the trunk opening through both layers. If you left the trunk top open, insert the cone and then overcast the trunk top closed around the cone base securing the seam tightly.
Info :
If you used a cardboard/felt base, ensure it is centered inside the trunk and the cone is seated on it. Add extra stitches at the seam intersections to ensure the piece will stand upright and support cutlery weight.
Step 6 :
Weave in all remaining tails on the inside of trunk and cone. Trim ends and tuck them securely. If desired, add a few blind stitches across the trunk base so the tree sits flat without wobble.
Info :
Final shaping: gently bend scallops outward with your fingers to create the layered tree look. If you blocked motifs earlier, this step is minimal. Use pins during final sewing to make small shape adjustments before finalizing stitches.
— Decorative Options & Variations :
Info :
- To make a fuller tree, create smaller scallop motifs (use 3-dc shells) and make more motifs per tier. - To create a colorful tree, alternate motif colors in each tier. - Add tiny embroidered beads or French knots on shell centers for a 'ornament' look, sewing them after assembly.
Care :
Spot-clean with damp cloth or handwash gently if your yarn is machine washable. Cotton may soften with repeated washing; reshape and dry flat to maintain scallop form.
This little scalloped tree brings such gentle charm to a table or countertop — every scallop layered in makes a cozy silhouette that feels handmade and loved. Whether you use it for seasonal place settings or everyday cutlery storage, the tactile shells and warm trunk create a lovely, cottagey accent. I hope you enjoy assembling the layers almost as much as I enjoyed designing them — happy stitching and proud display! 🧶🌲