🧶 Beautiful ✨ Detailed 💝 Adorable

Snowflake Square Motif Pattern

Snowflake Square Motif Pattern
4.7★ Rating
3-5 Hours Time Needed
4.1K Made This
✂️

Intermediate Level

Ideal for those with basic crochet experience, featuring slightly more advanced stitches and techniques to expand your skills.

⏱️

Afternoon Project

Takes 3-5 hours, perfect for an afternoon or evening of relaxing crochet.

🧸

Charming Critter

Delicate snowflake square with textured puff and popcorn details — perfect for winter decor and cozy projects.

🧶 Jump to Pattern ↓

About This Snowflake Square Motif Pattern

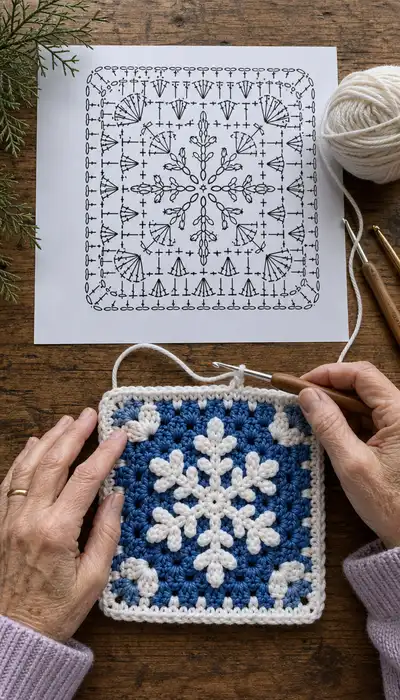
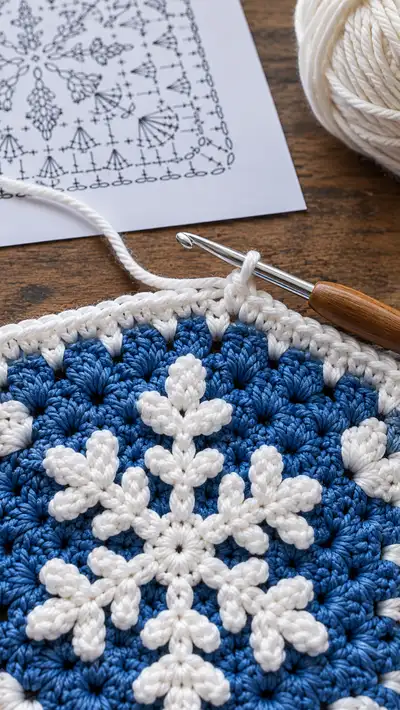
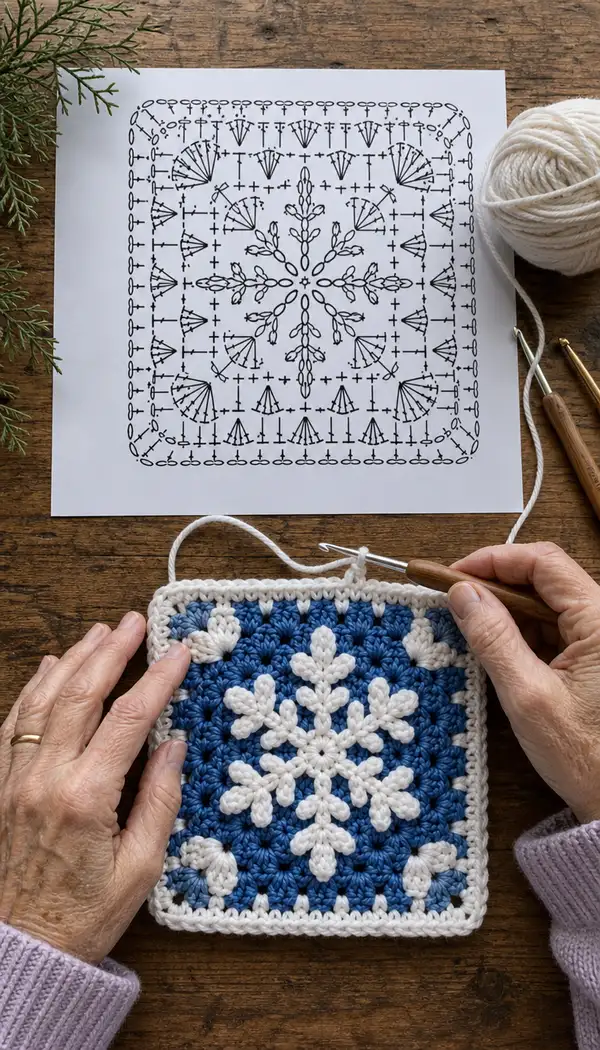
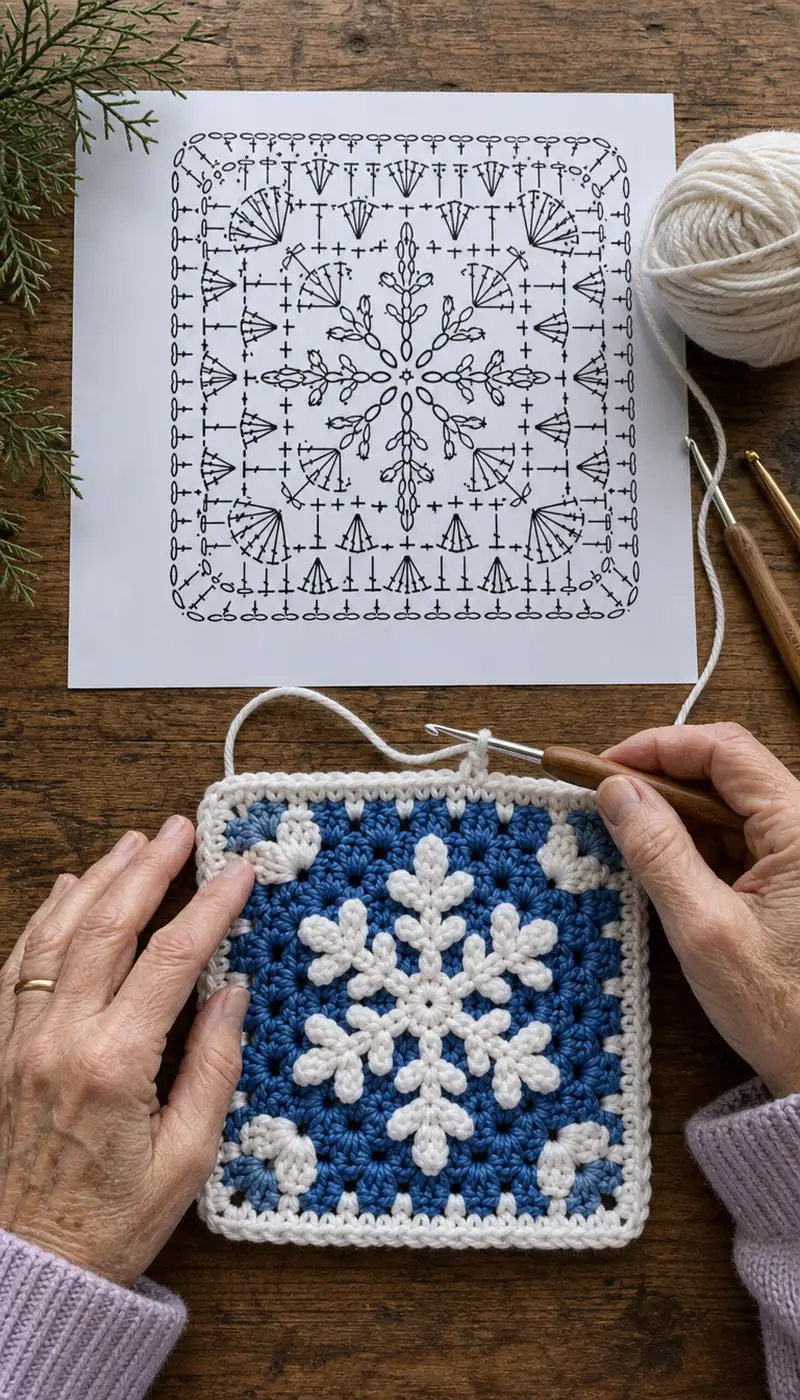
This pattern recreates the photographed snowflake square motif: a raised white snowflake sits in the center of a deep blue background, finished with a crisp white border. The motif is constructed in the round from the center outward, combining puff clusters and short chains to form the snowflake arms and classic shell and cluster rounds for the square background. The finished sample is a single square that can be used as a coaster, trivet, pillow panel, or joined into a larger blanket.

Snowflake Square Motif Pattern crochet pattern - detailed view of completed project

The design is chart-led and uses clear, repeatable 8-point symmetry. The border uses textured stitches (popcorn, crab stitch) to create a neat finished edge, and the pattern includes detailed placement notes so you can match the photographed look.

Why You'll Love This Snowflake Square Motif Pattern

I love this pattern for the strong, graphic contrast between the bright white snowflake and the saturated blue ground. I also enjoy the mix of stitches — puff clusters and popcorns give the piece lovely dimensionality while the granny-style shells maintain a familiar rhythm. It's a satisfying make that works up quickly and looks beautifully finished framed or joined into a blanket.

Snowflake Square Motif Pattern step 1 - construction progress Snowflake Square Motif Pattern step 2 - assembly progress Snowflake Square Motif Pattern step 3 - details and accessories Snowflake Square Motif Pattern step 4 - final assembly and finishing

Switch Things Up

I absolutely love how adaptable this snowflake square is — you can make it bold in one strong blue and white contrast as shown, or soften it with pastel blues and greys for a wintery cushion. Try swapping the background color to a neutral for a more subtle, elegant look.

I often experiment by adding one or two extra rounds of shells in a complementary color to create a wider border for use as a coaster or trivet. You could also double the yarn and work the pattern with a larger hook for a chunky, rustic look that works well as a mat or place setting. Don't hesitate to personalize by changing corner treatments or finishing with a picot edge for vintage charm.

Common Mistakes & How to Fix Them

✗ Not using a stitch marker at the start of each round can cause your rounds to shift, breaking the snowflake symmetry and square alignment. ✗ Working with too loose tension makes the puff stitches collapse and the snowflake lose definition; keep a slightly firmer tension for the white snowflake rounds. ✗ Changing colors without fastening off or managing tails causes bulk in the interior; carry the unused color behind the work or weave tails neatly between stitches. ✗ Skipping stuffing or blocking after finishing results in a crooked square; steam-block or pin the square to shape the corners evenly. ✗ Incorrect puff stitch counts will misalign the snowflake arms; always complete the specified number of loops for each puff before drawing through all loops. ✗ Joining the border without pinning can produce a lopsided edge; pin the corners and sides first to ensure even spacing and tension.

Snowflake Square Motif Pattern

A crisp snowflake square worked in rich blue with a bright white raised snowflake and a textured white border. This printable-chart-inspired motif combines puff clusters, popcorns and classic granny-style shells for a wintery, cozy square that's perfect as a coaster, trivet, cushion panel or part of a blanket. The sample shows a 12cm–15cm square in worsted cotton with a clean, modern edge.

Intermediate 3-5 Hours

Materials Needed for Snowflake Square Motif Pattern

— Main Fabric

  • 01
    Worsted weight cotton or cotton-blend yarn (#4) approximately 120-140g in main background color (deep blue as shown)
  • 02
    50-60g in contrasting color for snowflake (bright white)
  • 03
    20-30g in a lighter accent white for the border if you prefer two whites (optional)
  • 04
    Small amounts (10-15g) for joining tails and repair

— Tools Required

  • 01
    4.0mm (G) crochet hook (sample uses slightly larger wooden-handled hook for drape — adjust as needed)
  • 02
    3.5mm (E) hook for tighter edge rounds (optional)
  • 03
    Yarn needle for weaving ends
  • 04
    Stitch markers (at least 2 — one for round starts and one for corner reference)
  • 05
    Scissors
  • 06
    Pins and a blocking mat or towel for finishing
  • 07
    Tape measure or ruler for gauge
  • 08
    Optional: blocking wires for a crisp square

Progress Tracker

0% Complete

— Overview :

Info :

This pattern builds from the center out in concentric rounds with 8-fold symmetry to create the snowflake motif. Work tightly on white snowflake rounds for definition, and relax tension slightly on blue background rounds to ease shell stitches. All rounds are worked in continuous rounds unless otherwise noted. Use a stitch marker at the start of each round and move it up as you go.

Gauge :

Sample finished square measures approximately 13.5cm (5.3in) across after blocking, using worsted weight cotton and a 4.0mm hook. Gauge is not critical but tension affects the crispness of the snowflake arms.

— Snowflake center and arms (White color) :

Round 1 :

mr, ch1, 8 sc in ring, pull ring tight and join with sl st to first sc (8)

Round 2 :

Ch3 (counts as dc), (ch3, dc) into same st, *dc into next st, ch3, dc into next st; rep from * around to make 8 small chain loops; join with sl st to top of ch3. (16 dc and 8 chain-loops total)

Info :

Round 2 establishes 8 anchor points for the snowflake arms. Place a small stitch marker in the first chain-loop to help with placement of the puff clusters in the following rounds.

Round 3 :

Working into the chain loops from previous round: *Ch3, (puff) x3 into loop, ch3, sl st into base at loop center; rep from * around (8 puff-group arms). Note: each (puff) = yarn over, insert hook in loop, pull up a loop; repeat 3 times leaving loops on hook, yarn over and pull through all loops, ch1 to close puff. (8 puff groups)

Round 4 :

*Work 3 sc between each puff group along the ring round (i.e., in the dc spaces), then in the top of the puff group work 1 sc, ch5, 1 sc to create the first longer arm chain; rep from * around. Keep counts consistent with 8 repeats; total scs around will be 24 plus 8 sc at puff tops.

Round 5 :

Into each long ch-5 from previous round: sl st into first ch (to anchor), *(1 sc, ch2, (small puff) x2, ch2, 1 sc) across each arm; rep for 8 arms. This shapes the inner branches of the snowflake arms with small puff petals.

Info :

Work puffs with even tension: pull loops just enough to create a full puff without leaving large gaps. If your puffs are too tall, use one fewer yarn-over to lower height slightly.

Round 6 :

Round to define arm tips: *Ch3, skip 1 st, make 5 dc cluster (shell) into next st base (for a flower-tip), ch3, sl st into next arm base; rep from * around for all 8 arms. This creates the flared snowflake tips seen in the photo.

Round 7 :

Work 1 sc evenly around central area to tidy the inside of the snowflake: 1 sc in each st and in the gaps between arms (estimate ~64 sc total). Join with sl st to first sc.

Round 8 :

Ch2 (counts as hdc), 1 hdc in each st around maintaining the same stitch count (64 hdc). Join with sl st. This creates a short even ring to start integrating the background color.

Info :

At the end of Round 8, fasten off white if you are switching to blue. Leave a 25cm tail to weave under the white arms if you prefer to carry color; sample changes color with a join so the snowflake remains popped on top of the blue rounds.

— First background integration and color change (switch to Blue) :

Round 9 :

Join blue yarn with sl st to any hdc from Round 8. Ch1, 1 sc in same st, *ch3, skip 2 sts, 1 sc in next st; rep from * around to make chain spaces that will be filled with clusters. Aim to maintain 32 chain-3 spaces in total (4 per arm quadrant). Join with sl st to first sc.

Round 10 :

Into each ch-3 space work (3 dc, ch1, 3 dc) shell; into each sc between spaces work 1 sc. This round begins to form shell clusters radiating outward. After completing the round you should have 32 shells alternating with 32 single scs (total st count variable by cluster type).

Info :

The shell clusters create a fuller background for the white snowflake; keep loops tidy and place shells symmetrically around each snowflake arm to match the charted motif.

Round 11 :

Ch3 (counts as dc), 2 dc in first sc, *skip shell, 1 sc in center of shell, skip shell, (3 dc in next sc), rep from * around. Join with sl st to top of ch3. This round starts to create a circular field of textured clusters that will be squared up in later rounds.

Round 12 :

Working between clusters: 1 sc in each st and 2 sc in each ch-1 space between shells to begin expanding the fabric evenly. Maintain counts by ensuring increases are evenly distributed across the 8 repeats (aim for a repeat total divisible by 8).

Info :

From Round 12 forward, keep your stitch counts in multiples of 8 so the snowflake symmetry remains intact. If needed, add or remove a single sc in larger rounds to keep corners forming symmetrically.

— Building the blue ground (Rounds 13-30; keep symmetry) :

Assembly Instructions

  • Block the square flat before final edging: pin to a 13–15cm square, stretching gently to shape corners, and steam or wet-block to set stitches.
  • Weave in the long white tail left at the snowflake joins under the base of the snowflake arms using a blunt yarn needle, securing the snowflake to the blue ground.
  • If you carried the white color through the blue rounds, gently trim and tuck the floats so they sit flat and invisible on the WS.
  • Add the border by working the final rounds in white: align the corner points visually and pin the square to maintain even sides before crocheting the first border round.
  • If joining multiple squares, use the join-as-you-go method on the last border round to connect squares at the final round or use whip stitch/flat slip-stitch seaming for an invisible seam.
  • After border is complete, weave secure ends through several rows of the border, trim close and block again for a crisp finish.

Important Notes

  • 💡Use stitch markers consistently at the beginning of each round to avoid counting errors and maintain proper shaping
  • 💡Stuffing is not required for flat square motifs, but blocking is essential to flatten and square the piece
  • 💡For color changes, either fasten off and join anew for crisp transitions or carry unused yarn behind work for fewer ends to weave
  • 💡Maintain consistent tension: slightly tighter on puff and popcorn rounds for defined texture, slightly looser on shell rounds for good drape
  • 💡Pin the work before final border rounds to ensure even edges and neat corners
  • 💡Work puff stitches by pulling consistent loop heights; too shallow will not show, too tall will loosen the fabric
  • 💡If your square is slightly smaller/larger than sample, try a different hook size or change yarn weight to match desired size

This snowflake square brings the charm of a winter night into your home — crisp white detail against a deep blue field. I love how the textured puffs and shells create a cozy, tactile piece that's as beautiful framed up as it is joined into a blanket. Each stitch is satisfying and the finished square makes a perfect gift or seasonal accent. ❄️🧶
You ask,

we answer.

FAQs

What is the finished size of this square?

Based on the sample yarn and 4.0mm hook, the finished square measures approximately 13.5cm (5.3in) after blocking. Different yarns or hook sizes will change the final size proportionally.

Can I use a different yarn weight?

Yes. Thicker yarn will produce a larger, denser square; use a hook 1–2 sizes larger for bulky yarn. For finer yarns, use a smaller hook and adjust tension; note that stitch definition for puffs/popcorns changes with fiber.

Should I carry the white color through the blue rounds or join each time?

Both methods work. Carrying reduces ends but adds a bit of bulk behind the work; joining anew gives a cleaner surface and better puff definition. The sample joins for crisp white snowflake relief.

How do I make a neat seam when joining multiple squares?

Use a join-as-you-go method on the last border round to connect squares or slip-stitch through front loops to create a single crochet-looking seam; alternatively, use a ladder stitch for an almost invisible finish.

How to keep puff stitches even?

Pull up loops to a consistent height and always draw through all loops on the hook at once for the puff. Practicing the puff with scrap yarn before starting helps maintain consistent puff size.

How much yarn will I need to make multiple squares?

One square uses approximately 120-140g blue and 50-60g white. Multiply by the number of squares and add 10% extra for edging and joins to be safe.

Can I make this square into a potholder or trivet?

Yes. Use thick cotton or double the yarn and add a layer of insulating fabric between two squares if you’ll use it as a potholder; for trivets, a single thicker square works fine.