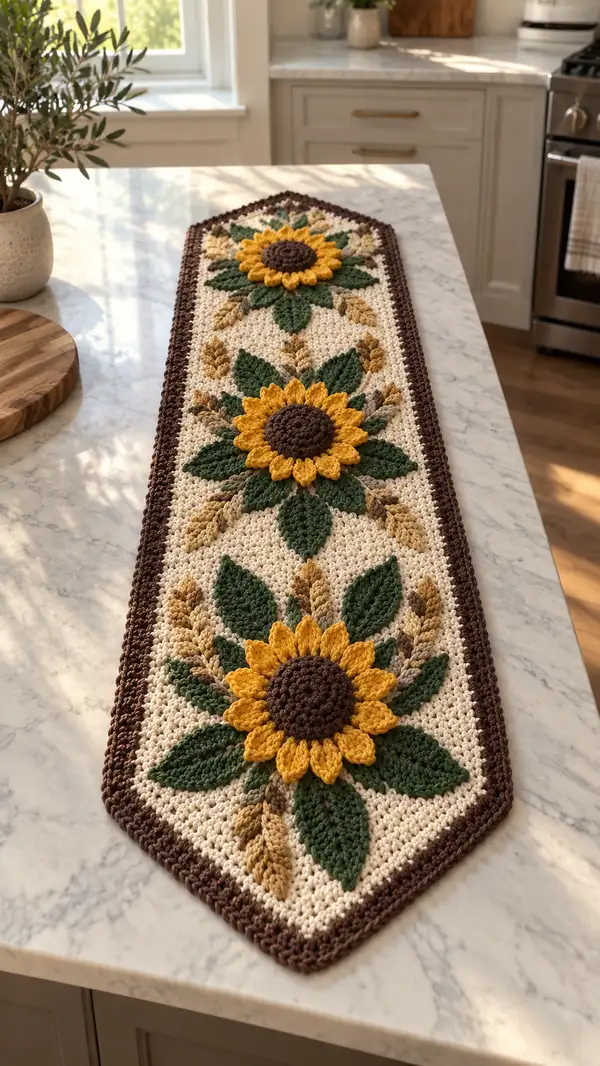
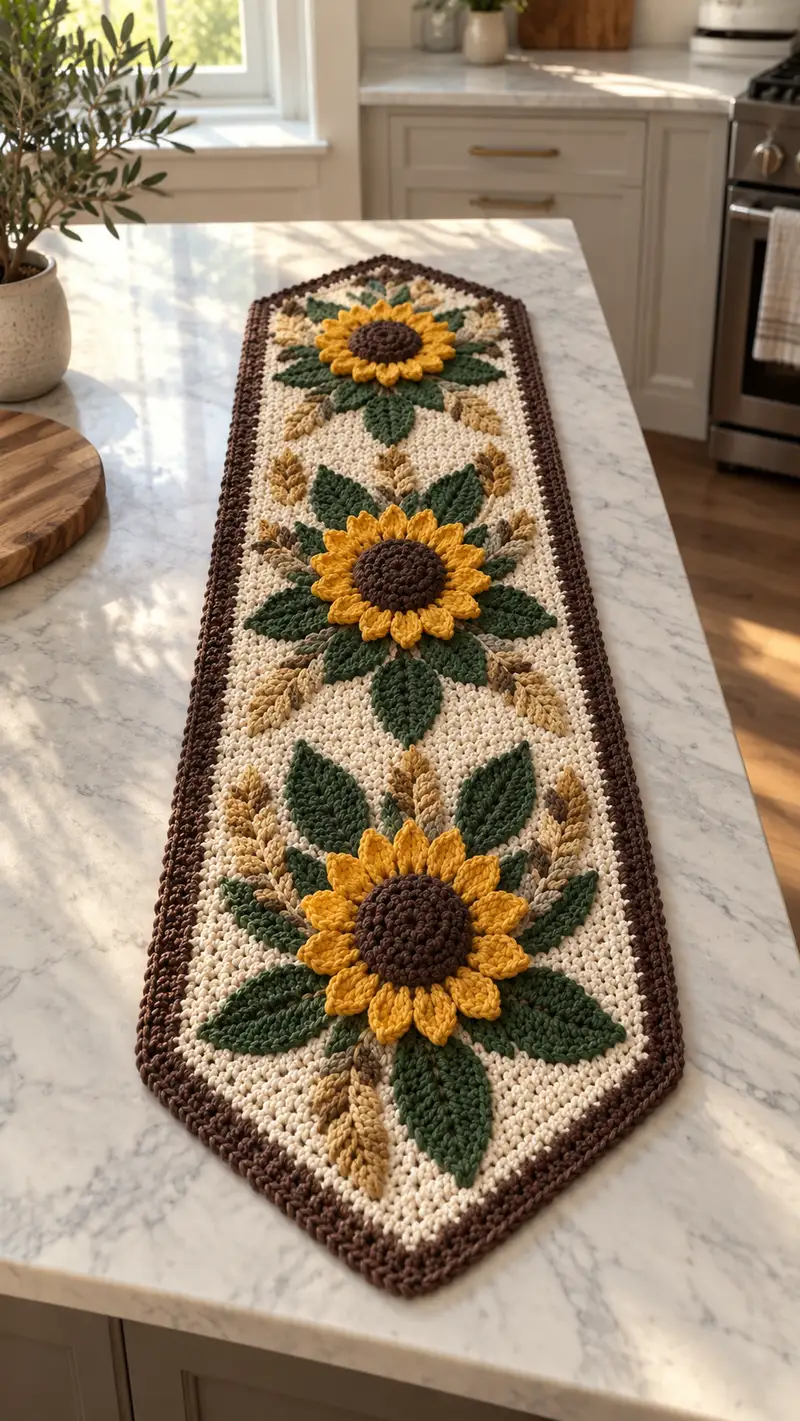
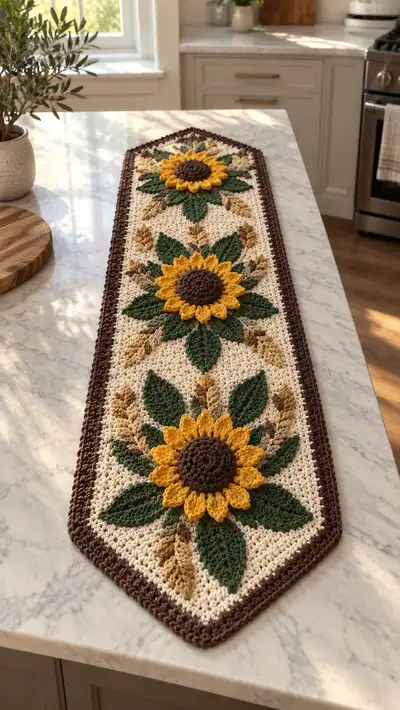
This long, elegant table runner features three raised sunflower appliques set on a warm cream background with wheat sprigs and deep green leaves. Rich brown edging frames the piece and the layered petals add gorgeous texture and dimension. Perfect for a kitchen island or dining table to bring seasonal charm and handcrafted warmth to your home.
Progress Tracker
0% Complete
— Materials & Gauge :
Info :
Gauge is approximate for a runner - 12 sc x 12 rows = 4 inches in worsted yarn with 5.0mm hook. Final runner as written measures approximately 38cm (15") wide by 140cm (55") long including pointed ends. Adjust chain and numbers proportionally to change length or width.
— Base Panel (Foundation & Main Body) :
Round 1 :
Foundation chain 46. Sc in 2nd ch from hook and in each ch across (45). Turn. (45)
Round 2 :
Ch1, sc in each st across. Turn. (45)
Round 3 :
Repeat Round 2. Keep tension even. (45)
Info :
Place stitch markers at stitches 12 and 34 on Row 1 to mark the approximate centerline for each flower placement later. These markers will help you align appliques symmetrically along the runner.
Round 4-10 :
Ch1, sc in each st across. Turn. (45)
Info :
Work even in cream for the first 10 rows to create a stable base. The background uses simple single crochet for a tight fabric that will showcase the appliques.
Round 11-20 :
Ch1, sc in each st across. Turn. (45)
Info :
At Row 12, remove the stitch markers and reposition new markers at Row 12's stitch positions where you want the centers of the three flowers to fall: place the first center at 9th stitch from the left edge, the second center at the center (23rd stitch), and the third center at 37th stitch. Mark these column positions for reference when attaching centers later.
Round 21-30 :
Ch1, sc in each st across. Turn. (45)
Info :
By Row 30 you will have created the bottom third of the runner. At this point measure the runner length; make sure you are happy with spacer rows between motifs, which in this pattern are 8-10 rows between centers vertically. If you want more spacing, add even sc rows now.
Round 31-40 :
Ch1, sc in each st across. Turn. (45)
Info :
Prepare to place the first sunflower center at Row 36 (counting the foundation as Row 1). We'll align centers to sit on top of the background; applique instructions are below. Keep background rows tidy and weave in ends behind work as you go for a cleaner finish.
Round 41-44 :
Ch1, sc in each st across. Turn. (45)
Round 45 :
Ch1, sc in each st across. Turn. (45)
Round 46-50 :
Ch1, sc in each st across. Turn. (45)
Info :
Work rows 31-50 to create the mid section of the runner which will contain the central sunflower motif. Keep counts consistent; the 45-stitch width is essential to align leaves and wheat sprigs symmetrically.
Round 51-56 :
Ch1, sc in each st across. Turn. (45)
Round 57-60 :
Ch1, sc in each st across. Turn. (45)
Info :
At Row 60 begin shaping toward pointed end. We'll decrease at both edges over six rows to create the hexagonal pointed tip. Keep a note of stitch counts and mark row starts with a stitch marker to avoid losing position.
Round 61 :
Ch1, sc2tog at first 2 sts (counts as 1), sc in each st to last 3 sts, sc2tog over last 2 sts, turn. (43)
Round 62 :
Ch1, sc2tog at first 2 sts, sc in each st to last 3 sts, sc2tog, turn. (41)
Info :
Decrease rounds shape the long ends into points. Work carefully and keep consistent tension so corners remain neat. If the fabric wants to ripple, block lightly after finishing.
Round 63 :
Ch1, sc2tog at first 2 sts, sc in each st to last 3 sts, sc2tog, turn. (39)
Round 64 :
Ch1, sc2tog at first 2 sts, sc in each st to last 3 sts, sc2tog, turn. (37)
Round 65 :
Ch1, sc2tog at first 2 sts, sc in each st to last 3 sts, sc2tog, turn. (35)
Round 66 :
Ch1, sc2tog at first 2 sts, sc in each st to last 3 sts, sc2tog, turn. (33)
Info :
When the width is reduced to 33 sts you will have a clean point. Fasten off the end tip edge and repeat the exact same shaping at the opposite end after you've crocheted the full length of the runner. For continuous panels, make two identical halves and join, or continue the runner to full length before shaping the final end. This pattern assumes you worked full length then shaped both ends equally.
— Sunflower Center (Make 3) :
Round 1 :
Using dark brown, MR, 6 sc into ring (6)
Round 2 :
Inc in each st around (12)
Round 3 :
(1 sc, inc) x6 (18)
Round 4 :
(2 sc, inc) x6 (24)
Round 5 :
(3 sc, inc) x6 (30)
Round 6 :
1 sc in each st around (30)
Info :
These 6 rounds produce a slightly domed round disc approximately 6-7cm across depending on tension. Fasten off leaving a long tail for sewing. Make 3 identical centers. If you want a flatter center, after Round 5 work one round of hdc in each st and then fasten off.
— Petals (Make 12 petals per flower; 36 total) :
Round 1 :
With sunflower yellow, ch6, sl st into next stitch of center to form a petal base loop. Repeat this to create 12 loops evenly spaced around center by placing them in between center stitches or into each chosen step around the 30-st center. (12 loops)
Round 2 :
Working into first ch-6 loop: sc, hdc, 2 dc, tr, 2 dc, hdc, sc into loop. Sl st to next loop and repeat for each of the 12 loops to create full petal shapes. (each petal uses 7-8 stitches in the loop)
Round 3 :
Optional: For a fuller petal, in each petal loop working in the back of each petal, create one front post puff stitch around the base of petal: *(yarn over, insert hook around petal base FP, draw up loop, yo and pull through 2) x3, yo and draw through remaining loops*, sl st to secure at base. Repeat for all petals. Fasten off and weave ends. (12 petals)
Info :
Spacing is key: with a 30‑st center you have enough space for 12 petals that sit slightly overlapping. If your center has more or fewer stitches, adjust petals proportionally (e.g., 24 center = 10 petals, 36 center = 14 petals). Pin petals as you go to get even placement.
— Leaf (Make 6 per flower; 18 total) :
Round 1 :
Using deep green, MR, 6 sc into ring (6)
Round 2 :
Inc in each st around (12)
Round 3 :
(1 sc, inc) x6 (18)
Round 4 :
Ch1, sc in next 9 sts, ch6 and turn to create a tapered tip, working back along ch: sl st into 2nd ch from hook, hdc in next, dc in next, sl st back into leaf base to form tip. Continue sc in remaining sts. (18 base + tip)
Round 5 :
One round of FLO sc in each st to create a ridged vein: ch1, sc in next st FLO, repeat to end. Fasten off leaving tail for sewing. (18)
Info :
Leaves are shaped to be slightly elongated; block each leaf flat and pin to smooth the curve before sewing. Make 6 leaves for each sunflower: 4 surrounding the petals and 2 tucked lower to balance the composition.
— Wheat Sprigs (Make 6 per group; 18 groups total) :
Round 1 :
With tan yarn, ch8. Sl st in 2nd ch from hook and next 2 chs to form a small curved base. Turn and work along the ch for a textured spike: *(sl st, hdc, sl st, sc) in next ch* repeat across to form a small spike. Fasten off leaving tail for sewing.
Round 2 :
Attach small leaf shapes: with tan or light brown, make 3 very small chain-3 loops attached along the spike to mimic grains. Each loop: ch3, sl st back into the main spike, repeat 3 times evenly spaced.
Info :
Wheat sprigs are stylistic: keep them narrow and shorter than leaf elements. Alternate orientation when sewing around each sunflower to create natural-looking bunches.
— Extra Texture Details (Optional bobble/raised stitches) :
Round 1 :
For small raised accents between flowers, use cream or light brown and make small bobble circles: MR, ch1, 6 sc into ring, sl st to join (6). Fasten off leaving tail for sewing. Make 12 small bobbles and scatter between motifs for added texture.
Info :
These small bobbles add the look of seeds or buds between the main motifs. They are optional but very effective when placed symmetrically along the runner central axis.
— Border (worked after appliques attached) :
Round 1 :
Join dark brown with sl st at one corner of the runner. Ch1, sc evenly around the entire runner edge working 3 sc in each pointed tip to maintain shape. Place (sc, ch1, sc) into each corner point if you need to square out the angle. Continue evenly until you return to starting point. (edge count varies; work evenly)
Round 2 :
Ch2 (counts as hdc), hdc in each stitch around. Work 3 hdc in each point to maintain shape. Sl st to join. (even hdc around)
Round 3 :
Ch1, sc in each st around working into BLO to create a subtle ridge. Work 3 sc in each point area. Sl st to join and fasten off. Weave in ends. (finished edge)
Info :
For a thicker framed edge, repeat an additional round of hdc in brown. Work tightly to keep the edge neat. Blocking the whole runner after the border helps the edges flatten and the points sit cleanly.
— Assembly & Placement :
Info :
All applique pieces (centers, petals, leaves, wheat sprigs, small bobbles) are made separately then sewn to the base. Use the markers placed on the base to align the centers: bottom center at Row 36, middle center at Row 76, top center at Row 116 (if you added more rows adjust accordingly). Pin everything first.
Round 1 :
Place a dark brown center at the marked column and row. Pin through the center and arrange petals around, tucking petals slightly under the border of adjacent leaves. Sew centers with matched tails using ladder stitch through base and center to anchor firmly. Use 10-14 small stitches around the disc to sit flat. Fasten off and weave in ends.
Round 2 :
Position petals around the center and baste each petal into place with a few stitches through the petal base and into the background. After all petals are basted, use small whip stitches to secure each petal root to the background. Ensure petals slightly overlap to create a natural sunflower shape.
Round 3 :
Sew leaves in a natural radial layout - 4 large leaves around the main petals and 2 tucked lower for balance. Use the leaf tail to stitch through the background for secure anchoring. Flatten and shape each leaf with blocking if desired before final sewing.
Round 4 :
Arrange wheat sprigs in sets of three between leaves and petals. Sew the base of each sprig to the background with tight slip stitches so the sprig curves naturally. Add small bobble accents between and around flowers to break up the negative space.
Info :
When sewing, use small, discreet stitches to anchor through the background and the applique layers. Check both sides regularly to ensure stitches are not visible from the front. For extra security, knot and weave tails into the underside of the border area.
— Final Finishing :
Round 1 :
Weave in all ends with a yarn needle, pulling ends into the back of the border rounds. Trim close to work. Remove pins used for blocking or basting.
Round 2 :
Lightly steam-block or wet-block the runner to even out rows and to set the appliques into place. Lay flat and pin the pointed ends to keep shape while drying.
Info :
For a crisp finish, iron it lightly on the wrong side using a press cloth. Do not over-press the appliques as they may flatten the puff stitches; instead, reshape petals gently by hand after blocking.
— Tips & Variations :
Info :
Color swaps: Use autumnal reds and oranges for a fall runner, or pale blues and creams for a lighter spring look. You can add an extra round of petals to each flower for a fuller bloom or reduce petal count for a more stylized design. To make a longer runner, simply add even sc rows to the base before shaping ends and follow the same applique placements.
Completing this sunflower table runner is such a rewarding project — the textured petals and rich brown border really elevate a simple cream background into a showstopping centerpiece. Each stitch adds to the warmth and charm of your home, and the modular approach makes it customizable for any season. I hope this pattern becomes a favorite on your table and a thoughtful gift idea for friends. 🧶🌻✨