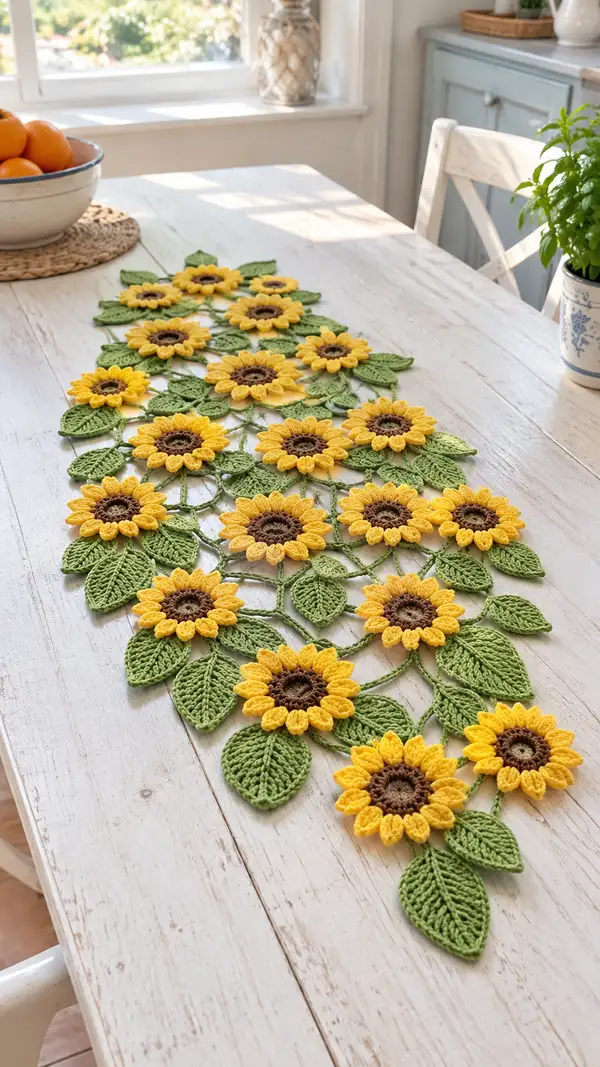
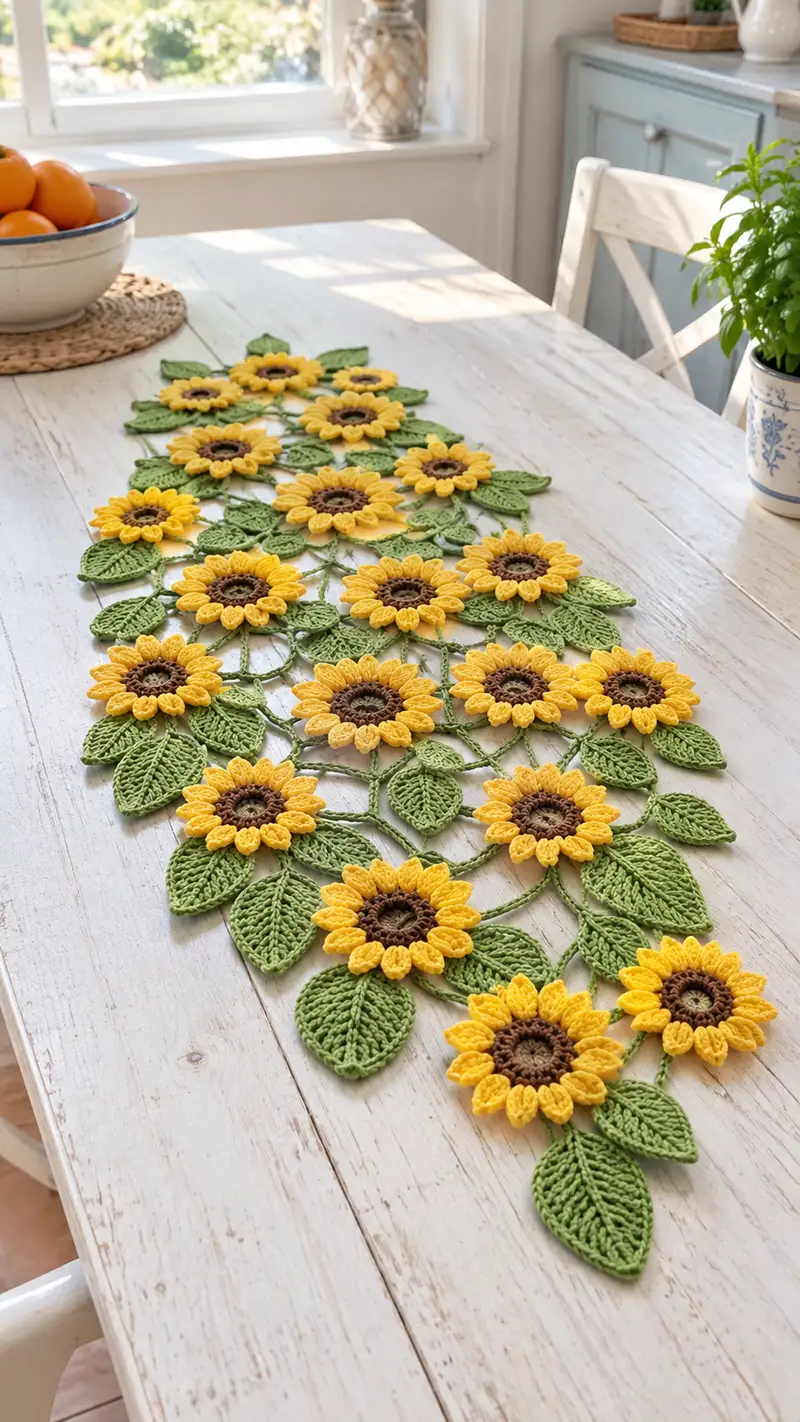
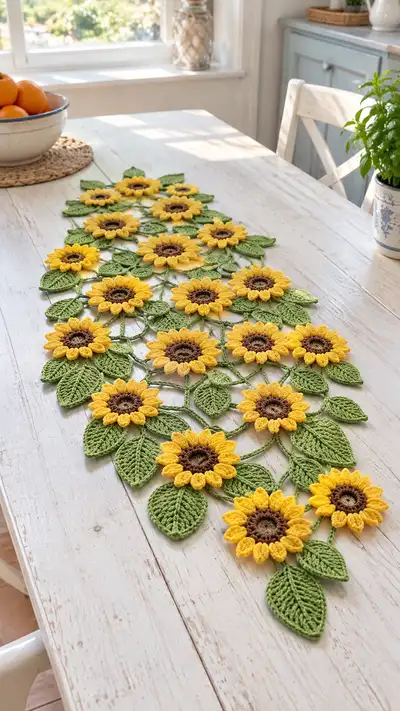
Bright sunflower motifs connected by leafy chains create a gorgeous table runner that brings summer to any table. This pattern shows how to crochet layered sunflower centers, textured petals, and sculpted leaves, then join them into a flowing runner. Made with worsted cotton yarn for crisp stitch definition, it lays flat and makes a wonderful centerpiece or gift. Detailed instructions guide you through every motif, join and finishing touch.
Progress Tracker
0% Complete
— Sunflower Center :
Round 1 :
Make a magic ring. 6 sc in magic ring (6)
Round 2 :
Inc in each st around (12)
Round 3 :
(1 sc, inc) x 6 (18)
Round 4 :
(2 sc, inc) x 6 (24)
Round 5 :
(3 sc, inc) x 6 (30)
Round 6 :
(4 sc, inc) x 6 (36)
Round 7 :
(5 sc, inc) x 6 (42)
Round 8 :
(6 sc, inc) x 6 (48)
Round 9 :
1 sc in each st around (48)
Info :
This brown center is worked tightly to create a textured disk. Keep tension firm so the center cups slightly and the petal round will sit neatly on top. Place a stitch marker at the start of round 9 to maintain orientation for petal placement.
Round 10 :
Switch to chocolate brown if not already. 1 sc in each st (48)
Round 11 :
Working in BLO only: 1 sc in each st BLO (48)
Round 12 :
(Optional texture) *[fpdc around next st, bpdc around next st]* rep around to create a ridged center (48)
Info :
Finish off center leaving a long tail for sewing and attaching the petal layer. If you prefer a firmer center, you can lightly stuff with a very small pinch of fiberfill before closing.
— Petal Base and Petal Layer (12 petals) :
Info :
Each sunflower has 12 petals. With 48 stitches on the center, you will attach petals every 4th stitch to space them evenly. Use yellow yarn for petals. Attach yarn in round 9 or where specified and work petals in rounds 1-8 below.
Round 1 :
Attach yellow in any stitch. *Ch 2, skip 1 st, sc in next st* around to make 12 ch-2 loops (12 loops)
Round 2 :
In each ch-2 loop: (sc, hdc, 3 dc, hdc, sc) across the loop. Fasten off loop if you like and repeat for each loop to create 12 petals. After finishing one petal, move to next loop and repeat (12 petals)
Round 3 :
Join yarn at the base of first petal and work behind the petals to create a second petal layer: ch 1, sc in base, *ch 1, sc in base between petals* repeat to outline base (12)
Round 4 :
Second petal sculpting: Working at the front of first petal, insert hook behind the petal base and work (ch 3, 3 dc cluster, ch 3, sl st into base) to give a rounded petal edge. Repeat for 12 petals (12)
Round 5 :
Optional petal ridge: With a contrast lighter yellow, embroider a single chain of surface slip stitches down the center of each petal to add vein detail (no stitch count)
Info :
After both petal layers are attached, check symmetry and tweak petal positions by nudging stitches. Use a small yarn needle to reposition raised petals if needed.
Round 6 :
Securely fasten off each petal section and weave ends to center underside. Leave long tail if you will sew center to a backing later.
Round 7 :
Optional filler round: Join all petals with a round of sl st around the petal bases to bind the layers slightly (12 sl st around petal bases)
Round 8 :
Fasten off and weave in ends, ensuring the flower sits flat. Block each flower lightly to open petals if desired.
Info :
Repeat center + petal assembly for X sunflower motifs depending on runner length. In the pictured runner there are 18 sunflowers; plan your table length and calculate motif count before starting (see Assembly section).
— Large Leaf (work 30-36 leaves depending on layout) :
Round 1 :
Start with grass green. Ch 10. Sc in 2nd ch from hook, hdc in next, dc in next 2, tr in next 2, dc in next, hdc in next, sc in last. (9 sts across chain excluding turning ch)
Round 2 :
Turn, working on opposite side of foundation chain: sc in first st, hdc in next, dc in next 2, tr in next 2, dc in next, hdc in next, sc in last (mirror) - Do not join. This creates a symmetrical leaf base (9 sts per side)
Round 3 :
Work around the entire leaf edge: sc evenly along both sides placing 2 sc at the tip to shape point. (Approx 18 sc around)
Round 4 :
Vein row: Working in FLO on one side only: *ch 1, sk next st, sl st into next* worked from base to tip to create a delicate open vein edge. Repeat on the opposite side when you reach it to mirror (no precise count)
Round 5 :
Back to flat texture: 1 sc in each st around (approx 18)
Info :
To achieve the prominent vein visible in the photo, work a line of surface slip stitches down the center of the leaf: insert yarn at base, then bring to front and work sl st along center until tip. Return to underside and secure.
Round 6 :
Optional BLO texture: For a raised midrib, work 1 sc in each st BLO around for 1 round (approx 18)
Round 7 :
Decrease shaping: At the base, sc2tog once on each side to taper the base slightly if desired (approx 16)
Round 8 :
Fasten off leaving long tail for sewing. Block leaves flat, pinning center veins slightly raised for natural look.
Info :
Make leaves in two sizes: large (as above) and small (see Small Leaf section). In photograph the runner uses a mix of sizes to create visual interest.
— Small Leaf (work 18-24 small leaves) :
Round 1 :
Ch 7. Sc in 2nd ch from hook, hdc in next, dc in next 2, hdc in next, sc in last (5-6 sts across chain)
Round 2 :
Turn and mirror on opposite side of chain: sc, hdc, dc x2, hdc, sc (mirror). No join required (approx 10-12 sc around)
Round 3 :
1 sc around entire leaf edge, 2 sc at tip to create point (approx 12)
Round 4 :
Surface vein: with wrong side facing, bring yarn to the front at base and sl st along center to tip, fasten off (no count)
Info :
Small leaves tuck nicely between petals and connectors; they give the runner a dense, leafy look. Make a proportion of small leaves to large leaves in a ratio about 1:1 for the pictured effect.
— Connector Chains and Decorative Loops :
Info :
Sunflowers are joined with decorative chain loops in the photo. Chains are worked in grass green and often include 12-18 ch loops between motifs. Keep tension relaxed so the runner drapes naturally.
Round 1 :
With grass green, ch 20 (or desired length). Sl st into petal base of first sunflower at the designated attachment point (see Assembly for exact stitch numbers). This makes a loop between flowers (1 loop)
Round 2 :
From the sl st join, ch 18 and sl st into the next sunflower base point to create a second connector. Repeat to create a network of loops linking all flower centers and leaves.
Round 3 :
To create braided connectors: ch 6, sl st back into 3rd ch from hook creating a little arch. Repeat across chain to add texture to long connectors (no precise count)
Info :
Vary chain lengths between different pairs of sunflowers for an organic look. The photo shows shorter chains near the runner edges and longer chains in the center to create a tapered shape.
— Joining Motifs (assembly round-by-round steps) :
Info :
Lay out all sunflowers and leaves on a flat blocking surface to determine final placement. I'll provide typical joining points: each sunflower will have 6 main join points around its circumference spaced every other petal (i.e., every 4 base stitches). You may choose to attach leaves at adjacent petal junctions.
Round 1 :
Place two flowers facing up at desired spacing. Using grass green, join yarn to the base stitch between petal 1 and 2 of flower A, ch 10, and sl st into the corresponding base stitch between petal 4 and 5 of flower B. Repeat at other designated points to create three or four anchor chains between each pair.
Round 2 :
Secure each chain by working a small sc circle at each end: sl st into the base stitch, ch 1, 6 sc in a small ring to reinforce the join, sl st to close (6)
Round 3 :
Attach leaves by sewing the leaf base to chain intersections and to petal junctions. Use the long tail from leaves to whip stitch them in place. Space leaves so they overlay connectors and help stabilize the runner.
Info :
Use pins to hold motifs while you chain between them. Work slowly and check the runner on the table to ensure the spacing looks natural. Adjust chain lengths before finalizing by unfastening and reworking chains where necessary.
Round 4 :
For additional strength, reinforce joins by sewing a few invisible whip stitches through the center underlayer of each sunflower to neighboring petals where chains meet. This reduces stress on chain loops.
Round 5 :
Work a few decorative slip stitch picots along long chain runs: *ch 3, sl st in 3rd ch from hook* to create small bump accents along the connector chain (repeat as desired)
Info :
As you join motifs, keep the runner roughly symmetrical along its central axis. The pictured runner uses a tapered shape with more motifs in the middle and fewer toward the ends. Plan accordingly.
— Decorative Cluster Filler (small flowerlets and buds) :
Round 1 :
Make small 5-petal rosettes to fill gaps. Start with mr, 5 sc in ring, sl st to join (5)
Round 2 :
Ch 2, in same st do 5 dc cluster to form a petite petal, sl st to next st and repeat for 5 petals. Fasten off and weave in tail. Make many filler blossoms to tuck between leaves.
Round 3 :
Attach filler clusters to chains and leaf bases by sewing with matching green or yellow yarn.
Info :
These tiny clusters visually complete the runner and cover small joining holes. They also add density so the runner reads as a continuous floral field rather than discrete motifs.
— Edging and Finishing Rounds :
Round 1 :
Once all motifs are joined and leaves attached, work a relaxed edging around the perimeter: join grass green yarn at any outer stitch, ch 1, sc evenly around the entire runner following the outermost stitches and chain edges. Aim for uniform spacing (sc around)
Round 2 :
To create a scalloped border: *5 dc in next st, sl st in next st* repeat around perimeter to give a gentle scallop. Adjust stitch spacing to keep scallops even (counts will vary)
Round 3 :
Picot finish: In every other scallop work (sc, ch 3, sl st in 3rd ch) to create tiny picot points along edge. Fasten off and weave ends on underside.
Info :
Because the runner is assembled from many pieces, the edge count will not be a simple multiple. Work the scallop evenly and adjust by skipping or adding a stitch occasionally so the scallops remain regular in appearance.
Round 4 :
Final blocking: Dampen the entire runner lightly, pin to a flat surface in final shape and allow to dry completely. Secure any loose joins with whip stitch during blocking if gaps appear.
Round 5 :
Weave in all ends, snip tails close. If desired, apply a light steam press from the wrong side to open the petals slightly for a finished look.
Info :
Store flat or rolled (not folded) to avoid creases. Cotton yarn can be gently hand-washed and re-blocked if needed.
— Extra Texture Variations (optional creative rounds) :
Round 1 :
Create raised vein leaves: Work alternating fpdc and bpdc rows across the leaf surface to make pronounced ridges (repeat 4-6 rows per leaf)
Round 2 :
Alternate petal heights: Make some petals with 5 double crochets and some with 3 to add variety. Keep count consistent so petal symmetry remains (12 petals total)
Round 3 :
Add a small border of beige around the center: join beige and sc in each center base stitch for one round to add a warm halo effect (48)
Info :
Experiment with these variations on a test motif before applying them across all motifs so you can ensure the visual effect matches your expectations.
— Final Checks and Care :
Round 1 :
Inspect every join and reinforce weak spots with additional whip stitch or a short sc chain if necessary. Pay attention to chains that bear weight when the runner is moved.
Round 2 :
For extra durability, consider a few strategic ladder stitches through overlapping petals and leaf bases to hold them in position without being visible on the right side.
Info :
If you plan to launder the runner, test colorfastness of your yarns first. Cotton yarns dyed poorly may bleed; use cold water and gentle hand wash only. Re-block after washing to restore shape.
Completing this sunflower table runner is a joy — each sunflower you crochet becomes a tiny piece of sunshine! The layered petals and sculpted leaves come together for a bright, textured centerpiece that feels handmade and special. Celebrate your time crafting with a beautiful runner that will brighten any table. 🌻🧶