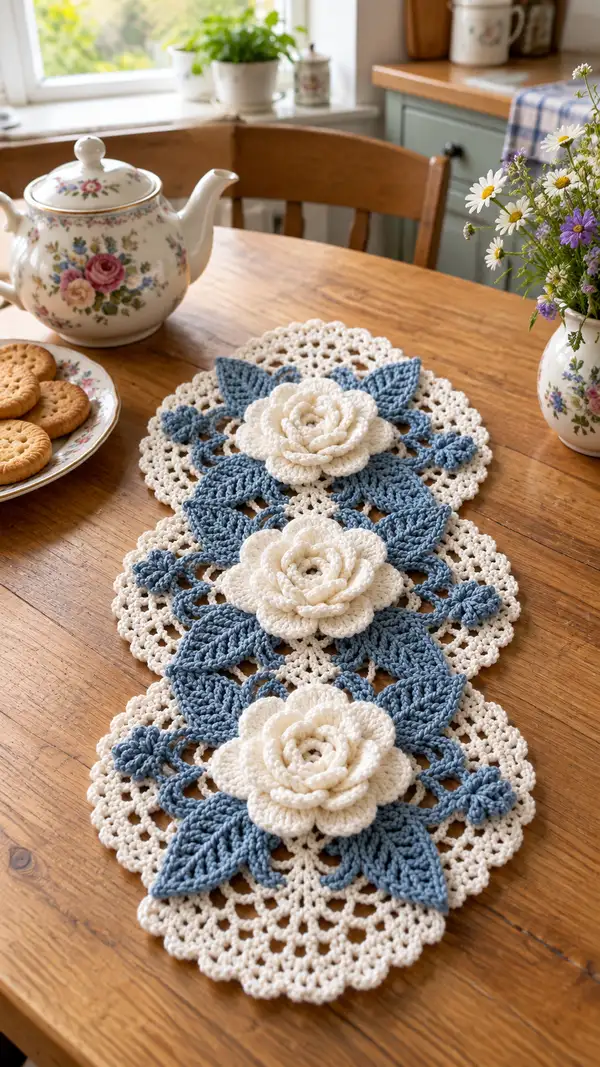
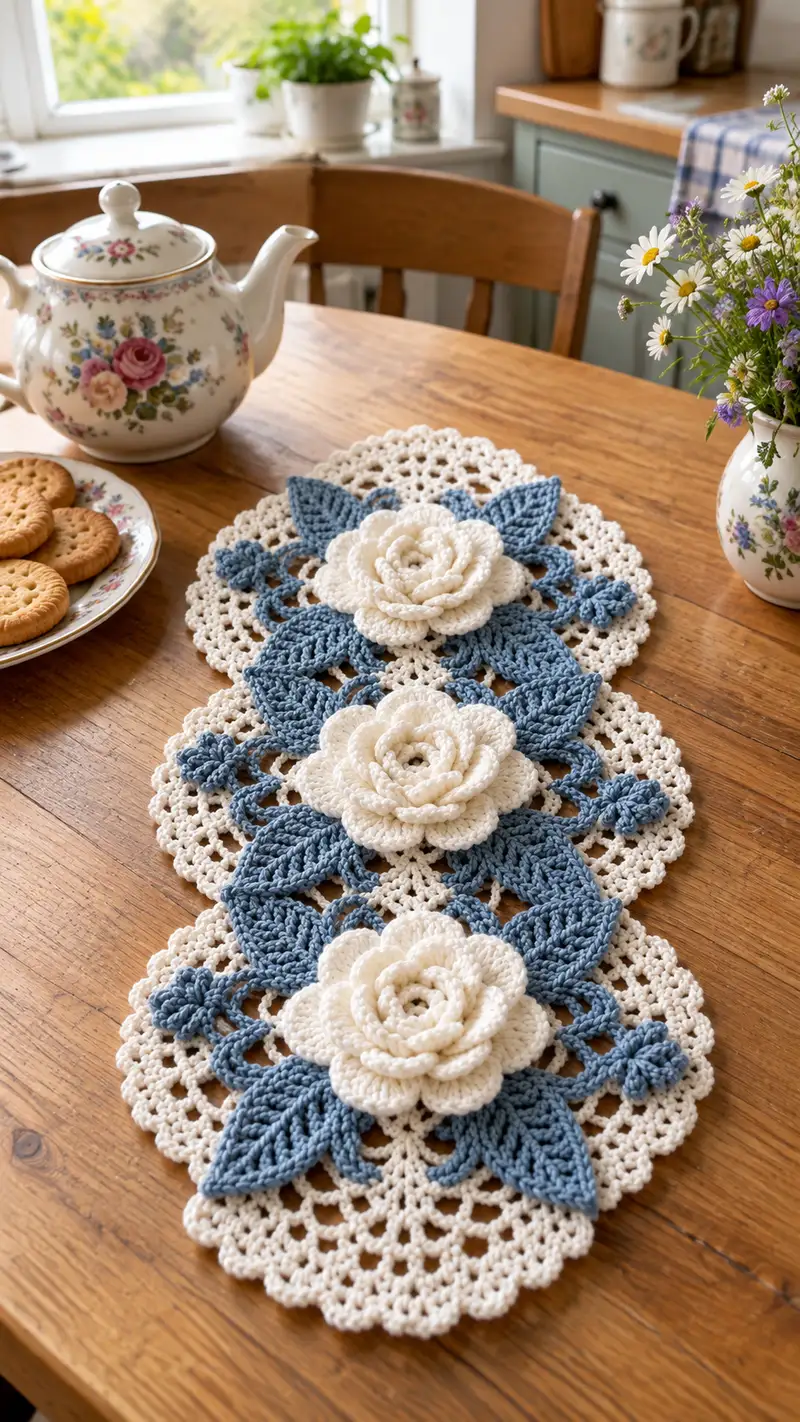
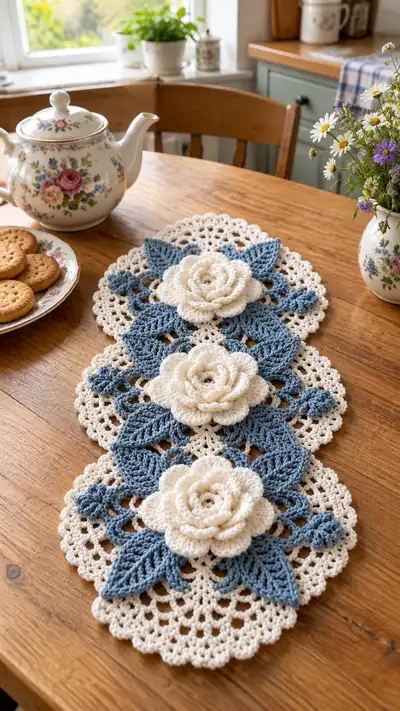
Create a charming vintage-inspired table runner featuring three lacy doilies, sculpted cream roses and soft blue leaves. This layered centerpiece uses cotton yarn and a combination of lacy shell rounds and sculpted petal construction to achieve a dimensional floral look. The pattern includes step-by-step rounds for doilies, roses, leaves, buds and connectors so you can make the full runner shown.
Progress Tracker
0% Complete
— Notes & Gauge :
Info :
This pattern uses worsted-weight cotton yarn and a 4.0mm hook. Gauge is not critical but for reference 12 sc x 12 rows = 10 cm in sc worked tightly. Work in continuous rounds unless directed otherwise. Block all flat doily parts before assembly.
Info :
Abbreviations are listed above. Maintain consistent tension and use stitch markers at the beginning of each round. Read every Info section carefully before proceeding.
— Doily Base (Make 3) :
Round 1 :
6 sc in magic ring (6)
Round 3 :
(1 sc, inc) x 6 (18)
Round 4 :
(2 sc, inc) x 6 (24)
Round 5 :
(3 sc, inc) x 6 (30)
Info :
Keep these early rounds worked tightly to form a flat center. If the circle begins to ruffle, reduce increases slightly next round; if it cups, tighten tension or use a smaller hook for subsequent rounds.
Round 6 :
(4 sc, inc) x 6 (36)
Round 7 :
(5 sc, inc) x 6 (42)
Round 8 :
(6 sc, inc) x 6 (48)
Round 9 :
Ch 4 (counts as tr), *skip 2 sts, dc in next st, ch 1* rep around, join to top of beginning ch-4 with sl st (16 dc + chains including ch-spaces) (48)
Info :
This round begins to open the fabric for a lacy shell work. Count the chain-spaces as your shell placement reference for the next rounds. If you prefer more openness, replace some dc with tr clusters.
Round 10 :
Ch 3 (counts as dc), *in next ch-1 sp: (2 dc, ch 2, 2 dc), skip next dc; rep around to make 16 shells; join with sl st to top of ch-3 (16 shells)
Round 11 :
Sl into the center ch-2 sp of a shell, ch 3, (2 dc, ch 2, 3 dc) in each shell center around (16 large shells)
Info :
These shells create the airy look of the doily. Keep shell stitch counts consistent and use the ch-2 centers as anchors. You should have 16 shell centers evenly spaced.
Round 12 :
Ch 1, sc into each dc across the shell edges and into each ch-2 space work (3 sc, ch 1, 3 sc) to frame each shell; repeat around (approx 96 sc including ch-spaces)
Round 13 :
Ch 4, *skip 2 sc, dc in next sc, ch 1* rep around into the framed shell lattice (still 16 repeating points) (96)
Round 14 :
Into each ch-1 sp of round 13: (3 dc, ch 3, 3 dc) to make a taller shell (16 taller shells)
Info :
At this point the doily radius is building. If your piece begins to ripple outward, wet-block it flat now to help maintain shape. Use blocking pins and a gentle steam or wet spray, pin flat and let dry.
Round 15 :
Ch 1, sc in each dc and sc around, placing 3 sc in each shell center to maintain smoothness (approx 192 sc counting shells and spaces)
Round 16 :
Ch 3, *skip 2 sc, dc in next sc, ch 1* rep around to create open arches around edge (still 16 arches) (192)
Round 17 :
In each arch: (2 dc, ch 2, 2 dc, ch 1) forming double shells; rep 16 times (16 double shells)
Round 18 :
Ch 1, sc evenly across the double shells placing 4 sc into each double shell top to even out the edge (approx 256 sc)
Info :
Work the sc round tighter here so your outer rounds remain stable. This is the foundation for the outer lace edge and will support the applique placement.
Round 19 :
*In next group: ch 5, tr in next sc, ch 5, sl st in top of previous shell peak* repeat 16 times to create loops for decorative join points (16 loops)
Round 20 :
Ch 3, work 5 dc into each ch-5 loop, join (16 small puff-shells around edge)
Round 21 :
Ch 1, sc around into tops of dc and into each puff-shell placing 3 sc into each puff-shell top for reinforcement (approx 320 sc)
Round 22 :
Picot scallop edge: *ch 3, sl st into 3rd ch from hook (picot), sc in next 6 sts; rep around to form delicate scalloped edging* (final circumference with 16 scallops)
Info :
Fasten off and weave in ends. Block this doily flat and allow to dry completely before adding appliques. Make three identical doily bases for the runner, or repeat for as many motifs as desired.
— Sculpted Rose (Make 3) :
Info :
The rose is created by making a spiral ruffled strip which is then rolled and sewn into a bloom. Alternatively, you can create concentric petal rounds; below is the spiral-strip method broken into rounds for clarity but worked as a long continuous strip then formed into a rose.
Round 1 :
With cream yarn make a foundation chain of 64 ch (do not join). Chain length controls rose size; 64 ch creates a full rose similar to the sample. If you prefer smaller roses ch 48-56.
Round 2 :
Row 1 along chain (foundation row): sc in 2nd ch from hook and in each ch to end (63 sc). Turn and continue working back along opposite side of chain when working strip rows.
Round 3 :
Work back along chain: ch 1, sc in each st across (63 sc)
Round 4 :
Ch 3, *skip 1 st, 3 dc in next st, skip 1 st, sc in next st* rep across to introduce first ruffle (approx 21 clusters and intervening scs)
Info :
The first ruffle row begins the petal texture. Keep tension even; the strip will naturally curve when rolled. If your strip is too tight to roll, add an extra dc cluster row later to increase fullness.
Round 5 :
Ch 1, sc across into tops of dc clusters and scs to tidy the edge (63 sc)
Round 6 :
Ch 4 (counts as tr), in next st tr, *in next st: 2 tr, ch 1, 2 tr* rep across to create taller petals (approx 21 petal groups)
Round 7 :
Ch 1, sc across into each tr and ch-1 space to firm the base (63 sc)
Round 8 :
Ch 3, *in next st: 3 dc, ch 3, 3 dc* rep across to make large petal clusters, ending with wide scallops (approx 21 large clusters)
Info :
If you prefer more dramatic petals, extend this round to ch 4 and make (4 dc, ch 4, 4 dc) petal clusters. Keep strip flexible so it can be rolled into a rose without buckling.
Round 9 :
Ch 1, sc across to tidy tops of large clusters (63 sc)
Round 10 :
Make a final edge: *(2 sc, picot, 2 sc) into each large cluster top* to create petal rim (approx 21 picot-topped petals)
Info :
Fasten off leaving a long tail (approx 30-40 cm) for sewing. Curl and roll the strip from one end to form the center bud, spiraling outward and sewing through the base of the strip as you go to hold each petal layer in place. Use the tapestry needle and the tail to whip-stitch through the strip base, anchoring every 2-3 cm as needed.
Round 11 :
Alternate method (if you prefer rounds): Make a small center disc—mr, 6 sc (6); R2: inc x6 (12); R3: (1 sc, inc) x6 (18). Then work concentric petal rounds: R4: *ch 3, 4 dc in same st, sl st in next st* around to create 6 petals; R5: in each petal: (3 dc, ch 2, 3 dc) to expand (12 petals); continue adding layers with sc row in between until desired fullness is reached (expect 8-10 rounds). This produces a similar bloom but uses more sewing to layer petals. (If using this method, ensure petals are well-anchored with small stitches.)
Info :
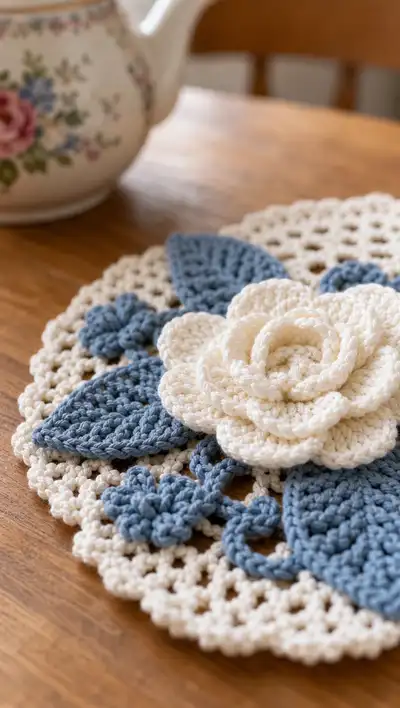
Lightly stuff the center of the rose with a small amount of polyester stuffing if you want a slightly domed bloom. The sewn spiral method naturally forms a dome; shape each petal outward as you sew to create the layered 3D look shown in photos.
— Leaves (Make 6 per motif; 18 total) :
Round 1 :
With dusty-blue yarn: mr, ch 2, 6 hdc in mr, pull tight and join (6)
Round 2 :
Inc in each st around (12)
Round 3 :
(1 hdc, inc) x 6 (18)
Round 4 :
Ch 1, sc in next 4 sts, (3 dc in next st, ch 2, 3 dc) in next st to start leaf tip, sc back along opposite side of leaf to shape; leave last st unworked to form pointed tip; turn and continue (18)
Round 5 :
FLO: ch 1, 1 sc in each st along one side to the tip, in tip center work (3 tr, ch 2, 3 tr), continue sc in each st back down the other side; join (18 + tip trebles)
Info :
Working front loop only (FLO) on this shaping round creates a raised midrib effect when you later work an edging row in BLO. Pin the leaf flat and steam lightly while blocking to open the leaf shape and flatten for assembly.
Round 6 :
Ch 1, sc around the leaf edge placing (sc, picot, sc) at tip and at base for decorative points (approx 22 sc including picot points)
Round 7 :
Optional vein: With a contrasting slider stitch in center, using tapestry needle and single strand of yarn embroider a central vein from base to tip. Or work BLO 1 sc in each st across center to make ridge.
Info :
Leaves in the photo are flattened and slightly curved; use blocking and pinning to set shape. Make 6 leaves per motif: four large leaves (use chain length 22 in row foundation) and two smaller leaves (chain foundation 16) adjusting stitch counts proportionally.
— Small Buds & Flourishes (Make 2 clusters per motif) :
Round 1 :
With dusty-blue yarn: mr, 8 sc in ring (8)
Round 2 :
(1 sc, inc) x 4 (12)
Round 3 :
Ch 4, sl st into next st to make small loop; rep 6 times around to create tiny berry loops; fasten off leaving tail for attaching cluster
Info :
These tiny clusters sit between leaves and the doily edge. Make delicate chain loops with picot-like finishes and stitch into place when assembling the motif.
— Decorative Connecting Chains & Small Lace Links :
Round 1 :
With cream yarn ch 60, join with sl st to form a gentle loop for connecting doilies or to sew invisibly under leaves (60)
Round 2 :
Work along chain: *sl st, ch 3, sl st* every 6 ch to create small loops for sewing and decorative displays (approx 10 loops)
Info :
These connectors are used between motif edges to join the three doilies. For a smooth runner, create 2 connectors between each pair of doilies and sew flat on the underside so the top remains seamless.
— Edge Leaf Motif (Alternate decorative leaf cluster for sides) :
Round 1 :
Ch 12, sl st to fold and form small layered leaf: sc 11 across, then fold and join with sl sts to base making a small double-leaf effect (11)
Round 2 :
Ch 3, in each ch-1 loop along the base work a small shell (3 dc, ch 1) to create textured accent; fasten off (11 shells)
Info :
Use these as small accents to fill any gaps between larger leaves and the doily edge. Pin in place before sewing.
— Finishing Rows & Final Blocking :
Round 1 :
After sewing on leaves and roses, go around each motif edge with a tidy sc round in cream to even out any visible joins: sc evenly (approx 320 sc per motif after appliques attached)
Info :
Blocking after assembly is essential. Pin the entire runner flat on a blocking board, set petals and leaves to sit naturally upward, steam lightly or mist with water and allow to dry fully before use. This will set the shape and encourage petals to lift off the doily base for the sculptural look.
Round 2 :
Weave in all ends securely on the back side using the tapestry needle. Press gently with a warm iron (use cloth barrier) or steam from top to set petals but avoid crushing the 3D rose form.
Info :
Trim any long tails and secure them with small hidden stitches. If desired, add a tiny dab of fabric glue under heavy petals for extra permanence but test glue on a scrap first to ensure no color change.
This vintage rose table runner is a delightful mix of lace and 3D floral appliques, perfect for a tea table or dresser. Each motif comes together to create a look that is both elegant and cozy — a real handmade heirloom to treasure. The sculpted roses add tactile charm, while the lacy doilies keep the design light and vintage-inspired. Enjoy stitching every petal and giving your home a warm, handcrafted touch! 🧶🌸