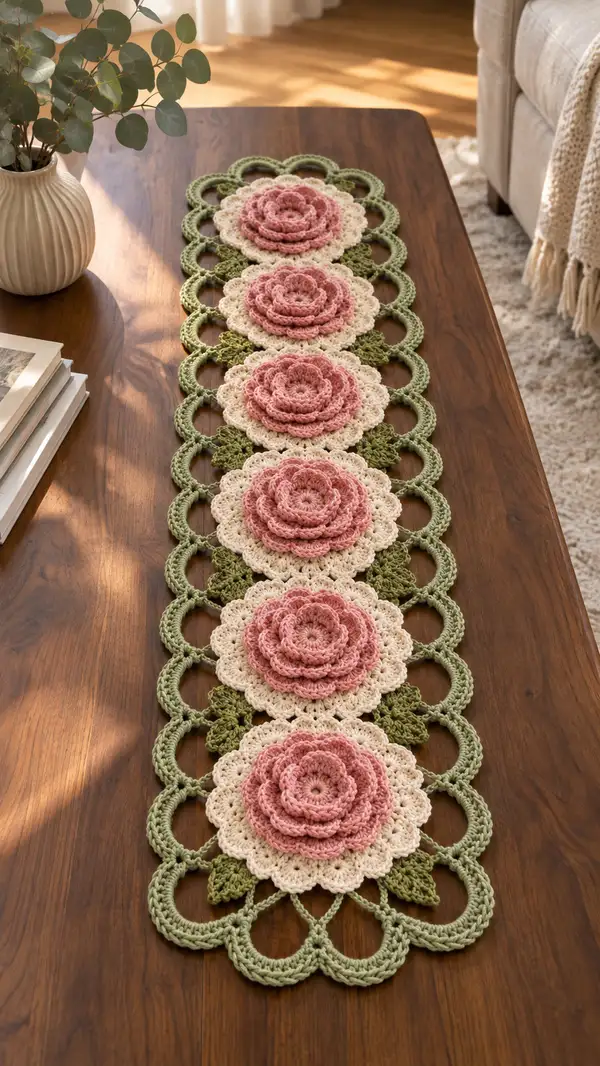
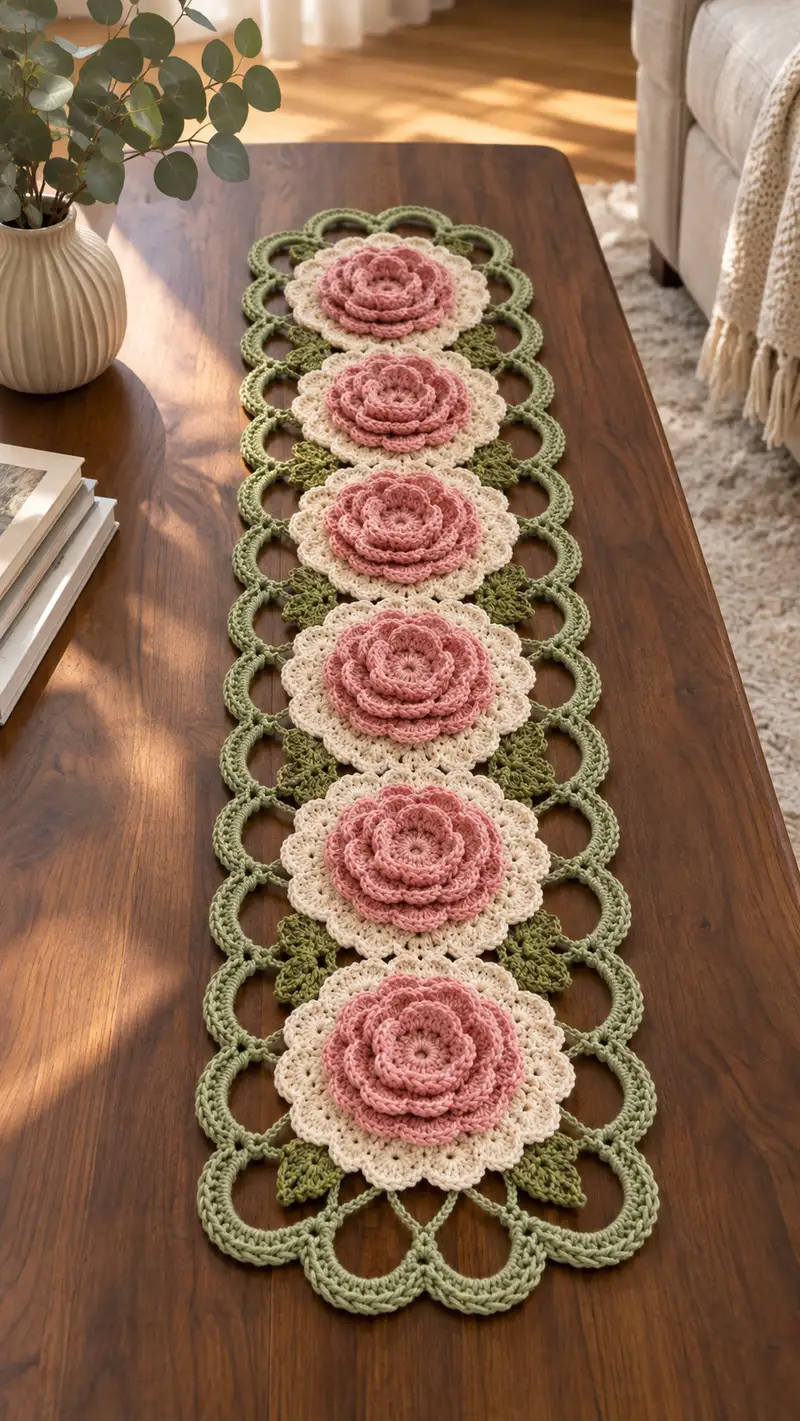
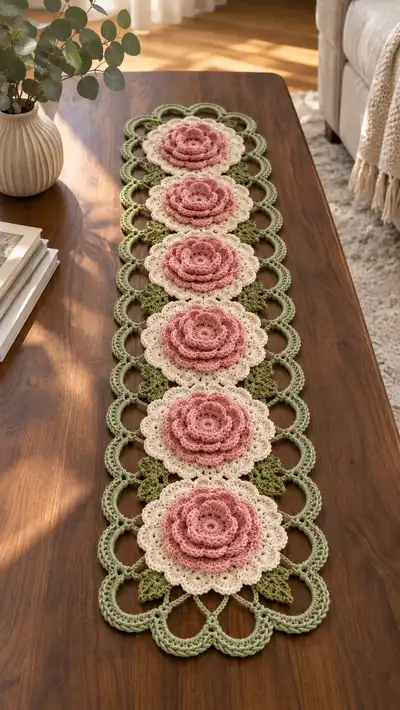
This elegant table runner features five layered rose medallions connected by scalloped lace loops and delicate leaf accents. Soft dusty-pink roses sit on a creamy lacy doily, all framed with a sage green scalloped edge—perfect for a dining table or sideboard. The pattern uses basic stitches with lacy techniques and join-as-you-go finishing to create a heirloom look.
Progress Tracker
0% Complete
— Rose Center and Petal Layers (Make 5)
Round 1 :
Using dusty pink, MR, ch1, 10 sc in MR. Pull tight and join with sl st to first sc (10)
Round 2 :
(inc) x 10 — work 2 sc in each st around (20)
Info :
Keep tension slightly looser than body stitches so the center lies flat. Do not join with a visible chain; use a sl st and rotate for next round.
Round 3 :
(1 sc, inc) x 10 (30)
Round 4 :
1 sc in each st around (30)
Round 5 :
For the inner petal ridge: *ch2, sk 1 st, sc in next st* repeat around inserting a delicate picot-like foundation for petals (30 ch-spaces)
Info :
Do not fasten off; the next rounds will form the first petal row worked into the ch2 spaces. Use stitch marker at first ch2 space to orient petals.
Round 6 :
Working into each ch2 space: *(sc, hdc, 3 dc, hdc, sc) in same ch2 sp* x 30 — small scalloped petals (30 petals, petal bases create a full rosette)
Round 7 :
1 sl st into next stitch and reposition to back of petals, ch1, *sc in base between petals, ch3* repeat around to create loops behind first petal row (30 loops)
Round 8 :
Into each ch3 loop: *(sc, 3 dc, sc)* to form a fuller petal layer (30 larger petals). After last petal, sl st to join (120 stitches worked in clusters)
Info :
Petal profile: keep petals slightly teased outward with your fingers while finishing to form a raised layered effect. If you prefer a tighter rose, reduce dc counts in petals by 1.
Round 9 :
Change to working in BLO of the base round where possible: ch1, 1 sc in each petal base stitch (use previous round's sc positions) (30)
Round 10 :
Create a decorative split-pearl row for the innermost height: *ch2, sl st in top of petal, ch2, sl st in next top* around to form a small ring above petals (30 anchors)
Info :
Round 10 is decorative only; work gently to avoid flattening previous layers. If your petals seem too flat, add 1 chain to ch2 loops to give more height.
Round 11 :
Second petal tier: join dusty pink at base of a ch-space, *ch3, (sc, 4 dc, sc) in next ch-space* repeat to create a ruffled second tier (30 larger petals)
Round 12 :
Ch1, sl st around to tidy and secure petals, making sure petals remain layered. Fasten off and weave in ends but leave long tail if tacking to doily later (no numeric stitch count required)
Info :
Make 5 rose centers in dusty pink. Block gently with pins to shape petals, pinching each petal slightly to create a layered rose look.
— Cream Doily Plate (Make 5)
Round 1 :
Using cream yarn, MR, ch1, 10 sc in MR, pull tight and join with sl st (10)
Round 2 :
6 inc (20) — work 2 sc in each st around (20)
Round 3 :
(1 sc, inc) x 10 (30)
Round 4 :
(2 sc, inc) x 10 (40)
Round 5 :
(3 sc, inc) x 10 (50)
Info :
These increase rounds create a flat circular plate. Keep your tension even; check diameter — the plate should be slightly larger than the rose base so petals can overlap naturally.
Round 6 :
1 sc in each st around (50)
Round 7 :
Work a lacy shell round: *sk 2 sts, (dc, ch2, dc) in next st, sk 2 sts, sc in next* repeat around to create lacey scallops. Calculate repeats: this pattern should equal 10 shell motifs (10)
Round 8 :
In each ch2 sp of shell: *(sc, hdc, 3 dc, hdc, sc)* to form a rounded scallop (10 scallops — use stitch placement to maintain even spacing)
Round 9 :
1 sc in each st around working into the backs of scallops where possible to maintain a smooth top (50)
Info :
If your shell round appears small relative to rose, add one more increase round before shelling: (4 sc, inc) x 10 = 60 stitches, then continue. My instruction assumes 50 base sts and 10 shells for aesthetic proportion.
Round 10 :
Create a decorative picot ring to anchor rose: *ch3, sl st in next st* around to make 10 small loops; use these to sew rose base later (10 loops)
Round 11 :
Edging round in cream: *ch2, sk next st, sc in next st* repeat around giving a delicate scalloped ring (approx. 50 ch-spaces)
Round 12 :
1 sc in each st around (50) — tidy and prepare to attach rose; fasten off leaving long tail for sewing (if preferred you can attach with slip stitch)
Info :
Make 5 cream doilies. Block flat with pins so the scallops align and the rose will sit centered. Use the long tail to sew the rose center to the doily using small invisible stitches through the picot anchors.
— Small Leaf Accent (Make 8 between motifs)
Round 1 :
Using darker sage green, ch6, sc in 2nd ch from hook, hdc in next, dc in next, hdc in next, sc in last (leaf spine foundation, 5 sts)
Round 2 :
Turn and work along opposite side: sc in base of last st, hdc, 2 dc, hdc, sc — mirror to create a full leaf shape (total stitches along edge = 11)
Round 3 :
Edge round: sl st evenly around leaf edge to neaten (no change to count)
Info :
Make two small leaves per motif — they will sit between adjacent doilies. Block them gently so they hold a slight curve and tuck under the cream doily scallops when joined.
Round 4 :
Optional vein: with sage, embroider 3 straight stitches from base to tip through center of leaf to create a raised vein; secure and hide ends on the wrong side.
— Connecting Loops and Join-As-You-Go (Repeat Connections between motifs)
Info :
Join the medallions with the sage green chain-loop motif shown on the outer edges. You will make connectors between each doily pair. Work join-as-you-go on the second-to-last round of the outer loop so the loops align seamlessly.
Round 1 :
Using sage green, ch8, sl st to form a small ring (counts as a loop foundation); *ch6, sl st into next foundation point on doily edge* repeat to create a series of chain loops across the outer edge leaving sp for scallops. For one connection you'll form 3 loops per side between doilies (variable depending on your spacing)
Info :
When joining two motifs, work the loops into the edge of the first doily, then on the second doily's corresponding outer edge join with sl st into the loop using sl st or sc depending on desired firmness. Pin motifs with the leaves tucked under to ensure symmetry.
Round 2 :
After creating loops, reinforce by working 1 sc around each loop foundation: *sc in each ch of the loop to make ch-cord sturdier* (loops maintain their chain length as created)
Round 3 :
On join points where two loops meet, work a small picot cluster: sl st into center, ch3, sl st back to make a tiny knot-like accent. This visually matches the small connecting knots seen between scallops.
Info :
Make connectors for all adjacent medallions. For a five-medallion runner you will make four internal joins and two end joins to finalize the runner length. Keep counts consistent so the outer scallop pattern rounds will align.
— Outer Scalloped Border (Edge Detail All-Around)
Round 1 :
Using sage green, join at any outer loop. ch1, 1 sc in same st, *ch6, sl st into next outer anchor on doily*, repeat around entire runner perimeter creating large open scallops. Count outer anchors — with 5 medallions this should create approximately 22 large scallop loops (22)
Round 2 :
Working into each ch6 loop: *(sc, hdc, 5 dc, hdc, sc)* in each ch6 loop to form big scallop shells. (Each shell uses 8 cluster stitches around loop; maintain even tension to keep scallops uniform)
Info :
If your scallops appear floppy, work an extra round of sc around the base of each shell into the previous round's stitches to stabilize. This runner photo shows slightly puffed scallops; aim for three-dimensional shells that curve outward.
Round 3 :
Between scallops, create decorative small arches: *sl st to outer tip of previous shell, ch3, sl st in base between shells* to form connecting arches — this reinforces spacing (approx. 22 small arches)
Round 4 :
Edge finishing: *sc evenly around entire outer border, placing 2 sc in tips of shells and 1 sc between to prevent curling* (final sc count depends on scallop count, aim for even spacing)
Info :
This outer border unifies the runner and hides join points. Work slowly and block after finishing to shape scallops. If needed, add a final slip-stitch round to clean the edge.
— Optional Decorative Ring Reinforcement (For durability)
Round 1 :
With sage, ch1, sc around every outer loop foundation and through two connecting chain spaces to secure join-as-you-go points — work this as needed for longevity. Focus on join sites rather than entire circumference.
Info :
This reinforcement is optional but recommended if the runner will get frequent handling. Use neat invisible stitches and hide ends behind scallops.
— Assembly & Final Touches
Info :
Attach each dusty pink rose to its cream doily by stitching through the picot anchors created in Round 10 of the doily and the base round of the rose. Use the long tails from both pieces to secure. Sew leaves tucked between motifs under the seam so that the leaf tips peek out slightly.
Round 1 :
After all pieces are joined, weave in all ends by threading tails through the wrong side and trimming flush. Use a yarn needle to hide tails through several stitches to secure.
Info :
Block the entire runner flat: pin scallops and roses into position and steam or wet-block per yarn manufacturer instructions. Allow to dry fully for crisp lace and even edges. Final pressing will help roses sit neatly on cream doilies and help scallops keep their shape.
Completing this runner is a delightful blend of delicate lacework and floral charm — the layered roses and scalloped border create a timeless centerpiece. Each medallion joins together like a string of blossoms, ready to grace your dining table or console with handmade warmth. I hope you enjoyed the meditative rhythm of making each rose, and that this runner becomes a treasured piece in your home. 🧶🌸✨