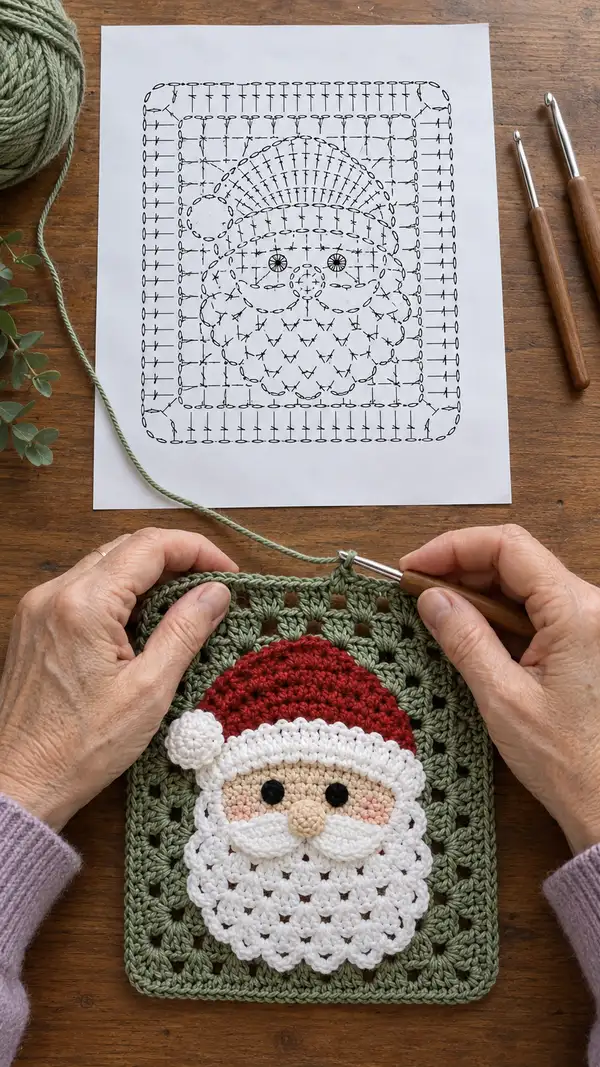
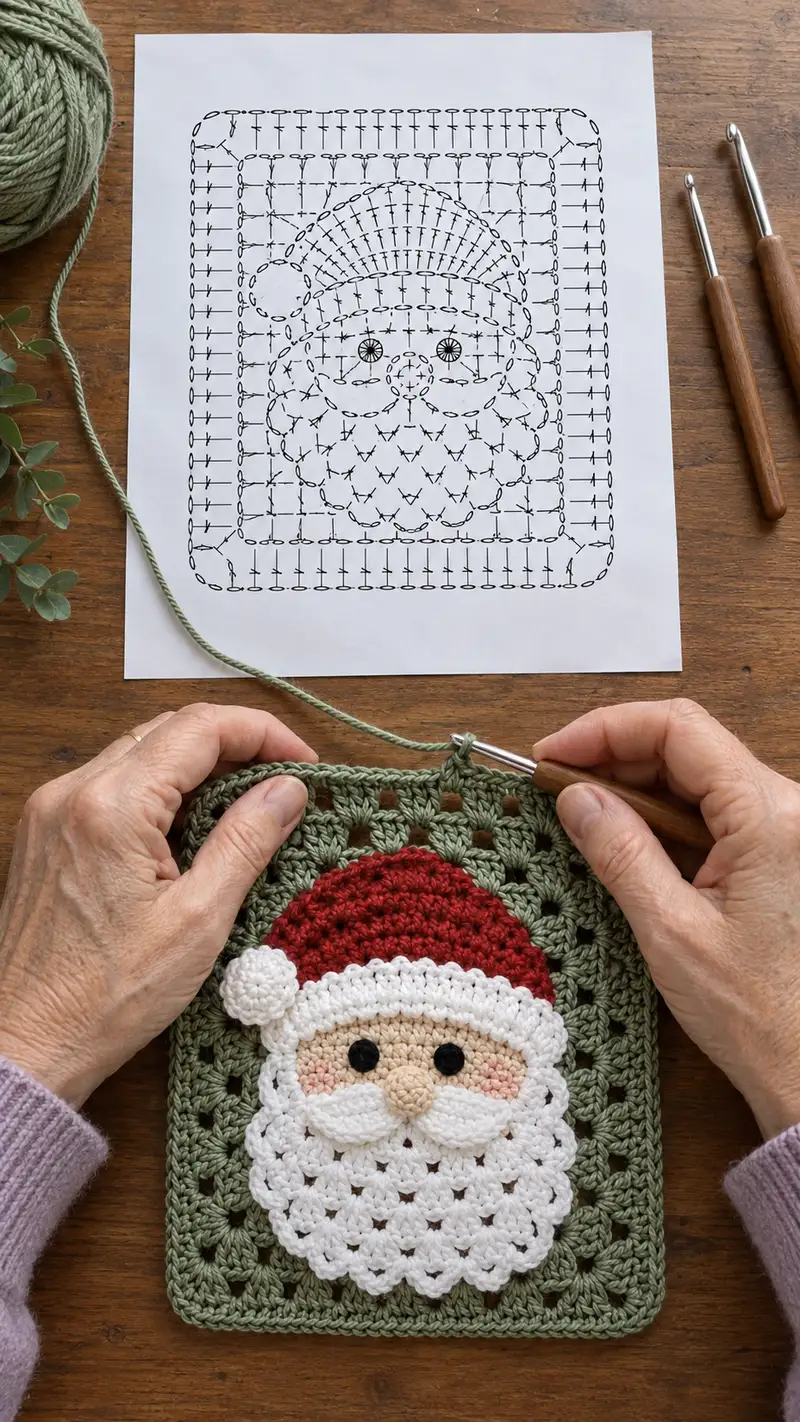
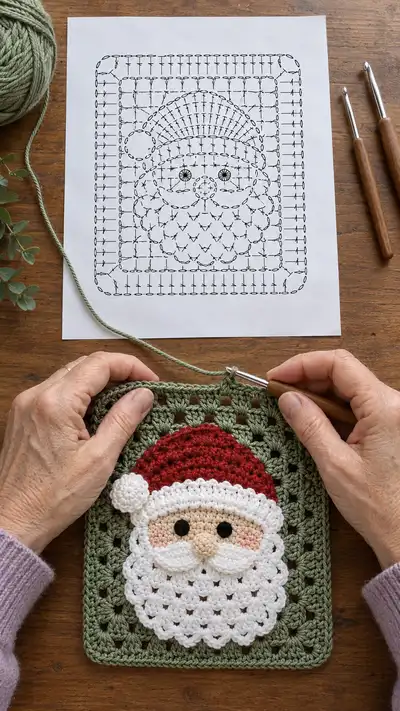
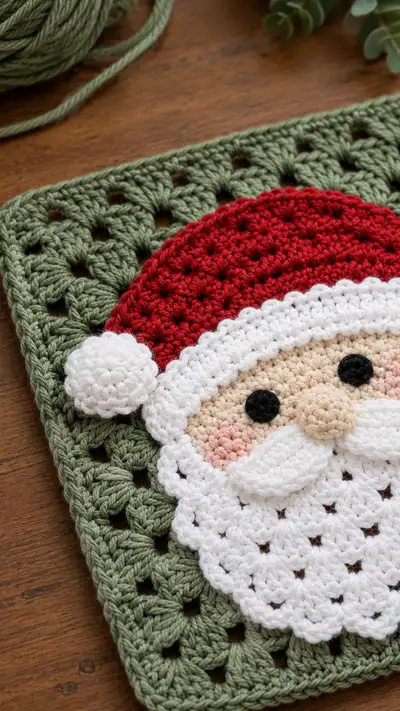
Create a festive Bearded Santa Granny Square with layered appliqued face, fluffy scalloped beard and a cozy hat. This detailed pattern walks you through the granny background, Santa face circle, hat, pom-pom, nose, eyes and moustache, with clear stitch counts, color changes and assembly tips. Finished piece makes a lovely seasonal panel for blankets, cushions or holiday hangings. Suitable for crocheters who enjoy working small motifs and applique details.
Progress Tracker
0% Complete
— Face Circle (beige) :
Round 1 :
6 sc in magic ring (6)
Round 3 :
(1 sc, inc) x 6 (18)
Round 4 :
(2 sc, inc) x 6 (24)
Round 5 :
(3 sc, inc) x 6 (30)
Info :
Use a 3.0mm hook here for a slightly denser fabric than granny background; finish face slightly smaller so appliques sit neatly
Round 6 :
(4 sc, inc) x 6 (36)
Round 7 :
(5 sc, inc) x 6 (42)
Round 8 :
(6 sc, inc) x 6 (48)
Round 9 :
1 sc in each st (48)
Info :
Place eye markers: mark positions for eyes at round 9, leaving 10-12 stitches between them depending on desired expression
Round 10 :
1 sc in each st (48)
Round 11 :
1 sc in each st (48)
Round 12 :
1 sc in each st (48)
Info :
Optional light blush: use a small amount of blush powder or yarn paint now on both cheek areas before applique assembly. Apply sparingly and set according to product instructions
Round 13 :
1 sc in each st (48)
Round 14 :
1 sc in each st (48)
Round 15 :
(6 sc, dec) x 6 (42)
Round 16 :
(5 sc, dec) x 6 (36)
Info :
Begin light stuffing at this point only if you want a slightly domed face; most of face stays flat for applique - lightly pad only if desired
Round 17 :
(4 sc, dec) x 6 (30)
Round 18 :
(3 sc, dec) x 6 (24)
Round 19 :
(2 sc, dec) x 6 (18)
Round 20 :
(1 sc, dec) x 6 (12)
Info :
Fasten off leaving a long tail for stitching the face to the background. Weave end to wrong side. Face should measure approximately 8-9 cm diameter when worked with recommended yarn and 3.0mm hook
— Nose (small beige ball) :
Round 1 :
6 sc in magic ring (6)
Round 3 :
1 sc in each st (12)
Round 4 :
(1 sc, dec) x 4 (8)
Info :
Stuff nose lightly before final decrease to keep it round but not too bulky for sewing onto face
Round 6 :
Optional: sl st to close & fasten off leaving long tail for sewing; or leave tail and sew invisibly to center of face between eyes at round 9 placement
— Eye Discs (make 2, black) :
Round 1 :
6 sc in magic ring (6)
Round 3 :
1 sc in each st (12) - or fasten off at this size for ~8mm disc
Info :
Use either small safety eyes sewn through the face at round 9 position, or crochet discs and sew flat. If using safety eyes, install before sewing face to background
— Hat (red semi-circle with white trim) :
Info :
Hat is worked as a half-circle worked in rounds. Begin with same center as face but start a separate small magic ring or chain arc sized to fit top of face. Use red yarn. Choose a 3.0mm hook for tighter stitches
Round 1 :
5 sc in magic ring (5) - this small start creates the center of the semicircle
Round 2 :
inc in each st around (10)
Round 3 :
(1 sc, inc) x 5 each side to form half circle edge; work increases evenly into the top arc (15)
Round 4 :
(2 sc, inc) x 5 (20)
Round 5 :
(3 sc, inc) x 5 (25)
Round 6 :
(4 sc, inc) x 5 (30)
Round 7 :
(5 sc, inc) x 5 (35)
Info :
Check curvature by holding the half-circle against the face. If you want a taller hat, add additional even rounds without increases (see rounds 8-12). For a shallower hat, stop earlier
Round 8-11 :
1 sc in each st for 4 rounds (35)
Round 12 :
1 sc in each st (35) - finish top of hat shape
Info :
Change to white yarn for the hat brim. Fasten off red, join white at the base of the half circle. If you prefer a ribbed brim, work in BLO on the first white round
Round 13 (white brim) :
Join white. In each st around: (sc in next 2 sts, hdc in next st) repeat across to create a soft textured brim (35)
Round 14 :
1 sc in each st BLO to create a raised edge for the brim (35)
Info :
Fasten off leaving a long tail for sewing the hat to the top of the face circle. Position hat so brim slightly overlaps the top rounds of the face (rounds 9-10) and stitch evenly along brim
— Pom-pom (white) :
Round 1 :
6 sc in magic ring (6)
Round 3 :
(1 sc, inc) x 6 (18)
Round 4 :
(2 sc, inc) x 6 (24)
Round 5 :
1 sc in each st (24)
Info :
Stuff lightly to create a round pom-pom. Alternatively make a dense pom-pom with yarn-wrapping tool and stitch to hat. Fasten off leaving long tail for sewing
Round 6 :
Fold slight opening and use long tail to stitch through the center onto the hat tip or side as in photo (positioned over brim intersection). Fasten off
— Beard (white scalloped applique) :
Info :
Beard is worked as a layered semicircular scallop worked in rows/rounds to create the textured look. Use worsted weight white and 3.0mm hook. Work from the center top down so scallops look layered.
Round 1 :
Make a chain 6, join to form a small loop or make a mr with 6 sc (6)
Round 2 :
inc in each st around (12)
Round 3 :
(1 sc, inc) x 6 (18)
Round 4 :
(2 sc, inc) x 6 (24)
Round 5 :
(3 sc, inc) x 6 (30)
Info :
These rounds create the base of the beard. The scalloped rounds are worked as shells over the last full round; ensure the base curve matches the bottom arc of the face circle.
Round 6 :
Switch to shell rounds: *skip 1 st, (dc, ch1, dc) in next st* repeat across to create shells (approx 15 shells across curve)
Round 7 :
In each shell: (ch1, 3 dc) to widen shells and create bubbly beard texture - work evenly across so shells nest slightly below previous round
Round 8 :
Work another shell row offset so scallops are staggered: (dc, ch1, dc) across in each ch1 space (creates layered scallops)
Round 9 :
Repeat shell expansion one more time: (3 dc in ch1 sp) across to form a wide rounded beard lobe
Info :
Depending on desired fullness, you may add 1-2 extra shell rounds. The pictured beard has 3 nested shell rounds over a circular base for a full look.
Round 10 :
Work an edging round in sc around the outer shells to neaten edge and to prepare for sewing to face. Place 1 sc in each top of shell where reasonable (count will vary by shell number)
Round 11 :
Fasten off leaving long tail for sewing. Position beard so top overlaps lower rounds of face (rounds 10-12). Pin in place carefully to match curvature.
— Moustache (make 2 mirrored) :
Round 1 :
Chain 8, sc in 2nd ch from hook, sc across to end (7 sc)
Round 2 :
Turn, ch1, (sc, inc) across to add subtle puff and curve (10)
Round 3 :
Shape into a small scallop by working: sk 1, (dc, ch1, dc) into next st, sk 1, sc at end. Fasten off leaving tail for sewing
Info :
Sew moustache pieces to face edge above top edge of beard, curving slightly upward as in photo. Pin both pieces symmetrically and sew securely through each stitch.
— Granny Square Background (leaf green) :
Info :
Background is worked as a rectangular granny panel approximating a squarish rectangle with rounded corners. Work with 3.5mm hook in worsted weight green. The square pictured is approximately 18 cm x 14 cm finished; adjust rounds to change size.
Round 1 :
ch 5, join with sl st to form a ring. ch3 (counts as dc), work 2 dc, ch2, *3 dc, ch2* repeat 3 times, join to top ch3 (12 dc, 4 ch-2 corners)
Round 2 :
sl st into first ch-2 sp, ch3, (2 dc, ch2, 3 dc) in same ch-2 sp (corner made), *ch1, (3 dc in next ch-1 sp) repeat across to next ch-2 sp, (3 dc, ch2, 3 dc)* repeat around, join (clusters count vary by side)
Round 3 :
Repeat Round 2: sl st into ch-2, ch3, (3 dc, ch2, 3 dc) in corner, *ch1, 3 dc cluster in each ch-1 space across until corner*, join
Round 4 :
Repeat Round 2 adding one additional cluster group between corners as the square grows (this maintains flatness). Work ch1 between cluster groups along sides
Info :
For each new round increase cluster groups along each side to keep sides flat — typically add 1 new 3-dc cluster per side every round. Keep count consistent so square stays even.
Round 5 :
Continue as round 4 creating even clusters; measure width against face to ensure center will accommodate Santa face: 6-8 clusters per side is typical for pictured size
Round 6 :
Continue (3 dc cluster spacing) round - now square should be large enough to begin making edges rectangular if needed; maintain symmetry
Round 7 :
Repeat clustering and ch-1 spaces - flatten corners by ensuring ch2 corners remain consistent
Round 8 :
Work 1 round of even dc in each st along the border to neaten the look: sc in each st across and sc2tog at corners to soften if desired
Info :
If you want a more open granny look like the photo, instead of a full sc round at round 8, do a final granny round of 3-dc clusters in ch1 spaces to keep holes visible
Round 9-12 :
Optional extra granny rounds to reach desired size: continue cluster rounds adding necessary clusters per side. When square measures about 2 cm wider than full width of appliqued Santa, stop
Round 13 :
Create a final border: ch1, sc around in BLO for a slight ridge; in corners work (sc, ch1, sc) to keep corners square. Join and fasten off (border count variable by stitches)
Info :
Block the granny panel flat before sewing the appliques for best placement. Use pins and a damp cloth to shape and allow to dry fully.
— Assembly & Placement :
Info :
Lay the granny background flat. Place face circle centrally, with the face centered vertically and horizontally according to your preference (photo shows face centered slightly lower than midpoint). Pin securely.
Round 1 :
With long tail from face, use whip stitch or invisible mattress stitch to sew face to background along outer edge of face circle. Use small, tight stitches that catch both pieces evenly
Info :
Position hat brim so it overlaps the top of the face by about 2-3 rounds; secure with pins then sew along brim. Sew pom-pom to hat tip or side using long tail from pom-pom
Round 2 :
Sew beard to lower edge of face starting at one cheek, stitch through the base of beard and a couple of stitches into face to secure. Ensure scallops lay flat and are evenly spaced
Round 3 :
Sew moustache pieces centered above beard and below nose. Sew nose slightly above where moustache peaks so nose overlaps moustache by 1-2 stitches for a natural look
Round 4 :
Sew eyes in place at the marked positions (face round 9 positions) using either safety eyes or sewn black discs. If using sewn discs, position and tack from behind to hide knots
Info :
Weave all ends to the wrong side and trim close. For extra security, apply a small dab of fabric glue to safety eye washers if desired (avoid glue on visible surfaces)
— Finishing Touches & Edge Neatening :
Round 1 :
With green background border complete, work 1 round of sl st around in same color to smooth edge. At corners, work 3 sl st to round corner if needed
Round 2 :
Optional decorative round in white or contrasting color: ch1, sc in each st around to create a crisp frame
Info :
Final blocking after assembly keeps beard scallops neat. Pin scallops into position and lightly steam from a distance to set shape, then allow to cool and dry
— Variation Notes and Sizing :
Info :
To make a larger panel, continue granny rounds before attaching face and adjust applique rounds proportionally (increase circle rounds to reach larger diameter). To miniaturize, use finer yarn and smaller hooks and reduce rounds in face and hat.
Info :
If assembling into a blanket, place several Santa panels and join with your preferred join-as-you-go method or whip stitch panels together. Make sure all panels are blocked to the same dimensions first.
This Bearded Santa Granny Square brings festive cheer with layered textures — from the plush scalloped beard to the cozy red hat and pom-pom. Every stitch builds character and charm, and assembling the applique is a truly rewarding finishing step. Make a single panel for a holiday wall hanging or stitch a series for a seasonal blanket. 🎅🧶✨