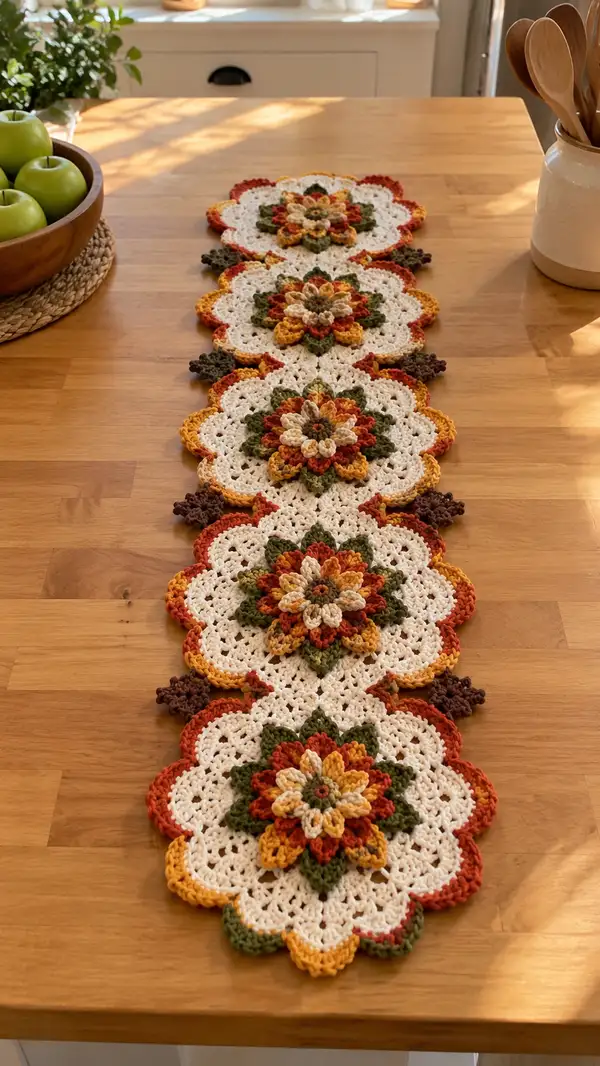
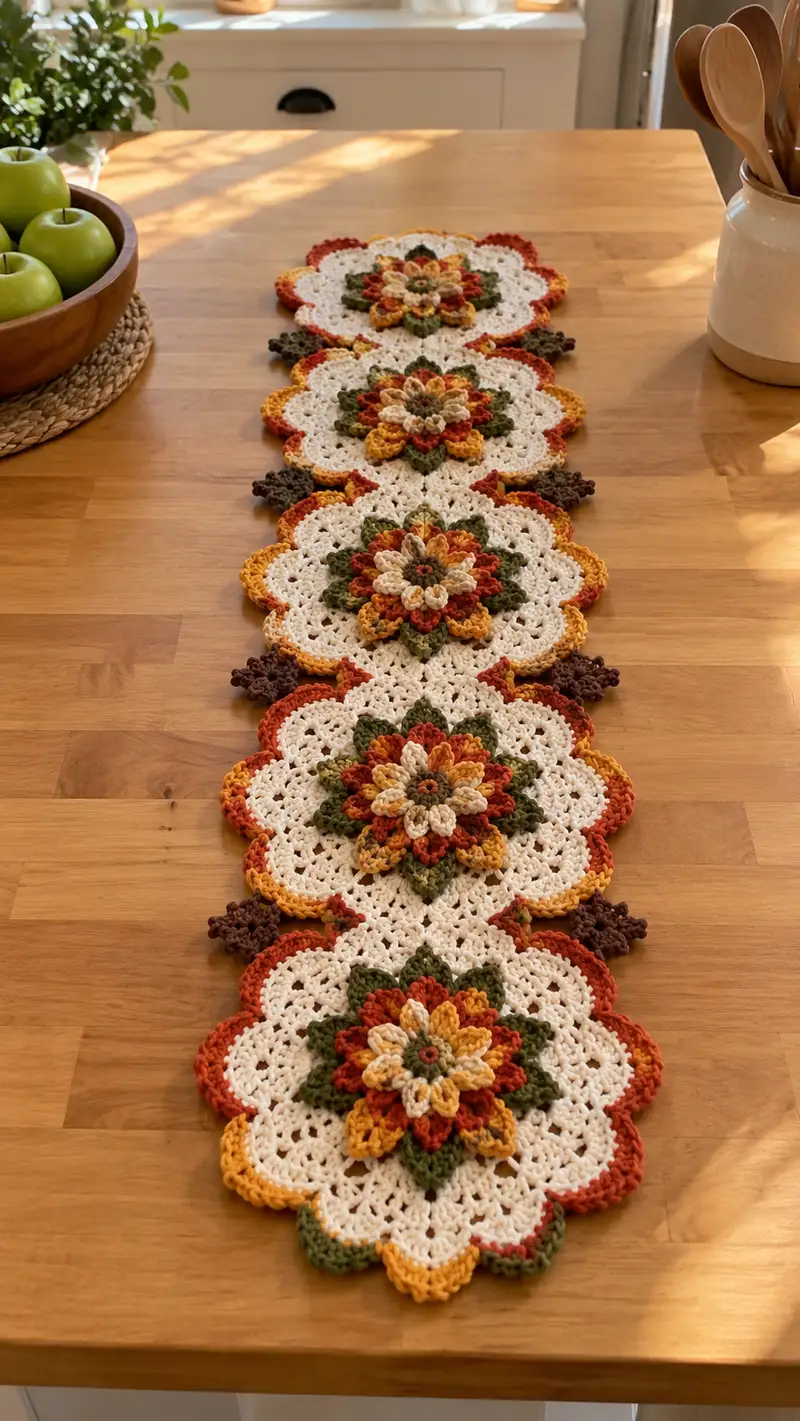
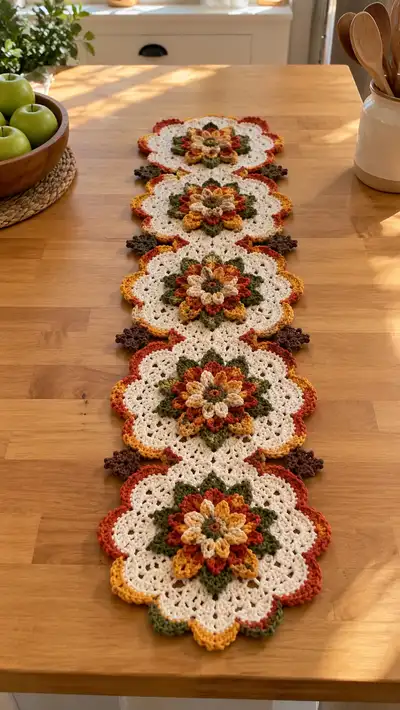
Create a warm, autumn-inspired table runner built from connected floral medallions. This pattern features layered 3D petals in cream, rust, mustard and olive with a scalloped ivory background and small brown connectors. Designed to be assembled into a long runner, it’s ideal for dining tables, sideboards, or seasonal decor.
Progress Tracker
0% Complete
— Center Flower Motif (make 5) :
Round 1 :
6 sc in magic ring (6)
Round 3 :
(1 sc, 1 inc) x 6 (18)
Round 4 :
(2 sc, 1 inc) x 6 (24)
Round 5 :
(3 sc, 1 inc) x 6 (30)
Info :
Use the darker cream/tan for rounds 1-5 to form a tight, defined center. Keep tension slightly firm so the center sits proud and supports the next puff rounds.
Round 6 :
1 sc in each st (30)
Round 7 :
(4 sc, 1 inc) x 6 (36)
Round 8 :
1 sc in each st (36)
Round 9 :
Change to Rust. *ch1, sk 1, 2 dc cluster in next st, ch1, sk1, sc in next* repeat to end to form small raised points (36 sc-equivalent)
Info :
Round 9 builds the base for the first petal layer. The clusters are worked into single stitches to push petals outward—maintain even cluster tension.
Round 10 :
Change to Mustard. Working in back loops only of previous round’s clusters: *(ch3, puff in next cluster base, ch3, sl st to secure) x 8* This gives 8 small puff petals around the center (36 sc-equivalent)
Info :
To make a uniform puff: yarn over twice, insert hook, yarn over and pull up a loop (repeat 3 times) until you have 7 loops on the hook, yarn over and pull through all loops, ch1 to secure. Keep loops same height.
Round 11 :
Change to Olive. 1 sc in each st around working behind petals (36)
Round 12 :
(3 sc, 1 inc) x 9 (45)
Round 13 :
1 sc in each st (45)
Round 14 :
Change to Rust. *(ch4, sk 2, sc in next) x 15 to create long loop spaces for next petal foundation (45 sc-equivalent)
Info :
These ch4 spaces become anchors for large layered petals. Keep them uniform and count them carefully; you should have 15 anchors around the circle.
Round 15 :
Working into each ch4 space: *sc, ch2, puff (as Round 10) worked into same space, ch2, sc* around to create tall petal bases (45 sc-equivalent)
Round 16 :
Change to Mustard. Working behind the tall petals: 1 sc in each st and into each ch2 to stabilize (45)
Round 17 :
(4 sc, 1 inc) x 9 (54)
Round 18 :
1 sc in each st (54)
Info :
At this point the layered center should present 8-9 large petal shapes; the stitch counts are increasing in preparation for the outer leaf layer. Make sure puff stitches are secure.
Round 19 :
Change to Olive. *(ch1, sk 2, 5 dc cluster in next st, ch1, sk2, sc in next) x 9* This forms the first leaf/star points (54 sc-equivalent)
Round 20 :
1 sc in each st around (54)
Round 21 :
(5 sc, 1 inc) x 9 (63)
Info :
Before proceeding to the large white rounds, check that the flower center is nearly flat on the back side. If not, add an extra round of sc to flatten the base and keep the motif lying even when joined.
Round 22 :
Fasten off color. Change to Cream/Ivory. 1 sc in each st BLO to create a subtle ridge where the background will begin (63)
Round 23 :
1 sc in each st (63)
Round 24 :
(6 sc, 1 inc) x 9 (72)
Info :
Switch to cream now for large lacy rounds. Carry any short tails to the back and weave them in as you go. Bloom of the petals sits on top of these cream rounds.
Round 25 :
1 sc in each st (72)
Round 26 :
*(ch3, sk 2, sc in next) x 24 creating 24 ch3 spaces (72 sc-equivalent)
Round 27 :
Working into each ch3 space: *sc, ch3, sc* around to enlarge lacy openings (72 sc-equivalent)
Round 28 :
1 sc in each st (72)
Info :
These rounds form the lacy background that frames the flower. Keep stitches even so the scalloped shape will be easy to form in later rounds.
Round 29 :
(7 sc, 1 inc) x 8 + (1 sc) to finish (80) — rearrange so increases are evenly spaced around the motif
Round 30 :
1 sc in each st (80)
Round 31 :
*(ch5, sc in 4th sc ahead) x 16 to create scallop anchors (80 sc-equivalent)
Round 32 :
Working into each ch5 space: *sc, hdc, 3 dc, hdc, sc* to form 16 scallops around (80 sc-equivalent)
Info :
These scallops will form the visible scalloped edge when motifs are joined. Keep tension slightly looser in dc rounds so scallops sit rounded and not pulled tight.
Round 33 :
1 sc around each scallop base to tidy (80)
Round 34 :
Change to Rust. 1 sc in each st (80)
Round 35 :
*(sc in next 3, ch2, sk 2) x 20 (80 sc-equivalent)
Info :
Round 35 accents the scallop edge with rust. These ch2 spaces will be used for small color transitions and help the runner read as a scalloped flower row.
Round 36 :
Change to Mustard. Working into ch2 spaces: *sc, puff, sc* around to create small mustard petals between scallops (80 sc-equivalent)
Round 37 :
1 sc around motif (80)
Info :
At the end of Round 37 you should have a well-defined scalloped medallion with a raised multi-colored center. Make 5 identical motifs; block them gently to open the lace and shape scallops before joining.
— Joining Motifs (Join-as-you-go strip technique) :
Info :
Lay motifs in order on a flat surface with scallops aligned. We will join the motifs along two opposing scallop points so that motifs form a long, narrow runner. Join as you crochet the last round of each joining motif.
Round 38 (Motif 1 final join pass) :
Re-join Cream at any scallop base. Work 1 sc in next 8 sts, then when you reach the scallop that will meet Motif 2, ch1, sl st into the corresponding sc on Motif 2 (if Motif 2 is already blocked and placed), continue working sc across to complete the round (80)
Info :
When joining, insert hook under corresponding sc in adjacent motif and sl st to connect; keep joins flat, use the same number of stitches on each side to avoid twisting.
Round 39 (Motif 2 preparation) :
Work around Motif 2 as in Rounds 34-37 until you reach join points. At the join scallop, when making the sc in the base, sl st into Motif 1 instead of sc to secure. Continue round to complete (80)
Info :
Join-as-you-go works best when you pick a consistent reference stitch on each scallop (e.g., the third sc of the scallop base) and join there for every motif - this regularity prevents misaligned motifs.
Round 40 :
After joining Motif 2, continue to work a decorative rust round across both motifs: 1 sc in each st around both motifs (160 combined sc when two motifs are considered as a unit)
Info :
Repeat the join process to add Motif 3, Motif 4, and Motif 5, always aligning scallops and joining through corresponding sc to keep spacing even. When the whole chain of 5 motifs is complete, fasten off and weave in ends but do not trim tails that will be used for outer edging.
— Small Brown Leaf Connectors (make 4 between motifs) :
Round 41 :
Using Dark Brown, ch6, sl st in 2nd ch from hook, sc in next, hdc in next, dc in last; rotate to work on the reverse edge of chain: hdc, sc, sl st to finish small leaf (6 sts counted)
Info :
These short leaf connectors sit between motifs at the join points on the runner edge. Make one and sew into place, or work them into a join-as-you-go tuck when creating the motif joins by slipping into chain spaces between scallops.
Round 42 :
Make 4 small leaves and block them lightly with pins to hold shape until sewn into runner. Secure with a few whip stitches to the runner backing.
Info :
If you prefer to crochet connectors directly into the motif edge, reserve small brown tails at join points and use them to work the leaf pattern from the edge without sewing later.
— Outer Scalloped Edging and Accent Rounds :
Round 43 :
With Cream, pick up at an outer scallop point. 1 sc in each st across entire runner perimeter to make a clean edge (count depends on runner length—expect ~400-420 sc total for 5 motifs joined) — work evenly and keep corners gentle.
Info :
This round evens out twisted joins; take time to add or remove a sc if a little extra ease is needed to flatten the runner. Keep stitch counts even on opposing edges.
Round 44 :
Change to Rust. *sc in next 3, shell in next (5 dc in same st), sc in next 3* repeat around to form a colored scallop accent (shells will align with underlying motif scallops)
Round 45 :
Change to Mustard. 1 sc around each scallop and shell to tidy (use hdc on shell crest for a softer profile)
Info :
Alternate colors in the shell crests to emphasize the flower palette. Make sure shells are centered on motif scallops for a cohesive look.
Round 46 :
Change to Olive. Work small picot edging around the runner: *sc in next 2, picot (ch3 sl st to first ch) in next* around (this gives a delicate finished edge)
Round 47 :
Fasten off and weave in ends securely. Use small neat stitches to hide color joins on the underside of runner.
Info :
Optional: work a second decorative pass in Rust or Brown for extra contrast along the runner edge. Block the entire runner gently to set scallops and flatten join seams.
— Alternative Flat Join Option (if you prefer sewn joining) :
Round 48 :
Make all motifs fully to Round 37 and block. Place motifs edge-to-edge overlapping 3 scallops. Thread a yarn needle with cream and mattress stitch through scallop bases to join motifs invisibly; stitch through corresponding ch3 loops and sc bases for stability.
Info :
Sewn joins give a slightly more flexible runner vs. JAYG which locks edges tidy during crocheting. If sewing, use a long mattress stitch and check alignment frequently.
— Optional Weighted Hem (for flat lay) :
Round 49 :
If you have a slip-resistant backing or want a slightly heavier runner: thread a length of thin upholstery thread around the underside edge while working R43, pulling gently to keep runner flat. Stitch through every 6th sc to secure thread.
Info :
Do not over-tighten the weighted thread; the runner should remain flexible. This technique helps prevent curl on table surfaces with drafts.
— Final Finishing Touches :
Round 50 :
Steam-block or wet-block entire runner. Pin scallops round and allow to dry fully. Trim stray fibers and use a yarn needle to bury any remaining tails.
Info :
Blocking makes a dramatic difference: the lace opens, scallops round, and join seams relax to produce a professional finish. Always test steam/heat on a scrap yarn sample first.
Round 51 :
Admire your work and consider adding a few decorative touches like small sewn beads in the flower centers or a light dusting of fabric-safe paint on outer scallops for shimmer.
Info :
For machine-washable results, use a superwash worsted yarn and avoid use of metallic paints or glues that do not tolerate laundering.
Extra Notes :
This pattern was written to give modular instructions for each motif and the runner assembly. For a longer runner, make additional motifs and follow the same join method. For a shorter mat, make three motifs and finish edges the same way. Gauge and hook size will alter final motif diameter; make a test motif and measure before committing to full project.
This Cream and Rust Flower Motif Table Runner is a labor of love that brings floral charm and autumn warmth to your table. Each motif stacks layered petals into a 3D center, framed with crisp cream lace and scalloped edges. Whether displayed for seasonal decor or everyday charm, it makes a striking centerpiece. 🧶 Warm colors, tactile texture, and modular construction make this a satisfying, repeatable project. Happy crocheting! 🍂