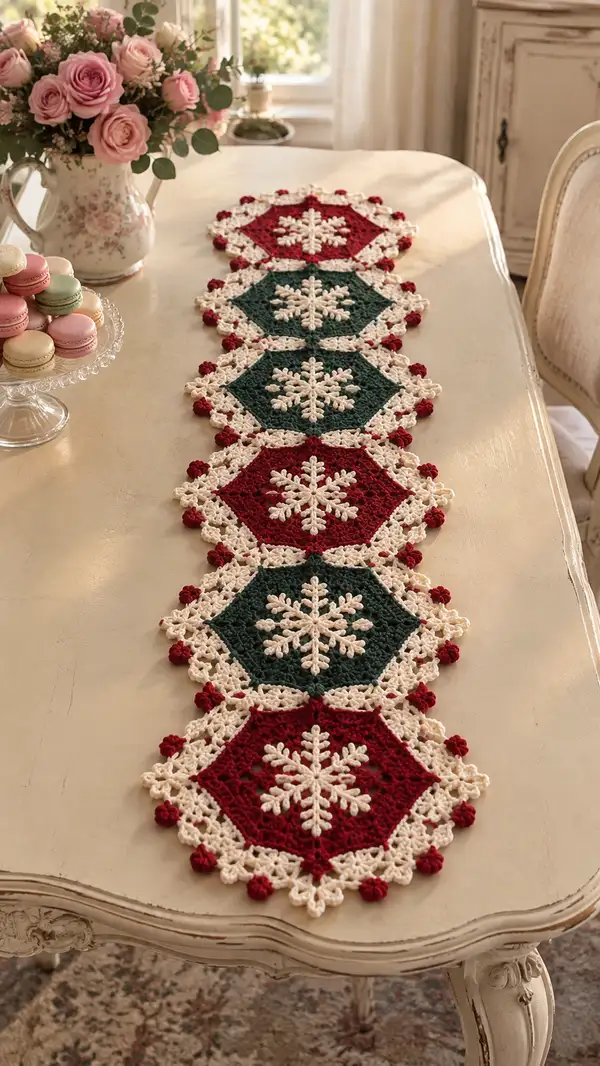
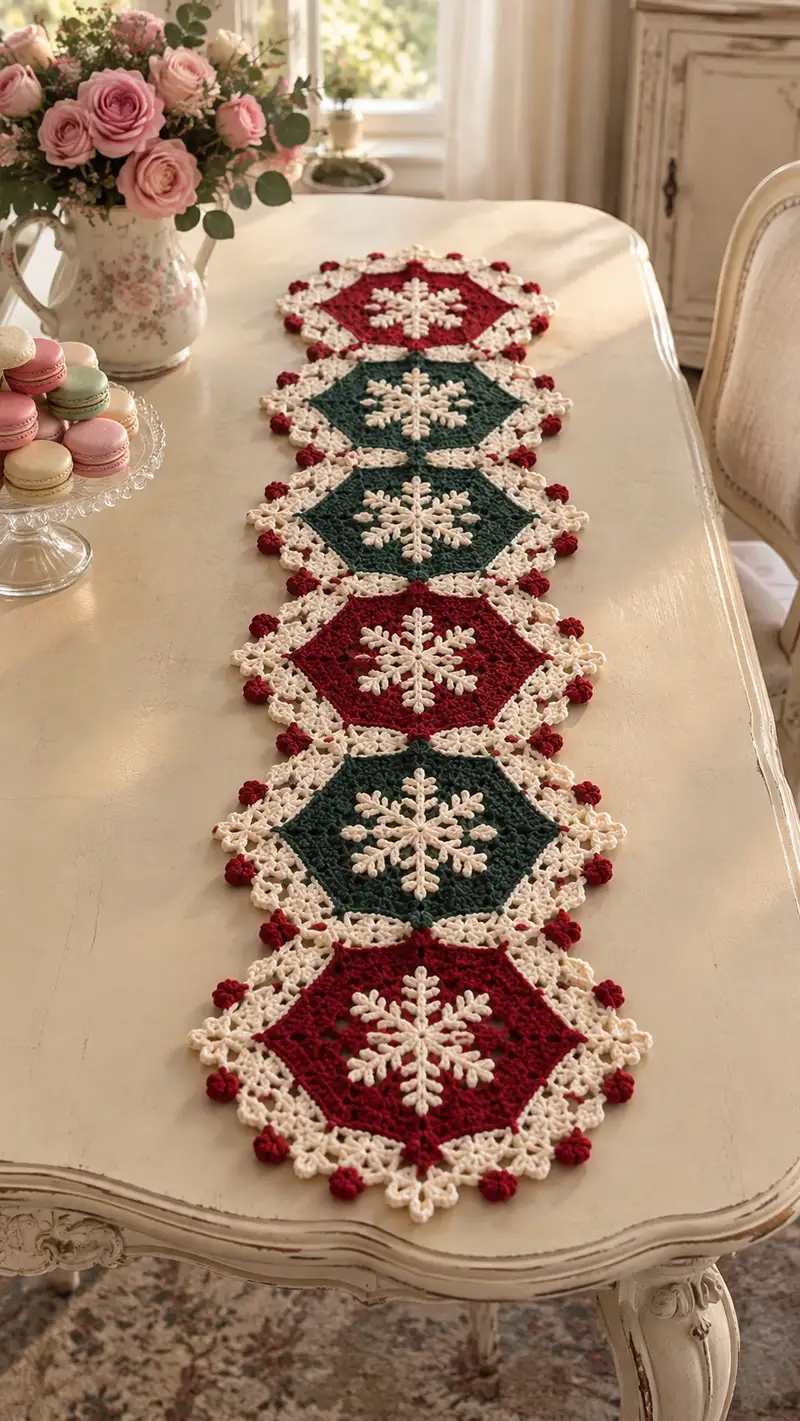
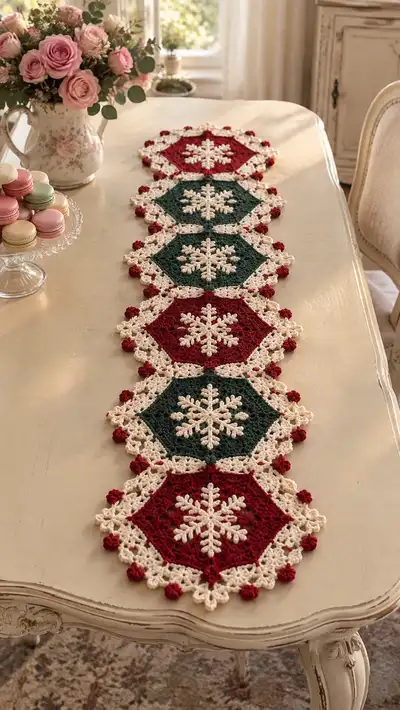
A festive hexagon table runner composed of alternating crimson and forest green hex motifs framed in a warm cream lace. Each hexagon features a raised cream snowflake applique center and small crimson bobble accents along the lace edge. The runner is assembled as a continuous row of motifs and blocked for a flat, elegant finish—perfect for holiday dinners or seasonal decor.
Progress Tracker
0% Complete
— Notes & Gauge :
Info :
Gauge: One finished hexagon motif (flat, before blocking) measures approximately 6.5" across the points when worked with worsted weight yarn and a 4.0 mm hook. Blocking will increase diameter slightly. Adjust hook size to match gauge if needed. The pattern uses US terminology throughout.
Info :
Make 6 hexagon motifs: 3 in Crimson (deep red center) and 3 in Forest Green, alternating color placement across the runner. Work snowflake appliques and lace border in Cream for uniform contrast.
— Hexagon Base (Make 6) :
Round 1 :
6 sc in magic ring (6)
Round 2 :
Inc in each st around (12)
Round 3 :
(1 sc, inc) x 6 (18)
Round 4 :
(2 sc, inc) x 6 (24)
Round 5 :
(3 sc, inc) x 6 (30)
Info :
Change color for center only if making a two-color center - this pattern keeps center color uniform (crimson or forest green). Keep tension relaxed but consistent to avoid ripples in the flat piece.
Round 6 :
(4 sc, inc) x 6 (36)
Round 7 :
(5 sc, inc) x 6 (42)
Round 8 :
(6 sc, inc) x 6 (48)
Info :
These increases create the six sides of the hexagon. Check the flatness; if the center cups, go up a hook size and rework the last round, if ruffles form, go down 1/2 size.
Round 9 :
(7 sc, inc) x 6 (54)
Round 10 :
(8 sc, inc) x 6 (60)
Round 11-12 :
1 sc in each st around (60)
Info :
Work rounds 11-12 even to create a solid central field for the snowflake applique. Fasten off and weave in tail if you will attach appliques after blocking; for easier sewing, leave a 12" tail for placement.
— Snowflake Applique (Make 6 in Cream) :
Round 1 :
6 sc in magic ring, tighten ring (6)
Round 2 :
*Ch6, sl st into next sc to form an arm loop; rep from * 6 times (6 loops)
Info :
When creating arm loops, keep them flat. Use stitch marker to mark the base stitch for each loop so you can find it easily when working the arms next round.
Round 3 :
Working into each ch6 loop: Join in base of first loop with sl st, ch1, (sc, hdc, 3 dc, hdc, sc) across loop, sl st to base. Repeat for each of the 6 loops (creates 6 petals/arms). Fasten off and weave tail for attaching (this round creates the basic arms)
Round 4 :
Rejoin cream at the midpoint of any arm. *Ch3, (tr, picot: ch3, sl st in top of tr), ch3, sl st to point of next arm to form decorative extension; rep for each arm to add height (This embellishment raises the arms giving snowflake texture)
Info :
If you prefer a flatter snowflake, omit the ch3-tr-picot extension and simply add a central surface stitch. The snowflake shown in the photo has raised arms and small side branches created in the next rounds.
Round 5 :
Surface embroidery: Thread a length of cream yarn onto a tapestry needle. From the back of the snowflake, bring the needle to the front at the center and work straight stitches along each arm to form symmetrical side branches: 3 short straight stitches on each side of the arm, then secure at center. Repeat for 6 arms.
Info :
The snowflake appearance is a mix of crocheted arms and surface embroidery. The surface stitches mimic the delicate small offshoots on each branch. Keep stitches even in length and secure with small knots on the back that are woven into the applique.
Round 6 :
Optional: For more depth, add a small round of 6 tiny puff stitches at the center by working (yarn over twice, insert, pull loop 6 times, yarn over and pull through all loops) x6; secure and weave tail. This creates a small central knot like the photographed design.
Info :
Make snowflake slightly smaller than the hexagon center so it sits within the solid field and does not reach the lace frame. The photographed snowflakes are centered and sit flat; block each applique gently if it curls before sewing.
— Lace Frame Round 1 (Attach Cream to Hexagon Edge) :
Info :
Rejoin cream yarn to any outer stitch of the hexagon base. We will create a lacy triangular scallop that connects the six sides of the hexagon and prepares points for bobbles. Work evenly around corners to keep hexagon shape.
Round 1 :
Join cream with sl st in any outer stitch. *Ch3, sk 1 st, sc in next st, ch3, sl st in same st (creates a small loop); repeat across the side until you reach a corner where the hexagon angle is slightly larger, then ch5, sc in next join point to angle; rep from * around (approx 60 loops/points total depending on your st count)
Info :
This descriptive count helps shape the lace but the exact number of ch-loops varies slightly by tension. Aim to place 10-11 small loops per side between the corners to yield a balanced lace edge in the photo.
Round 2 :
Working into each ch3 loop: (sc, hdc, 3 dc, hdc, sc) into each ch3 loop to make a small shell; into ch5 corner: (sc, hdc, 5 dc, hdc, sc). Fasten off and weave in ends or continue to next lace round if joining as-you-go.
Info :
The shell clusters form the openwork diamond shapes connecting motifs. Keep shells centered over the loops and make the corner shells larger to form a slight point alternating with small scallops.
— Lace Frame Round 2 (Decorative Connectors) :
Round 3 :
Rejoin cream at a corner shell. *Ch4, sl st to center of next shell to create an open chain that forms the diamond lattice; repeat around connecting midpoints (this will create the lacy diamonds visible between each hexagon side)
Round 4 :
Work single crochet clusters in the chain spaces to give definition: Into each ch4 space work (sc, ch2, sc) and sl st to shell center. This reinforces the lace and defines diamond shape. Fasten off.
Info :
This two-round lace frame creates the off-white diamond scallop effect you see framing each hexagon. If working join-as-you-go, keep the outermost chain spaces free to slip-stitch into the adjacent motif during joining.
— Bobble Accent (Crimson) :
Info :
Small crimson bobbles are placed at each primary corner of the outer lace and between motifs. These are worked as tiny 5-dc bobbles clustered on the outermost point of a corner shell or in a pinch point for the decorative pop.
Round 1 :
With 3.5 mm hook and crimson yarn, attach at desired point with sl st. Work bobble: (yo, insert, pull up loop) x4 into same st, yo and pull through all 5 loops, ch1 to close bobble, sl st to secure. Fasten off with a 6" tail for weaving. Repeat at every corner point or as photo indicates (6 bobbles per motif outer edge).
Info :
Bobble spacing: On a hexagon with six sides you will place one bobble in the center of each side seam between motifs (photo shows one bobble at each outermost mid-point and at the side connections). Adjust positions visually when pinning motifs together.
— Attaching Snowflake to Hexagon :
Info :
Block both hexagon and snowflake applique first, pin applique centered on hexagon (use a ruler to find center). With matching cream yarn and a tapestry needle, whip stitch applique to the hexagon by sewing through the solid center rounds, placing stitches under the sc rounds to avoid visible thread on the hexagon field. Use small, evenly spaced stitches and knot securely on the back.
Round 1 :
Sew snowflake center so the tips of the arms are approximately 8-10 stitches inside the hexagon field, not reaching the lace frame (this leaves a neat cream buffer between snowflake and lace).
Info :
Ensure the applique sits flat; use a dab of fabric glue on the back center (optional) to hold in place while sewing. Weave ends to the back and trim close.
— Join-As-You-Go Lace Round (Joining Motifs in a Row) :
Info :
Work the outermost lace round of each motif using the join-as-you-go method so motifs are connected as you complete their lace. This yields a clean seam and saves sewing afterwards. Decide the final layout (photo shows a straight row of 6 hexagons) and work motifs left-to-right joining each new motif to the previous motif at the diamond-lattice points.
Round 1 :
When you reach a chain-space on the lace round that corresponds to the previous motif's perimeter, sl st into the matching chain-space on the previous motif, ch1 and continue into the next stitch of the current motif. This creates an invisible join. Repeat joining at all designated chain spaces along the connecting sides (approx 5-6 joins per side depending on your loop spacing).
Info :
Work slowly and pin motifs together first to ensure matching points. Use the same cream yarn and keep tension similar to the rest of the lace. If you prefer sewing, align motifs with pins and stitch through both lace edges with whip stitch for a flat seam.
Round 2 :
Join motifs by connecting each diamond intersection: in each join sequence replace two sl sts with sl st into adjacent motif plus ch1 to maintain openwork. When joining ends, leave last motif's outermost loops free for final edging.
Info :
For a runner that lies flat, alternate joins so motifs lock neatly: join at alternating diamond points (e.g., join at points 2,4,6 on one side, and 1,3,5 on the opposite side) to keep runner edges visually even.
— Final Outer Edging (Cream) :
Round 1 :
After all motifs are joined, rejoin cream at any unjoined outer chain-space and work a continuous round around the entire runner to neaten edge: *sc in each outer st and sc3tog at corners to maintain shape; in open loop spaces work (sc, ch2, sc) to create picot-style arches; repeat around.
Round 2 :
Work a decorative picot round: *ch3, sl st to base to form picots at each arch point; sc in intervening stitches. This creates the small cream peaks seen between the crimson bobbles in the photo.
Info :
The outer picot round visually ties together the lace diamonds and bobbles. Keep picots small (ch3) for a delicate look. Trim and weave ends when finished.
— Small Decorative Filler Rounds and Consistency Checks :
Info :
Walk the finished runner with thumbs to check for loose joins or holes. Add small sc reinforcement stitches behind lace holes if you see gaps. If the runner has a slight warp, block again pressing lightly.
Round :
Optional: Using matching cream, work small reinforcement sc across the back of the joins by inserting needle through both motif backs and pulling yarn to tie seams; this strengthens runner for light use.
Info :
For table use, consider adding a non-slip runner pad underneath when displaying to protect wood surfaces from small bobble pressure points and to keep runner steady.
— Blocking & Finishing :
Info :
Wet block each motif flat to size using blocking wires or pins on a foam mat. Pin to measured points so hexagons are all identical. Allow to dry completely, then attach snowflakes and bobbles if not already attached. After final assembly, give the runner a gentle press with a warm iron over a thin cloth or light fabric stiffener to hold lace definition.
Info :
Weave in all ends using a tapestry needle, burying tails through several stitches in the lace to avoid noticeable lumps. Keep the runner out of direct sunlight for long-term color stability.
— Final Tips and Troubleshooting :
Info :
If you find motifs wobble post-join, remove join stitches and re-align, ensuring diamond intersection points meet precisely. Use pins to secure each join before committing with slip stitches.
Info :
For a longer runner, continue adding hexagon motifs following the same sequence. The pattern scales linearly—each added motif extends the runner by approximately the diameter of one hexagon (6.5 - 7" depending on blocking).
This elegant hexagon snowflake table runner blends classic shapes and delicate lace into a stunning holiday accent. Each crocheted hexagon and raised snowflake brings textured charm to your table, while the alternating crimson and forest green centers keep the design festive yet timeless. Blocking and careful joins create a polished finish you'll be proud to display. 🧶🌟 Enjoy making every motif and sharing this heirloom-worthy runner with family and friends. Happy stitching! 🎄