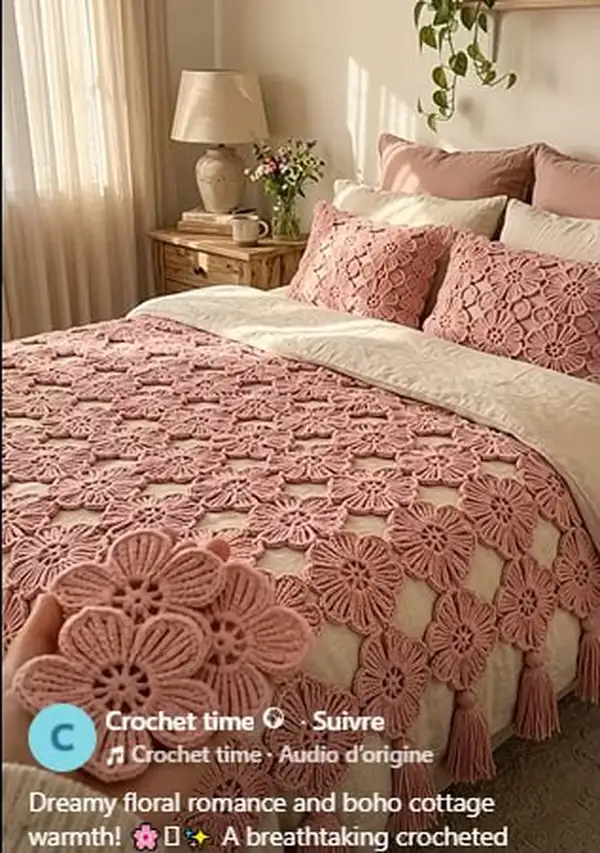
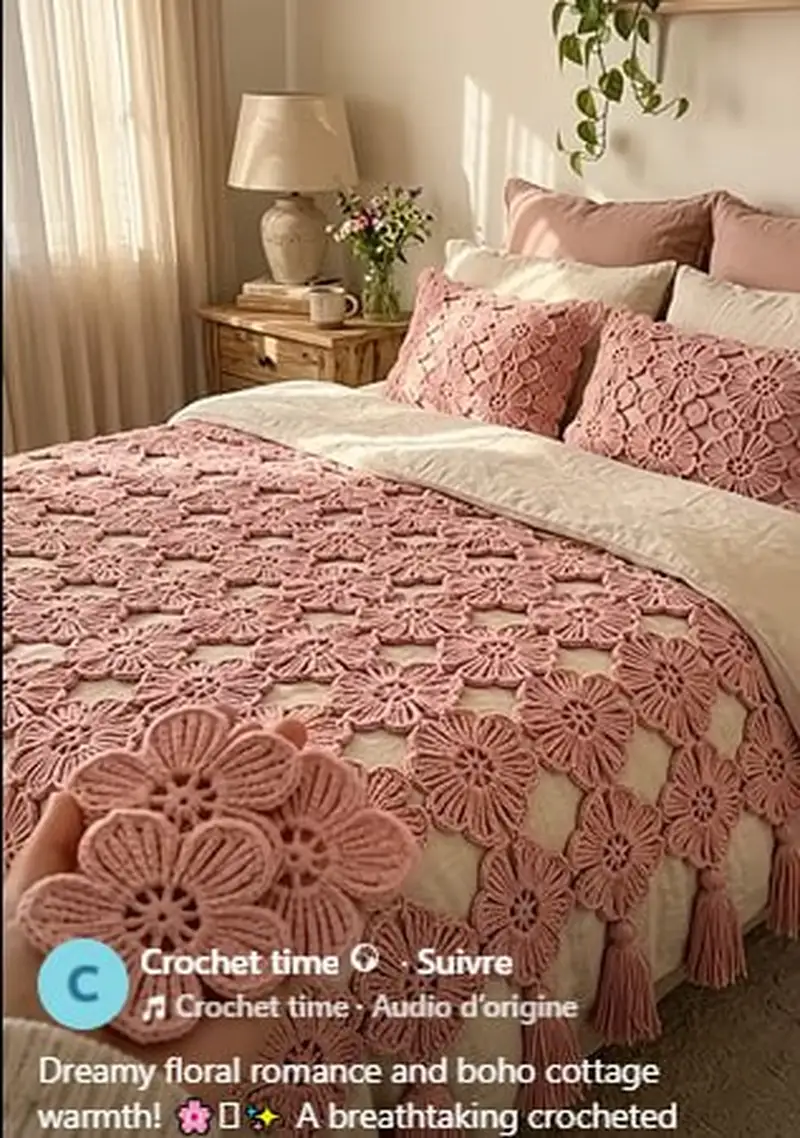
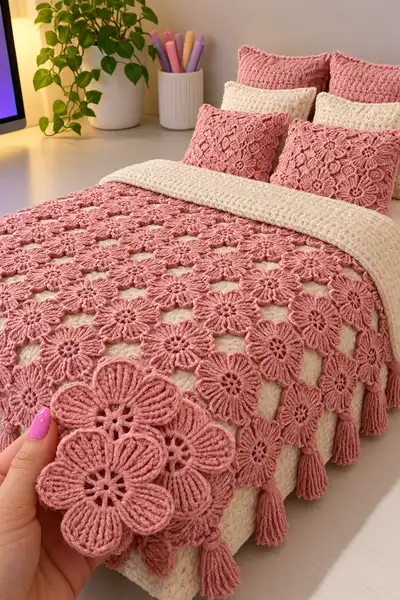
Create a romantic, boho-inspired bedspread made from hand-crocheted floral motifs joined into a delicate openwork blanket. This pattern reproduces the dusty rose floral overlay with a soft cream backing and tassel-trimmed edge seen in the photos. Detailed motif construction, joining methods, pillow cover variations, and a cozy backing are all included to make a full bed set.
Progress Tracker
0% Complete
— Motif (Large Floral Motif) :
Round 1 :
6 sc in magic ring (6)
Round 3 :
(1 sc, 1 inc) x 6 (18)
Round 4 :
(2 sc, 1 inc) x 6 (24)
Round 5 :
(3 sc, 1 inc) x 6 (30)
Info :
This motif uses a small circular center to anchor tall petal clusters. Keep rounds 1-5 tight and even. Use a stitch marker to mark the first stitch of each round.
Round 6 :
1 sc in each st (30)
Round 7 :
(4 sc, ch 5) x 6 (30)
Info :
Round 7 creates 6 evenly spaced loop-spaces that will become the base for petals. Work the ch-5 loops loosely to make room for the tall clusters.
Round 8 :
In each ch-5 loop: sl st into loop, ch 3 (counts as dc), 7 dc into loop, ch 3, sl st into same loop. Move to next base by slipping to the next sc across (no change in base stitch count) (30)
Round 9 :
Turn petals into distinct shapes: *sl st to top of first petal, ch 1, (1 sc, ch 3, 1 sc) around top of petal*, repeat for each petal to create a tidy rim (30)
Info :
When creating the petal rims, place your sc evenly across the top of the tall cluster—this produces a uniform petal. Keep tension steady to maintain matching petal height.
Round 10 :
Working behind petals into ch-3 loops: attach yarn at back of first petal loop. *(BLO) 1 sc in each of the next 4 base sts, join into loop with 3 sc around the back of petal (this secures petal to base)* repeat 6 times (30)
Round 11 :
Define petal edge: *ch 2, 5 dc evenly spaced across the top ridge of petal, ch 2, sl st to base between petals* around to secure all petals (6 petals total anchored) (30)
Info :
Round 11 creates a raised rib across each petal top with 5 tall stitches per petal. Use consistent spacing so petals match in width.
Round 12 :
*Work a reversed picot edge if desired: (ch 3, sl st into the first ch), sl st into next base point*, repeat around petals to give a finished scalloped inner rim (30)
Round 13 :
Work 1 sc in each base st behind petals (30)
Round 14 :
Fasten off, weave in ends. Motif finished diameter approximately 15-18cm depending on hook and yarn tension.
Info :
Block each motif to exact same diameter and petal spread before joining. Pin petals flat and steam or wet-block according to yarn instructions. Consistent blocking ensures even joins and a neat grid.
— Motif Variation (Smaller Connector Flower) :
Round 1 :
6 sc in magic ring (6)
Round 3 :
(1 sc, 1 inc) x 6 (18)
Round 4 :
1 sc in each st (18)
Round 5 :
(3 sc, ch 3) x 3 around to create three small loop-spaces that act as corner connectors for the large motifs (18)
Round 6 :
In each ch-3 loop create a small petal: sl st, ch 2, 3 dc, ch 2, sl st. Fasten off and weave ends (18)
Info :
These small connector flowers are used between large motifs in a tighter grid. Make enough to sit at each join point depending on your layout.
— Joining Motifs (Assembly Grid & Join-as-you-Go Method) :
Info :
Decide on motif layout first. The sample spread uses a staggered grid where each large flower is joined at 6 touch-points with adjacent flowers via their petal tips and the smaller connector flowers. Use blocking to square motifs and mark centers.
Round 1 :
Lay out the first row of motifs on a blocking mat. Pick two adjacent motifs and line up petals so they lightly overlap at single petal tips (no stretching). Join by whipstitching through the very top loops of petal rims. Sew with matching dusty-rose yarn using a mattress or whip stitch, catching only the front loops of both rims for an invisible join.
Round 2 :
Join motifs in a straight row until desired width is reached. Use matching distance between petal centers (typically 12-15cm center-to-center for the large motif) to keep grid even.
Info :
When joining, use pins to hold petals in place before sewing. Join progressively row by row and check alignment often. Carry tails inside the join to prevent visible ends on the front.
Round 3 :
When joining adjacent rows, add the small connector flower where three petals meet to fill triangular gaps. Sew connector flower into place by stitching through its back and the underside of the adjoining petal rims so it appears nested between motifs.
Round 4 :
Work an in-row seam every 6 petal joins with a decorative slip-stitch join: join yarn at a petal edge on motif A, sc through the top loop of motif A petal, sc through top loop of motif B petal, repeat along seam to create a subtle ridge (this provides durability) (counts vary per seam)
Info :
Use a tapestry needle to make neat invisible joins. For beds the overlay should be only lightly attached to backing so it drapes independently; avoid sewing every single stitch to backing unless you want it quilted.
— Main Panel Joining Notes (to create full spread) :
Round 1 :
Determine number of motifs across and down. Example layout for a lap-size sample: 6 motifs across x 8 motifs down = 48 large motifs + connector flowers at intersections.
Round 2 :
Join using a combination of whipstitch for strength and slip-stitch ridge for decoration. Anchor at 3-4 points per adjacent petal for stability, then add slip-stitch ridge along some seams for design interest.
Info :
Count your hand placement points: each large motif will have 6 neighbor contact points (hexagonal packing). Plan connector flowers accordingly so you have one between every triple junction.
— Overlay Edge & Decorative Border :
Round 1 :
With dusty rose yarn, join at any outer petal top. Work 1 sc evenly around entire outer edge of the joined motif panel, placing 1 sc in the top of each petal scallop and 2 sc in the small gaps to keep edge even (estimate count depends on motif count; record your total as N)
Round 2 :
1 sc in each st (N)
Round 3 :
Begin decorative frame: *1 sc in next 3 sts, ch 3, sk 2 sts, 1 sc in next 3 sts* around to create repeated picot-shaped gaps — adjust repeats to match N
Info :
This frame tidies the edge and creates points to attach tassels later. Keep the same stitch count across the border rounds by distributing increases evenly in corners or curves.
Round 4 :
Round 4: 1 sc in each st, working evenly around to smooth (N)
Round 5 :
Optional raised rope edge: *BLO 1 sc in next st, BLO 1 sc in next st* repeat around to create a subtle ridge (N)
Info :
Edge rounds are flexible. If your panel edge puckers, block and if needed add one more smoothing round of 1 sc in each st using a slightly larger hook to relax tension.
— Tassels & Fringe Attachment :
Info :
Tassels in the photo hang from each outer junction between petal points at regular intervals. Prepare tassels before final edge work so you can anchor them consistently while crocheting the last border round.
Round 1 :
Tassel construction: Wind yarn around a 6cm long cardboard piece 20-30 times for a medium-weight tassel. Slide loops off, fold in half and tie near the fold with a small scrap of yarn to form head. Trim ends to even length (approx 7-10cm hanging length after trimming).
Round 2 :
Attach tassels at every third border picot: fold the looped top through the edge and thread the cut ends through the loop, pull tight to form a lark's head knot. Repeat for each placement around sides where pictured.
Info :
Reinforce each tassel by sewing its head to the border with several passes of yarn/wool needle. Secure knots and weave in tails deep into backing to avoid loosening during use.
Round 3 :
After all tassels are attached, work a final 1 sc round along border covering tassel bases to tidy any knots and secure attachments (N)
— Backing Panel (Cream, textured) :
Info :
The backing is worked flat as a continuous panel to match the overlay size. Use a 5.5mm hook for a cushy fabric. The texture in the photo resembles large, squishy hdc/bobble stitches in rows. Adjust number of stitches to match overlay dimensions after assembly of motifs.
Round 1 :
Foundation chain: Chain a length to match the width of your joined overlay panel plus 1cm ease. Example sample lap panel chain ~120 chains (adjust to your layout). Turn, WS.
Round 2 :
Row 1: hdc in 3rd ch from hook and in each ch across. Turn. (approx 118 hdc, depending on foundation)
Round 3 :
Row 2: ch 2 (counts as first hdc), *hdc in next 2 sts, bobble in next st (5 dc bobble close), hdc in next 2 sts* repeat across, ending with hdc. Turn.
Round 4 :
Row 3: ch 2, hdc in each st across. Turn.
Info :
Alternate a textured row (with bobbles spaced every 4-6 sts) and a smoothing hdc row to create the chunky textured surface seen in cream panel. Repeat these two rows until panel length matches overlay panel length.
Round 5-40 :
Repeat Rows 2-3 pattern until required length is reached. Count and block the backing to match the overlay's final dimensions. Finish with one round of sc in the same cream yarn along all edges to tidy (edge count equals width + length adjustments).
Round 41 :
Fasten off and weave in ends. Backing panel should be slightly larger (about 1-2cm) than overlay to allow for drape and seam joining if you plan to stitch overlay to backing.
— Pillow Covers (Matching Floral Squares) :
Info :
Pillow covers in the image are assembled from 4 large motifs forming a face, edged and backed with the cream textured fabric. Each cushion face is a 2x2 motif square.
Round 1 :
Make 4 large motifs per pillow using the Motif section. Block them consistently.
Round 2 :
Join 2 motifs side-by-side using whipstitch across 6 petal joins. Repeat to make two halves. Join the two halves along the remaining side so you have a 2x2 square panel.
Round 3 :
With dusty rose yarn, work 1 sc evenly around the square face to tidy seams. Work 1 additional sc round for a stronger edge (count varies by pillow size).
Round 4 :
Prepare backing square in cream with the textured hdc/bobble pattern to the same dimensions as the motif square. With RS together, sew three sides using mattress stitch leaving one side open for insert. Insert cushion and close remaining side by slip-stitching or sewing.
Info :
Alternatively, add a zipper or envelope closure in the backing if you want removable covers. When sewing motif face to backing, sew only through the edges to preserve 3D petal textures.
— Alternative Seam & Joining (Lattice Join) :
Round 1 :
For a more open appearance: after making a motif, work a join-round of ch-3 loops between each petal top (working into the outermost sc/edge point). When two motifs are adjacent, slip-stitch through both ch-3 loops to form a neat lattice join. This leaves small openings like the picture and emphasizes petal intersections.
Info :
Test a small swatch of 4 motifs to choose which joining method you prefer visually and structurally. The lattice join keeps the airy look; the whipstitch join makes overlay sturdier.
— Finishing & Final Assembly :
Round 1 :
Lay the cream backing panel flat. Position the floral overlay centered on top of the backing. Pin in place at corner and midpoints to ensure even alignment.
Round 2 :
Option A - Lightly anchored: Using matching cream or dusty-rose yarn and a yarn needle, tack the overlay to backing in 8-12 spaced points (corners, mid sides, central quadrants). Use small stitches through backing and only through the underside of overlay joins to allow overlay to drape.
Round 3 :
Option B - Fully stitched: If you want a single-layer bedspread, sew the overlay to the backing at each motif join with neat ladder stitch through the seam allowances of both layers. This requires more work but yields a single, stable blanket.
Info :
Which option you choose depends on desired drape. The photographed example appears lightly anchored so the floral overlay floats above the textured cream backing for depth.
Round 4 :
Trim all stray ends, weave through multiple stitches and bury ends into the backing so they do not come loose. Give the entire assembly a final light blocking to set shape and drape.
— Care & Maintenance Info :
Info :
Hand wash separately in cool water with gentle detergent and reshape while damp. Dry flat to keep the motif shapes. If using synthetic worsted, a gentle machine cycle in a washing bag may be tolerated but hand washing is safest for petals and tassels.
Info :
For long-term storage, fold carefully with acid-free tissue between petals to protect raised stitches from flattening.
Completing this dreamy floral bedspread is a truly satisfying project — each motif is a small bloom that joins into a romantic surface that feels like a handmade heirloom. The texture of the raised petals over a soft cream backdrop creates beautiful depth and cottage warmth. Add tassels for a playful fringe and matching pillow covers to complete the set. 🧶🌸 Wrap yourself in a piece that will make your space feel cozy and thoughtfully handmade. Happy hooking! ✨