🧢 Beautiful ✨ Detailed πŸ’ Adorable

Elegant Lace Table Runner Pattern

Elegant Lace Table Runner Pattern
4.0β˜… Rating
10-12 Hours Time Needed
3.7K Made This
βœ‚οΈ

Advanced Level

Designed for experienced crocheters, these patterns involve intricate designs and complex techniques to challenge and inspire.

⏱️

All-Day Adventure

Requires 8-10 hours, ideal for a full day of immersive crocheting.

🏑

Cozy Accent

A warm touch for your space that transforms ordinary corners into inviting nooks filled with handmade charm.

🧢 Jump to Pattern ↓

About This Elegant Lace Table Runner Pattern

This pattern recreates a long lace table runner made of fine cotton thread in a deep espresso brown. The runner features three large circular medallions connected by ornate arches and small floral rings; each medallion is decorated with layered elongated leaf petals and an openwork lattice. The border has delicate picot clusters that create a scalloped, vintage-inspired edge. The finished runner drapes elegantly on a table and looks gorgeous in natural light.
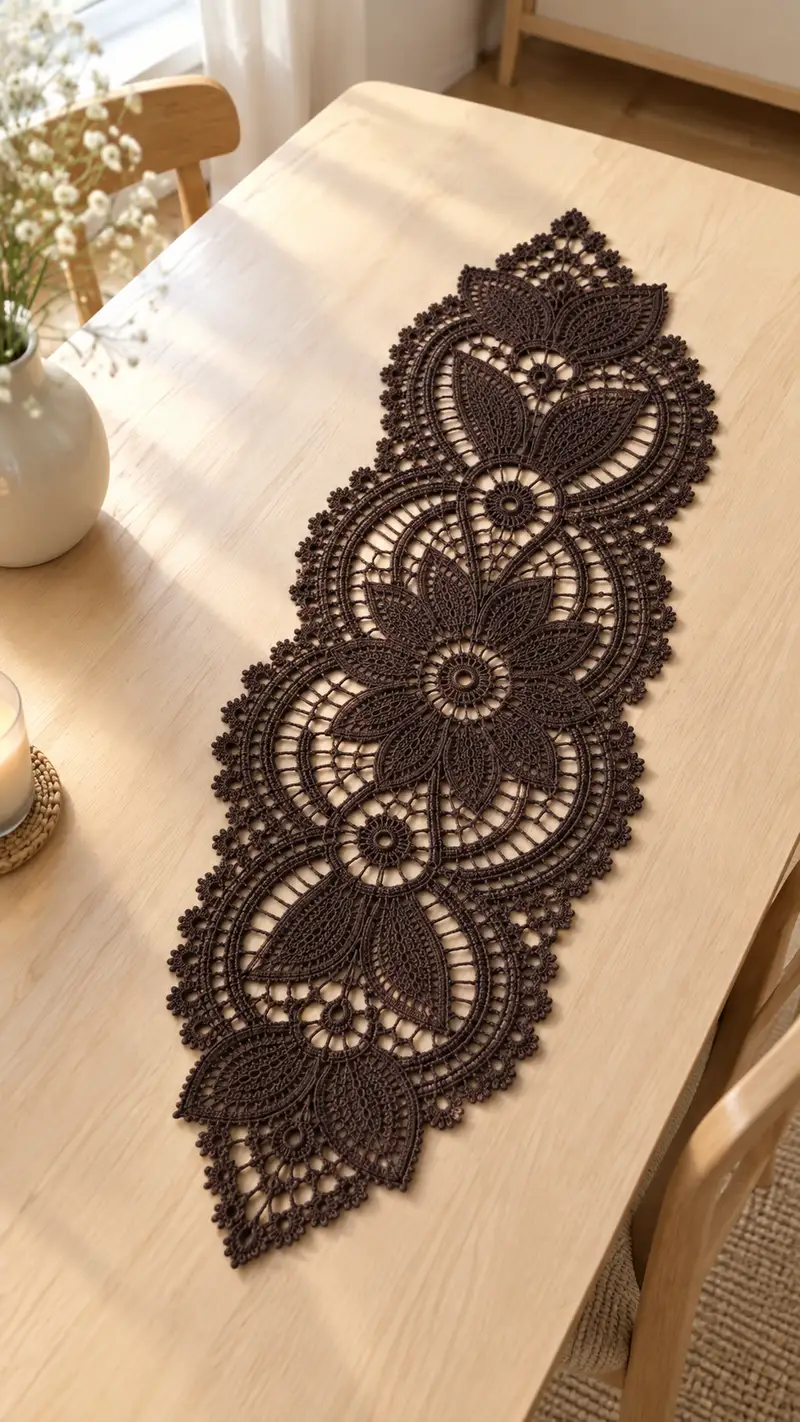
Elegant Lace Table Runner Pattern crochet pattern - detailed view of completed project

The pattern is modular: you work single medallions and units, then join them with connecting motifs before adding a continuous ornamental border. It uses fine cotton thread and a small hook to achieve crisp stitch definition and lace-like drape.

Why You'll Love This Elegant Lace Table Runner Pattern

I love this design because it blends classical lace motifs with modern stylingβ€”those elongated leaf petals and the open lattice add so much visual interest. I also appreciate that it's made modularly: you can work motifs separately and join them later, which makes managing the complex lace much more satisfying. The finished runner lays flat and looks like a treasured heirloom on any wooden table.

Elegant Lace Table Runner Pattern step 1 - construction progress Elegant Lace Table Runner Pattern step 2 - assembly progress Elegant Lace Table Runner Pattern step 3 - details and accessories Elegant Lace Table Runner Pattern step 4 - final assembly and finishing

Switch Things Up

I love how versatile this lace runner isβ€”I often experiment with thread colors to create seasonal looks. Use cream or ivory for a classic wedding table, or navy for a modern contrast. You can also lengthen the runner by adding extra medallions or shorten it by removing one.

I also enjoy adding a subtle metallic thread on the final edge round to catch the light. If you want a stiffer finish, try a light fabric stiffener after blocking, or keep it soft and drapey for casual tabletops. The modular construction makes customization very easy: change petal counts, swap picot styles, or substitute an open mesh round for a more airy runner.

Finally, if you prefer a simpler skill level, replicate the central medallions only and finish with a single-row edging to create placemats or a smaller centerpiece instead of a full runner.

Common Mistakes & How to Fix Them

βœ— Skipping stitch markers at round starts can cause misaligned joins and irregular shaping; mark the start of each round carefully. βœ— Using a hook that is too large will create loose stitches and visible gaps; use the recommended small hook for crisp lace. βœ— Not blocking finished motifs thoroughly will result in a runner that won't lie flat or show the lace details. βœ— Joining motifs inaccurately results in crooked medallions; pin and baste motifs before final stitching. βœ— Stuffing or pressing with steam too aggressively can stretch the cotton; block gently and pin to shape. βœ— Not counting chain spaces and treble/dc groups precisely will make rounds not match when joining; recount often.
Elegant Lace Table Runner Pattern

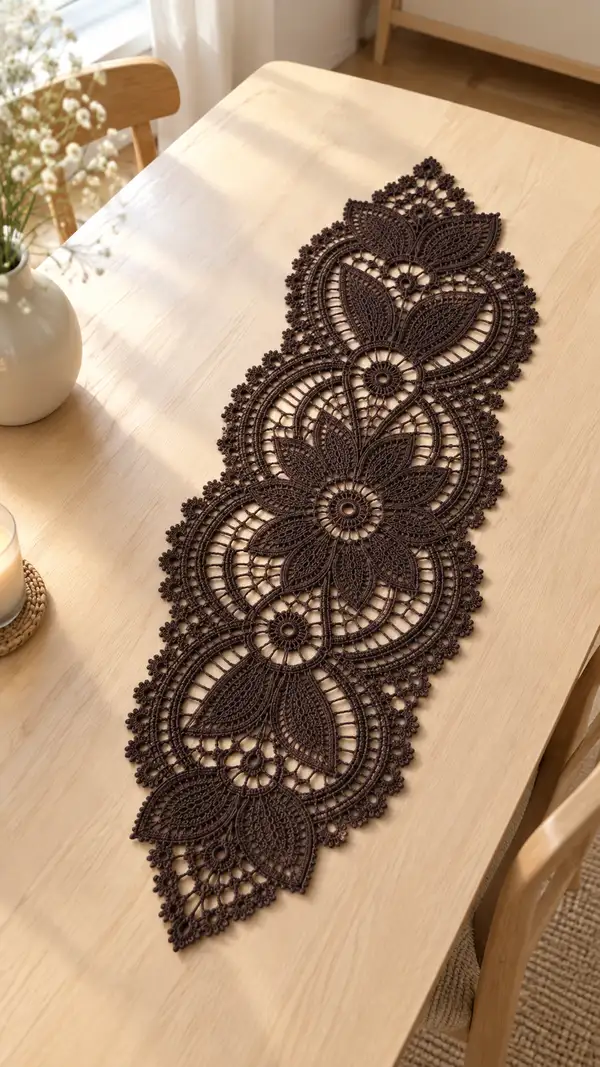
Create an elegant, hand-crocheted lace table runner inspired by classic filet and Irish crochet motifs. This pattern recreates the long, floral medallion runner shown in the photo, with three large interlocking circular medallions, layered leaf petals, and a scalloped picot border. Worked in fine cotton thread and a small hook, the design yields a delicate, heirloom-quality accent for dining rooms, sideboards, or dressers.

Advanced 10-12 Hours

Materials Needed for Elegant Lace Table Runner Pattern

β€” Main Fabric

  • 01
    Size 10 crochet cotton thread (lace weight), approximately 250-300g in deep espresso brown (main color)
  • 02
    Optional: 30-50g in contrasting color for accent stitches (e.g., cream or gold) if desired
  • 03
    Small amounts (10-20g) for decorative highlights (optional metallic or lighter brown threads)

β€” Tools Required

  • 01
    1.75mm (steel) crochet hook (or size recommended for your thread) for main lacework
  • 02
    1.5mm hook for very tight detail work (optional)
  • 03
    Fine yarn or tapestry needle for weaving and sewing joins
  • 04
    Blocking pins and foam blocking board or towel
  • 05
    Measuring tape and ruler
  • 06
    Scissors
  • 07
    Stitch markers (several) to mark motif join points
  • 08
    Small sewing pins for pinning motifs during assembly
  • 09
    Optional: fabric stiffener for a crisper runner

Progress Tracker

0% Complete

β€” Notes & Gauge :

Info :

Worked in size 10 crochet cotton thread with a 1.75mm hook. Gauge is flexible for lace but measure to obtain crisp stitch definition. Final runner in the photo measures approximately 36" long by 10.5" wide; adjust motif count or thread weight to change size. Use blocking to open the lace and achieve the final shape.

Info :

Pattern is modular: you will make three Large Medallions, eight Leaf Petals per medallion, four Quarter-Arches between medallions, and a series of Small Ring Connectors and edge picot clusters. Each large medallion is labeled 'Medallion A' for clarity. Numbering of rounds is continuous per section.

β€” Center Medallion (Make 3) :

Round 1 :

Begin: 8 sc in magic ring (8)

Round 2 :

8 inc (16) - (Work 2 sc in each st around)

Round 3 :

(1 sc, inc) x 8 (24)

Round 4 :

(2 sc, inc) x 8 (32)

Round 5 :

(3 sc, inc) x 8 (40)

Round 6 :

(4 sc, inc) x 8 (48)

Info :

Keep a marker in the first stitch of each round to track round starts. Work tightly; the center ring should be flat and secure. This rounds set a base of 48 sts for the medallion.

Round 7 :

1 sc in each st (48)

Round 8 :

1 sc in each st (48)

Round 9 :

*ch 3 (counts as dc), sk 2 sc, sc in next st, ch 3, dc in next st; rep from * around forming 16 small chain arches (48 chain loops)

Assembly Instructions

  • Attach head to body by inserting the neck portion into the body opening. Pin in place first, then sew securely using whip stitch all around, ensuring even attachment
  • Position arms on sides of body at rounds 20-22 for natural look. Sew through both arm and body using ladder stitch for invisible seam
  • Attach legs to bottom of body at rounds 1-3, spacing them evenly. Sew securely, adding extra stitches for stability if character will be posed
  • Sew ears to top of head at rounds 5-8, spacing them 12-15 stitches apart. Curve slightly forward for natural appearance
  • If applicable, attach tail to back center of body at round 10. Sew securely in spiral pattern
  • Add any facial embroidery: nose, mouth, eyebrows using yarn needle and matching colors
  • Secure any loose ends by weaving through several stitches and trimming close to work
  • Optional: Add blush to cheeks using fabric paint or makeup for extra cuteness

Important Notes

  • πŸ’‘Use stitch markers consistently at the beginning of each round to avoid counting errors and maintain proper shaping
  • πŸ’‘Stuff body parts gradually as you work rather than waiting until the end, especially for narrow openings like arms and legs
  • πŸ’‘For safety eyes, position and secure before stuffing head fully - they cannot be repositioned once locked in place
  • πŸ’‘Maintain consistent tension throughout the project; too tight creates stiff, small pieces, too loose creates floppy, holey fabric
  • πŸ’‘When sewing pieces together, use yarn slightly thinner than working yarn for neater, less visible seams
  • πŸ’‘Pin all pieces in position before final sewing to ensure proper placement and symmetry
  • πŸ’‘For amigurumi, work tightly enough that stuffing doesn't show through stitches
  • πŸ’‘Keep a row counter or notepad to track rounds, especially in long even-stitch sections

Working this lace table runner is such a rewarding experienceβ€”each medallion grows into an elegant floral shape, and joining them reveals the full runner in a satisfying moment of completion. The delicate picot edges and layered leaf motifs add a touch of vintage charm, making it a gorgeous accent for any table. Take time to block each motif; the result is a flat, heirloom-quality piece you'll enjoy for years. 🧢✨

You ask,

we answer.

FAQs

What is the finished size of this table runner?

Using size 10 crochet cotton and a 1.75mm hook, the finished runner measures approximately 36" (91 cm) long by 10.5" (27 cm) wide. Changing thread size or motif count will change final dimensions.

Can I use a different yarn weight?

Yes, you can use different yarn weights but choose a hook 1–2 sizes smaller than recommended to keep stitches tight. Thicker yarn will create a larger, less delicate runner and may require fewer motifs.

Do I need to block the finished pieces?

Absolutely. Blocking is essential for lace to open the motifs and achieve the flat, lacy look. Pin motifs to shape while damp or use a low-temperature steam. Allow to dry completely before joining.

How many motifs do I need?

This pattern makes three large medallions connected by arches. To lengthen the runner, add more medallions and corresponding connectors as desired.

Can I make this runner in multiple colors?

Yes! You can change color at any round. For clean color changes, finish the last stitch with the new color and carry or weave in tails carefully.

Is this pattern suitable for beginners?

This is an advanced lace project requiring experience with fine thread, reading written lace instructions, and blocking. Beginners with patience can attempt it but should practice smaller lace motifs first.

How should I join motifs?

Pin motifs together according to join diagrams and use a small sewing needle and thread or a slip-stitch join to connect chain spaces and apexes. Sew securely then weave in tails.
