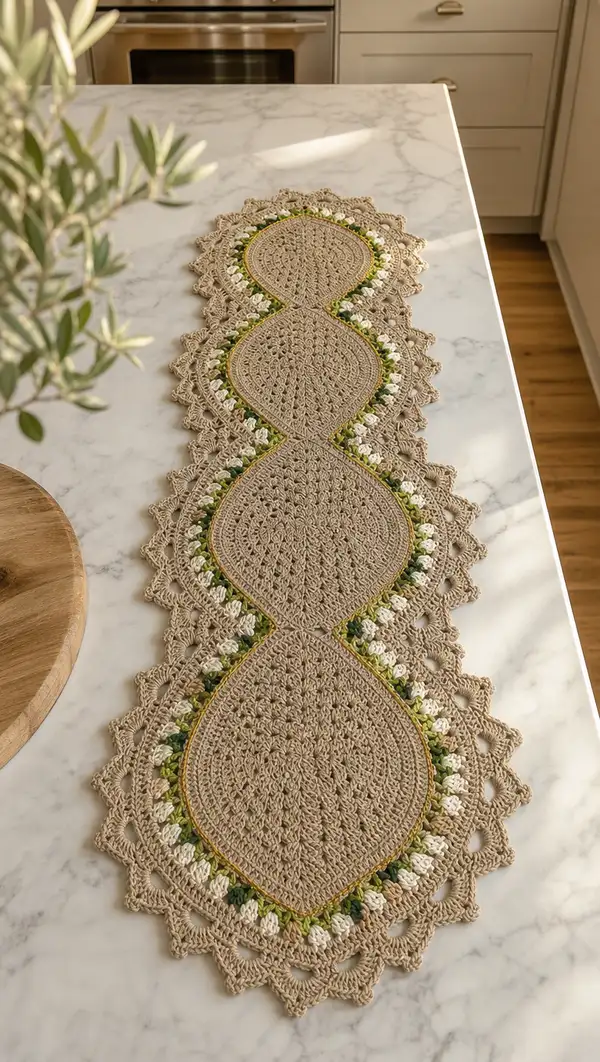
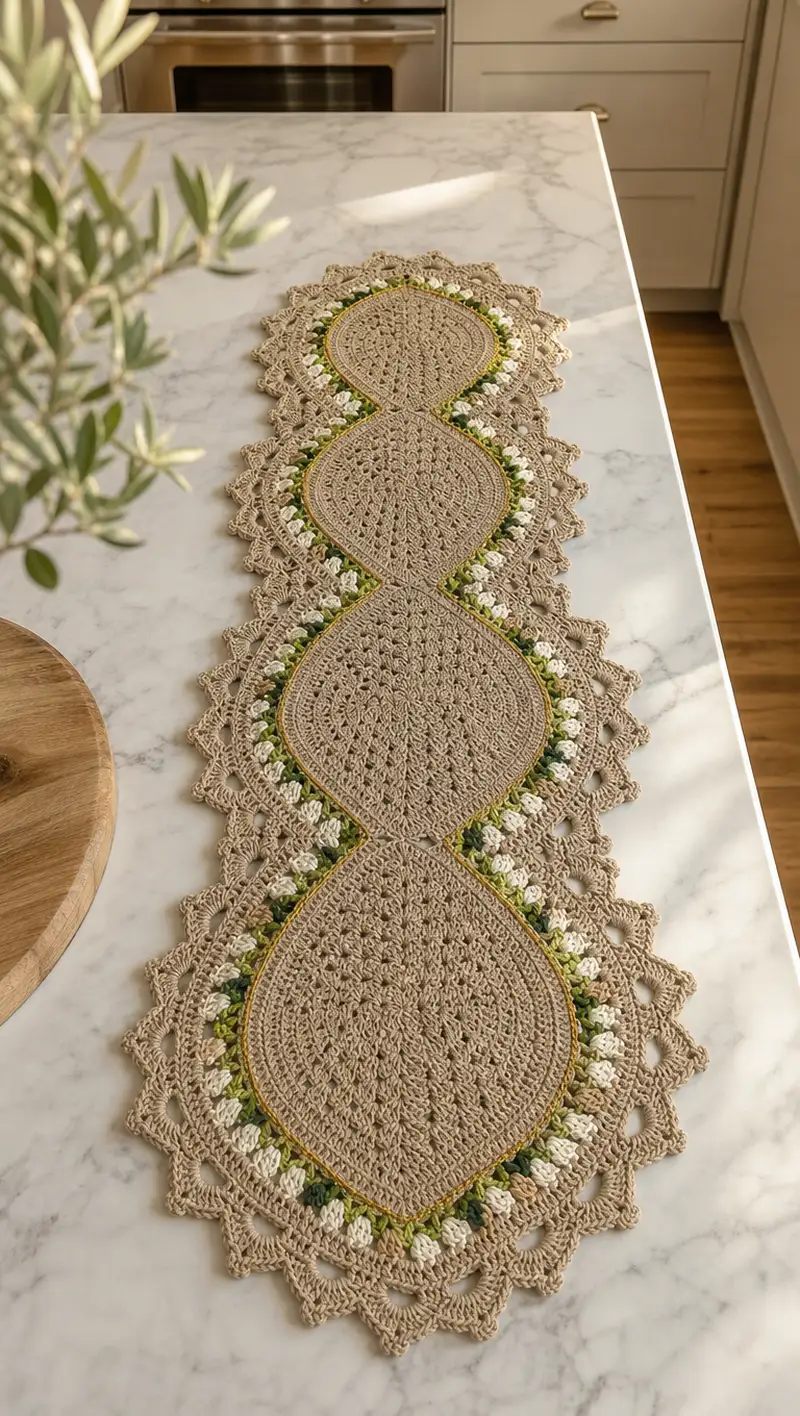
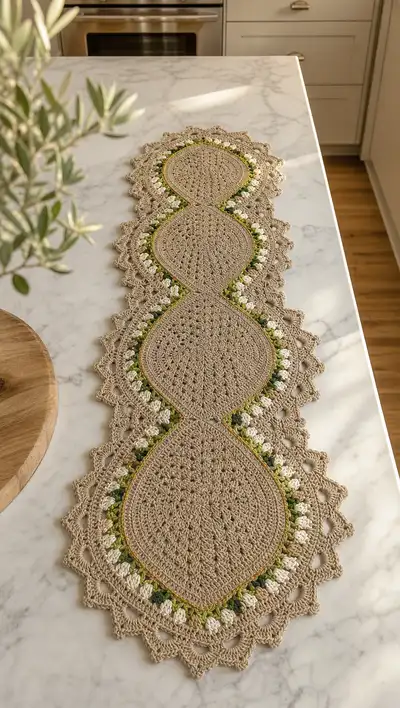
Create a dreamy neutral table runner featuring four connected leaf-shaped motifs, delicate scalloped lace edges, and fresh green and white floral accents. This runner works up in worsted-weight cotton for a linen-like look, with a subtle gold inner band to highlight the motifs. The finished piece is lightweight, decorative, and perfect for dining tables, sideboards, or as a centerpiece runner.
Progress Tracker
0% Complete
— Notes & Gauge :
Info :
Gauge is not critical for this decorative runner, but for similar drape use worsted-weight cotton and 4.0mm hook. A single leaf motif measures approximately 10-11 inches long and 7-8 inches wide when worked as written. Block lightly to shape scallops. The pattern is modular: make 4 motifs to replicate the photographed length; add or remove motifs to change runner length.
Info :
Terminology: 'pop' refers to 4 dc popcorn (see special techniques) and 'puff' is a 3-loop puff unless otherwise noted. Work in continuous rounds unless a sl st/join is specified. Use stitch markers at the start of each round.
— Special Techniques :
Info :
Popcorn (4-dc pop): work 4 dc in same stitch, remove hook from last loop and insert into first dc of the group, pull loop through, ch1 to close the pop. Puff (3-loop puff): yarn over, insert hook, pull up loop (repeat total 3 times), yarn over and pull through all loops on hook, ch1 to close if instructed. Invisible decrease: insert hook into front loop of next two stitches, draw up loop through both, yarn over and pull through.
— Motif (Make 4) :
Info :
Each motif is worked in spiraled rounds from a center magic ring and shaped by increases on alternating rounds to form the elongated leaf/lozenge. Work rounds 1-26 to build the body, then rounds 27-48 add colorwork and decorative edging that becomes the inner floral band and prep for joining.
Round 1 :
6 sc in magic ring (6)
Round 3 :
(1 sc, inc) x 6 (18)
Round 4 :
(2 sc, inc) x 6 (24)
Round 5 :
(3 sc, inc) x 6 (30)
Round 6 :
(4 sc, inc) x 6 (36)
Round 7 :
(5 sc, inc) x 6 (42)
Round 8 :
(6 sc, inc) x 6 (48)
Info :
At this stage the piece is circular; from round 9 onward we will bias increases so the shape elongates. Place two additional markers opposite each other if you prefer to help visualize the long axis.
Round 9 :
(7 sc, inc) x 6 (54)
Round 10 :
(8 sc, inc) x 6 (60)
Round 11 :
(9 sc, inc) x 6 (66)
Round 12 :
(10 sc, inc) x 6 (72)
Round 13 :
(11 sc, inc) x 6 (78)
Round 14 :
(12 sc, inc) x 6 (84)
Info :
These progressive increase rounds create the widest center of the leaf. Keep stitch marker at round start and check counts at the end of each round. If you prefer a slightly narrower center stop increasing one round early (round 13).
Round 15-20 :
1 sc in each st (84)
Info :
Work six even rounds to create the long body of the leaf. This section determines the length—add extra even rounds (1-2) if you want a longer motif before starting decreases.
Round 21 :
(12 sc, dec) x 6 (78)
Round 22 :
(11 sc, dec) x 6 (72)
Round 23 :
(10 sc, dec) x 6 (66)
Round 24 :
(9 sc, dec) x 6 (60)
Round 25 :
(8 sc, dec) x 6 (54)
Round 26 :
(7 sc, dec) x 6 (48)
Info :
After round 26 the motif has returned to a more circular stitch count yet is elongated in shape. Do not continue symmetrical decreases past this point or you will close the motif; instead we will add colorwork and decorative stitches to form the inner floral band and prepare joining points.
Round 27 :
Change to golden-yellow. 1 sc in each st (48)
Info :
Secure color change by joining to the back loop only for this round if you prefer a subtle ridge; this creates a highlighted inner band.
Round 28 :
Change to moss green. *ch1, sk1, pop in next st, ch1, sk1, 1 sc in next 2 sts* Rep around (12 pops and filler stitches between) (48)
Info :
Work 12 popcorns spaced evenly across 48 stitches — pattern repeat covers 4 stitches: pop + filler = 4. Adjust initial placement so popcorns fall along the long axis edges where the floral band is pictured. Keep popcorns consistent for even texture.
Round 29 :
Change to olive green. 1 sc in each st around, working into ch spaces after each pop to secure placement (48)
Round 30 :
Change to white. In the ch1 spaces created after each pop: (ch2, puff in same sp, ch1) repeat in each pop space for 12 puffs; between each puff work 3 sc to maintain spacing. End with 1 sc (48)
Info :
These white puff flowers sit between the green pops, giving the cluster effect seen in the photo. Make sure puffs are even — pull loops to equal height before finishing the puff.
Round 31 :
Return to main neutral. 1 sc in each st around in BLO for a subtle ridge (48)
Round 32 :
1 sc in each st (48)
Round 33 :
(2 sc, ch2, sk1) x 12 around to create small chain lacy spaces between groups (48)
Info :
These small chain spaces lay the groundwork for the outer lace scallops. Keep tension even; this round slightly adjusts the stitch geometry to allow the shell work to sit nicely.
Round 34 :
*In next ch2 space work (3 dc, ch2, 3 dc) shell; sk next 3 sc, sl st in next st* repeat 12 times (48)
Round 35 :
1 sc in each st and in each ch space around to secure shells (48)
Round 36 :
*Work (2 tr, ch2, 2 tr) into center ch2 of each shell from Round 34 to create taller scallops; between scallops sc across next 4 sts* repeat 12 times (48)
Info :
These taller scallops begin to create the pointed edging seen in the photograph. If you prefer larger points, substitute 3 tr groups instead of 2 tr groups.
Round 37 :
1 sc in each st and ch space around to tidy edges and keep counts consistent (48)
Round 38 :
*In each tall scallop (2 tr, ch2, 2 tr) work: sl st to center, (3 dc, ch3, 3 dc) to create decorative picot-cap; sc in the space between scallops* repeat 12 times (48)
Round 39 :
1 sc in each st around to even out the edge (48)
Round 40 :
*(ch3, sl st in 2nd ch from hook to make small picot) in the center of each picot-cap, then sc across next 3 sts* repeat 12 times (48)
Info :
These finishing decorative rounds create the distinct lacey, triangular scallops that show along the runner edge. Keep symmetry by counting shells and picots—12 repeats are consistent with our base 48 stitches.
Round 41 :
1 sc in each st and picot around to stabilize (48)
Round 42 :
*(BLO) 1 sc in next 2, (3 sc in next st) shell across 12 positions to create pronounced raised scallops* repeat (48)
Round 43 :
1 sc in each st (48)
Round 44 :
*(ch4, sl st in 2nd ch from hook to make decorative loop) over top of each raised scallop; sc between loops* repeat 12 times (48)
Round 45 :
1 sc in each st to secure loops (48)
Round 46 :
Edge refinement: *(sc, hdc, 2 dc, hdc, sc) into the top of each raised scallop; sc across filler sts* repeat 12 times (48)
Round 47 :
Final edge tidy: 1 sc in each st, weave in ends for this motif. Fasten off leaving a tail for joining (48)
Round 48 :
Block lightly to shape scallops and gently steam or wet block to open lacework (no stitch change) (48)
Info :
Make 4 identical motifs in the same color sequence. Keep your stitch counts exact — each motif should measure similarly; slight blocking adjustments will harmonize differences.
— Joining Motifs (Join 1 to 2, 2 to 3, 3 to 4) :
Info :
Motifs are joined along the narrowest tips (the points where motifs touch). You can join by whip stitch, mattress stitch, or a join-as-you-go slip-stitch technique. The photographed runner shows motifs joined seamlessly with no visible seam, so join-as-you-go or invisible whip stitch is recommended.
Join Step 1 :
Place Motif A and Motif B wrong sides together, aligning the tip points and counting an equal number of decorative scallops on either side so edges match.
Join Round 1 :
Using neutral yarn and your tapestry needle: whip stitch through outer loops of motifs at the tip point for the first 6-8 sts to anchor the join. Space stitches evenly to avoid puckering.
Join Round 2 :
Continue sewing through corresponding sts along the inner curved seam, making slip-stitch joins every 3rd st to maintain flexibility. Secure with backstitch and weave in ends (no visible stitch count change).
Info :
If using join-as-you-go: place third motif next to the finished motif and slip stitch through the corresponding shell spaces on the turned motif; work 12 slip-stitch joins across the touching edge so the motifs are firmly attached and lie flat.
Join Round 3 :
Once the seam is completed, add a small decorative reinforcement round: 1 sc in each st across the join area on both faces to neaten the seam (work about 6-8 sc each side as needed).
Info :
Repeat the joining sequence at the 3 joins so all four motifs are connected in a straight row. Pin and block joined seam to ensure motifs lay flat and aligned before final bordering.
— Full Runner Border (worked after all motifs joined) :
Info :
With all motifs joined, work a unifying border around the entire perimeter to blend joins and create the continuous scalloped edge seen in the photo. Use the neutral main color for the unified border and reintroduce golden-yellow and a touch of moss where shown to echo inner bands.
Round 1 :
With neutral yarn, pick up stitches along outer edge: sc evenly around entire perimeter, placing 2 sc in outer corners and 1 sc in each scallop top to smooth transitions (total will vary; aim for even spacing)
Round 2 :
1 sc in each st around to tidy the foundation; place stitch markers at motif seams to keep consistent stitch placement (no change in overall look)
Info :
Counts vary around the full runner because of three joins; emphasis is on even spacing and symmetry rather than a fixed stitch count. Keep scallop points proportionate to motif edges.
Round 3 :
*Work (3 dc, ch2, 3 dc) shell at each scallop top around the entire runner; between shells work 3 sc to keep spacing* repeat around (maintain consistent shell count)
Round 4 :
1 sc in each st around
Round 5 :
*Work taller scallops: (2 tr, ch2, 2 tr) into center ch2 of each shell from previous round; between scallops sc across filler sts* repeat around
Round 6 :
1 sc in each st around
Round 7 :
Change to golden-yellow. 1 sc around the inner edge (close to the floral band) to echo motif centers. Fasten off golden-yellow and rejoin neutral.
Round 8 :
With neutral yarn: *(sc, hdc, 2 dc, hdc, sc) into the top of each raised scallop; sc between scallops* repeat around
Round 9 :
With neutral yarn, work decorative chain loops between scallops: ch4, sl st in the base of the next scallop; sc in filler sts to stabilize
Round 10 :
Final tidy: 1 sc in each st and in each chain loop around; weave in ends and block the full runner to measurement
Info :
After border work, check symmetry of scallops across the joins. If necessary, add an extra sc or sl st at join areas to pull motifs into uniform alignment before final blocking.
— Finishing :
Info :
Weave all tails securely to the wrong side. Lightly block the runner to open the lace and straighten the motif edges. If you prefer a stiffer tabletop runner, starch lightly or use a fabric stiffener according to product instructions.
Info :
If storing, fold gently and avoid creasing the scalloped edges; hang flat or roll in tissue paper for long-term storage to preserve shape.
This beautiful table runner is a lovely blend of neutral elegance and tiny botanical details — a perfect centerpiece for everyday style or special gatherings. The modular motif construction makes customization simple, while the layered lace and floral accents give it character and charm. Enjoy creating something that will add warmth and handmade personality to your home. 🧶🌿✨