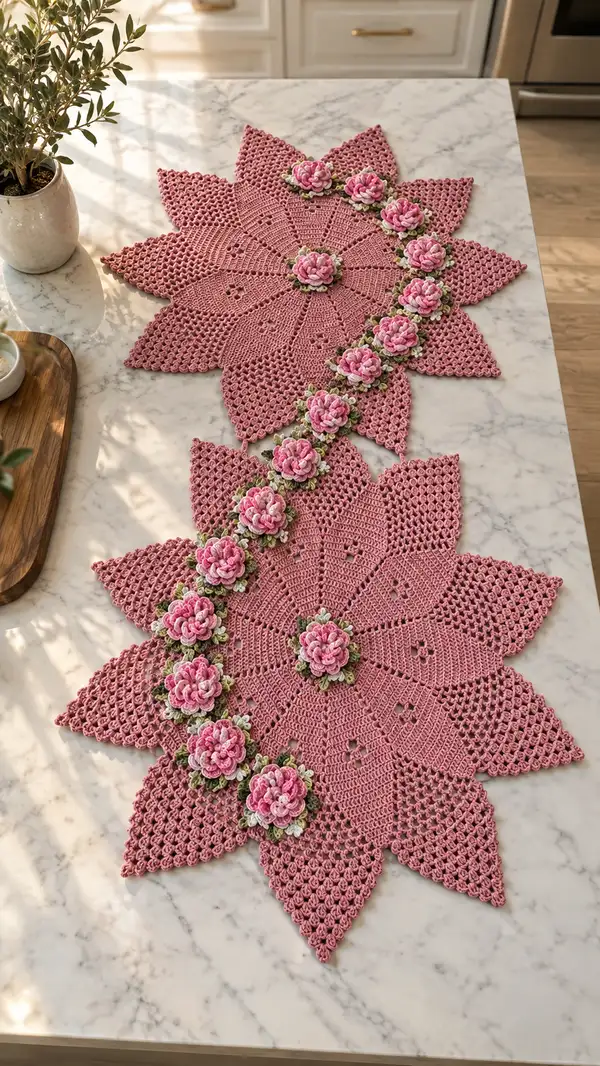
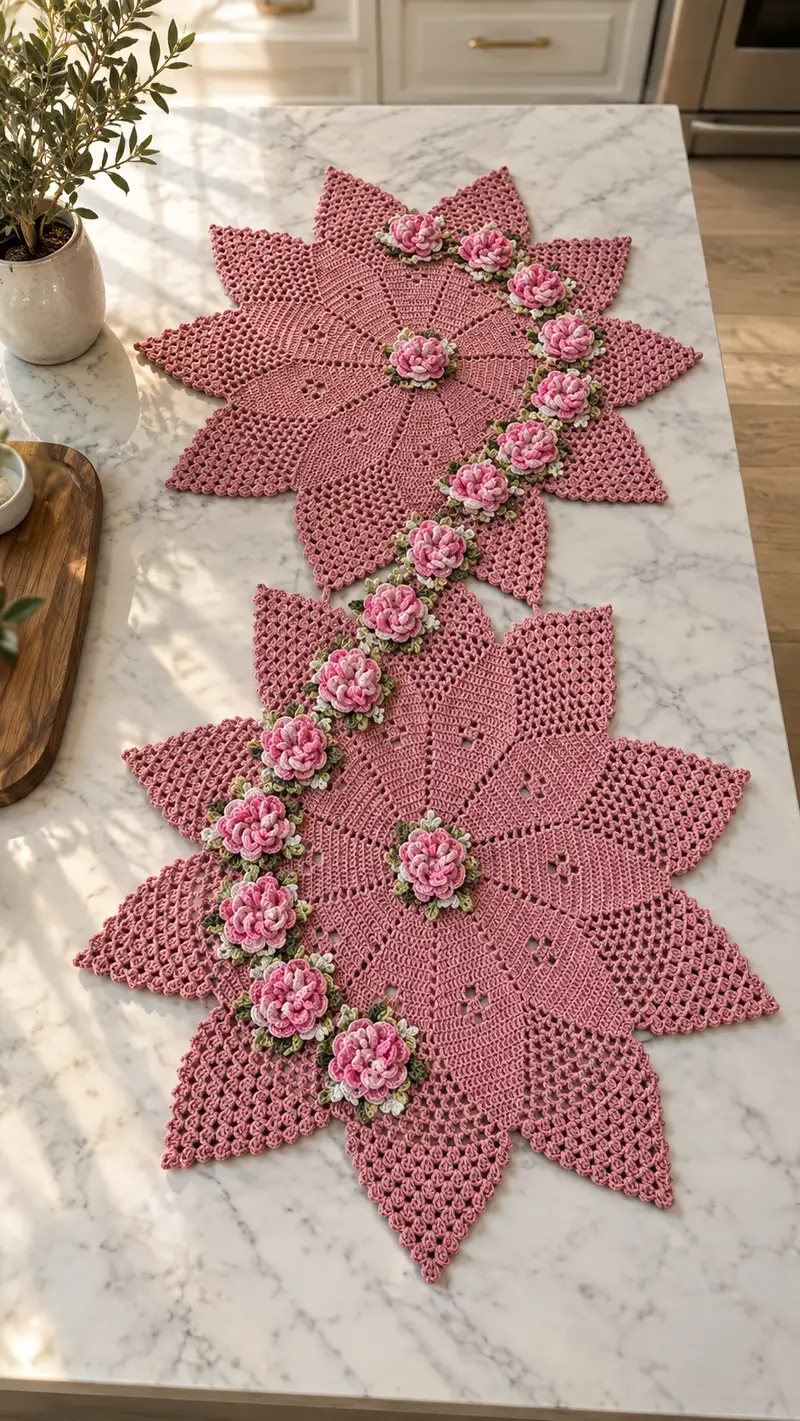
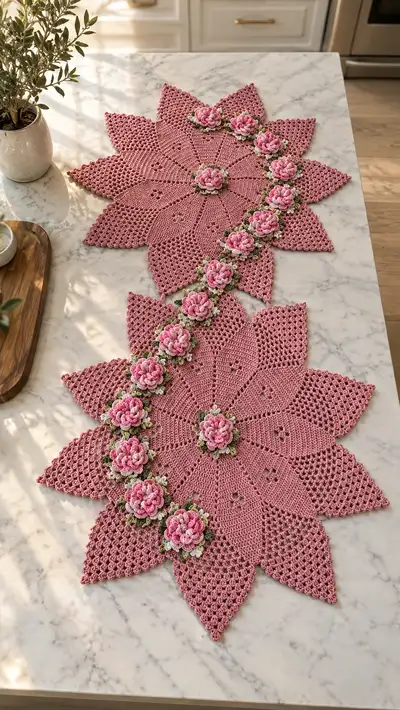
Create a stunning, vintage-inspired table runner made of two large star-shaped floral medallions joined by a garland of three-dimensional roses and leaves. This pattern uses textured shells, open mesh panels, and layered rose motifs to build a romantic centerpiece in soft rose, blush and green tones. Detailed round-by-round instructions, tips and assembly notes guide you through each element for a polished, heirloom-quality finish.
Progress Tracker
0% Complete
— Overview & Notes :
Info :
Make two identical large floral medallions (A and B), 12 layered roses, small leaves and a connecting chain of motifs. Each medallion is worked in continuous rounds forming 12 pointed petals. Roses and leaves are made separately and sewn on. Use consistent tension; cotton yarn gives crisp definition. Block each medallion flat before assembly.
Info :
All rounds are worked in continuous rounds unless otherwise noted. Use a stitch marker to mark the beginning of each round and move it up as you progress. When increasing, repeat counts are shown as x12 to reflect 12 petal segments.
— Large Floral Medallion (Make 2) :
Round 1 :
12 sc into magic ring (12)
Round 2 :
inc in each st around (12 inc) (24)
Round 3 :
(1 sc, inc) x12 (36)
Round 4 :
(2 sc, inc) x12 (48)
Round 5 :
(3 sc, inc) x12 (60)
Info :
At this point you have the central disk forming. Keep tension even; this will be the stable center from which each petal radiates. Place a marker to denote the first of the 12 segments so you can keep petals aligned.
Round 6 :
(4 sc, inc) x12 (72)
Round 7 :
(5 sc, inc) x12 (84)
Round 8 :
(6 sc, inc) x12 (96)
Round 9 :
1 sc in each st (96)
Round 10 :
(7 sc, inc) x12 (108)
Info :
We will soon divide into 12 petal sections. Keep marker at the first stitch of the round; each repeat correlates to one petal foundation. You may wish to place additional markers every 12 repeats to track symmetry.
Round 11 :
1 sc in each st (108)
Round 12 :
(8 sc, inc) x12 (120)
Round 13 :
1 sc in each st (120)
Round 14 :
Petal foundation: (sc in next 4 sts, hdc in next 2 sts, 3 dc in next st, hdc in next st, sc in next 2 sts) x12 (144)
Info :
Round 14 creates a taller petal profile—the 3-dc cluster is the central petal body. Each repeat consumes 10 of the previous round's stitches and produces 12 stitches, increasing the round by 24 total. Keep tension even through clusters; work the 3 dc into the same stitch marked as the petal center if you used markers.
Round 15 :
1 sc in each st (144)
Round 16 :
(11 sc, inc) x12 (156)
Round 17 :
1 sc in each st (156)
Round 18 :
Petal shaping round: for each petal work (sc in next 3 sts, hdc in next 2 sts, 5 dc in next st, hdc in next 2 sts, sc in next 4 sts) x12 (180)
Info :
The 5-dc cluster is the main petal height. This round increases by 24 stitches (12 petals x +2 each) to 180. Align your clusters to create smooth petal curves; if needed, place temporary pins while blocking to keep petal shape even.
Round 19 :
1 sc in each st (180)
Round 20 :
(14 sc, inc) x12 (192)
Round 21 :
1 sc in each st (192)
Round 22 :
Petal ridge: for each petal work (sc in next 4 sts, 3 dc cluster over next st (dc3tog style cluster worked into the same base), ch2, sl st into top of cluster, sc in next 6 sts) x12 (192)
Info :
This round creates a distinct ridge at each petal center using clustered dcs and short chains as picot-like decoration. Stitch count stays the same (we worked clusters into single bases repeatedly but ended with same number of stitches). Move marker carefully to check each segment aligns.
Round 23 :
1 sc in each st (192)
Round 24 :
Mesh transition: (sc in next 2 sts, ch3, sk next 2 sts, sc in next 4 sts, ch3, sk next 2 sts, sc in next 6 sts) x12 — stitch count remains 192 (chain spaces do not add to stitch count for next round)
Info :
The mesh transition inserts chain-3 spaces to create an airy fabric for the outer petal edges. Keep chains loose but consistent so the mesh lays flat. You may count the ch-3 spaces to ensure each petal has the same number of open spaces.
Round 25 :
Work into both sc and chain spaces: (sc in next 2 sc, sc in ch-3 space (3 sc into the ch-3), sc in next 4 sc, sc in ch-3 space (3 sc), sc in next 6 sc) x12 (228)
Info :
Round 25 replaces each ch-3 with 3 sc: each petal adds 36 stitches (12 petals x +3 each) moving from 192 to 228. This converts mesh to solid stitches while building outward dimension for the petal tip.
Round 26 :
1 sc in each st (228)
Round 27 :
(18 sc, inc) x12 (240)
Round 28 :
1 sc in each st (240)
Round 29 :
Outer petal fill: (sc in next 5 sts, hdc in next 2 sts, 7 dc in next st, hdc in next 2 sts, sc in next 10 sts) x12 (276)
Info :
The 7-dc tall stitch sequence creates the pointed petal tips visible in the finished runner. This round increases stitch total by 36 (12 petals x +3), from 240 to 276. If your petals are too tall or too short, adjust the number of dc in the cluster but be consistent across all repeats.
Round 30 :
1 sc in each st (276)
Round 31 :
Picot edge prep: (sc in next 8 sts, *ch3, sl st into next st to create picot anchor, sc in next 10 sts*) x12 — stitch count unchanged 276
Info :
These tiny chain-picot anchors form the decorative scalloped edge. Keep ch-3 small and tensioned so picots are tidy and uniform.
Round 32 :
Edge finishing: (sc in next 2 sts, 3 sc in next st (shell), sc in next 10 sts, shell in next st) x12 (276 + (12 shells x 2 extra sc each) = 300
Info :
Each shell (3 sc in same base) adds 2 stitches net per shell and produces the scalloped border. This gives a stable decorative outer edge. If you prefer smaller scallops, work 2 sc shells instead of 3 sc.
Round 33 :
Final ornamental round: 1 sc around each stitch and 1 sc in each picot loop (300)
Round 34 :
Blocking and stabilization round: 1 sc BLO in each st to give a defined edge finish (300)
Info :
Fasten off leaving a 20-25cm tail for sewing. Weave in loose ends on the wrong side. Lightly wet-block or steam-block the medallion and pin each petal point to perfect symmetry. Repeat to make a second identical medallion.
— Layered Rose Motif (Make 12 or as many as desired) :
Round 1 :
With rose main color, ch 4, join with sl st to form loop (or magic ring alternative). Ch 1, work 8 sc into ring, join to first sc (8)
Round 2 :
(2 sc in each st) x8 (16)
Round 3 :
(1 sc, inc) x8 (24)
Info :
These first rounds form a stable, slightly cupped base. Keep stitches tight so the center will be compact when layered with petals.
Round 4 :
Petal row A: ch 3 (counts as first dc), *dc, ch 1, dc in next st; sl st into base to anchor; move to next stitch* rep around to create 24 tiny looped petals. Fasten off color if using contrast for petal edges.
Round 5 :
Join yarn at base between petal anchors. For each anchor work (sc, hdc, 3 dc, hdc, sc) into same space to create first layer of full petals. Work around (24 petals) — this increases stitch count by 24 net (since we replace previous anchors) resulting approx (24 x 5 = 120) but we will treat petals as clusters and do not rely on a strict flat stitch-count going forward.
Info :
Round 5 creates the first pronounced petal layer. Work clusters into the spaces between the looped petal anchors to build height. Keep clusters tight and consistent.
Round 6 :
Slip to the base of any petal and work a smaller petal on top of each: (ch1, sc, hdc, 5 dc, hdc, sc) into top of previous cluster for every second petal position (12 larger petals) forming a layered effect.
Round 7 :
Secure round: sl st around base of petals, working evenly so that petals tilt outward slightly. Fasten off leaving a long tail for sewing (approx 20 cm).
Info :
Optional: Use a small amount of very light polyester fill in the center before final petal layer to give a soft, raised center. Do not overstuff. Alternate shades of pink across petal layers to achieve that variegated look seen in the photo.
Round 8 :
Optional highlighting round: With a lighter pink, work slip stitch edging around each petal tip for subtle highlights. Fasten off and weave in ends.
Info :
Make the number of petals and layers consistent between all roses. Blocking each rose slightly with pins on a foam mat can open petals consistently but be gentle to preserve 3D form.
— Small Leaf Motif (Make 24 or more) :
Round 1 :
With sage green, ch 6, sl st into 2nd ch from hook (or work into ring): sc, hdc, 3 dc, hdc, sc across chain, turn, sl st into first base to form leaf (6 stitches worked) — leaf base closed (6)
Round 2 :
Edge round: sl st around edge of leaf to neaten; work 1 sc at tip, 3 sc in central dc to add curve, continue sl st back to base. Fasten off leaving tail for sewing.
Info :
Make leaves smaller or larger as you prefer. The leaves in the image are small slightly cupped, and often worked two to a rose cluster (one large leaf + one tiny bud) between roses along the garland.
— Connecting Garland Chain & Garland Foundation :
Info :
The garland consists of a chain of small connecting motifs: a short backbone chain of ch 30 (or adjust to desired spacing) with small connecting rings (ch6 loops) where roses and leaves are sewn. Create several backbone chains to link Medallion A to Medallion B so the roses can be spaced evenly along the connection. You can also crochet a narrow filet band instead of a chain for a sturdier join.
Step :
Chain backbone: ch 30, turn, sl st into 2nd ch from hook and into each ch for a firm band (28 sl st). Repeat to create two parallel backbone bands for extra stability; we will sew roses across both bands to make a raised garland.
Info :
Decide rose spacing by laying out your medallions and measuring the distance between centers. In the sample photo there are 10-12 roses along the connecting garland. Mark positions with removable pins before sewing.
— Assembly Prep :
Info :
Block both medallions flat, press dry, and pin to shape. Make all roses and leaves. Lay both medallions on a table separated by your desired spacing. Lay the backbone chain between them and evenly space rose positions. You will sew one rose at the center of each medallion and the remaining along the backbone.
Step :
Sewing sequence: center rose first on each medallion center. Then pin backbone and place roses on pinned locations, with small leaves tucked under each rose pair to look natural. Sew each rose to both the backbone and into the medallion when crossing the medallion edge to secure connection.
— Joining & Final Edge :
Round :
Edge join around seam (after placement): With main dusty rose, work single crochet around the seam where backbone meets medallion edges, stitching through both backbone bands and medallion edge stitches to anchor. Work 1 sc in each st and 3 sc cluster around each rose base for stability. This will slightly add bulk; adjust tension to keep the runner flat.
Info :
For a cleaner finish, hide all sewing tails under the backbone and secure with whipstitch. Use the long tails left when you fastened off roses to sew them invisibly to the foundation using a yarn needle.
— Optional Decorative Surface Embellishments :
Step :
Add tiny embroidered French knots in soft cream at center of medallion centers for extra sparkle. Use thinner embroidery thread and a sharp needle; secure knots on the wrong side with a knot and weave in ends.
Info :
Use a small bit of fabric glue on the underside of particularly heavy roses to prevent movement over time. Allow glue to dry before blocking again.
— Care & Blocking :
Info :
Hand-wash in warm water with mild soap. Reshape while damp and pin to blocking mat in the exact petal points. Allow to air dry fully. Avoid tumble drying. Cotton will soften and relax after blocking; re-pin and re-block if needed to maintain crisp edges.
Info :
Final inspection: check all sewn points and reinforce with extra hidden stitches under the backbone to prevent slippage during use. Trim any loose threads and weave ends inside the backbone or medallion wrong side.
Finishing this runner is such a satisfying experience — watching two delicate floral medallions come together with a winding garland of handcrafted roses is pure joy. Each stitch builds on the last to form a romantic, heirloom-quality centerpiece perfect for a special table or gift. Give it a gentle block, pin everything in place, and admire the petals and layered roses that make this runner truly stand out. 🧶🌸✨