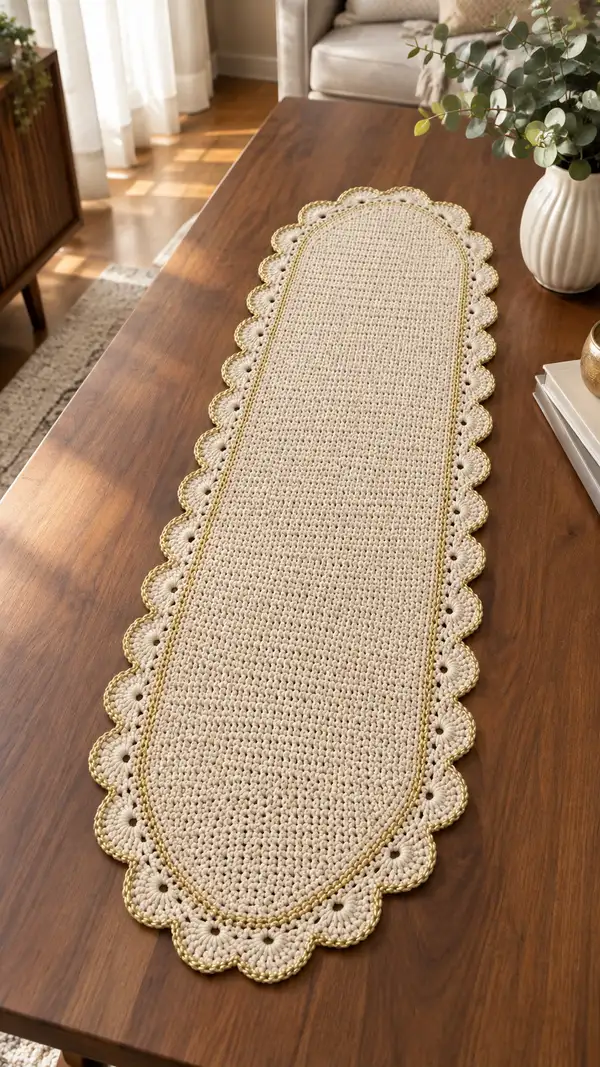
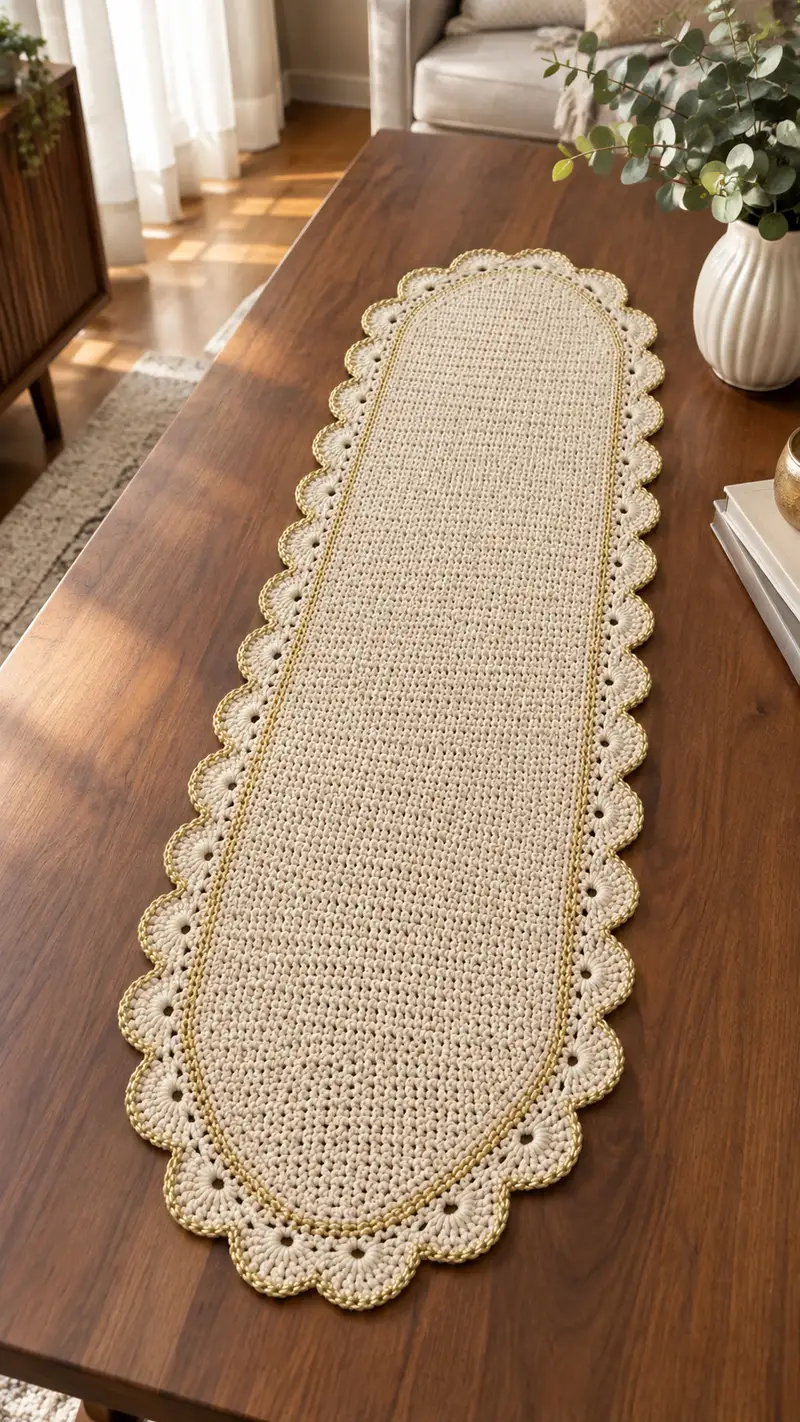
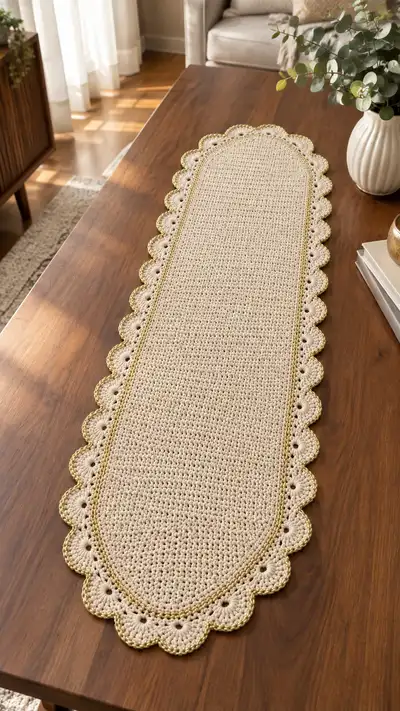
Create an elegant scalloped oval table runner with a dense textured center and a delicate gold-trimmed scallop edge. This pattern uses a neutral cotton blend for a warm, natural look with a shimmering metallic trim that highlights the scalloped border. Designed to lie flat and make a sophisticated centerpiece for dining or console tables. Adjustable length instructions let you customize for small side tables or long dining tables.
Progress Tracker
0% Complete
— Notes & Gauge :
Info :
Gauge is not critical for length but affects density: 14 sc x 10 rnds = 4in in single crochet when using worsted weight cotton and 5.0mm hook. The foundation chain in this pattern is written as 66 ch for the sample runner (finished approx 36-38in long x 8.75-9.5in wide). To maintain scallop spacing the foundation chain should be a multiple of 6. Adjust chain length in multiples of 6 to make longer or shorter runners.
— Foundation & Round 1 (Create the Oval Base) :
Foundation :
Chain 66 (or any multiple of 6 to desired length). Do not join—we will work around both sides of the chain. Count carefully to ensure chain is not twisted.
Round 1 :
Starting in 2nd ch from hook, 1 sc in each ch across (65 sc), 3 sc in last chain (to form one rounded end), now work along opposite side of chain: 1 sc in each remaining chain across (66 sc), 3 sc in the last chain (the starting chain) to round the second end. Join with sl st to first sc. Total = 138 sc.
Info :
Place a stitch marker in the first sc of the round to mark the beginning. The 3-sc groups at each end form the rounded tips of the oval and create four gentle corners as you move into subsequent rounds.
— Body: Building a Dense, Flat Center (Rounds 2-92) :
Round 2 :
1 sc in each st around (138). Join with sl st to first sc. (138)
Round 3-6 :
1 sc in each st around (138). These rounds build a dense, flat field. Keep tension consistent and always place the stitch marker at the first stitch of each round to avoid accidental increases or missed stitches.
Info :
If you prefer a slightly lighter drape, switch to 4.5mm hook for rounds 3-6. For a firmer table mat, keep 5.0mm and work tightly. Maintain same number of stitches to preserve oval shape.
Round 7-15 :
1 sc in each st around (138). Work evenly to build the central plane—these rounds do not add width, only bulk. Count periodically to ensure you still have 138 sts around.
Info :
Every 6-10 rounds, flip the runner to check it lays flat. If any small ripple appears, gently adjust tension or block lightly when the piece is finished.
Round 16-30 :
1 sc in each st around (138). Continue building the center panel until your center is the desired thickness and the oval has a stable flat surface. The sample uses a total of 92 body rounds (including the first rounds) before beginning the decorative border.
Info :
For a slightly textured surface, work every 8th round in BLO (back loops only) for a faint ridge running lengthwise. If adding this, make sure it's consistent on both sides for visual balance.
Round 31-60 :
1 sc in each st around (138). Keep stitch marker at round start. Periodically slide marker up to the current round start—do not try to count the whole round at once.
Info :
If you change the length of the foundation chain, maintain the same number of even rounds to keep runner thickness consistent. For a longer runner, you may want to add 2-8 extra even rounds to keep proportions.
Round 61-84 :
1 sc in each st around (138). Continue building until the center panel has the visual bulk and weight you prefer. The sample has 92 total rounds in the center (including round 1). Stop when you are ready to begin the edge treatment.
Info :
Before starting edging, make sure your runner is flat and even. Lay it on your table and observe the perimeter—if one side has more stitches or is slightly longer, you can even it by blocking or adding one extra rnd of sc around the entire piece to equalize tension.
— Preparation for Edge (Marking Scallop Placement) :
Info :
We will create scallops spaced evenly along the perimeter. Because the foundation chain was made as a multiple of 6, the total stitch count around the oval will be divisible by 6 (sample total 138). Place 23 evenly spaced markers: starting at the round start marker, count 6 sts and place a marker, continue placing markers every 6 sts around until you return to the starting point (23 markers total). Each marker marks the center point of one scallop.
Info :
If your stitch count differs, divide total stitch count by 6 and place that number of markers. Adjust the scallop size if you prefer fewer/larger scallops (see customization section).
— Edge Base Rounds (Rounds 85-88) :
Round 85 :
1 sc in each st around (138). This creates a firm edge base for the scallops. Work carefully around the rounded ends—the 3-sc corners at the ends will lie flat if you maintain consistent tension.
Info :
Join here and work with a stitch marker in the first sc of Round 85 to keep track. If you see any small gaps where the 3-sc groups are, you may work one extra sc in those groups on this round only to help flatten the curve (do this symmetrically on both ends).
Round 86 :
1 sc in each st around (138). Keep fabric flat and even. Prepare to crochet the foundation row for scallops; this round acts as the working base so you have single crochet posts to attach shells to.
Info :
Switch to a 4.0mm hook if you want a slightly firmer scallop edge—this makes shells sit neater and reduces stretching of the scallop curves.
— Scallop Round Setup (Round 87-88) :
Round 87 :
FLO: 1 sc in each st around, working in the front loop only (138). This creates a small ridge just inside the edge that will help scallops sit neatly and produce a defined inner gold trim line later. Join with sl st and fasten off main yarn if you will be switching to a separate yarn for scallops.
Info :
Front loop only (FLO) rounds are decorative and help define the inner border. If you are carrying the yarn, carry neatly along the wrong side; otherwise fasten off and rejoin where necessary for scallops.
— Scallop Shells (Round 89 - Placement & Execution) :
Info :
We will work one scallop shell centered on each marker set during preparation. Each scallop uses the center marked stitch as the shell's anchor and uses a symmetrical number of sc on either side to create balanced curves. The sample scallop uses a 7-dc shell anchored into a single base stitch with a small spacing chain between scallops.
Round 89 :
Join main color at the first marker (anchor stitch). *Sc in next 2 sts, ch 1, skip 1 st, (dc) 7 times into the marked center st, ch 1, sc in next 2 sts; move to next marker and repeat from * around. At the very end, work final sc sequence to match the first and sl st to join. You will not change the total number of base stitches—scallops sit on top of the existing rounds. Repeat for each of the 23 markers. The shell width will use roughly 6 base sts per scallop (2 sc each side + center anchor + skipped sts), preserving uniform spacing.
Info :
Because shells are worked into single stitches rather than creating new stitches in the round, the base stitch count remains 138. Keep shells consistent in height and tension so that every scallop matches. If your shells collapse, try reducing hook size for shells to 3.75-4.0mm.
Round 90 :
Work 1 sc in each base stitch around, working over the shell edges where needed to secure them. Where shells sit, work 1 sc between scallop peaks in the chain spaces—this tidy round holds the scallops in place. Join with sl st. (138)
Info :
Check scallops for evenness. If any scallop looks flatter or taller, gently uncrochet that shell area and redo with adjusted tension or stitch counts (for example change 7 dc to 5 dc for a lower scallop).
— Scallop Finishing Rounds (Rounds 91-96) :
Round 91 :
Working along the outer rim of each shell: *in shell peak work (sl st, ch 1, sc) evenly spaced across the outer arcs to form a smooth scallop edge; in base stitches between shells, work 1 sc. Repeat around and join.* This creates a neat round leading to the decorative metallic trim. (138 effective base stitches plus outer edging on shells)
Info :
This round shapes each outer scallop into a nice curve. Use small slip stitches and single crochets to avoid altering spacing. If shells have small gaps between them, fill with sc evenly to keep the outer edge continuous.
Round 92 :
Optional: Repeat the shaping round if you want larger, fuller scallops: *sc evenly across shell arcs and base stitches, making sure each scallop looks even.* Join and fasten off main color if you will be adding metallic trim as a separate yarn.
Info :
At this point lay the runner flat and pin each scallop into position while damp (or use blocking pins) to set curves. This will make the metallic trim lay smoothly in the next step.
— Gold Trim & Decorative Rope (Rounds 93-100) :
Info :
Join metallic gold thread using a small hook (2.5-3.5mm) to outline the inner ridge and the outer scallop edge. Metallic thread can be held doubled with part of the main yarn for more presence or used singly for subtle shine. Take care—metallic threads can be slippery so work slowly and evenly.
Round 93 :
Rejoin gold thread at the inner front-loop ridge created in Round 87 (or join at any inconspicuous place). Work sc in FLO along the inner ridge only, placing 1 sc in each FLO around. This creates a narrow gold inner border framing the centre panel. Join with sl st and weave in ends. (138)
Info :
If using metallic thread alone, work slightly looser tension to prevent puckering. If holding metallic with a thin strand of main color for extra durability, hold both together and work evenly. Make sure the gold inner line follows the oval without kinking.
Round 94 :
Join gold at outer edge at a discreet spot. Work *sc across base stitches leading to each scallop, when reaching the outer shell arc work (sc, ch 2, sc) into outermost shell peak to create a tiny gold picot accent; continue sc across to next shell arc and repeat.* This creates a decorative gold outline accenting each scallop peak. Join with sl st and fasten off. Weave ends securely to the underside.
Info :
For a thicker gold cable along the edge, repeat Round 94 with a second pass—work sl st or crab stitch in contrast to create a raised rope look. You can also hold metallic with a strand of matching cream yarn to tame metallic slippage.
Round 95-100 :
Optional reinforcement rounds: using main yarn or a matching thin cotton, work 1 round of sl st around the underside of the scallop peaks to tidy up and secure shells. If you repeated metallic rounds for a raised effect, these additional rounds help hold everything flat and prevent curling when laundered. Fasten off and weave ends.
Info :
After trim is complete, wet-block or steam-block the entire runner: pin scallops into gentle arcs and allow to dry. This sets scallops and ensures the runner lays flat on your table.
— Final Finishing Touches (Blocking & Care) :
Info :
Weave all ends into the wrong side with a yarn needle, trimming close. Block the runner by pinning the scallops to a mat and using gentle steam or a wet cloth—do not overheat metallic threads. If you want the runner stiffer for centerpiece use, spray lightly with fabric stiffener or starch and let dry overnight.
Info :
Care: Hand wash or machine wash on a gentle cycle in cool water and reshape while damp. Avoid high heat when drying; metallic trims may tarnish with heat—air dry recommended.
— Customization Options :
Info :
To lengthen the runner: chain additional multiples of 6 (e.g., +6 ch = one extra scallop). For a wider runner: increase the height of initial rounds by replacing some even sc rounds with rounds that add symmetrical increases at the oval ends—add 1 increase round on both ends then return to even rounds to slightly widen the runner. For different scallop sizes: alter the number of dc in each shell (5 dc smaller, 9 dc larger) and adjust spacing markers accordingly.
Info :
To change color accents, substitute metallic gold with any contrast color and work single or double passes to achieve brightness. Consider using two contrasting colors for inner and outer trims for a bolder statement.
Completing this scalloped oval table runner is such a rewarding project — the dense single-crochet center offers both durability and a clean look, while the scalloped edge and gold trim bring a refined, finished touch. Pin and block each scallop for crisp, even curves, and enjoy seeing the runner transform under your hands from a simple chain into a sophisticated table accent. 🧶✨ Whether you keep it for yourself or give it as a handmade gift, it makes a lovely heirloom-style piece for many seasons. Happy crocheting and enjoy your beautiful centerpiece! 🌿