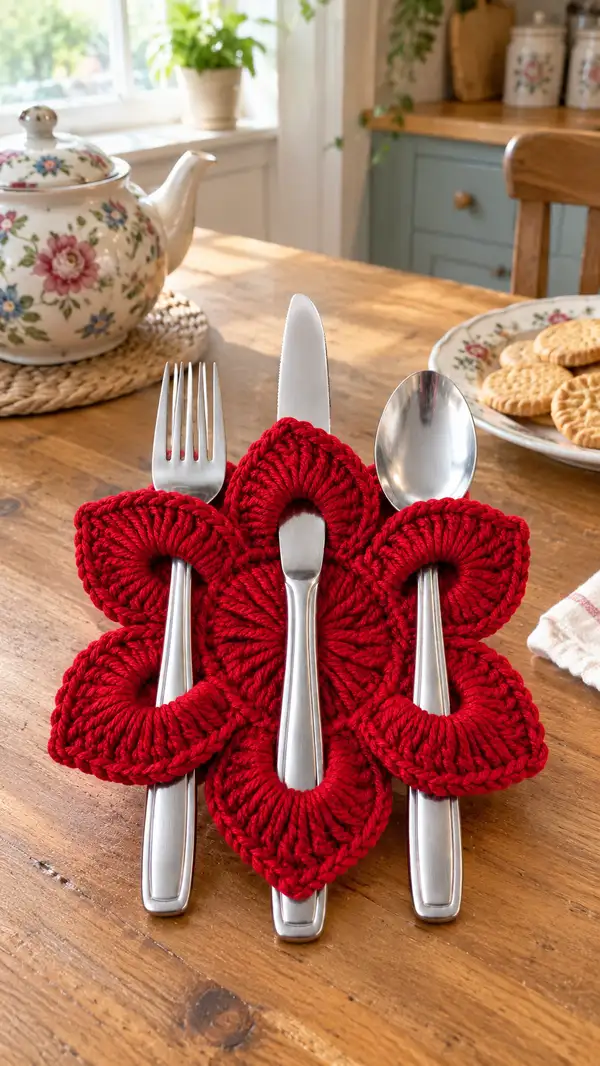
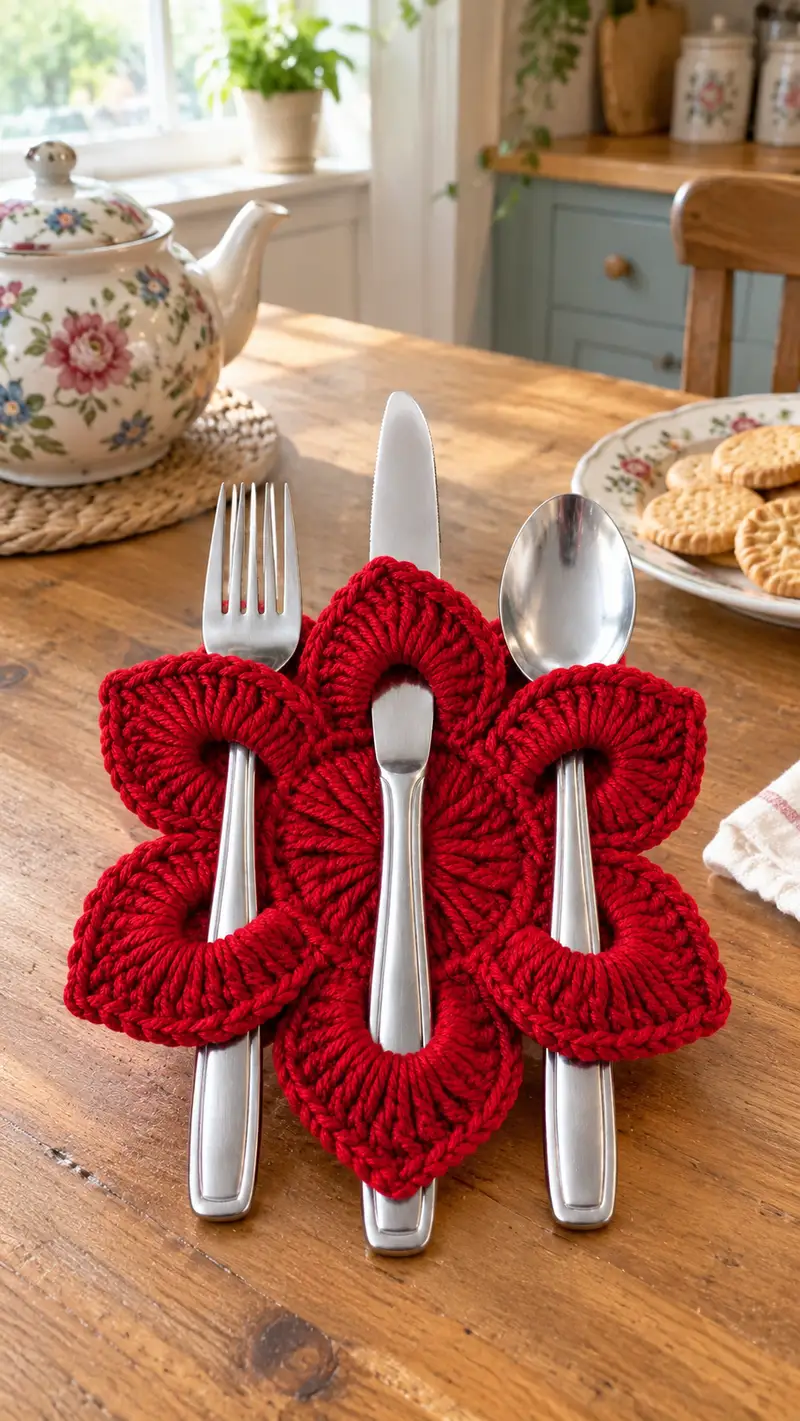
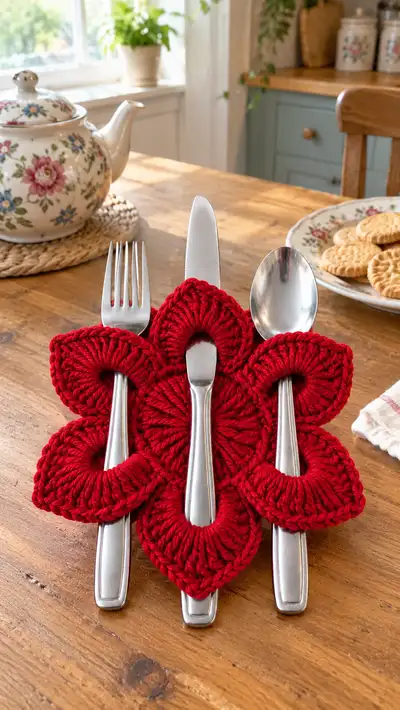
This bright red flower-shaped flatware holder creates a charming setting for cutlery and adds instant handmade warmth to any table. The design features a central disc with five padded petal loops sized to hold a fork, knife and spoon. Worked in worsted-weight yarn for a plush, textured finish, the holder is sturdy, washable, and makes a perfect gift or seasonal table accent.
Progress Tracker
0% Complete
— Center (make 1) :
Round 1 :
6 sc in magic ring (6)
Round 3 :
(1 sc, 1 inc) x 6 (18)
Round 4 :
(2 sc, 1 inc) x 6 (24)
Round 5 :
(3 sc, 1 inc) x 6 (30)
Round 6 :
(4 sc, 1 inc) x 6 (36)
Round 7 :
(5 sc, 1 inc) x 6 (42)
Round 8 :
(6 sc, 1 inc) x 6 (48)
Info :
By the end of round 8 you have a flat disc with 48 stitches. We will use this round to mark five evenly spaced anchor points for the petals. Place stitch markers at approximately every 10th stitch (after stitches 10,20,30,40) and the starting stitch remains the fifth anchor; fine adjust the last marker so the five anchors are visually balanced.
Round 9 :
1 sc in each st (48)
Round 10 :
1 sc in each st (48)
Info :
Work two rounds even to build a little platform for petal attachment. If your disc cups or domes, block slightly by pinning flat while damp. Ensure your five markers are visible—these marks will be where you attach the base of each petal.
Round 11 :
1 sc in each st (48)
Round 12 :
1 sc in each st (48)
Info :
Fasten off center but leave a long tail if you prefer to slip-stitch petals directly; however I recommend fastening off and working each petal from a new yarn ball and attaching with a joining slip stitch for cleaner tension control.
— Petal 1 (make 5 identical petals; repeat Petal 1 for Petal 2-5) :
Info :
Each petal is worked as an oval loop attached to the marked stitch on the center disc. We will create a chain loop for the spoon/fork entry, work around it, then work several rounds of height and texture to shape the petal. Keep stitch counts consistent so each petal matches. Attach yarn at the marked stitch on the center with a sl st to the top of center.
Round 1 :
Attach yarn to center at marked stitch with sl st, ch 18 (this chain creates the petal opening—adjust ch count if you want a larger or smaller opening), sc in 2nd ch from hook and across the chain (17 sc), 3 sc in last ch (tip), turn to work along opposite side of chain and sc 17 back toward center, sl st into the center anchor stitch to join (37)
Info :
Count your foundation round: you should have 37 stitches around the oval (17+3+17). If you have one stitch more or less, it is okay; keep the same count for every petal by adjusting one or two sc on the return side to match 37 exactly for symmetry.
Round 2 :
1 sc in each st around (37)
Round 3 :
1 hdc in each st around (37)
Round 4 :
1 dc in each st around (37)
Info :
These height-building rounds create the curved petal shape. Use consistent tension: a slightly looser tension on the chain foundation makes the entry roomy; keep subsequent rounds slightly firmer to hold the oval shape.
Round 5 :
1 dc in each st around (37)
Round 6 :
*(1 sc, 1 hdc) in next st, 1 dc in next st* rep around (37)
Round 7 :
1 dc in each st BLO (37)
Info :
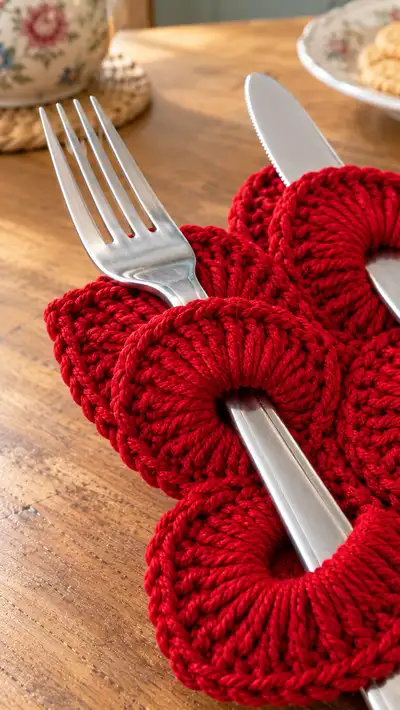
Working the round in BLO creates a subtle ridge inside the petal, which helps the petal fold back and cradle flatware. The ridge mimics the ribbed look in the pictured holder.
Round 8 :
1 dc in each st (37)
Round 9 :
*(1 sc, 1 sc in next st) x 2, 1 dec* rep around (31)
Info :
Round 9 begins light shaping toward the petal tip to give the petal a rounded finish. The decrease pattern above reduces the total stitch count consistently from 37 to 31 for a softly tapered profile.
Round 10 :
1 hdc in each st around (31)
Round 11 :
1 dc in each st (31)
Round 12 :
1 dc in each st BLO (31)
Info :
Use BLO on round 12 to create another internal ridge that strengthens the pocket edge. By now your petal should have handsome depth and a clear opening. Adjust height rounds (dc/hdc counts) if you want a taller petal — simply add an extra dc round and keep counts stable.
Round 13 :
*(2 sc, 1 dec) x 7 + 1 sc* rep to end (24)
Round 14 :
1 sc in each st (24)
Info :
Fasten off, leaving a long tail for neat weaving or to additional join if you prefer. Repeat Petal 1 steps exactly at each marked anchor on the center disc to create a total of five identical petals. After making each petal, use your tail to sew the starting sl st to the center edge if you did not join with a sl st originally.
— Petal 2 :
Info :
Work Petal 2 by repeating all rounds from 'Petal 1'. Attach to the next marked anchor stitch. Keep the same chain count (ch 18) and foundation sc count (37) for symmetry. If you prefer a slightly narrower opening for forks, reduce chain to ch 16 (foundation = 33 sc).
Round 1 :
Attach at marked stitch, ch 18, sc across chain and around, join to center (37)
Round 2 :
1 sc in each st (37)
Round 3 :
1 hdc in each st (37)
Round 4 :
1 dc in each st (37)
Round 5 :
1 dc in each st (37)
Round 6 :
*(1 sc, 1 hdc) in next st, 1 dc in next st* rep around (37)
Round 7 :
1 dc in each st BLO (37)
Round 8 :
1 dc in each st (37)
Round 9 :
*(1 sc, 1 sc, 1 dec) rep around until 31 remain (31)
Round 10 :
1 hdc in each st (31)
Round 11 :
1 dc in each st (31)
Round 12 :
1 dc in each st BLO (31)
Round 13 :
*(2 sc, 1 dec) rep around (24)
Round 14 :
1 sc in each st (24)
Info :
Sew in ends securely and ensure Petal 2 mirror-faces Petal 1. Continue to Petal 3, 4 and 5, following the same 14-round sequence so all petals match in size, height and texture.
— Petal 3 :
Rounds 1-14 :
Repeat Petal 1 rounds exactly (attach at third anchor). Maintain 37 foundation sts and reduce to 24 by round 13. Use BLO rounds as specified for ridges and consistency.
— Petal 4 :
Rounds 1-14 :
Repeat Petal 1 rounds exactly (attach at fourth anchor). Keep tension consistent and count stitches on each round before moving on to ensure identical petals.
— Petal 5 :
Rounds 1-14 :
Repeat Petal 1 rounds exactly (attach at fifth anchor). After finishing this petal, weave in its working tail but leave any longer tail needed for a final tidy join if desired.
Info :
At this stage you should have five petals attached evenly around the center disc. Lay the piece flat and adjust petal positions so openings align (three utensils across the central three petals in a straight line as shown in the photo). If any petal sits twisted, carefully resew its anchor to the center disc with your yarn needle until the edges sit flat and symmetrical.
— Join & Outer Edge :
Info :
We will now join the petals into a single motif and create a tidy outer edge. Join with a round of sc around the entire perimeter, working evenly across outer stitches of each petal and placing 2 sc in the petal tips to smooth corners. Expect the round to be long; count as you go. Use a stitch marker for the start of this round.
Round 1 :
Join yarn at the outermost stitch of Petal 1 (the tip), ch 1, 1 sc in same st, continue 1 sc in each outer stitch around Petal 1 across to the outer tip of Petal 2, place 2 sc in tip to round smooth corner, continue 1 sc in each outer stitch across Petal 2, 2 sc in tip, continue around all petals (estimated total 233 sc depending on minor tension variations) and sl st to first sc to join
Info :
The exact stitch count will depend on your petal foundation and how many stitches you ended up with in each petal outer row. The above estimate of ~233 is based on five petals with 37 foundation stitches each and additional tip increases; if your count is slightly different that is fine, the next rounds work evenly without increases.
Round 2 :
1 sc in each st around (same count as join round), sl st to first sc to join
Round 3 :
1 sc in each st BLO around (same count) — this pulls the edge inward slightly for a neat finished rim
Info :
Working this round in BLO gives a softly corded border that keeps the overall motif flat and helps the petals cradle utensils without collapsing. If you used a contrasting color for the edging, change color before this round and carry the old color inside the work or fasten off cleanly.
Round 4 :
1 sc in each st around (same count)
Round 5 :
Crab stitch (reverse sc) around entire outer edge for a decorative, slightly rolled finish. Work sl st to start position, *insert hook in next st, yarn over and pull through, yarn over and pull through both loops* rep around, sl st to join and fasten off
Info :
The crab stitch gives a neat twisted rope effect to the final edge. If you prefer a flatter edge, work one more round of sc instead of crab stitch. Weave in all ends securely and use small hidden stitches to tidy up anchors beneath each petal if needed.
— Optional Stabilizing Backing :
Info :
If you wish to make the holder stiffer or fully reversible, crochet a backing disc and sew it to the back. This backing can be a single round or two of sc matching the center shape and joined into the petal bases. The backing provides extra durability for table use and machine washing.
Back Round 1 :
Make a small disc: 6 sc in magic ring (6)
Back Round 3 :
(1 sc, 1 inc) x 6 (18)
Back Round 4 :
(2 sc, 1 inc) x 6 (24)
Back Round 5 :
1 sc in each st (24)
Info :
Sew this backing to the center underside and the base of each petal with a neat whip stitch, catching only the back loops of the front motif for an invisible join. This keeps the front texture crisp and the back smooth against the table.
Final Info :
Give the finished holder a gentle blocking to even out the petals if needed. Clip any long tails close after tucking them inside the stitches with a yarn needle. Test the fit with your flatware: if openings are a touch snug, carefully stretch by hand while damp or remove one sc from the petal foundation and rework that petal to ch 16 instead of 18 for a future holder.
This festive flower flatware holder is a delightful mix of function and handmade charm — perfect for holiday tables or anytime you want a special touch. Each petal forms a comfy pocket for utensils while the textured ridges add a sophisticated, cozy look. I hope you enjoy making these as much as I do — they stitch up quickly and make sweet gifts or a cheery table display. 🧶🌸