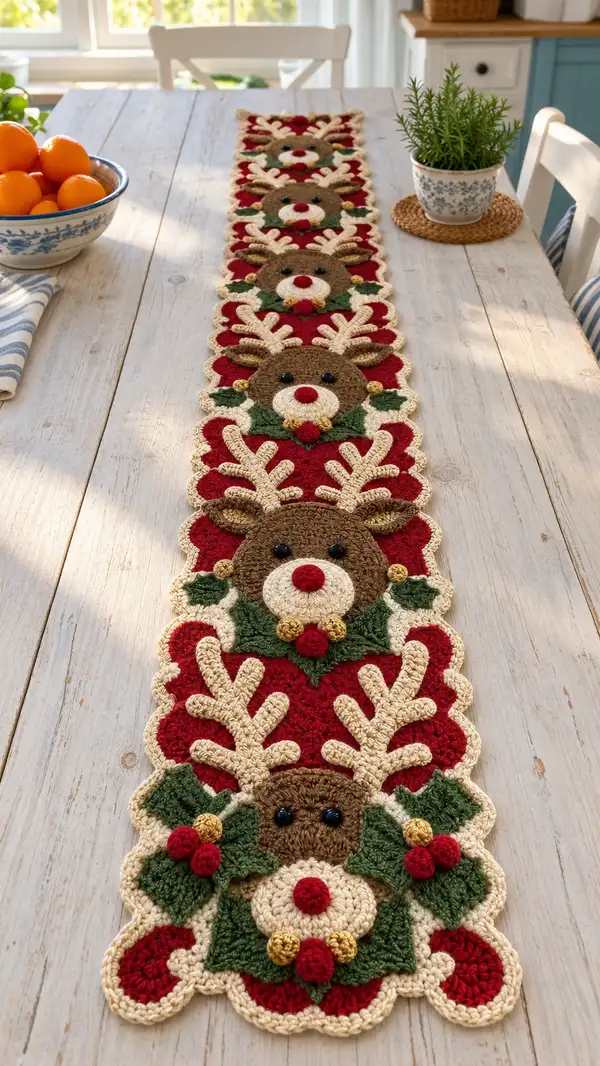
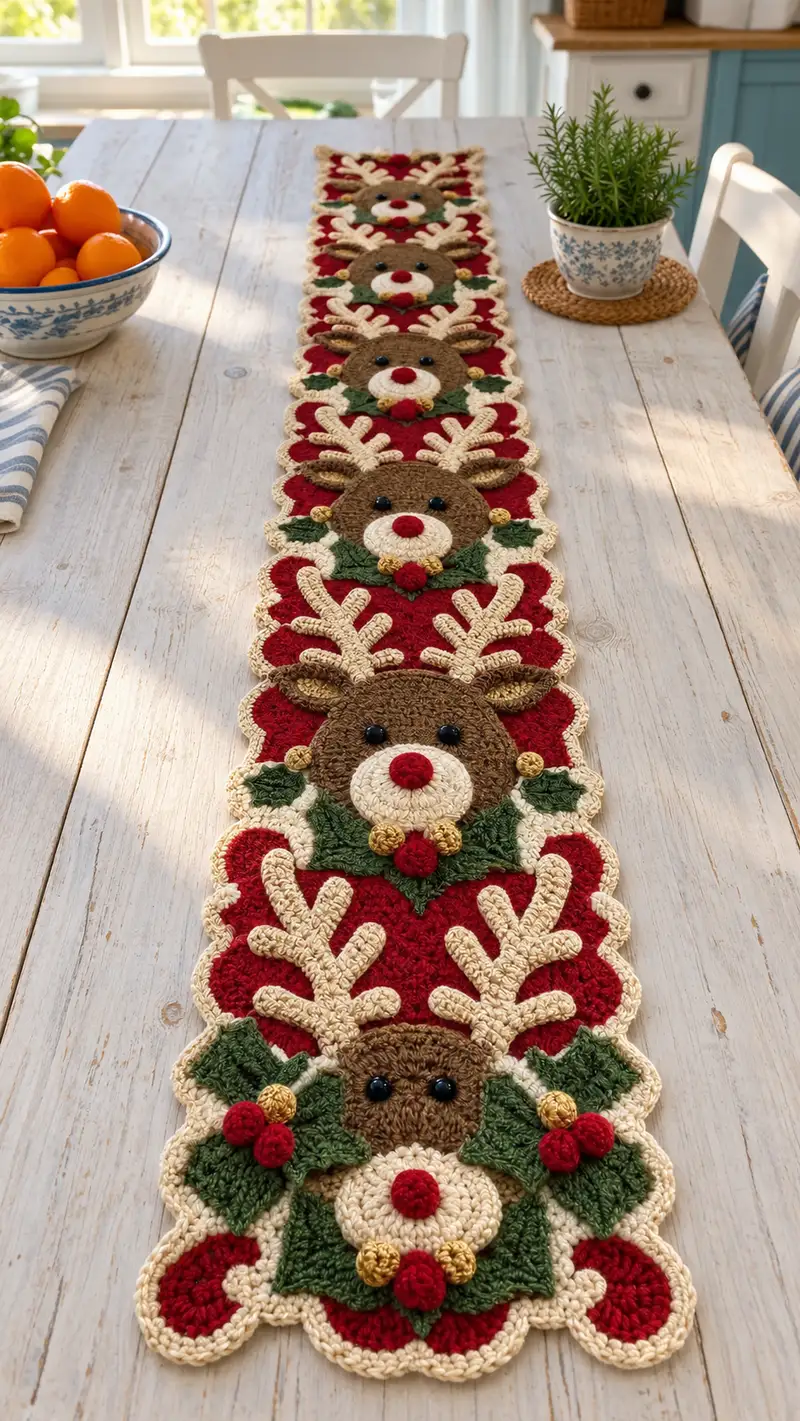
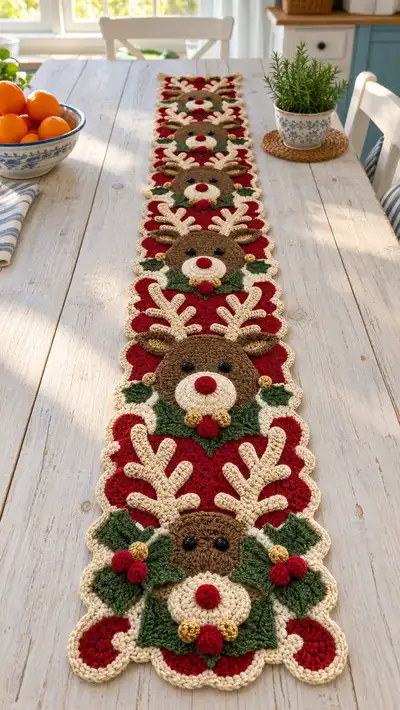
Create a charming holiday table runner featuring repeated reindeer medallions, scalloped edging, and holly accents. This long runner combines textured applique motifs — round reindeer faces, branched antlers, layered holly leaves and berries — on a rich red background for a classic Christmas look. Designed to be worked motif-by-motif and joined into a continuous runner, it makes a beautiful center for your holiday table.
Progress Tracker
0% Complete
— Overview :
Info :
This pattern is modular. Each repeated unit = 1 reindeer medallion worked as appliques and layered onto a scalloped red background medallion square. Make 6 repeat motifs for a long runner similar to the photo, or adjust count to fit your table length. Work all pieces flat, then sew appliques to the background medallion and join medallions into a continuous runner before adding final scalloped edging.
— Reindeer Face (Make 6) :
Round 3 :
(1 sc, 1 inc) x 6 (18)
Round 4 :
(2 sc, 1 inc) x 6 (24)
Round 5 :
(3 sc, 1 inc) x 6 (30)
Round 6 :
(4 sc, 1 inc) x 6 (36)
Round 7 :
(5 sc, 1 inc) x 6 (42)
Round 8 :
(6 sc, 1 inc) x 6 (48)
Info :
For a slightly flatter, applique-friendly circle keep tension relaxed but even so the face lays flat. If you prefer a thicker face, use the next rounds to add texture with surface or post stitches.
Round 9 :
1 sc in each st (48)
Round 10 :
1 sc in each st (48)
Round 11 :
1 sc in each st (48)
Round 12 :
1 sc in each st (48)
Info :
Place eyes at this stage (between rounds 11-12) before adding the muzzle: place eyes spaced 10-12 stitches apart centered on the face. If using beads rather than safety eyes, stitch them on after attaching muzzle to avoid puncturing the face fabric.
Round 13 :
(6 sc, 1 dec) x 6 (42)
Round 14 :
(5 sc, 1 dec) x 6 (36)
Info :
Round 13-14 reduce gently to create a subtle flat dome so the muzzle will sit slightly in relief. Do not stuff; this is flat appliqué - maintain low profile.
Round 15 :
(4 sc, 1 dec) x 6 (30)
Round 16 :
(3 sc, 1 dec) x 6 (24)
Round 17 :
1 sc in each st (24) - Fasten off leaving long tail for sewing
Info :
Weave remaining tail under the face or use it to sew the face onto the background medallion. Block gently flat if needed.
— Muzzle (Make 6) :
Round 3 :
(1 sc, 1 inc) x 6 (18)
Round 4 :
1 sc in each st (18)
Round 5 :
1 sc in each st (18) - fasten off leaving long tail for sewing
Info :
Sew muzzle centered over the lower third of the face using the long tail; use slip stitch or whip stitch around the edge for a flat, neat join. Position nose in center and stitch on red nose afterwards.
— Nose/Berry Small Round (Make 6 noses + additional berries) :
Round 2 :
(1 sc, 1 inc) x 3 (9)
Round 3 :
1 sc in each st (9) - fasten off leaving tail. Flatten slightly and sew onto muzzle center firmly; add a small dab of fiberfill if you want a tiny puff.
Info :
Make extras in red for holly berries. For gold berries use a metallic or mustard yarn and stitch later under holly leaves.
— Eyes (Make 6 pairs) :
Info :
Use 8mm black beads or safety eyes. If using safety eyes insert at rounds 11-12 of face prior to adding muzzle. If using beads, sew them on after applique to avoid stress on face fabric.
— Ears (Make 12: 2 per motif) :
Round 3 :
(1 sc, 1 inc) x 6 (18)
Round 4 :
1 sc in each st (18)
Round 5 :
(2 sc, 1 dec) x 4, 2 sc (14)
Round 6 :
1 sc in each st (14) - fold ear slightly in half and join base with sl st across 3-4 sts, fasten off leaving a tail for sewing to head
Info :
Sew ears to upper sides of the face between rounds 7-9, angled slightly outward for a natural look. Stuff base lightly if you want ears to hold shape.
— Antler Branch (Make 12 halves, 6 left + 6 right - assemble into 6 pairs) :
Round 1 :
ch 6, sc in 2nd ch from hook and across (5) - turn (5)
Round 2 :
ch1, 1 sc in each st (5)
Round 3 :
ch1, (1 sc, ch3, skip next st, 1 sc) across to create small branch loops - 3 small loops along stem
Round 4 :
Rotate and sc along the opposite side (5) then sl st to join base. Fasten off leaving long tail for sewing to face.
Info :
Antlers here are worked as flat branched appliques. For a more sculpted antler use puff or cable stitches on the stem. Sew antler halves together (mirror image) and attach to top of head above each ear. Use a second antler pattern for thicker shape: repeat and stack then sew together.
— Alternative Sculpted Antler (Make as needed) :
Round 2 :
(1 sc, 1 inc) x 3 (9)
Round 3 :
1 sc in each st (9)
Round 4 :
Chain 8 from one stitch, sc back along chain to create a long branch, sl st back to head base. Repeat chains for multiple branches around periphery, fasten off and sew in place (9 + branch elements).
Info :
Use this method if you prefer antlers that lift off the applique for more shadow and dimension. Pin branches and test placement before final sewing.
— Holly Leaf (Make 12 leaves per motif set — 2 sets of 2 leaves per motif) :
Round 1 :
ch 6, sc in 2nd ch from hook, hdc in next, dc in next 2, tr in last ch, turn and continue along opposite side: dc, dc, hdc, sc (total 9 sts along leaf perimeter)
Round 2 :
Working around leaf edge; sc in each st evenly to create a slightly thicker leaf edge (9) - fasten off leaving long tail for sewing
Info :
Use BLO once on Round 2 on the base of the leaf to create a slight curl. Make leaves in green and block lightly to shape the serrated edge downward.
— Holly Leaf Variation with Vein Detail :
Round 1 :
ch 7, 1 sc in 2nd ch, 1 hdc, 2 dc, 1 tr at tip, 2 dc, 1 hdc, 1 sc along returning chain (10)
Round 2 :
Attach new yarn at base and work slip stitches or surface hdc to form central vein; fasten off and weave in
Info :
Sew leaves around the base of the reindeer face under the muzzle area. Layer leaves slightly overlapping for a natural wreath look.
— Gold Berry (Make 12 small gold berries per motif) :
Round 2 :
6 sc in each st (6) - pull tightly, fasten off leaving tail to sew under the leaves
Info :
Use metallic or mustard yarn for a small shimmering berry. Sew 1-2 around each holly cluster per motif for decorative highlights.
— Red Berry (Make 18 per motif set including nose extras) :
Round 2 :
(1 sc, 1 inc) x 3 (9) - flatten and sew as berry; use for nose (larger) and holly clusters (smaller) by using or omitting Round 2
Info :
Sew nose centrally to muzzle; sew 2-3 small berries on holly clusters across the medallion for a festive accent.
— Background Medallion / Square Base (Make 6) :
Round 1 :
6 sc in mr (6) - use main red color
Round 3 :
(1 sc, 1 inc) x 6 (18)
Round 4 :
(2 sc, 1 inc) x 6 (24)
Round 5 :
(3 sc, 1 inc) x 6 (30)
Round 6 :
1 sc in each st (30)
Round 7 :
Work 4 rounds of 1 sc in each st to build a flat disc (30) x4 rounds
Info :
We will convert the circle to a scalloped square border. Keep these rounds flat and even — use stitch marker to mark the center top for later alignment when placing the face.
Round 11 :
To make first corner: *sc in next 7 sts, (2 dc, ch2, 2 dc) in next st (corner made)* repeat 4 times total around to form 4 corners (adjust spacing by moving some sc counts by ±1 as needed to keep shape even) - aim to have 4 corners and roughly 4 side panels of sc between corner shells
Round 12 :
1 sc in each sc across sides, and in the ch2-spaces work (sc, hdc, dc, hdc, sc) to smooth corners - fasten off leaving long tail for joining
Info :
If you prefer a more precise square, mark your four corner points after Round 10 and count exact sc between corners (e.g., 7 sc). Blocking at this stage helps square up medallion edges.
— Attaching Face to Medallion :
Round 1 :
Position reindeer face centered on medallion, aligning bottom of face with one of the short side edges of square so antlers point toward the opposite edge. Pin in place
Round 2 :
Using long tail from face, whip stitch around outer rounds of face attaching firmly to medallion. Keep stitches small and even so the join is invisible on the front
Info :
Sew muzzle, eyes and nose now onto face before adding holly leaves and antlers. Add small reinforcing stitches through medallion to secure heavier details (like beads) in place.
— Positioning and Attaching Antlers, Ears, Leaves, & Berries :
Info :
Pin antlers symmetrically above ears; sew antlers in place with the long tails. Attach ears at slight outward angle on either side of antlers. Position holly leaves overlapping lower edge of muzzle; sew leaves securely from their base. Sew gold berries near leaf bases and red berries grouped to form a wreath-like cluster under muzzle.
— Joining Medallions into Runner Strip :
Info :
Make the number of medallions required (6 for the photographed length). Lay medallions in a straight line with edges touching. Use mattress stitch or whip stitch to join adjacent square sides: align corner points and use long tail from the medallion to stitch through both layers, joining corresponding sts about every other stitch to keep seams flat.
Round 1 :
To join two medallions place right sides together and sl st through corresponding corner ch2 spaces, then continue sl st or whip stitch through edge scs, spacing approximately every 2-3 scs to create a stable seam. Repeat for each seam between medallions.
Info :
Alternatively, use join-as-you-go: when making Round 12 of a medallion, at the final corner slip stitch into the corresponding ch2 on the previously made medallion to connect them seamlessly. JAYGO saves sewing later.
— Scalloped Border and Finishing Edge (Work along full runner) :
Round 1 :
With cream yarn and runner laid flat, attach with sl st anywhere at a visible scallop point. *Ch3, sk 1 st, sl st in next st* repeat around runner to create a light picot texture — this is a preparatory pass (count around and adjust spacing to keep even)
Round 2 :
For classic scallop: *in corner shell or side shell work (5 dc) in same st to create scallop, skip 2 sts, sl st in next st* repeat around; at medallion joins increase to 7 dc in join area to keep curve even
Round 3 :
Work one more round of scallops: (sl st in top of previous scallop, ch2, 6 dc in next scallop) to create layered scallops. Fasten off and weave ends
Info :
Use BLO or FLO on the first scallop round to create an inner ridge if you prefer a framed look. Blocking finished runner will open and even scallops making a clean tabletop appearance.
— Optional Decorative Raised Stitch Round (for raised texture between medallions) :
Round 1 :
Attach contrasting cream yarn at seam line and work 1 round of fpdc (front post double crochet) across the runner seam areas to create a raised ridge; this is worked in the horizontal plane across joins
Info :
This raised ridge imitates the cream accent seen framing each medallion in the image. Work fpdc evenly across continuous seams only — do not disturb the medallion faces.
— Final Details and Weaving In :
Info :
Sew in any loose tails, tidy edges with matching cream whip stitches, and add extra stitches to secure heavier beads. Lightly steam-block runner or pin to shape and spritz lightly with water for final blocking. Trim any remaining tails behind the runner.
— Size & Adjustments :
Info :
Each medallion measures approximately 6.5" (16.5 cm) across after scalloped edging. Six medallions joined with edging create a runner about 45-48" long. Adjust motif count to lengthen or shorten the runner. Use DK yarn and smaller hook to reduce size proportionally or bulky yarn to enlarge motifs.
— Color and Design Notes :
Info :
The pattern features a deep red background, medium brown faces, cream antlers and edging, green holly, red and gold berries. Feel free to swap the gold accents for white pearls or wooden beads for a different look. Work contrasting stitches like fpdc for texture around face and border to match the raised look in the photo.
— Troubleshooting & Tips :
Info :
If your medallions are not lying flat, check tension, block pieces, or add/subtract a sc in the side panels when forming square corners. When joining, keep seam stitches small and consistent to avoid puckering. For a more vintage look, age the cream yarn slightly by switching to oatmeal or light tan.
Finishing this reindeer table runner brings such a warm holiday feel to your home — each medallion is like a tiny festive portrait! The layered appliques and scalloped edging create a photogenic centerpiece that guests will notice right away. I hope you enjoy assembling each cheerful reindeer as much as I do — it's a lovely project to savor. 🧶✨🎄