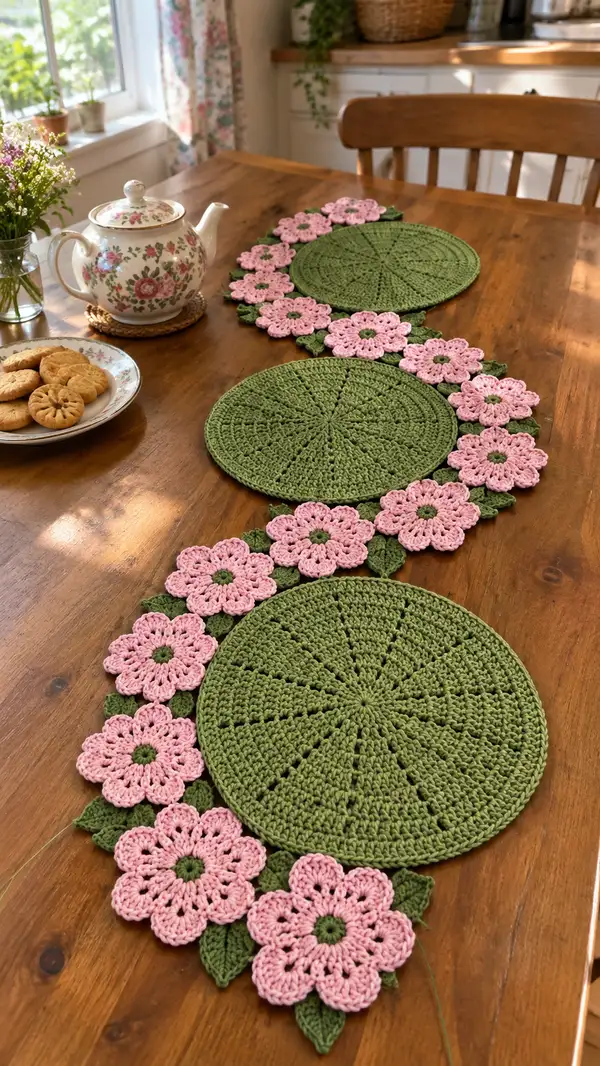
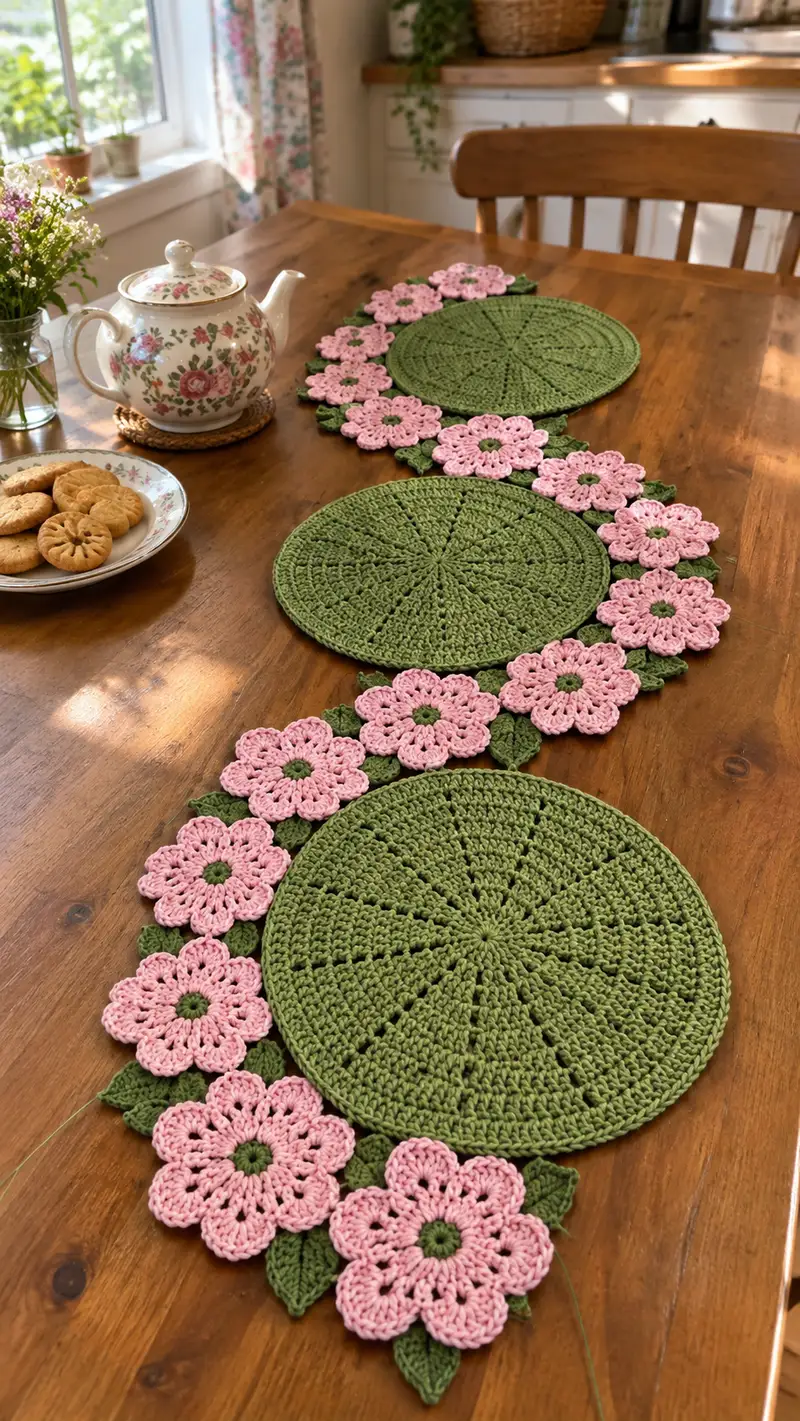
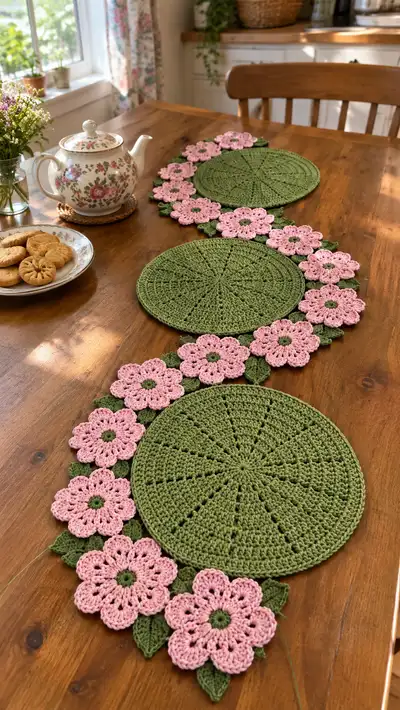
A charming floral table runner made from three crochet circular placemats connected by a garland of pink flowers and green leaves. This pattern uses simple rounds, shell petals and pointed leaves to create an elegant, cottage-style runner that lies flat on a table. The finished piece features 3 large green circles, a flowing line of pink flowers and layered leaves - perfect for tea time or seasonal decor. Detailed instructions guide you through motif making, joining and edging for a polished finish.
Progress Tracker
0% Complete
— Placemat (Make 3) :
Round 1 :
6 sc in magic ring (6)
Round 3 :
(1 sc, inc) x 6 (18)
Round 4 :
(2 sc, inc) x 6 (24)
Round 5 :
(3 sc, inc) x 6 (30)
Round 6 :
(4 sc, inc) x 6 (36)
Round 7 :
(5 sc, inc) x 6 (42)
Round 8 :
(6 sc, inc) x 6 (48)
Round 9 :
(7 sc, inc) x 6 (54)
Info :
At this point your circle should begin to look even and flat. If it ruffles, drop a round of increases or use a slightly larger hook. Keep tension consistent.
Round 10 :
(8 sc, inc) x 6 (60)
Round 11 :
(9 sc, inc) x 6 (66)
Round 12 :
(10 sc, inc) x 6 (72)
Round 13 :
(11 sc, inc) x 6 (78)
Round 14 :
(12 sc, inc) x 6 (84)
Info :
Stitch counts are rising by 6 each round because we keep repeating 6 increase points. Measure the diameter — around round 14 on worsted cotton you may be ~7-8 inches depending on gauge.
Round 15 :
(13 sc, inc) x 6 (90)
Round 16 :
(14 sc, inc) x 6 (96)
Round 17 :
(15 sc, inc) x 6 (102)
Round 18 :
(16 sc, inc) x 6 (108)
Round 19 :
(17 sc, inc) x 6 (114)
Info :
Switch to a textured round next to create subtle spokes. We change to dc groups separated by small chain spaces to create the radial lanes visible in the photo.
Round 20 :
*Ch 2 (counts as first hdc), 1 hdc in next 8 sts, (2 hdc in next st) repeat across to end,* sl st to join (114)
Round 21 :
Ch 2, 1 hdc in each st around (114)
Round 22 :
To form 12 subtle spokes: join a marker at the first stitch, work *(3 dc, ch 3, sk 3) repeat* placing each ch-3 space to align every 9 stitches approximately; fasten off at end of round (114)
Info :
These ch-3 spaces form the radial eyelets seen in the placemat photo. Adjust repeats slightly if your stitch count varies to space 12 spokes evenly.
Round 23 :
Join yarn in first dc after a ch-3 space, ch 2, *2 dc in next 8 sts, (dc cluster over next sc to bridge across ch-3)* repeat to end, sl st to join (114)
Round 24 :
Ch 2, 1 hdc in each st around to tidy surface (114)
Round 25 :
Switch to dc rounds for a denser outer area: ch 3 (counts as dc), dc in each stitch around (114)
Round 26 :
Ch 3, dc in next 5 sts, *dc2tog over next 2 sts to create slight scallop spacing, dc in next 5 sts* repeat to end (114)
Info :
These dc2tog reductions are subtle and do NOT change the total stitch count because each 'dc2tog' replaces two dcs with one stitch; we use them as texture not to reduce circumference. Keep math consistent: maintain 114 visible stitch placements around.
Round 27 :
Ch 1, sc in each st BLO around to create a crisp edge ridge (114)
Round 28 :
Ch 2, *2 hdc in next st, hdc in next 5 sts* repeat to end to create a slight raised outer band (114)
Round 29 :
Ch 1, sc in each st around (114)
Round 30 :
Final edging: ch 1, *(sc, ch 3, sc) in next st to form small picot-like scallops* repeat around, sl st to join. Fasten off and weave in ends.
Info :
Block your placemat flat. If you prefer a slightly larger or smaller mat, add or subtract rounds in the early increase phase — remember each increase round adds 6 stitches.
— Flower (Make 12 or adjust as desired) :
Round 1 :
Using pink: 6 sc in magic ring (6)
Round 3 :
(1 sc, inc) x 6 (18)
Round 4 :
Ch 3 (counts as dc), *ch 1, sk 1 st, dc in next st* repeat around to create small loops (18)
Round 5 :
Switch to petal construction: join yarn in first ch-1 space, *(ch 2, 5 dc in same space, ch 2, sl st in same space) to form a petal*; sl st to next ch-1 space and repeat for 6 petals (6 petals total)
Info :
Each petal is a small 5-dc cluster worked into the chain space from the previous round. Keep petals even by tucking each petal center towards the ring before fastening off.
Round 6 :
Fasten off pink. If you want deeper petals add a second round: join in the base of each petal, ch 1, sc around petal edge (work ~7 sc per petal) to tidy the shape. Fasten off.
Round 7 :
Optional larger petals: with same pink, join in between petals and make *ch 2, (hdc, dc, tr, dc, hdc) in space* around to create a layered petal effect; sl st to join. Fasten off and weave ends.
Info :
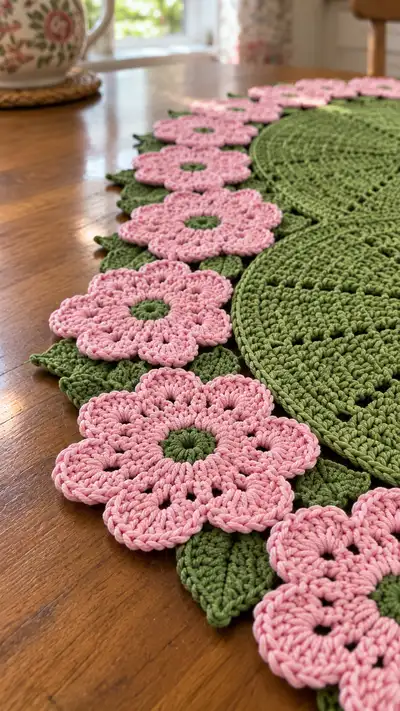
Photo shows full, puffed petals; if you want precisely that look work the optional Round 7 for depth. Block lightly to open the petals; pin over a round object if necessary to keep shape.
Round 9 :
Attach small green center: use green yarn, join at center, ch 1, 6 sc in ring, sl st to join. Fasten off leaving tail for sewing. This gives the tight green center seen in photos.
Info :
Make as many flowers as needed — in the sample runner there are 12-13 small flowers linking the three mats. Keep a consistent number so the garland lies evenly.
— Leaf (Make 14-16 or as needed) :
Round 1 :
Using green: ch 8, sc in 2nd ch from hook, hdc in next, dc in next 2, tr in next 2, dc in next, hdc in next, sc in last (7 stitches worked along chain)
Round 2 :
Turn and work along opposite side of chain: sc in first, hdc in next, dc in next 2, tr in next 2, dc in next, hdc in next, sc in last. Do NOT join; slip stitch into base to create a tapered leaf shape. Fasten off leaving tail for sewing.
Info :
For a sturdier leaf work one extra round of sc all around in BLO to create a faint ridge. The leaves in the photo are slightly layered and have a firm shape — blocking helps.
Round 3 :
Optional pointed center ridge: rejoin green along center and work '1 sc, 1 hdc, 1 dc' down the very center spine to give slight body. Fasten off.
Info :
Make enough leaves to tuck between flowers as in the photo — typically one leaf between each flower pair and extra leaves under outer petals for fullness.
— Small Connector Leaf (Make many) :
Round 1 :
Ch 6, sc in 2nd ch from hook, hdc in next, dc in next, hdc in next, sc in last. Fasten off. This small leaf is used between flowers to give that layered look.
Info :
Prepare connector leaves before layout so you can place flowers and leaves to match spacing on sample runner.
— Flower-to-Flower Join (Chain) :
Round 1 :
Layout plan: place three placemats where you want them and arrange flowers and leaves between them to create an S-shaped chain as pictured. Mark positions with pins.
Round 2 :
Whip stitch or ladder stitch each flower to the next by sewing through the base of adjacent petals; leave a small gap for leaves to sit between petals. Use matching pink thread and small, even stitches so joins are almost invisible.
Round 3 :
Alternatively, use crocheted joins: with green, ch 6 between flower bases and sl st into both flower backs to secure. This creates a small stem look and helps anchor leaves.
Info :
Pin each flower and leaf assembly along the edge of the placemats before final joining; this helps you maintain gentle curves that mimic the flowing S-shape in the picture.
Round 4 :
Attach small connector leaves by sewing their bases to the garland backing (the chain or the back of flowers) so tips point outward under petals. Secure with a few passes of the needle.
Round 5 :
Space flowers evenly: if you have 12 flowers between 3 mats, aim for ~3-4 flowers in each gap with leaves tucked to hide joins and give fullness. Adjust spacing visually for the S curve.
— Joining Flowers to Placemat (per placemat edge) :
Round 1 :
Decide attachment points around placemat edge: pick 12-14 evenly spaced points along the circumference where flowers will meet leaves. Use pins to mark each spot.
Round 2 :
Sew each flower base to the placemat by bringing the thread through the last round of the flower and the outermost rounds of the mat (Rounds 26-29 area). Use a yarn needle and secure with 6-8 small stitches per flower to prevent shifting.
Round 3 :
For a neater look, attach connector leaves first: sew leaf bases to the mat between flowers to create a staggered layered effect like the photo. This hides the joining stitches from the front.
Info :
When attaching to the center of the runner or in the middle gap between mats, overlap the flower edges slightly over the next mat’s rim to create continuous linkage rather than discrete clusters.
Round 4 :
When joining mats directly to each other (if you want them closer), use slip-stitch join in back loops only from mat to mat along a small section where flowers will overlap, creating a hidden seam.
— Edge Finishing Around Runner :
Round 1 :
With green, join at any outer stitch near a flower joint. Ch 1, sc evenly around the entire runner (including around flowers where they overhang) to create a unified edge. Count stitches and adjust spacing so that flowers are evenly incorporated.
Round 2 :
*(Sc, ch 3, sc) in next stitch* around the exposed mat edge and between flowers to create small scallops. Where petals overhang just sc in the stitch just under petal base to secure it.
Round 3 :
Optional neat border: ch 1, sc in each st BLO around for a clean line and slightly raised rim. This is useful to keep the runner flat and to disguise joins.
Info :
The final edging unites all motifs visually. Work slowly around petals and leaves, tucking and securing any loose points with a few extra stitches so nothing flips up.
Round 4 :
Final decorative picot round: ch 3, sl st into first chain to create micro-picots spaced every 4th sc around the runner, fasten off and weave ends.
— Optional Decorative Rounds and Reinforcements :
Round 1 :
If you need extra structure, add a round of sc using a slightly smaller hook in the very last round to tighten the edge and keep everything in place.
Round 2 :
For extra floral fullness, add a tiny cluster of 3 dc on top of certain petals and secure on the underside to maintain a flat top while adding texture.
Info :
All join and edging rounds should be done with motifs blocked and pinned in their final positions — this saves rework later and guarantees symmetry.
Round 3 :
Weave in all yarn ends through multiple stitches on the back of pieces to secure them and trim close. Use a blunt yarn needle for a cleaner finish.
Round 4 :
Final blocking: dampen slightly and pin runner into final shape, smoothing petals and leaves so visible edges lie flat. Allow to dry completely before use.
Info :
For washing, use gentle cycle and reshape while damp. Cotton will relax slightly but maintain its structure thanks to the dense stitching used in this pattern.
Completing this floral table runner is a joyful process — each placemat, flower and leaf becomes a little moment of craft that comes together like a bouquet. The finished runner brings fresh, cottage charm to any table and invites lingering tea-time conversation. I hope you love arranging and re-arranging the flowers until it feels just right — the satisfaction when everything lies flat is priceless. 🧶🌸✨