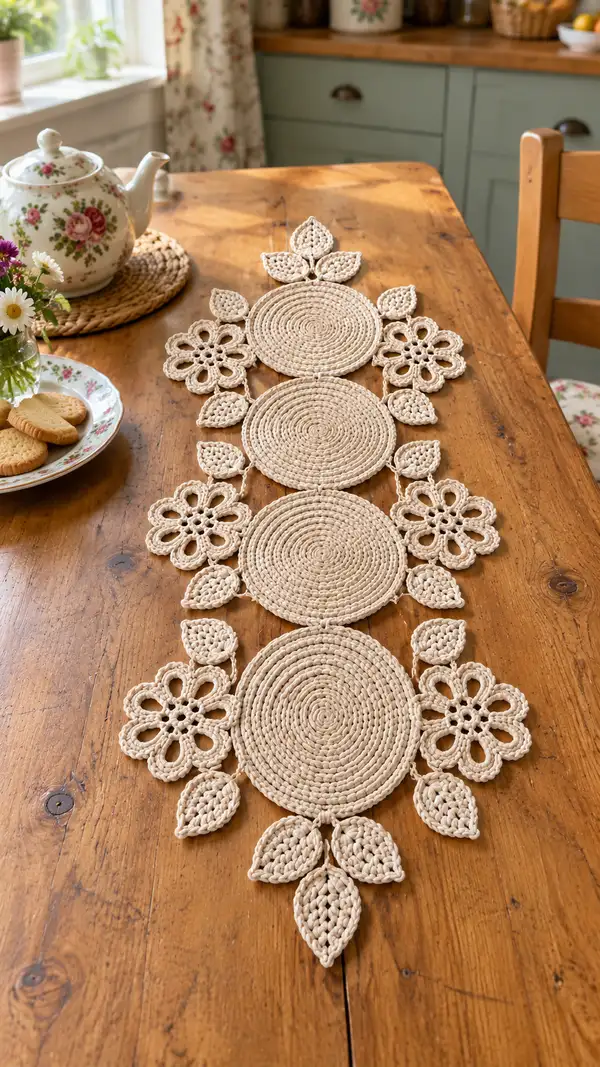
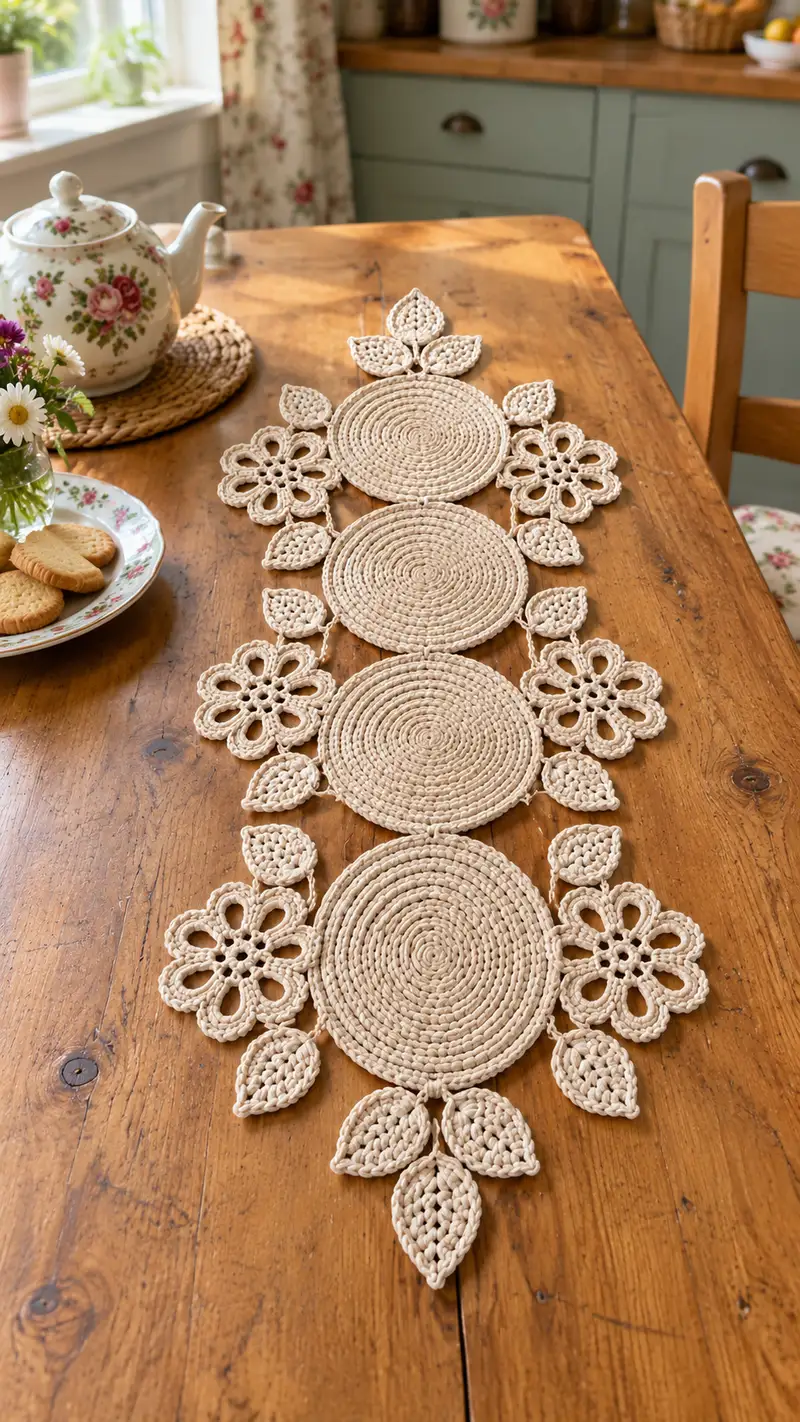
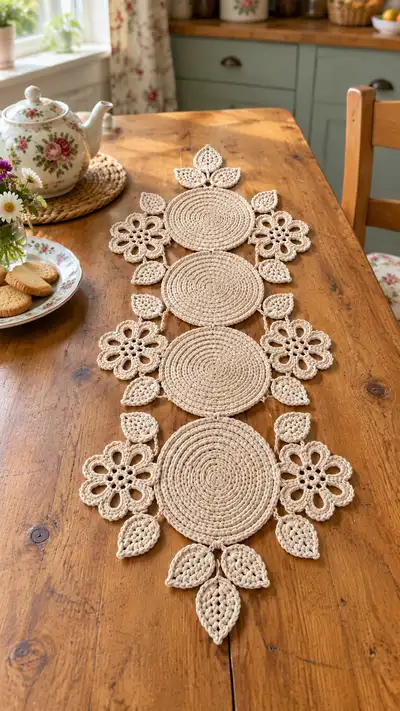
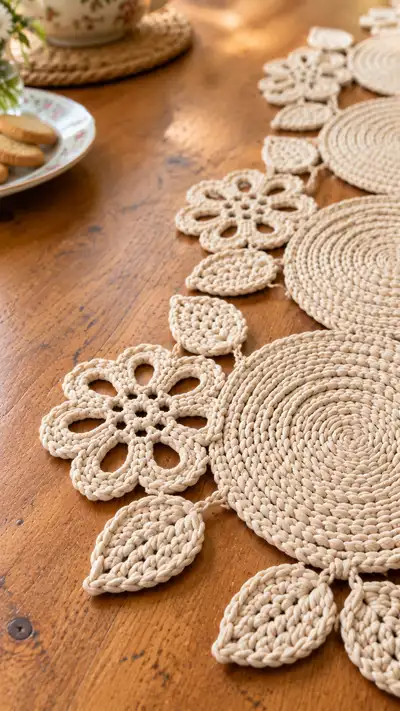
A beautiful neutral-toned table runner made from braided/rope cotton yarn in a sequence of coiled round placemat motifs, openwork flower motifs and textured leaves. The design shows four large spiralled circles linked by delicate chains of leaves and 6-petal lace flowers for a vintage, cottage-style centerpiece. This pattern recreates the flat coiled discs, scalloped petals and layered leaves for a graceful, handcrafted runner that looks lovely on a wooden table or dresser.
Progress Tracker
0% Complete
— Notes and general instructions :
Info :
Work motifs tightly enough so the braided cotton rope holds shape; I recommend practicing a single small disc first to check tension. This pattern is written for working in continuous rounds for the coiled discs to minimize join visibility. Use a stitch marker to mark round starts if desired - for continuous spiral rounds, you may remove it as you go but keep track of increases. All rounds are worked in sc unless otherwise noted. Adjust hook size to create a dense fabric that lies flat.
— Main Circle (Make 4) :
Round 1 :
6 sc in magic ring (6)
Round 3 :
(1 sc, 1 inc) x 6 (18)
Round 4 :
(2 sc, 1 inc) x 6 (24)
Round 5 :
(3 sc, 1 inc) x 6 (30)
Round 6 :
(4 sc, 1 inc) x 6 (36)
Info :
Keep tension even; if your center puckers, pull slightly while working the next round to flatten. Continue in continuous rounds for a neat spiral look — do not join with sl st unless you prefer visible round joins.
Round 7 :
(5 sc, 1 inc) x 6 (42)
Round 8 :
(6 sc, 1 inc) x 6 (48)
Round 9 :
(7 sc, 1 inc) x 6 (54)
Round 10 :
(8 sc, 1 inc) x 6 (60)
Info :
At this stage the discs are approaching the finished diameter; if you want slightly larger discs add one more increase round (9 sc, inc) x6 to reach 66. For the sample runner we stop increases at round 10 and work even rounds to create a flatter surface.
Round 11 :
1 sc in each st (60)
Round 12 :
1 sc in each st (60)
Round 13 :
1 sc in each st BLO (60)
Info :
Working one or two rounds in BLO creates a subtle ridge that mimics the rope spiral texture shown in the photo. Use BLO carefully; it should be just enough to define the coil without causing gaping.
Round 14 :
1 sc in each st (60)
Round 15 :
1 sc in each st (60)
Round 16 :
1 sc in each st (60)
Round 17 :
1 sc in each st (60)
Info :
Decide the final edge shaping now; the photo shows a simple clean edge with the spiral visible. If you prefer a defined border, you may add a final round in hdc or sc in FLO to create a raised rim.
Round 18 :
1 sc in each st (60)
Round 19 :
1 sc in each st (60)
Round 20 :
Fasten off leaving a 25-30cm tail for sewing/joining. Weave tail through the last round to secure and hide end (60)
— Flower Motif (Make 6) :
Round 1 :
6 sc in magic ring (6)
Round 2 :
Ch 3 (counts as first dc), *ch 2, dc in next st; rep from * around to make 6 small loops, join with sl st to top of starting ch-3 (6 loops)
Info :
This round establishes 6 loop spaces for petals. Work loosely enough to allow the petals to flare; use the sl st join to sit the loops evenly.
Round 3 :
*Into first ch-2 loop: (sc, hdc, 3 dc, hdc, sc), sl st to next loop; rep around to make 6 petals (6 petals)
Round 4 :
Working behind the petals, sl st into the base of first petal, ch 1, 6 sc evenly across the back to create a small backing round; sl st to first sc to join (6)
Info :
Back rounds help the flower lay flat when attached to the circle. Keep petals unblocked until assembly so they retain nice open loops.
Round 5 :
Ch 4, sl st in next petal gap (creates small picot connectors between flowers and discs); rep around creating 6 ch-4 loops and sl st to join (6 loops)
Round 6 :
Work into each ch-4 loop: (sc, sc, hdc) to give petal rim definition, sl st to join after each loop (6)
Round 7 :
1 sc around the back base of the flower in each st where available to create a flat join edge, approximately 18 sc total depending on how you worked the backing (approx 18)
Round 8 :
Fasten off leaving a 20-30cm tail for sewing to circle; weave tail into back stitches to secure (approx 18)
Info :
Make 6 flower motifs for the runner: two for each pair of circle sides so they alternate along the length. The flowers in the photo are slightly flattened; press gently with steam or pin during blocking for best shape.
— Leaf Motif (Make 24) :
Round 1 :
Ch 6, sc in 2nd ch from hook, hdc in next, dc in next, hdc in next, sc in last ch; turn work to work back along the other side of chain: hdc in next ch, dc in next, hdc in next, sc in last ch; sl st to first sc to close the leaf shape. (9-11 sts along the perimeter depending on counts)
Round 2 :
Working around the perimeter: sc evenly (approx 12 sc) in each st to create a neat leaf edge (approx 12)
Round 3 :
In center: ch 1, sc in next 3 sts along center to create a slight ridge, ch 2, sc across other center stitches; sl st to join (approx 6 center sc)
Info :
The leaves in the photo are slightly cupped with a raised center. The small center ridge above helps the leaf hold its shape when pinned and blocked. Keep edges neat and consistent.
Round 4 :
BLO: 1 sc in each st around (approx 12) to create a textured, slightly indented margin.
Round 5 :
1 sc in each st (approx 12)
Round 6 :
Fasten off leaving a 20-25cm tail for sewing. Weave through last round to secure and shape leaf tip by pulling slightly if desired (approx 12)
Info :
Make 24 leaves. They are worked in pairs at upper and lower edges of each disc in the photo; adjust quantity if you change the runner length. Block leaves on a pinboard for a crisp point and slight cupping.
— Small Connector Rings (Make many) :
Round 1 :
Ch 6, sl st into first ch to make small ring (6)
Round 2 :
Into ring work (sc x6) or leave as ring and attach with sl st when joining motifs (6)
Info :
These small connector rings are used as tidy anchor points between discs, flowers and leaves. In the photo short chain loops create delicate joins; you can use ch-6 loops or worked small rings of sc to match the thickness of your rope yarn.
— Alternative Round shaping for larger discs (Optional) :
Round 1 :
6 sc in magic ring (6)
Round 3 :
(1 sc, 1 inc) x 6 (18)
Round 4 :
(2 sc, 1 inc) x 6 (24)
Round 5 :
(3 sc, 1 inc) x 6 (30)
Round 6 :
(4 sc, 1 inc) x 6 (36)
Round 7 :
(5 sc, 1 inc) x 6 (42)
Round 8 :
(6 sc, 1 inc) x 6 (48)
Round 9 :
(7 sc, 1 inc) x 6 (54)
Round 10 :
(8 sc, 1 inc) x 6 (60)
Info :
If you want larger or smaller discs, adjust how many increase rounds you do. Each full increase round adds 6 sts to the circumference. Stop increases once the disc reaches desired diameter and proceed with even rounds.
— Edge decorative round (per disc optional) :
Round 1 :
Work 1 round of hdc in each st around to give a slightly raised rim (60)
Round 2 :
sl st to finish and fasten off leaving tail for joining (60)
Info :
Adding an edge round creates a subtle border that helps the discs visually 'pop' from the table. This is optional and depends on how thick your rope yarn is.
— Assembly plan and joining guidelines :
Info :
Layout your completed discs, flowers and leaves on a flat surface to match the runner photo: four discs stacked lengthwise with a flower motif alternating on each side between discs and leaf clusters filling top and bottom points. The photo shows two flower motifs per pair of discs (one on each side) and clusters of three leaves radiating from the top and bottom of each disc. Use pins to hold placement before joining. We recommend using connector rings or short ch-6 loops sewn into the disc outer rounds for even spacing.
Join Step 1 :
Position first disc and second disc 6-8cm apart (or touching depending on desired overlap). Create 3 connector points around the meeting edge: roughly at 10 o'clock, 2 o'clock, and 6 o'clock positions on the disc circumference. Using the tail from the disc edge or a short ch-6 loop, sl st through both rounds to secure. Repeat for the remaining discs to make a straight line of four discs.
Info :
Count stitches from a central marker to find equivalent positions on each disc for consistent join points. Example: with 60 sts, three evenly spaced joins would be every 20 stitches. Use this arithmetic to place connectors evenly.
Join Step 2 :
Sew flower motifs to the side of discs by aligning the flower's backing round to the disc's outer round. Attach using yarn tail and whip/overlap stitch around the flower base, securing at 6-8 points to keep petal shape. For the flower holes you may attach just at the base so petals remain open (approx 6-8 stitches per flower).
Join Step 3 :
Attach leaves in pairs or clusters at top/bottom points of discs: group of three leaves at the top point and a pair at the bottom as pictured. Sew through leaf tail and disc outer rounds, then secure with several passes and weave tails in.
Info :
Make sure connectors are not overly tight — the runner should retain some drape. If joints pull the discs out of flatness, loosen and redistribute the joining stitches and block flat.
— Blocking and finishing :
Info :
Wet block the completed runner or each motif: dampen lightly, pin each disc and motif flat to blocking mat measuring the desired diameter, and allow to dry fully. This will help petals and leaves sit flat and discs lie evenly. Steam-block carefully if working with cotton rope to avoid crushing the braided texture.
Final Finishing :
Weave in all tails securely, trim any short ends. If any edges are floppy, add a small backstitch or a drop of fabric glue hidden on the back. Gently press or steam to settle the runner.
Info :
To alter length, add or remove discs and adjust number of flowers/leaves accordingly. This modular design scales well: each additional disc adds a measured length equal to the disc diameter plus connector spacing.
Finishing this table runner is such a satisfying moment — watching the four spiralled discs, lace flowers and leaf clusters come together feels like weaving a small garden for your table. The neutral cotton rope gives a handmade, cottage-core charm that's both practical and decorative. Pin, block and admire the way each motif settles into place — it's a lovely project to share or gift. 🧶🌿🌼