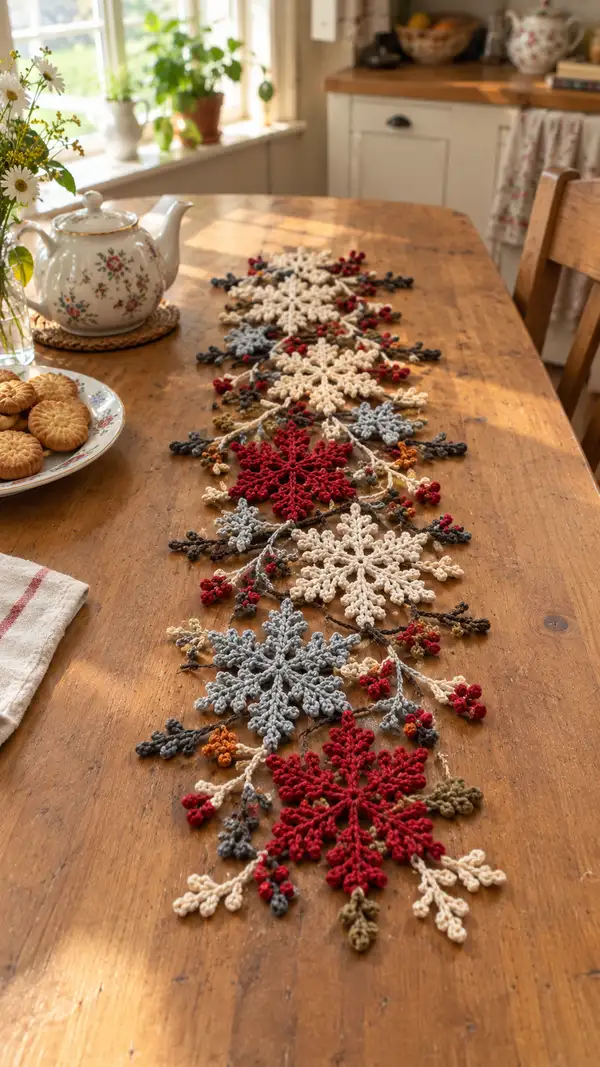
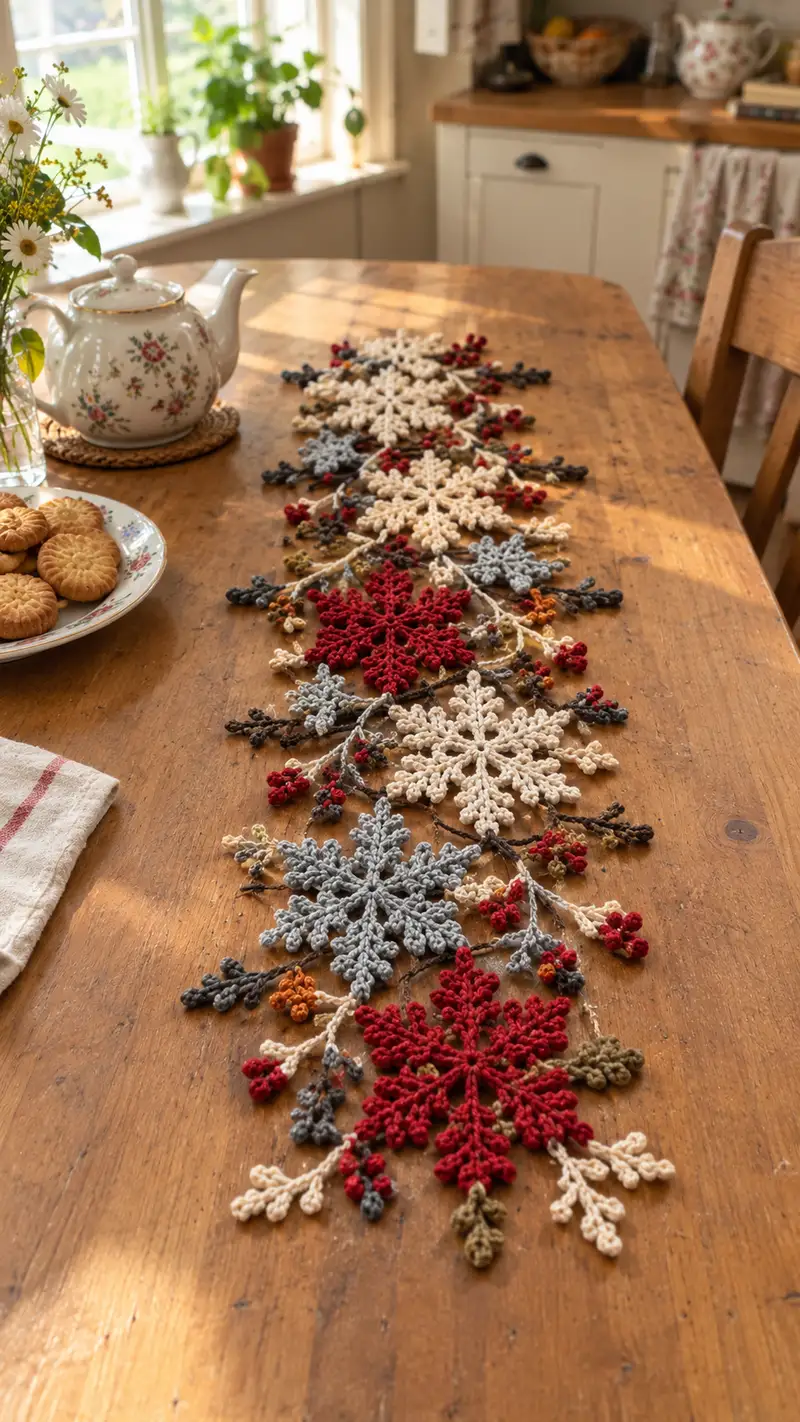
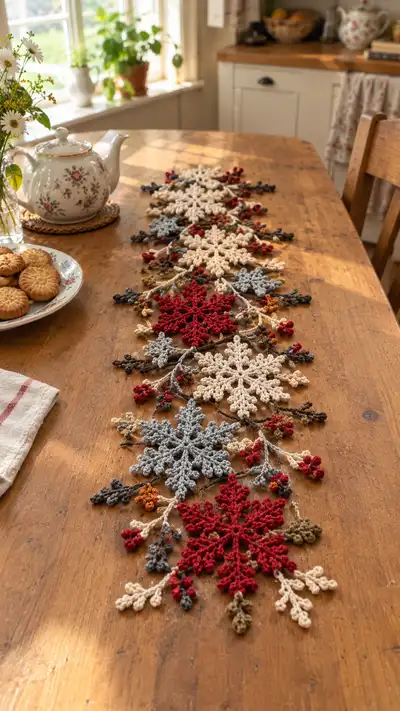
Create a charming winter table runner made of layered crocheted snowflakes, tiny berry clusters and delicate twig-like branches. This pattern combines textured snowflake motifs in cream, red and soft blue with embroidered stems and bobbles for a natural, rustic look. It’s designed to be worked motif-by-motif and joined with delicate connecting chains for a lacy, organic runner that lies beautifully on a wooden table.
Progress Tracker
0% Complete
— Tools & Gauge :
Info :
Gauge is not critical for this decorative runner, but with worsted cotton and a 3.5mm hook each large snowflake motif measures approximately 12-13cm (4.5-5") across. Use a smaller hook for crisper, denser motifs or change hook size to alter finished dimensions.
— Large Snowflake Motif (Make 6) :
Round 1 :
mr, ch1, 8 sc into magic ring, pull tight (8)
Round 2 :
(ch4, sl st into next st) around to create 8 looped points; sl st to first ch4 to join (8 loops)
Round 3 :
Join yarn in first ch4 loop, (ch3, 2 dc, ch2, 3 dc) in same loop (first petal made), sl st in next loop, rep across to make 8 petals, sl st to join (8 petals)
Info :
Work tightly on the initial center rounds to keep the center compact. Place a stitch marker at the beginning of each petal if it helps you count petals smoothly.
Round 4 :
Working behind petals: ch1, *sc in base between petals, ch5, sk petal base, sc in next base; rep from * around to create 8 long chain arches, sl st to first sc (8 arches)
Round 5 :
In each ch5 arch: sl st, ch3, 5 dc cluster (worked as 5 dc separated by sl st into arch) to form raised ridge, ch3, sl st into same arch; rep across all 8 arches (8 clusters)
Round 6 :
Join behind clusters, ch1, sc evenly around the perimeter counting 48 sc total (48)
Round 7 :
(4 sc, picot, 4 sc) in next 6-stitch segment, repeat around to create scalloped points; total 48 sc including picot chains counted separately as decorative elements (48)
Info :
Picot described here is ch3 then sl st into third ch from hook to create a tiny pointed tip. For a fuller point, you can substitute a 3dc picot if preferred.
Round 8 :
Work in front loops only around: 1 sc in each st BLO to create a raised ridge for the next layer (48)
Round 9 :
*(ch6, sl st into space between two sc on previous round) repeat 8 times to create eight external tall chain loops; sl st to join (8 loops)
Round 10 :
In each ch6 loop: (sc, hdc, 3 dc, hdc, sc) to create elongated pointed arms; fasten off and weave ends (8 points)
Info :
At this stage your snowflake has three layers: central petal ring, scalloped mid-layer, and elongated outer points. Block each motif flat with pins and steam/wet-block to set shape before adding final nibs and joining.
Round 11 :
Rejoin yarn at outer point base, ch1, sc around outer points to create a uniform edge; work 6 sc into each outer point cluster to maintain shape; total approximately 48 sc (48)
Round 12 :
(ch5, picot, sl st into mid-space) x 8 to add decorative picot runners between outer points; fasten off and weave tail (8 picot runners)
Round 13 :
Optional: Surface crochet a central star by joining yarn in center, ch1, *sl st over the central region to make 8 radiating lines, end with sl st to center; this will add definition to the core
Info :
Large snowflake finished size should be about 12-13cm across. Make 6 motifs in total: color layout in photo alternates cream, blue, cream, red, cream, blue. Block all motifs carefully to identical dimensions before joining.
— Medium Snowflake Motif (Make 4) :
Round 1 :
mr, ch1, 6 sc into magic ring, pull tight (6)
Round 2 :
(ch4, sl st into next st) around to create 6 looped points; sl st to first ch4 to join (6 loops)
Round 3 :
In each ch4 loop: ch3, 3 dc, ch2, 3 dc, sl st to next loop to form 6 petals (6 petals)
Round 4 :
Ch1, sc in each petal base and in each ch2 space around to produce 36 sc total (36)
Round 5 :
(3 sc, picot) x 6 around the petal edges to create delicate points (36)
Info :
Use a 3.0mm hook for medium motifs if you want slightly smaller motifs to blend with the large ones; keeping consistent dimensions helps when laying out the runner.
Round 6 :
Work 1 sc in each st FLO to create a raised rim (36)
Round 7 :
*(ch5, sl st back into base to form loops) 6 times to create the outer fan loops; sl st to join (6 loops)
Round 8 :
In each loop: (sc, hdc, 3 dc, hdc, sc) to form pointed outer arms; fasten off and block (6 points)
Info :
Make 4 medium motifs in color placement to alternate between large motifs, creating visual variety along the runner.
— Small Snowflake Motif (Make 6) :
Round 1 :
mr, ch1, 6 sc into magic ring (6)
Round 2 :
(ch3, sl st into next st) x6 to create 6 small loops; sl st to join (6 loops)
Round 3 :
In each loop: (sc, 2 dc, sc) to make compact petals; sl st to join (6 petals)
Round 4 :
Ch1, sc around including in between petals to create 18 sc total (18)
Round 5 :
*(ch4, picot, sl st) x6 to create tiny picot-edge points; fasten off and weave ends
Info :
These small snowflakes act as fillers and should be made in contrasting colors for pops of color. Make 6 to intersperse between larger motifs and sprigs.
— Berry Cluster (Make many; each cluster built in 6 small units) :
Round 1 :
ch6, join with sl st to form ring (6)
Round 2 :
Into ring: (ch2, 3 dc) 6 times separated by sl st to create 6 tiny bobble petals; fasten off leaving long tail for attachment (6 bobbles)
Round 3 :
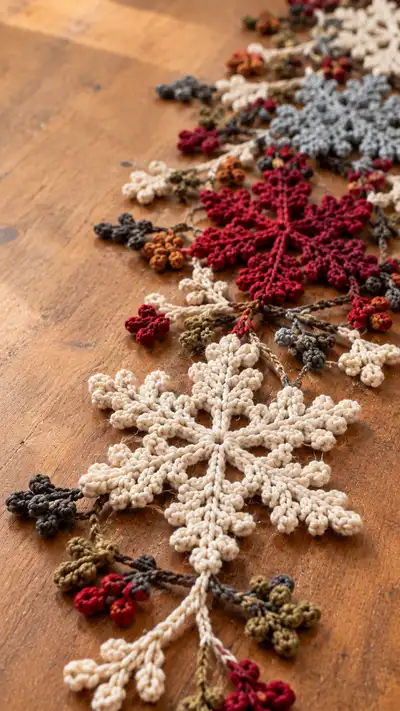
Make groups of 3 bobbles and join them by sewing them together into clusters of 3-5 bobbles as pictured; each cluster uses 3-5 bobble units depending on fullness desired
Info :
Form berries in deep red and occasional mustard/orange for contrast. Use very small amounts of fiberfill tucked into the bobble before closing if you want firmer, rounder berries.
Round 4 :
Use a length of brown yarn to sew clusters onto the branch stems after creating branches (see branch section). Alternate cluster sizes for a natural look.
— Branch / Stem Unit (Make multiple lengths) :
Round 1 :
ch40 (or desired length for runner spacing), turn and sl st in 2nd ch from hook and each st across to create a solid chain-like cord (39 sl st)
Round 2 :
At intervals along the cord (every 6-8 sl sts) create leaf sprigs: ch6, work back along the chain sprig as follows into that ch6: (sc, hdc, 2 dc, hdc, sc) and sl st back into main cord to secure; repeat every 6-8 sts to create multiple sprigs per stem
Info :
Vary spacing of leaves and sprigs along each stem to avoid uniform repetition - natural branches look irregular. Use darker brown/charcoal yarn for the main cord to read as twig, and olive for leaves.
Round 3 :
Between sprigs add tiny berry anchors: ch3, sl st into main cord, then attach pre-made berry cluster to the ch3 loop with a few tight stitches
Round 4 :
Optional: Work 1 round of sl st along both sides of cord to thicken and add stability; fasten off and weave ends
Info :
Make stems in multiple lengths (approx 6 long stems and additional short connectors of ch20-30) to allow flexible layout when assembling motifs into a runner.
— Decorative Leaves & Little Sprigs (Make many) :
Round 1 :
mr, ch1, 6 sc in mr, do not close; ch1, turn and work in continuous rounds for a tapered leaf
Round 2 :
Row-like: 2 sc in first st, sc next 2 sts, dec over last 2 sts (4)
Round 3 :
Ch3, turn, sc in next 4 sts along long edge to shape leaf; fasten off leaving tail for sewing (4-6 rows depending on desired leaf length)
Info :
Sew leaves onto stems near berry clusters and at stem ends. Use a contrasting moss green or olive yarn so leaves read distinctly from the twig color.
— Joining Motifs into Runner (Layout & Join-As-You-Go) :
Info :
Before joining, lay out all motifs and stems on a flat surface in the desired running order. The photo shows a central sequence: small branch sprigs around each snowflake connecting to the next motif with stems crossing and looping to create a natural garland effect. Pin each motif and stem in place before joining.
Round 1 :
With a length of brown yarn, place first large snowflake flat; align the main cord (branch) under its lower point and whip-stitch the cord to the motif by sewing through the back loops of the motif's outer round at 6 evenly spaced points. Secure with several stitches and knot tightly (6 sew points)
Round 2 :
Attach a medium snowflake approximately one snowflake-length from the first by whip-stitching the opposite end of the same cord. Use 4-6 stitches to secure each motif connection depending on motif size (4-6)
Round 3 :
Where motifs overlap slightly, join them with slip-stitch joins through outer picot loops: align the picot of motif A with a ch-space on motif B and sl st to join. Repeat for 2-3 points per overlapping pair to create flexible but secure joins (2-3 joins per overlap)
Info :
Join-as-you-go works well here — when attaching a motif to the running stem, use the tail still attached to the new motif to sew or sl st it in place so fewer ends are left to weave later. Keep joins loose enough so runner lays flat but secure enough for handling.
Round 4 :
Interspace small snowflake fillers by sewing them into gaps using 3 small whip-stitches each, placing them slightly under branches to appear nestled (3 stitches each)
Round 5 :
Once all motifs attached to stems, create crosslinks by chaining short decorative pieces: ch12, sl st to a picot on an adjacent motif, repeat to create delicate braided connections at 4-6 positions along runner
Info :
During assembly, constantly step back and check symmetry. Use pins to maintain motif orientation and ensure that the runner lies flat — adjust branch lengths before final sewing.
— Edging & Final Decorative Picots :
Round 1 :
With cream yarn, work a tidy edge around the outermost motifs: join in any outer picot, ch1, sc evenly across outer rim and around each outward point counting approximately 60 sc per large motif edge to create a uniform border (approx 60 per large motif)
Round 2 :
*(ch3, picot, sl st in next st) around the entire runner perimeter to add tiny points and unify the look; fasten off and use remaining tails to tidy edges
Info :
Edge acts both decorative and functional, stabilizing joins while giving a finished lacy silhouette. If the runner feels floppy, work a second round of sl st behind the first edge for reinforcement.
— Decorative Sprigs & Final Touches :
Round 1 :
Sew remaining berry clusters to chosen stem nodes using brown yarn and secure with a couple of tight stitches. Tuck some cluster wiring under sprigs if you want them to stand slightly off the table (secure wire ends safely).
Round 2 :
Add tiny embroidered veins on leaves using contrasting yarn: run a single strand down the center of each leaf with backstitch to suggest midrib (1 vein per leaf)
Round 3 :
Final blocking: lay runner flat on blocking mat, shape each snowflake and sprig, pin points outwards and mist with water; allow to dry fully before removing pins. Alternatively, use low-heat steam to set shape gently.
Info :
Final pressing and blocking make a huge difference — they open the lace, align points and ensure the runner sits flat and looks professional. Take your time with this step.
— Alternate Small Decorations (Optional) :
Round 1 :
Create tiny seed pods by wrapping a length of yarn around 3 fingers 8-10 times, tie center tightly and remove loop. Sew the looped bundle into a mini pod and attach to branches for extra texture (make 10-16 pods).
Round 2 :
Make small spray of buds: ch8, into chain work small picot buds (ch3, sl st) every 2 chains then sl st back to base and secure to stem. These add delicate dots among snowflakes.
Info :
Optional extras let you adapt the runner for seasons - add metallic thread accents for a festive touch or natural twine loops for rustic charm.
— Stitch Counts & Notes Summary :
Info :
Large snowflake approx 48-60 perimeter sc depending on edging variations; medium snowflake approx 36-48; small snowflake approx 18-24. Branch cords are worked as foundation sl st chains (length variable). Berry clusters are small 3-d bobbles formed from 3 dc groups. Keep record of how many motifs of each type you make to match layout. Block all motifs before joining for best results.
Info :
To extend runner length: add additional stem length or extra repeat of (Large - Medium - Large - Medium) motif sequence. To shorten: omit one large or medium motif and re-balance with connectors.
This snowflake and berry table runner brings warm handmade charm to any table — a perfect mix of texture, color and seasonal nostalgia. Each motif is thoughtfully constructed so your finished runner will look cohesive and refined. The modular design invites creative color swaps and length adjustments so you can craft a runner exactly suited to your home. I hope this pattern inspires you to slow down and enjoy the tactile pleasure of crocheting tiny details. 🧶❄️