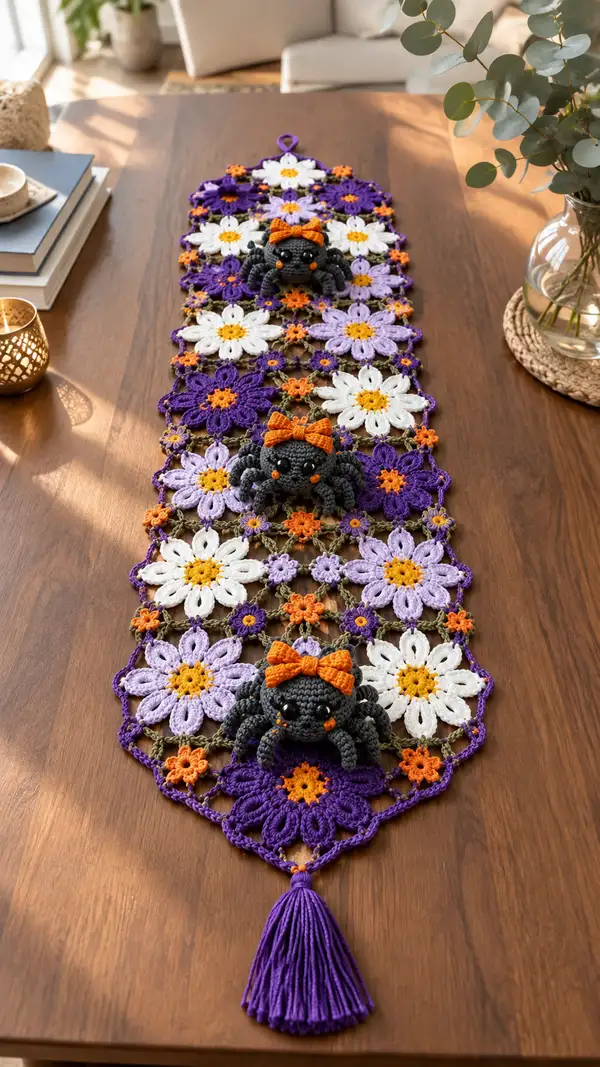
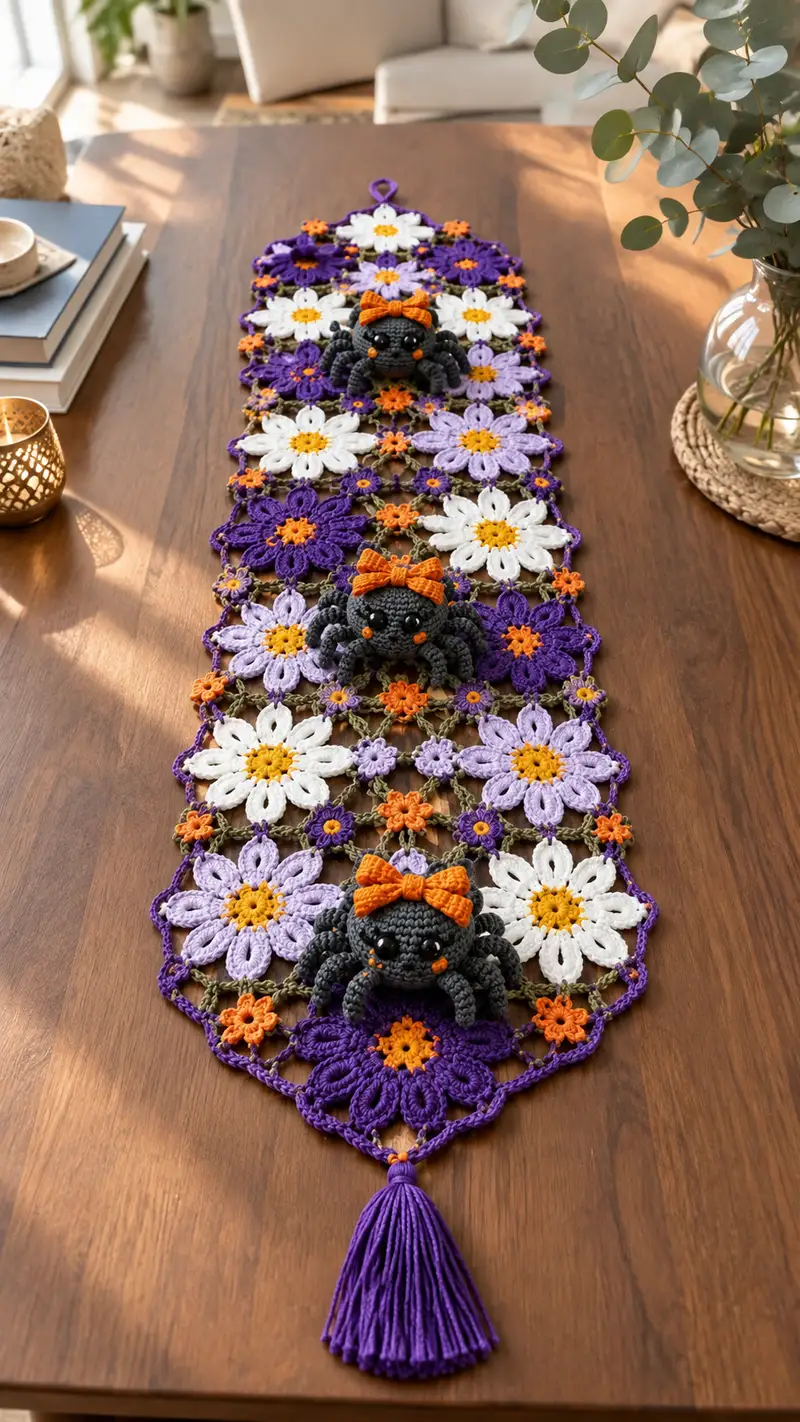
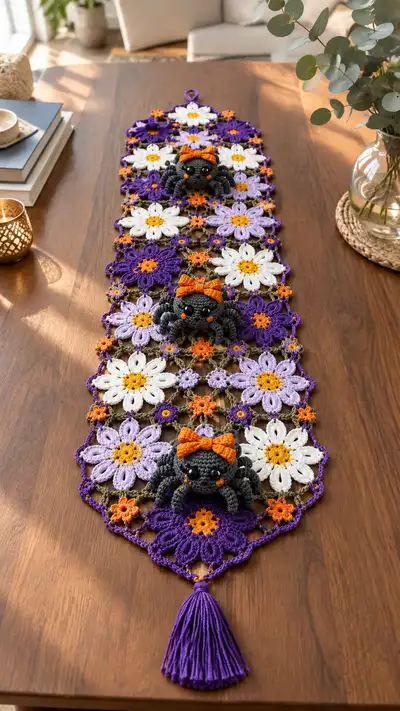
A long, decorative table runner composed of linked floral motifs in deep purple, lavender, white, orange and olive joins, finished with a purple tassel and accented by three small crocheted spider amigurumi with orange bows. The pattern includes complete flower motif instructions, motif joins, decorative edging, tassel and three tiny spiders (body, legs and bow) to position along the runner. Designed to create a statement centerpiece with bold autumnal Halloween colors.
Progress Tracker
0% Complete
— Large Daisy Motif (Make 12 total in alternating colors) :
Round 1 :
With center color (mustard yellow) make mr, ch1, 8 sc into ring, pull magic ring closed (8)
Round 2 :
Inc in each st around (16)
Round 3 :
(1 sc, 1 inc) x 8 (24)
Round 4 :
Slip stitch to first st, change to petal color (white, lavender or dark purple) in last pull-through. Ch3 (counts as first dc), *skip next st, 7 dc into next st, skip next st, sl st into next st; rep from * around to make 8 petals. Fasten off color (8 petals, base ring of joined petal clusters)
Info :
Each petal here is a cluster of 7 dc worked into a single stitch from round 3; keep petals tall and even by working consistent tension and finishing each cluster with a slip stitch into the next stitch on the ring
Round 5 :
Join a second round of petals to make fuller daisies: join yarn at base of any petal, ch4 (counts as tr), 6 tr in same st (7 tr petal), sl st into base between next petal, rep x7 more to create a second layer of petals offset to the first (8 larger petals)
Round 6 :
With same petal color, working behind the large petals, sc evenly around the base (32 sc) to create a firm base for joining motifs. Fasten off leaving long tail for joining
Info :
When making the set of large daisies, make 4 in dark purple, 4 in lavender and 4 in white so the runner balances visually. Block petals gently to open them before joining
— Small Orange Connector Flower (Make many as required to join motifs) :
Round 1 :
With orange, mr, ch1, 6 sc into ring (6)
Round 2 :
Inc in each st (12)
Round 3 :
Ch4, *dc cluster (3 dc) into next st, ch4, sl st into next st; rep around creating 6 tiny petals, fasten off (6 petals)
Info :
Make a large number of these tiny orange flowers — they are used at each corner and connector junction between large daisies and mesh joins. Save tails long for joining
— Medium Purple Petal Motif (Make 6) :
Round 1 :
With mustard center, mr, ch1, 8 sc into ring (8)
Round 3 :
(1 sc, 1 inc) x 8 (24)
Round 4 :
Change to purple, ch3, *skip next st, 5 dc in next st, skip next st, sl st into next st; rep x7 (8 petals)
Round 5 :
Sc around base of petals to create firm rim (24 sc). Fasten off
Info :
These medium petals fill the runner rhythm and add textural contrast. Make 6; use dark purple for the lower and upper ends to frame the runner
— Joining Mesh and Motif Layout (Grid Assembly) :
Info :
Layout: assemble motifs into a single long runner shaped as in the photo: overall 3 columns by 6 rows of alternating large daisy motifs and medium petal motifs with small orange flowers at the intersection points. You will need approximately 18 large/medium motifs total depending on runner length — this pattern assumes 18 motifs (3 across x 6 down) plus many small connectors
Round 1 (Mesh join for first row) :
With olive green, join at the sc rim of first motif, ch6, sc into sc rim of adjacent motif to form a connecting loop, *ch6, sc into next motif rim stitch; repeat across the row until motifs are connected (connect at evenly spaced base-sc points — typically every 4 sc on the rim). Continue joining adjacent motifs using a combination of ch6 loops for openness and ch3 loops for tighter joins. Fasten off
Info :
When joining, use your layout as a guide and block motifs flat. Join on the back (underside) of petals so the right side shows on top. Keep ch-loops consistent length across the whole runner
Round 2 (Mesh stabilization) :
With olive green, return to join points and sc around each ch6 loop: into each loop work (sc, hdc, dc, hdc, sc) to create a decorative scallop between motifs. Fasten off after completing connecting loops across the runner
Info :
If your runner seems loose between motifs, add an extra intermediate ch3 loop and sc into motif rim to reduce open gaps. Use small orange flowers at every 4th junction for visual rhythm and security
— Decorative Border and Pointed Ends :
Round 1 :
With deep purple, join at an outermost rim sc and sc around the entire assembled runner edge evenly (work 1 sc in each sc and 2 sc in each ch-space where needed). Maintain even stitch count — approximate total will vary with your joins; work evenly to keep edges flat
Round 2 :
Work 1 sc in each st around, placing an extra sc at every join between motifs to avoid pulling. Fasten off
Round 3 :
Change to purple, *ch4, sl st into 2nd ch from hook to make small picot loops for a scalloped look; in spaces with more width work (sc, ch3, sc) to create larger points. At the runner ends shape a pointed tip by working additional chains and clusters to form the triangular point. Fasten off
Info :
At the two pointed ends, add an extra small orange flower at the tip center before adding tassel or loop. Pin and block the entire runner flat after adding border to shape the points precisely
— Hanging Loop and Tassel :
Loop :
At one small triangular point, attach deep purple yarn, ch20 (or desired loop length), sl st back into same point to create hanging loop. Fasten off and weave ends securely
Tassel :
At the opposite pointed end make a full purple tassel approximately 12-14cm long. Use multiple strands folded and bound with a small wrapped band. Attach tassel firmly to center tip and sew through runner body to ensure stability
Info :
To secure tassel, pass a sturdy length of yarn through the wrapped band and then through the runner tip several times; tie a secure knot and weave ends inside the tassel body
— Spider Amigurumi (Make 3 spiders) :
Info :
Each spider is composed of a spherical head/body, a lower belly pad for a flat posture on the runner, eight tubular legs and a small bow. Use dark charcoal yarn and small amounts of orange for cheeks and bow. These spiders are small — approximately 5.5cm across the leg span and 3.5cm tall when finished
— Head/Body :
Round 1 :
With charcoal, mr, ch1, 6 sc into ring (6)
Round 2 :
Inc in each st around (12)
Round 3 :
(1 sc, inc) x 6 (18)
Round 4 :
(2 sc, inc) x 6 (24)
Round 5 :
(3 sc, inc) x 6 (30)
Round 6 :
(4 sc, inc) x 6 (36)
Info :
Place eyes between rounds 9 and 11 — for these tiny spiders use 6-8mm safety eyes or stitch small beads. Eyes should be about 6 stitches apart for a sweet expression. Mark eye positions now
Round 7 :
(5 sc, inc) x 6 (42)
Round 8 :
(6 sc, inc) x 6 (48)
Round 9-12 :
1 sc in each st (48)
Info :
Insert safety eyes between rounds 9 and 10, approximately 6-8 sts apart (depending on preference). After installing eyes, embroider tiny orange cheeks on either side beneath the eyes using small French knots or seed stitches
Round 13 :
(6 sc, dec) x 6 (42)
Round 14 :
(5 sc, dec) x 6 (36)
Round 15 :
(4 sc, dec) x 6 (30)
Info :
Begin stuffing the head/body firmly but with care — small spiders need enough stuffing to hold shape but not be heavy. Use small tufts of fiberfill and shape with a small tool or blunt pencil
Round 16 :
(3 sc, dec) x 6 (24)
Round 17 :
(2 sc, dec) x 6 (18)
Round 18 :
(1 sc, dec) x 6 (12)
Info :
Fasten off leaving a long tail for sewing the belly pad. Finish stuffing and close the opening with a yarn needle using a running stitch, pulling tight to hide the seam
— Belly Pad (flat oval, optional for stability) :
Round 1 :
With charcoal, mr, ch1, 6 sc into ring (6)
Round 2 :
Inc in each st (12)
Round 3 :
(1 sc, inc) x 6 (18)
Round 4 :
1 sc in each st around (18)
Round 5 :
1 sc in each st BLO (18) to create a subtle rim that sits flat against table. Fasten off leaving a long tail for sewing to underside of spider body
Info :
Sew this pad onto the base of the closed head/body using the long tail and a whip stitch, leaving the spider slightly flattened so it sits stably on the runner
— Legs (Make 8 per spider) :
Leg Tube Instructions (work 1 and repeat 8x) :
Round 1 :
With charcoal, ch6, join with a sl st to first ch to form a ring or work short tube: ch6, sc in 2nd ch from hook and across (5 sc), turn and work in rows for a short tube until approx 12 rows high, then join ends to make a small round leg tube. (You may instead sc in the round through a magic ring if you prefer a tubular leg.)
Round 2-6 :
1 sc in each st around or continue working rows then seam (approx 12 sc around if joined). Stuff lightly as you progress; legs should be slightly curved at the last third for a natural stance
Round 7 :
Bend leg gently and use a few securing stitches through the bend to keep curvature (use a tapestry needle and yarn tail to create a permanent curve). Fasten off leaving long tail for sewing
Info :
Work legs using the smaller 3.0mm hook for firmness; stuff legs lightly with tiny tufts of fiberfill. Leave long tails for secure sewing through body — each leg should be sewn through both pad and body for stability
— Bow (Make 3 small bows for spiders) :
Round 1 :
With orange, ch9, sc in 2nd ch from hook and across (8 sc). Turn and work 3 rows of sc (8 sc each). Fasten off leaving long tail
Round 2 :
Wrap center with the long tail several times to create a bow shape, then sew a small center knot and attach to top of spider head with a few securing stitches
Info :
Bow size can be adjusted by changing chain length; slightly pull the bow center to give a plump look. Attach using small stitches that go through the head to hold bow firmly
— Spider Assembly and Finishing :
Info :
Arrange legs in four pairs on each side of the belly pad, with front legs slightly forward and middle/back legs angled outwards. Use pins to hold each leg in place on the spider body while sewing
Step :
Sew each leg through the belly pad and into the base of the body with several passes to secure. Knot and weave ends inside the body. Attach the bow centrally on top of the head and embroider tiny mouth or small fangs at the lower face using orange thread if desired
Info :
For a friendly look, make cheeks with tiny orange french knots or small felt circles sewn on. If using safety eyes, ensure they are firmly locked before stuffing
— Alternative Eye and Face Embroidery :
Info :
To keep spiders safe for children, embroider eyes using black yarn and a satin stitch rather than using safety eyes. Add tiny white french-knot highlights with a fine cotton thread to give expression
— Optional Spider Variations and Weighting :
Info :
If you want spiders to sit flatter and not roll, add a small disc of felt to the underside of the belly pad and sew through to anchor. Alternatively add a few beads inside the belly pad for weight — keep them well enclosed
— Additional Decorative Tiny Motifs and Placement :
Info :
Use the orange tiny flowers to accent junctions and to anchor the spiders visually. Sew two or three to the runner where you will attach each spider — this hides stitches and provides a decorative seat
— Blocking, Final Assembly and Care :
Info :
Block every motif flat before joining using a wet or steam block depending on yarn instructions. Pin runners to exact shape and allow to dry fully. After blocking and joining, sew spiders in place using long tails from each spider and weave ends securely. Hand wash gently and lay flat to dry for care
Info :
Inspect all sewn attachments regularly if runner is used frequently. For table use, consider stitching the spiders only temporarily so they can be removed for cleaning
This floral Halloween runner is a joyful mix of lacey petals and playful details — a real showstopper for your table! Each motif is a little piece of art, and the tiny spiders bring whimsy and character to the set. I hope making it becomes as rewarding as displaying it; every stitch adds a handmade story to your home. 🧶🕸️ Add a candle and your favorite seasonal accents and watch it become a conversation starter. Happy stitching and enjoy the centerpiece! 🎃