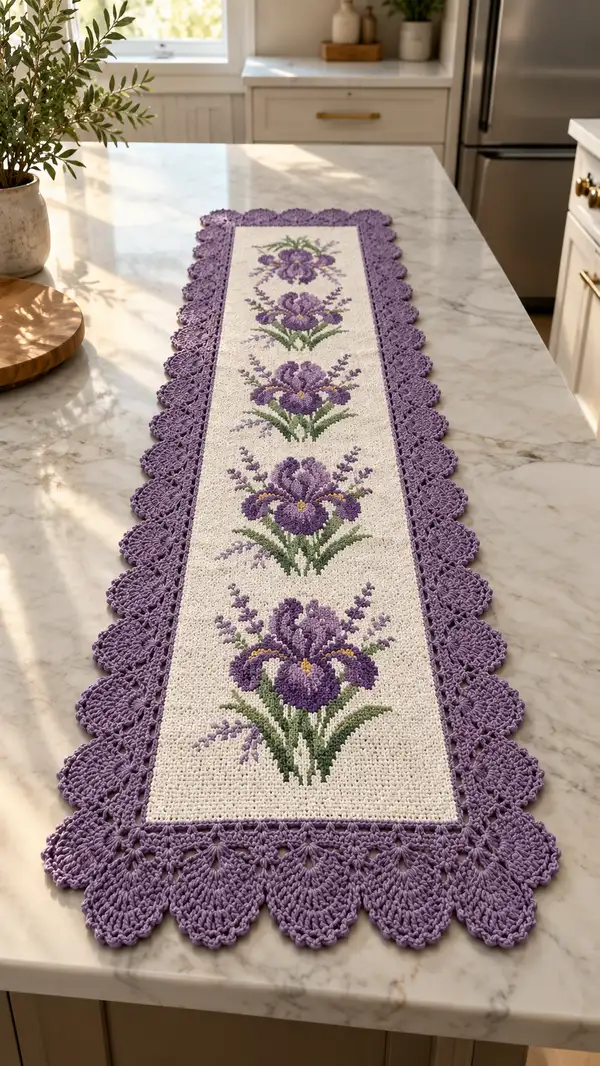
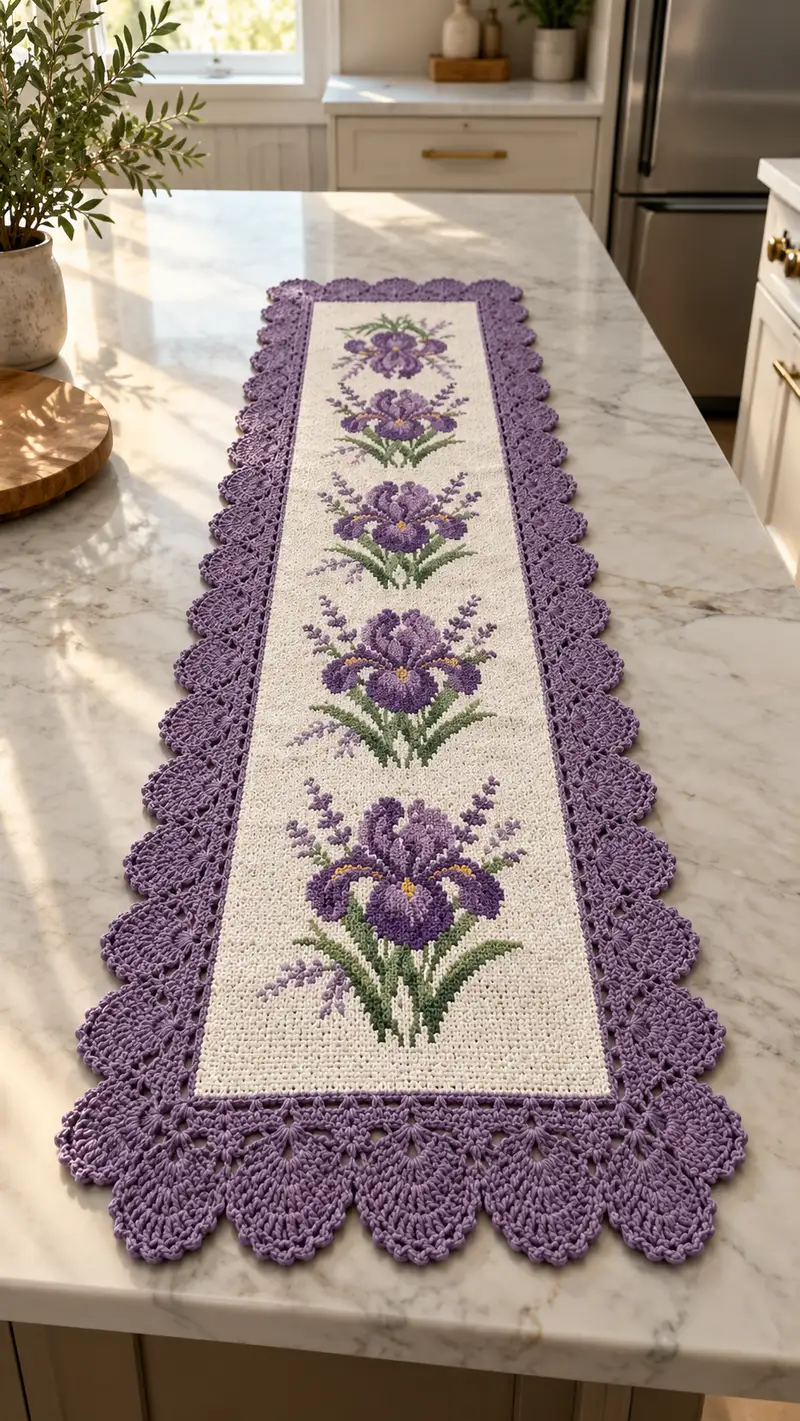
A long, elegant crochet table runner featuring four repeating lavender iris bouquets on a soft cream background with a lacy lavender scalloped border. This pattern uses tapestry crochet for the floral motifs and a decorative shell edging to frame the runner. The finished piece is perfect for a dining table, console, or kitchen island and brings a delicate, cottage-inspired charm to any space.
Progress Tracker
0% Complete
— Notes & Gauge :
Info :
This runner is worked flat in tapestry single crochet for a dense fabric and crisp colorwork, then edged with a round scalloped lace border. Gauge is flexible for a runner but test if you want exact finished measurements. Approximate gauge: 18 sc and 20 rows = 4 inches (10 cm) in tapestry single crochet with 3.5mm hook using DK cotton. Adjust hook size to match gauge and achieve neat motifs.
Info :
All color changes are made using tapestry crochet technique: work to last yarn over of the stitch before color change and complete last yarn over with new color to maintain clean edges. Carry unused colors along the WS, catching them with small slip stitches every 6-10 sts or securing with yarn bobbins.
— Materials Prep :
Round 1 :
Prepare yarn bobbins or small balls for each color used in the motif to keep floats neat. Wind several small bobbins for the darkest purple, pale purple, mid purple (border color), two greens, yellow, and background cream.
Info :
Label bobbins with a small tag for easy identification when following the color chart. Keep the bobbins ordered in the same orientation to prevent tangling during tapestry work.
— Center Panel (tapestry single crochet) :
Round 1 :
Foundation chain 201 (this will give 200 sc across). Ch 1, turn. (200)
Round 2 :
RS Row 1: Starting in 2nd ch from hook, 200 sc across. Turn. (200)
Info :
The panel is worked flat in rows. Keep the right side facing you on odd-numbered rows so the motifs read correctly. All rows should finish with 200 sc. Maintain stitch count at the end of every row.
Round 3-9 :
Work 200 sc in each row (200). Use background cream yarn. Maintain even tension. (Rows 2-8)
Info :
Begin tapestry colorwork at Row 10 to place the first iris. Prepare color bobbins and have chart at hand. The topmost motif's top petal begins around Row 10 in this layout; adjust if you lengthen/shorten the runner.
Round 10-29 :
Rows 9-28: Work 200 sc per row following the tapestry color chart for Iris Motif A (first motif). Each row uses combinations of cream (background), mid purple, dark purple, pale purple, green and a few yellow stitches for the center. Continue carrying background color when not in use. (200)
Info :
Place the iris motif centered horizontally: count 100 stitches from the left edge; the motif center aligns at stitch 101. This ensures motifs are centered on the panel. Work the chart from bottom to top and right-to-left on RS rows and left-to-right on WS rows, carrying floats on WS.
Round 30-39 :
Rows 29-38: Work 200 sc per row in background cream until you reach the spacing row between motifs. This creates breathing room between flowers. (200)
Info :
Spacing between motifs in the photo is approximately 10-12 rows of cream background. If you prefer closer motifs, decrease the spacing to 8 rows; for a longer runner with more negative space, increase to 14-16 rows.
Round 40-59 :
Rows 39-58: Work the tapestry color chart for Iris Motif B (second motif), centered on the panel, 200 sc per row. Ensure centers align vertically with motif A (same horizontal center stitch number). (200)
Info :
Check motif symmetry by folding the panel widthwise after a few rows of each motif. The petals should align visually down the center line. If stitches pulled tight, block lightly and steam before continuing edging.
Round 60-69 :
Rows 59-68: Work background rows in cream, 200 sc per row, spacing as before. (200)
Round 70-89 :
Rows 69-88: Work tapestry for Iris Motif C (third motif). Continue to maintain 200 sc per row. (200)
Info :
If you lose count while following the chart, place a removable stitch marker on the center stitch (stitch 101) for easy reference before beginning a motif row. This helps keep motif alignment consistent down the runner length.
Round 90-99 :
Rows 89-98: Background cream rows, 200 sc per row. (200)
Round 100-119 :
Rows 99-118: Work tapestry for Iris Motif D (fourth motif). The final motif should mirror the first in placement and scale. Maintain 200 sc per row. (200)
Info :
When changing to dark purple for petal shadows, twist yarns neatly at color joins and keep floats on WS to a maximum of 10 sts before catching to prevent long floats that show through after blocking.
Round 120-140 :
Rows 119-139: Work 200 sc per row in background cream to finish the panel top edge, matching the bottom margin used before the first motif. (200)
Round 141 :
WS Row: After final cream row, FO cream leaving a 20-30 cm tail for joining to border. Do not fasten off fully — leave tail for slip-stitch joining if preferred. (200)
Info :
Carefully weave in any loose ends from tapestry color changes into the WS as you go. Use a tapestry needle and weave along the carried floats for security. If you used bobbins, wind remaining yarn into a small ball and weave in the tail.
— Tapestry Technique & Colorwork Tips :
Info :
Work each sc in the color chosen for that stitch on the chart. On RS rows work right-to-left; on WS rows work left-to-right. To change color, insert hook, yarn over with current color, pull up loop to complete stitch until the last yarn over, then yarn over with new color and complete the stitch. Carry the unused yarn on the WS, but catch it every 6-8 stitches by crocheting over it or making a small slip stitch to secure.
Info :
If floats cross more than 10 stitches, cut and rejoin color to avoid puckering. Weave tails in on the WS between rows. Keep tension consistent across colors; if one color is tighter, it will pull the row causing distortion.
— Preparing for Border/Edging :
Round 1 :
Block the center panel flat to measurements: gently wet block or steam block. Pin to rectangular shape, aligning motifs straight. Allow to dry fully. Blocking will open up fabric slightly and make a smooth surface for edging.
Info :
Measure the number of stitches across the top/bottom edge (foundation chain side) and count the number of rows on each long side. You will need these numbers to space scallops evenly around the perimeter. Our sample has 200 stitches across and 160 rows along each long side.
Round 2 :
Join purple border yarn (mid purple) at a corner on RS using sl st. Ch 1 and begin to work a round of sc evenly around the perimeter: 1 sc into end of each row along sides and 1 sc into each stitch across top and bottom. Place 3 sc in each corner row end to round the corner. Keep stitch count recorded. (Perimeter total will be sum of top stitches + bottom stitches + 2 x side rows + corner extras.)
Info :
If the number of sc around the perimeter is not divisible by the shell repeat you plan to use, adjust by adding evenly spaced extra sc before starting the shell round so shells align nicely. We will provide a shell repeat of 6 sc per scallop in the next rounds; calculate spacing as perimeter stitches divided by desired number of scallops to determine exact spacing.
— Lace Scallop Border (worked in rounds) :
Round 1 :
With mid purple joined and sc round complete, sl st to join if desired and ch 3 (counts as first dc). Work 1 dc in same st. *Ch 2, sk 2 sc, 2 dc in next 2 sc; rep from * around to create an open lace line. Where corners occur, place 3 dc in corner and ch 2 to turn the corner smoothly. Join with sl st to top of ch-3. (Perimeter varies)
Info :
This round establishes a lacy foundation for the scallops. Keep your dc tension slightly looser than your sc foundation to let shells fan out neatly. If foundation is tight, use 3.5mm for the body and 3.75mm for this round if you prefer looser lace.
Round 2 :
Ch 1, sc in same st, *ch 3, sk the ch-2 space, 1 sc in next dc; rep from * around to create picot-like spaces. Join with sl st. This creates small arches where the large scallops will attach. (Perimeter varies)
Info :
Count the number of arches created around; these will equal the number of scallops. If you need more or fewer scallops, adjust by adding or removing sc in the first sc round before this round so arch count divides evenly across each edge.
Round 3 :
Scallop round: *In each arch: [ch 2, (2 dc, ch 2, 2 dc) all in same arch, ch 2, (2 dc, ch 2, 2 dc) in same arch] — this creates a large double fan; finish with ch 2 and sl st into the base of the arch. Rep from * around. At corners, work two fans slightly overlapped and anchor with an extra sl st to round neatly. FO and weave ends. (Perimeter varies)
Info :
The sample photo has pronounced scallops that look like layered fans with 7-9 dc per scallop cluster. If you prefer smaller scallops, work a single fan of (5 dc, ch 2, 5 dc) instead. Adjust ch-space sizes to taste.
Round 4 :
Decorative finish: Join yarn at base of each scallop and work 1 sc around the foot of each fan, then 3 sc in center of each fan to create a small raised ridge. Slip stitch between scallop centers to anchor. FO and weave ends. This gives the scallops a layered look like the image.
Info :
If you want a more open lacy border like in the photo, work the scallop patterns with trebles (tr) rather than double crochets (dc) if using US terms — increase stitch heights but keep repeat counts consistent. Use a hook 0.25-0.5mm larger for tr to keep drape.
— Alternate Detailed Shell Repeat (for accuracy) :
Round 1 :
Join purple at corner. Work 1 sc into end of each row along side edges and 1 sc into each top/bottom stitch. Place 3 sc into each corner row end. Count and record perimeter total 'P'. (P)
Info :
To plan scallops: Decide on number of scallops 'S' you want along the entire perimeter (sample uses S~74 total: about 18 on each short side and 19 on each long side in photo proportion). Compute spacing 'G' = floor(P / S). You will place one scallop per 'G' stitches with occasional G+1 spacing to distribute leftovers evenly. This keeps scallops visually even around corners.
Round 2 :
Ch 1, sc in same, sc across working 1 sc per st and place a marker every G sts to mark scallop anchors. Join. (P)
Round 3 :
Scallop build rounds: Work two rounds of fan increase at each marker: Round A (fan base): *At marker: (1 sc, ch 3, 7 dc, ch 3, 1 sc) anchored in the base sc; move to next marker; rep around. Round B (fan top): At center of each 7-dc fan, work (sl st, ch 3, 1 tr, ch 1, 3 tr, ch 1, 1 tr, ch 3, sl st) into top to create layered petal ridges. FO and weave in ends.
Info :
These two rounds create a double-layer scallop reminiscent of the image — a wider base cluster and a smaller top cluster for depth. Adjust dc/tr counts to change size, keeping spacing consistent using markers from Round 2.
— Finishing & Blocking :
Info :
After completing edging, give the entire runner one thorough blocking to shape scallops evenly. Stretch scallops gently with pins and steam or wet block according to yarn care instructions. Ensure all corners are rounded and motifs lie flat.
Info :
Weave in all ends on WS using a tapestry needle. If any bobbin floats remain visible, secure them with small stitches on the WS and tuck under adjacent carried yarn for a clean finish. Trim ends close to fabric after weaving at least 5-7 cm into the body.
Info :
Optional: Add a lightweight interfacing or thin felt backing if you intend to protect the table surface from possible dye transfer or to stabilize the runner further. Glue or sew backing carefully, avoiding covering scalloped edges unless desired.
— Care Instructions :
Info :
Wash gently by hand in lukewarm water with mild detergent for cotton yarn. Reshape and block flat. Avoid tumble drying. For long-term storage, roll with acid-free tissue paper to prevent creases, and avoid folding through scallops.
Info :
Spot-clean any spills promptly. If flower centers are yellow yarn and appear dull after washing, a light steam iron on low from the WS will brighten the surface without flattening the scallop texture.
This lavender iris table runner transforms a simple surface into a charming, floral focal point. With tapestry motifs and a lacy scalloped border, each stitch adds to the delicate, heirloom quality of the finished piece. Enjoy the satisfaction of watching motifs appear row by row, and the delight of a beautifully scalloped edge that frames your work. 🌸🧶 Press and block gently, place on your table, and admire the handmade elegance — this piece will make everyday spaces feel special. ✨