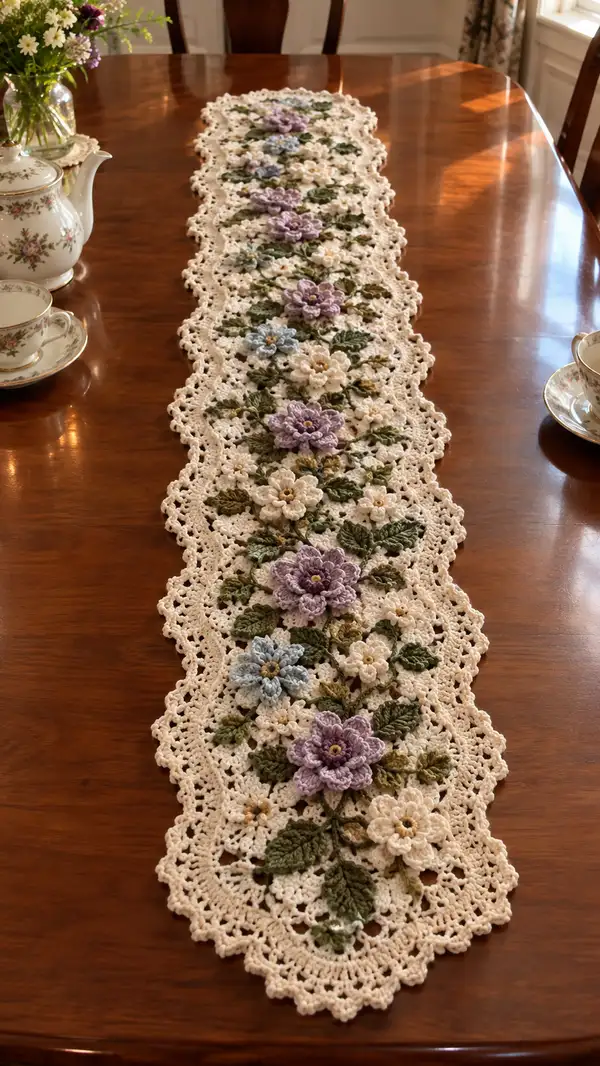
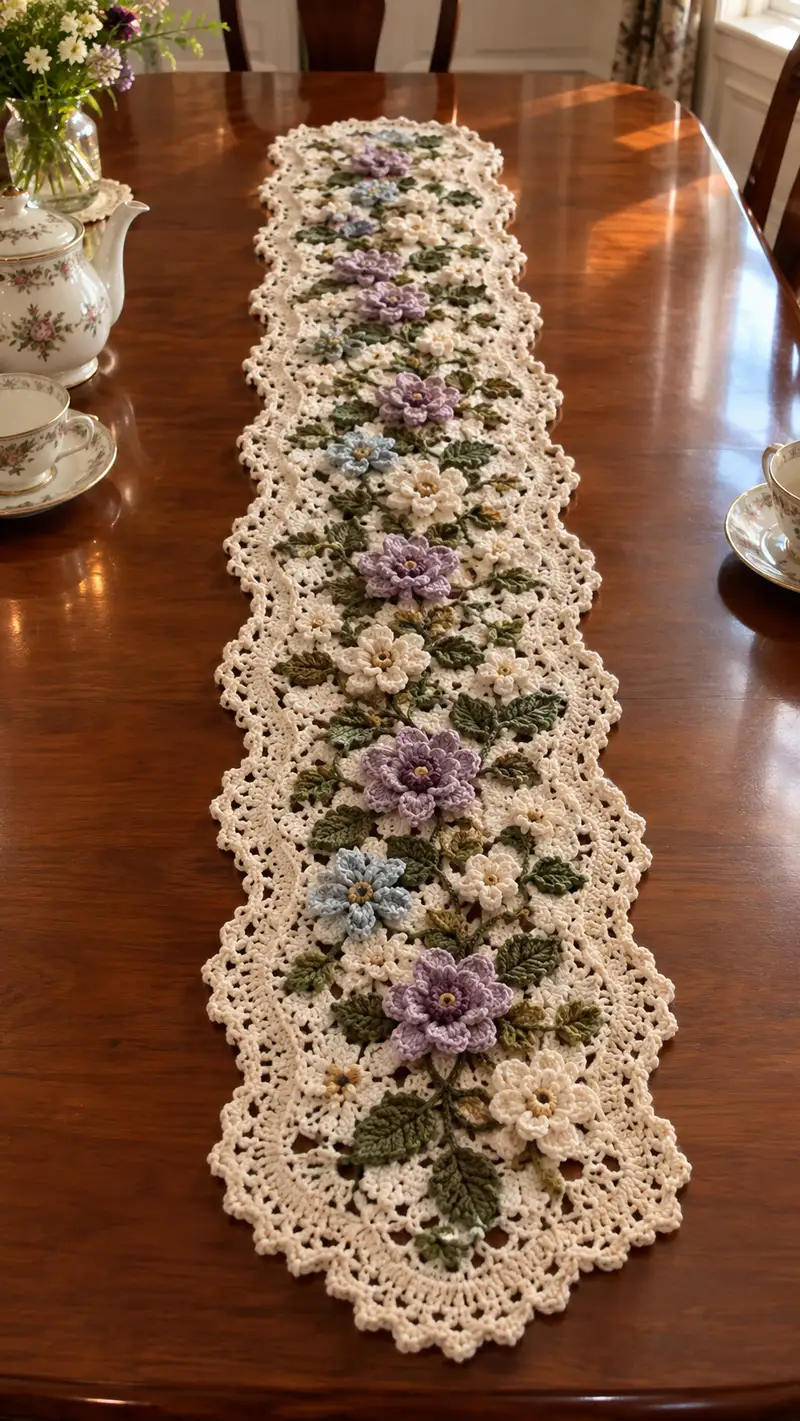
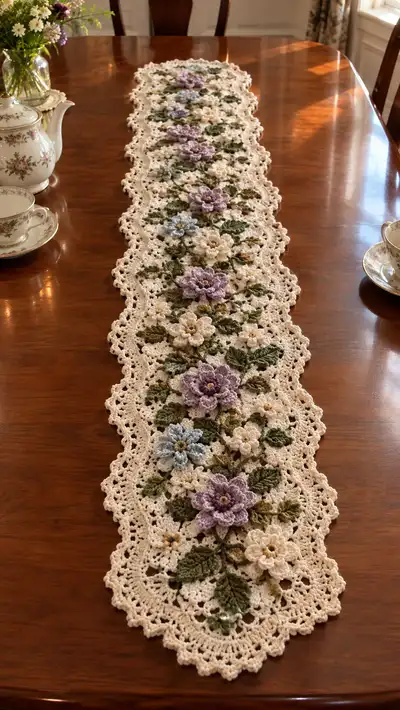
A delicate vintage-inspired lace table runner featuring raised 3D floral appliques in soft lilac, blue and cream with leafy green stems. Worked in fine cotton thread for crisp definition, this runner combines openwork lace motifs, layered flowers, and a scalloped border to create an elegant centerpiece. The design is modular so you can lengthen or shorten it to fit your table. Perfect for afternoon tea, special occasions, or adding a romantic touch to everyday decor.
Progress Tracker
0% Complete
— Main Lace Motif (make multiples along runner) :
Round 1 :
Work 8 dc in magic ring, join with sl st to first dc (8)
Round 2 :
Ch 3 (counts as dc), 1 dc in same st, 2 dc in each st around, join (16)
Round 3 :
Ch 3, dc in next st, (ch2, skip 1 st, dc in next 2 sts) x7, ch2, join to top of ch3 forming 8 ch2 loops (16 dc, 8 ch2 sps)
Info :
The ch2 loops created in Round 3 are the foundation for later petal insertion and for creating openwork. Keep loops even by pulling yarn lightly when completing ch2.
Round 4 :
Work in each ch2 loop: (sc, ch3, sc) in each ch2 loop around, join (8 shells, plus sc between shells = 24 total elements counted as sc positions)
Round 5 :
Ch1, *sc in top of shell, ch5, sk next sc between shells*, rep from * to * around making 8 ch5 sps, join (24 sc positions remain as anchors)
Round 6 :
In each ch5 sp: (sc, hdc, 3 dc, hdc, sc) to form a shell petal; join to first sc (creates 8 raised petal shells)
Info :
These larger shells form the raised base where the 3D flower will be sewn or anchored. Press lightly with blocking after making several motifs for consistent shape.
Round 7 :
Ch3, *2 dc in next sc, ch2, skip petal shell base (3 dc cluster), 2 dc in next sc, ch1, sc in next anchor*, rep around to create an expanded polygon lace (final st count variable but evenly spaced - 64 stitch opportunities around)
Round 8 :
Ch1, sc in each dc and sc around creating stable foundation for joining (count ~64 sc)
Round 9 :
*Ch4, sk 2 sc, sc in next sc* repeat around to create open chain arches; join (arcs equal to original 8 petal positions making 32 small arches)
Info :
Count the arches and mark every 4th arch to locate centers for flower placement. This motif is intentionally slightly oval to fit the runner channel.
Round 10 :
In each ch4 arch work (sc, ch3, 3 dc, ch3, sc) to create scalloped lacy arches; join (32 scallops)
Round 11 :
Ch1, sc in each st and across each scallop making an even surface for joining (approx 128 sc)
Round 12 :
Work picot edging round: *sc 3, picot (ch3, sl st in top of ch3), sc 3, sl st in next st* repeat around to form a delicate edge. Fasten off and weave ends.
Info :
Make a chain of motifs by creating the number of Main Lace Motifs needed to reach desired runner length. In the finished runner each motif will be partially joined to its neighbor by the Joining Panel instructions below.
— Large Layered Flower Applique (make one per large motif center) :
Round 1 :
Using lilac, mr, ch1, work 8 sc in mr, tighten (8)
Round 2 :
(Inc) x8 (16) - i.e., 2 sc in each st around
Round 3 :
(1 sc, inc) x8 (24)
Info :
This small disc forms the flower center. Keep work flat by checking stitch tension and using a st marker at the start of the round.
Round 4 :
Ch1, *sc in next st, ch5, skip 1 st* around to create 8 ch5 loops, join (24 anchor sc remain)
Round 5 :
In each ch5 loop work petal: (sc, hdc, 3 dc, hdc, sc); join (8 petals)
Round 6 :
Change to a slightly deeper lilac if desired. Attach yarn behind one petal base, ch2, work V-stitches between petals into the round (2 dc, ch2, 2 dc) into spaces between petals to create a frilled mid-layer; join (8 V-stitches)
Round 7 :
Ch1, in each ch2 sp of V-sts work (sc, ch4, sc) to create 8 ch4 loops for a ruffled outer petal round; join
Round 8 :
In each ch4 loop work (sc, hdc, 5 dc, hdc, sc) for grand petals; join (8 large petals)
Info :
Optionally add a small dab of light stuffing into each petal base for lift, using tiny amounts and distributing evenly. Do not overstuff.
Round 9 :
Work an outer decorative picot round: *sc in petal top, ch3, sl st in top of ch3 (picot), sk 2 sts, sc* repeat around to define petal points. Fasten off and leave long tail for sewing to motif.
Info :
Sew the flower to the Main Lace Motif by aligning the flower center with the marked central arch from Main Motif Round 9. Use the long tail and whip stitch through the motif's inner stable round to secure. Anchor several stitches through inner rounds to prevent shifting.
— Small Cream Filler Flower (make multiples to scatter) :
Round 1 :
With cream, mr, ch1, 6 sc in mr, tighten (6)
Round 3 :
Ch1, *sc in next st, ch3* x6 creating 6 ch3 loops; join
Round 4 :
In each ch3 loop work petal: (sc, 3 dc, sc) ; join (6 small petals). Fasten off leaving long tail for sewing.
Info :
Small flowers are sewn into secondary arches around the main motif, filling negative space. Use tiny stashes of yellow thread to add a French knot or a little bead at center for detail.
— Leaf (Make many in assorted green shades) :
Round 1 :
Ch 10, in 2nd ch from hook sc, hdc in next, dc in next 2, hdc in next, sc in next, sl st to next ch working along one side (this creates half-leaf shape), turn and work back along foundation chain: sc in base, ch2, sl st to start. Fasten off (leaf length 9-11 chs depending on size)
Round 2 :
Re-join at base, work 3 sc in base, ch1, *sc in each top loop across the leaf to add body (approx 9-11 sc), sl st back to base and shape tip with a picot if desired
Info :
For a more realistic veined leaf, work BLO slip stitches down the center line of the leaf and use surface slip stitch to embroider veins once leaf is blocked.
Round 3 :
Using a darker green, work 1 sc around outer edge of leaf to firm edge and give slight curl; fasten off leaving long tail for sewing.
— Connecting Chain Panel and Runner Spine :
Info :
The runner is constructed as a row of Main Lace Motifs joined by a narrow connecting spine of lace stitches that fills the gaps and unites the motifs into a continuous strip. Plan the number of motifs first; here we describe a 7-motif sample runner. Adjust repeat counts to lengthen or shorten.
Round 1 :
Lay out motifs in a line with right sides up and identify the joining arches (Main Motif Round 9 arches). With ecru, join at the arch by slip-stitching into the arch of both adjacent motifs and forming a ch6 bridge: attach yarn to motif A arch, sl st into motif B arch, ch6, sl st back into motif A arch to create a loop bridge - repeat for each adjoining arch location (repeat for 3 or 4 bridges per motif pair).
Round 2 :
After making ch6 bridges at 3-4 positions that align per motif pair, work a filling round across the bridges: *sc 6 in the ch6 bridge, sl st into next anchor on motif* to stabilize and create a narrow panel linking motifs. Repeat for entire runner length.
Round 3 :
Ch3, 2 dc in next st, ch1, sk next, *3 dc in next arch anchor, ch1* repeat across to create a lacy spine; join at each motif junction and fasten off at ends.
Info :
When joining motifs, allow a small slack so motifs lie flat without pulling. Pin motifs to blocking board in the final linear arrangement and attach by joining these spine bridges while pinned for precise alignment.
Round 4 :
Work additional filler arches between motifs: into each ch6 bridge, *sc, ch3, sc* forming decorative loops that will be covered or anchored by floral stems and leaves later. Fasten off and weave ends.
Info :
If you prefer a continuous crocheted join instead of slip-stitch bridges, work a round of sc across adjacent motif edges, picking up equivalent stitch points in both motifs to create a seam. The bridge method preserves open lace structure and room for appliques.
— Embroidered Stems and Placement :
Info :
Use a thin yarn tail or tapestry needle with doubled thread to embroider stems between flowers. Secure at a motif anchor, work surface slip stitches or chain-stitch style stems across the connecting spine and tack down where leaves and small flowers will attach.
Step :
Plan stem paths: start at the flower center on each Main Motif and draw a gentle vine connecting to nearest small filler flowers and leaves; embroider stems with 2 strands of green using surface slip stitch for smooth lines.
Info :
Anchor each leaf and small flower by sewing through the stem stitch and into the motif base to ensure secure attachment. Sew across inner rounds and secure knots on the back side of the runner so they won't show.
— Small Buds and Beaded Centers :
Step 1 :
For tiny yellow centers, use embroidery thread to make French knots or sew on 2-3 small seed beads at each flower center. Stitch from the back, bring needle up at center, wrap twice and insert back near exit point to form knot; secure on back with a small knot.
Info :
Beads add weight; if you plan to launder the runner, prefer embroidery knots over beads for centers. If using beads, test for colorfastness and washability first.
— Border Edging (scalloped scallop with picot) :
Round 1 :
With ecru, join to outer most stitch of end motif, ch1, sc evenly around entire runner edge and around each inserted applique seam to tidy the edge (approx 2 sc per large scallop and adjust to match curve). Maintain equal spacing to prevent ruffling.
Round 2 :
Work shell edging into previous round: *skip 2 sc, in next st work (5 dc), skip 2 sc, sc in next st* repeat around to create bold scallops. At motif junctions, work shells into adjacent spaces so scallops remain even (shell count should be divisible to fit runner - aim for 64 shells around the test runner of 7 motifs).
Info :
If your shell counts do not divide evenly, adjust by adding a single dc or sc in transitional areas between motifs to balance the scallops. Keep mathematical consistency so scallops remain symmetrical along both sides.
Round 3 :
Ch1, sc in top of each 5-dc shell, then create a picot-trim: *(sc, ch3, sl st in top of ch3), sc in next dc* around each shell top to produce a picot-finished scallop edge. Fasten off and weave ends.
Round 4 :
For a deeper scallop border, add an extra row: *(3 dc in shell top, ch2, 3 dc in same shell top), sl st to next shell top* repeat forming a pronounced scalloped profile around the runner. Fasten off and block.
Info :
Block the scalloped edge by pinning each shell peak and the picots to a blocking board, then mist with steam or water. Allow to dry fully for crisp definition.
— Final Finishing and Blocking :
Step 1 :
Pin the entire runner flat on blocking board, spacing motifs evenly and straight. Pin all edges and shell points using rust-proof pins; ensure both sides mirror each other.
Step 2 :
Lightly mist the runner with water or apply a diluted fabric starch for a crisper finish. Allow to dry completely (6-12 hours) before unpinning. Remove pins carefully and press any remaining small puckers by hand.
Info :
Blocking is essential for lace pieces made with cotton thread to achieve the uniform scallops and allow the motifs to align perfectly when sewn together.
Step 3 :
Weave in all ends on the back side using a tapestry needle, hiding tails through multiple stitches. Trim tails close to fabric and use a drop of fabric glue for extra security if needed.
Info :
If you prefer a slightly stiffer runner, apply a thin layer of diluted craft glue or starch on the back and allow to dry. Test on scrap yarn first to ensure the finish meets expectations.
— Alternate Sizes and Adjustments :
Info :
To lengthen the runner, add additional Main Lace Motifs and repeat the joining spine sequence. To shorten, remove motifs and adjust border shells accordingly. Width can be increased by adding a symmetrical second column of motifs and reworking the connecting spine as a lattice.
Info :
To make a placemat instead of a runner, use a central motif and border only, skipping the long connecting spine. Scale up the motif size by working an extra round of shells before finishing if desired.
Completing this lilac and blue floral lace runner is a joyful slow stitching journey — every scallop, petal, and leaf adds personality and charm. The finished piece becomes an heirloom center for tea or holiday tables, blending delicate lace with dimensional blooms. Enjoy the rhythmic repetition of motifs and the satisfying moment when they come together to create a beautiful, balanced runner. 🧶🌸✨