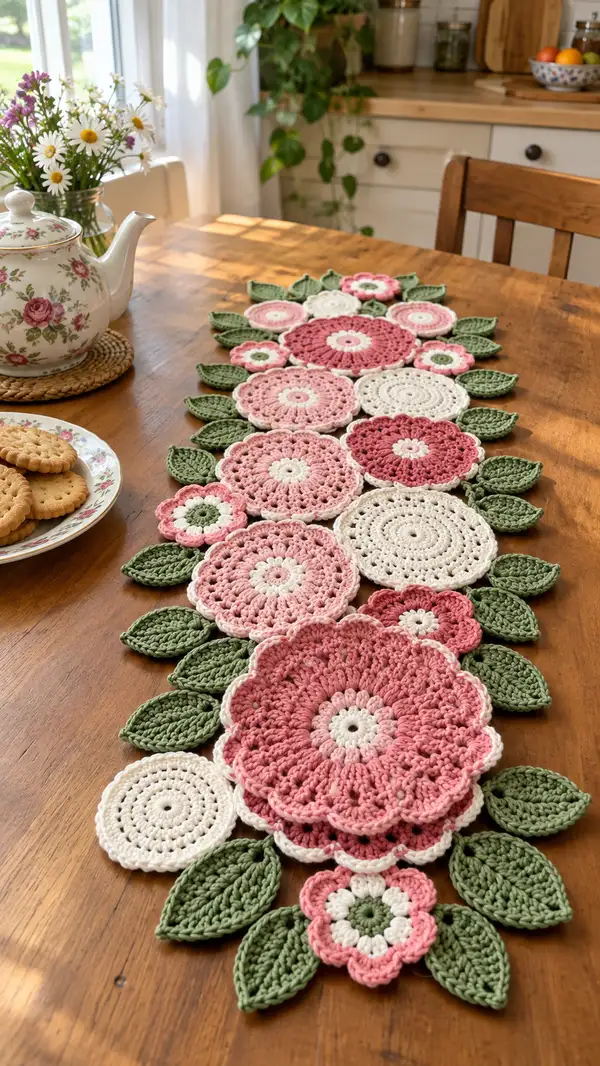
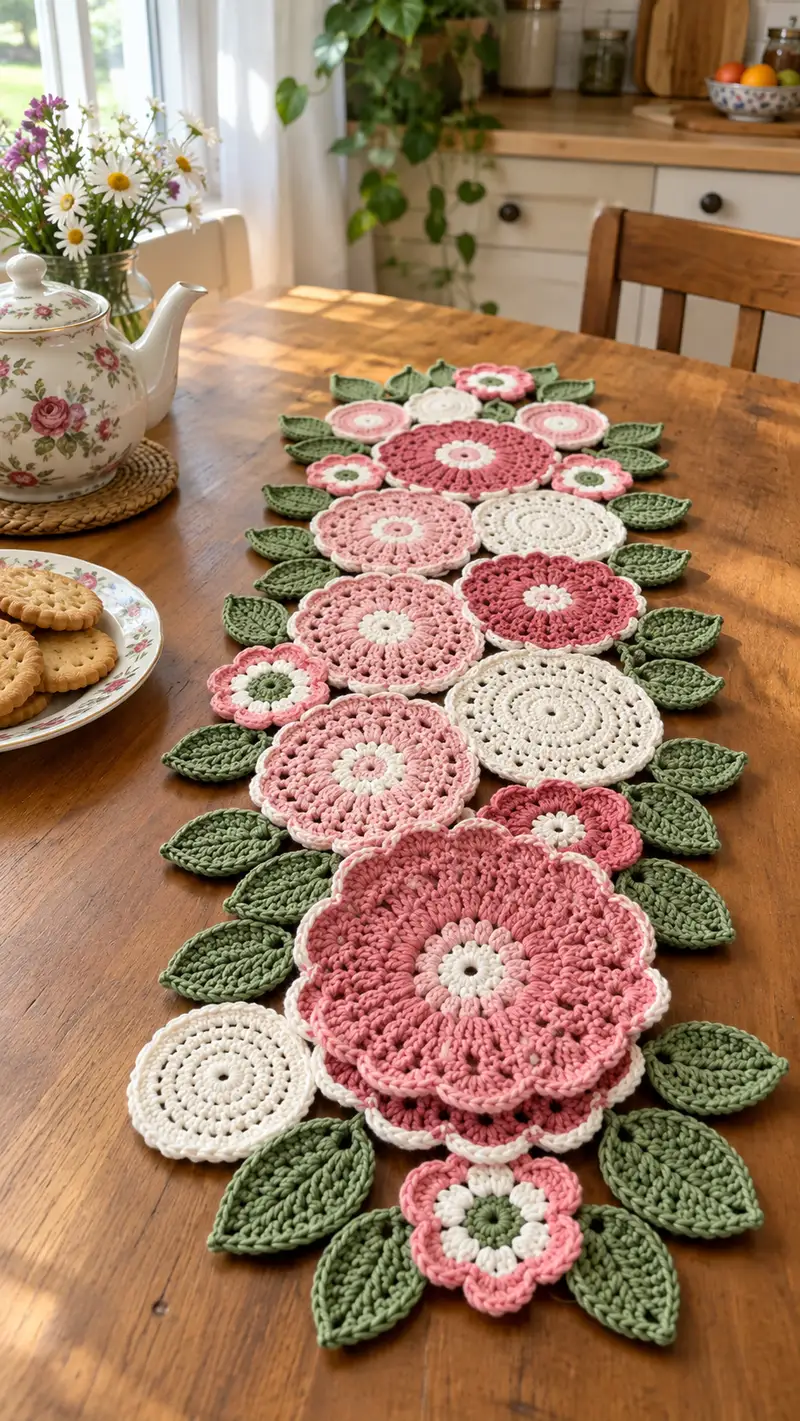
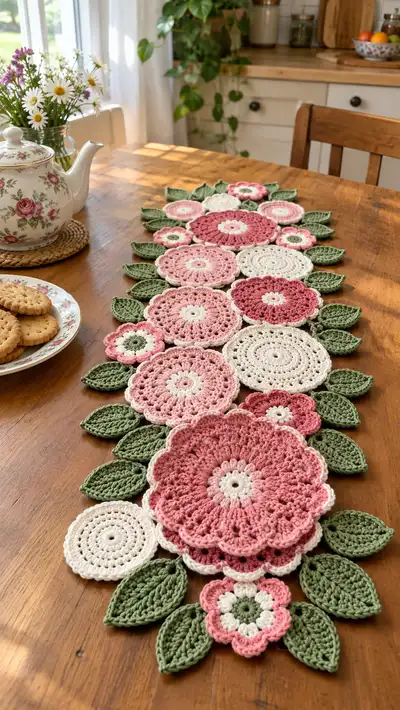
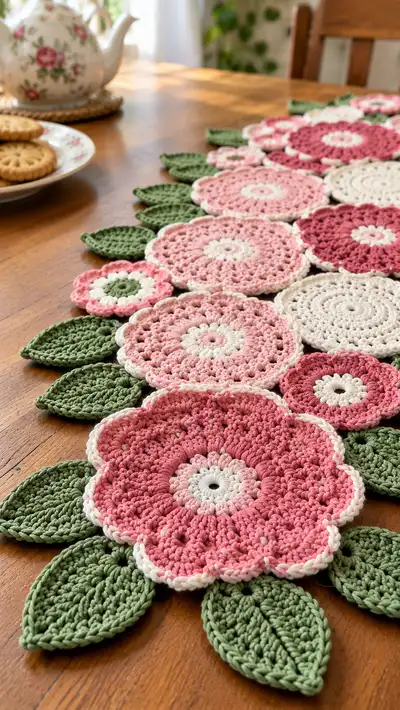
A romantic floral table runner made from layered crochet flowers and leaves in soft pinks, cream and sage green. This design features a mix of large scalloped blooms, mid-size rosettes and petite flowers joined with textured leaves for a cascading runner effect. Ideal for spring or a vintage-inspired table setting, the motifs are made separately and joined to create a flexible, washable centerpiece.
Progress Tracker
0% Complete
— Overview :
Info :
This pattern builds a layered floral table runner by crocheting three sizes of flower motifs and a pointed leaf motif. Motifs are arranged in a staggered trail and slip-stitched/whip-stitched together, then finished with a small scalloped join and optional picot edging. Use cotton yarn for a crisp look and gentle blocking to flatten and shape motifs.
Info :
Gauge is not critical but consistency is. With worsted cotton and a 4.0mm hook, a large flower center-to-edge measures approximately 12-14cm, medium flowers 9-10cm, and small flowers 5-6cm; leaves measure about 7-9cm long. Adjust hook size to change motif size.
— Large Flower (make 3) :
Round 1 :
ch 2, 10 hdc in 2nd ch from hook (10)
Round 2 :
2 hdc in each st around (20)
Round 3 :
(1 hdc, inc) x 10 (30)
Round 4 :
1 hdc in each st around (30)
Info :
Change to your mid-pink/blush color at the end of this round if making a two-tone center. Carry color inside or fasten off and weave in later.
Round 5 :
(2 hdc, inc) x 10 (40)
Round 6 :
1 hdc in each st around (40)
Round 7 :
(3 hdc, inc) x 10 (50)
Round 8 :
1 hdc in each st around (50)
Info :
Change to main large-flower color now for the petal rounds. Work evenly several rounds to build disk thickness before forming petals; this adds body and keeps edges neat.
Round 9 :
(4 hdc, inc) x 10 (60)
Round 10 :
1 hdc in each st around (60)
Round 11 :
(5 hdc, inc) x 10 (70)
Round 12 :
1 hdc in each st around (70)
Info :
Start shaping petals by switching to a combination of dc clusters. Petal formation uses dc clusters separated by small chains to create scallops. Keep tension even to make petals uniform.
Round 13 :
*skip 1 st, (ch 2, 3 dc) in next st, ch 2, sl st in next st* rep from * to * around to form 35 scallops (35 scallops)
Round 14 :
Working in back loop of scallops only: sl st into front of next scallop, (sc, ch 3, sc) in same scallop to make a picot-like ridge; rep across each scallop (35 ridges)
Info :
If you prefer deeper scallops, in Round 13 make the cluster (ch2, 5 dc) instead of 3 dc; adjust round counts accordingly. Pin motif flat and steam-block for best petal definition.
Round 15 :
Optional outer contrast: join cream with sl st into top of each petal cluster, ch 1, 3 sc around each scallop edge to create crisp white edging (105 sc total counted as 3 sc x 35 scallops)
Info :
Fasten off leaving a 30cm tail for joining. Weave the short ends into the backside of the flower and trim. Block each large flower to flatten petals and make edges crisp before joining to other motifs.
— Medium Flower (make 4) :
Round 1 :
ch 2, 8 hdc in 2nd ch from hook (8)
Round 2 :
2 hdc in each st around (16)
Round 3 :
(1 hdc, inc) x 8 (24)
Round 4 :
1 hdc in each st around (24)
Info :
Switch to the dusty pink for the next rounds if you want a two-tone look. Carry or fasten off as desired.
Round 5 :
(2 hdc, inc) x 6 (30)
Round 6 :
1 hdc in each st around (30)
Round 7 :
Petal foundation: *ch 2, 5 dc in next st, sk next 2 sts* rep around to form 10 petals (10 petals)
Round 8 :
Join cream with sl st at base of first petal, ch 1, sc evenly across each petal top (approx 5 sc per petal = 50 sc)
Info :
For a frilly edge, in Round 8 use (sc, ch 2, sc) across petal tops placing the ch 2 at petal centers. This creates a small scalloped trim.
Round 9 :
Optional layering round: in main color slip-stitch into the back of each petal and make 1 hdc in the base of each to anchor when joining (10 hdc)
Round 10 :
Fasten off leaving 20-25cm tail for joining and weaving in. Block motif flat before arranging.
— Small Flower (make 6) :
Round 1 :
magic ring, ch 2, 7 hdc in ring, pull tight, join with sl st to first hdc (7)
Round 2 :
2 hdc in each st around (14)
Round 3 :
(1 hdc, inc) x 7 (21)
Round 4 :
Petal round: *ch 2, 3 dc in next st, sl st in next st* rep around to make 7 small petals (7 petals)
Round 5 :
Join contrasting cream and sc evenly around petals (approx 21 sc). Fasten off leaving long tail for joining.
Info :
Small flowers are used to fill gaps and the centers can be worked in green for a daisy-like look. Make 6 or more to suit your layout.
— Leaf (make 28-32) :
Round 1 :
ch 2, 8 hdc in 2nd ch from hook (8)
Round 2 :
2 hdc in each st around (16)
Round 3 :
(1 hdc, inc) x 8 (24)
Round 4 :
1 hdc in each st around (24)
Info :
We will shape the leaf by creating a pointed tip on one end and a tapered base on the other. Work with sage green for a realistic look.
Round 5 :
Work along one side to tip: ch 1, dec over next 2 sts, 1 hdc in next 6 sts, (dec) in next 2 sts to form tip, then work along other side: 1 hdc in next 6 sts, dec over last 2 sts; sl st to join (20)
Round 6 :
Ch 1, 1 hdc in each st around working evenly to maintain 20 sts (20)
Round 7 :
BLO ribbing: 1 hdc in each st BLO around to create a raised center vein (20)
Round 8 :
On the top side: ch 1, *3 sc in next st, 2 sc in next st* along the edge to create a decorative ridged edge; rep to end and sl st (approx 28 sc around)
Info :
After Round 7, flatten leaf and use a yarn tail to couch down a central vein if desired by sewing a line of running stitches along the center and pulling slightly to shape. Light blocking will help the leaf lie flat.
Round 9 :
Fasten off leaving long tail for joining. Make the required number of leaves and block flat. For alternate texture, in Round 7 use FLO instead of BLO to invert the vein.
— Alternate Leaf with Picot Edge (optional) :
Round 1 :
ch 2, 8 hdc in 2nd ch from hook (8)
Round 2 :
Increase to 16 as before, then shape to 20 sts by Round 4 using same increases (16,20)
Round 3-5 :
Work 1 hdc in each st for three rounds to build length (20)
Round 6 :
Edge round: *sc, ch 3, sl st into base of ch 3 to form picot* repeat along outer edge only to create decorative points; sl st to join (approx 20 picots)
Info :
Picot edges give a lacy feel and look beautiful layered around flower edges. Use this style sparingly to avoid fraying during washes.
— Joining Motifs (Layout & Join) :
Info :
Arrange your blocked motifs on a flat surface to create the trail. The photos show a central axis of several large and medium circles with leaves radiating from both sides. Place small flowers in gaps to balance the composition. Take a photo of your layout before joining so you have a reference.
Round 1 :
Use a contrast or matching yarn and mattress stitch/whip stitch to join adjoining motifs: align edges and stitch through both backs for a flat join. For slip-stitch joining, hold motifs WS together and sl st through both loops around joining points.
Info :
When joining, work from the center outward so the runner stays flat. Use a long tail to whip-stitch widely (about 4-6 mm stitches) for strength. Avoid pulling tight, which will curl edges.
Round 2 :
Join large to medium: place medium so it overlaps large by approximately 25% of diameter. With wrong sides together, use a 20-25cm tail and small whip stitches every 6-8 top loops along the overlapped edge until motifs sit flush (repeat for each motif pair).
Round 3 :
Join leaves: tuck leaf bases under the edges of flowers or slip them between overlapped motifs. Secure with whip-stitches through the leaf base and the underside of the flower for an anchored look. Use two stitches per leaf base for stability.
Info :
For a nearly invisible join, use matching yarn and a ladder stitch. For a decorative visible join, use contrasting cream and blanket stitch in even spaced loops around the overlap.
Round 4 :
Fill gaps with small flowers: sew small flowers into any open spaces, tucking petals under nearby leaves if needed. Aim for organic balance; step back occasionally to check harmony of shapes.
Round 5 :
Edge stabilization: run a loose chain of sl st around the runner where flowers meet to maintain shape. Join yarn at one end, work sl st through outside loops of motifs that form the runner edge until entire border feels secure.
Info :
If you prefer a stronger edge, work a final round of sc through both layers around the entire perimeter where possible. This creates a continuous bound edge and adds structure for table use.
— Decorative Scalloped Border (optional) :
Round 1 :
With cream yarn, join at an outermost petal edge and ch 1, sc evenly along outermost stitches where motifs form the runner's outside edge (approx 1 sc per 6-8 mm depending on size)
Round 2 :
*ch 2, 5 dc in next sc, ch 2, sl st in next sc* repeat along outside edge to create scallops. Adjust the number of dc to match motif spacing (approx 15-20 scallops along runner side)
Round 3 :
Fasten off and weave in ends. Steam-block entire runner to set the scallops and flatten the joins.
Info :
Blocking after the final join ensures all motifs lie flat and scallops open evenly. Use pins to shape and lightly steam or wet-block. Let dry completely before use.
— Finishing Touches & Care :
Round 1 :
Weave in all ends securely using the yarn needle. Trim threads close to work after weaving through several stitches to prevent unraveling.
Round 2 :
Gently steam or wet-block motifs on a flat surface, pinning scallops and leaf tips to desired shape. Allow to dry fully for stable set.
Info :
For cleaning, hand-wash in cool water with mild soap and lay flat to dry. Avoid twisting or wringing; reshape while damp and block if needed. Cotton may soften with repeated washes but maintain structure with light blocking.
Round 3 :
Optional embellishments: add small beads, seed pearls, or embroidered French knots at flower centers if desired, sewing through the center ring only and securing knots on the back with matching yarn tails.
Info :
Make a sample motif first to practice petal formation and edge joining. This helps you decide on hook size and tension before committing to many motifs.
This Blossom Trail Table Runner brings the softness of spring to your table with layered flowers and textured leaves. Each motif is satisfying to crochet and the joining process is meditative — arranging the trail is like composing a little garden. The finished runner is flexible, washable, and stunning as a centerpiece or dresser cover. Enjoy the process and the lovely floral display you create! 🌸🧶