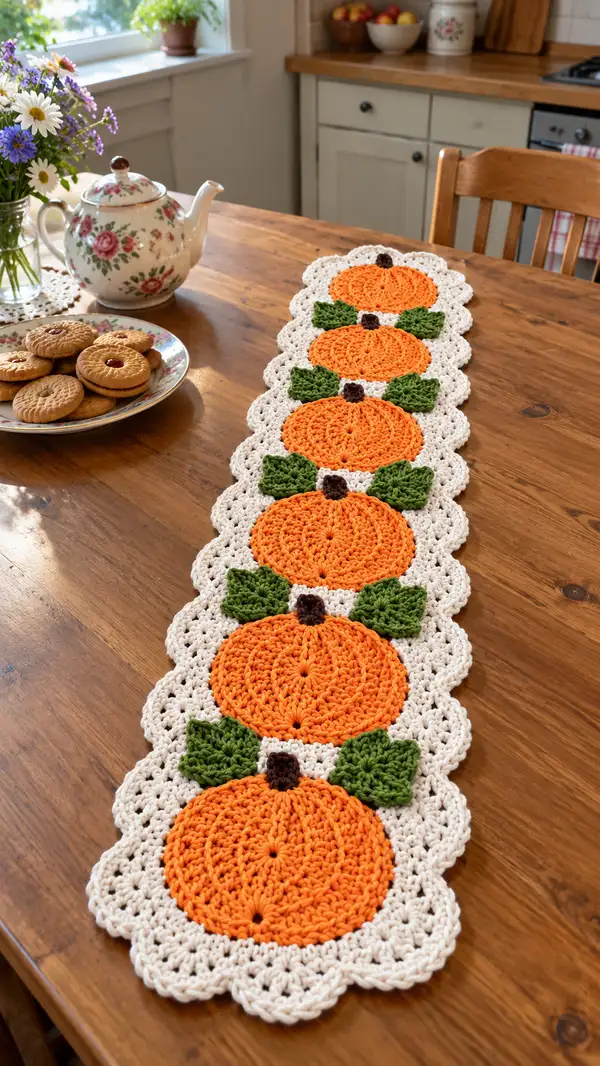
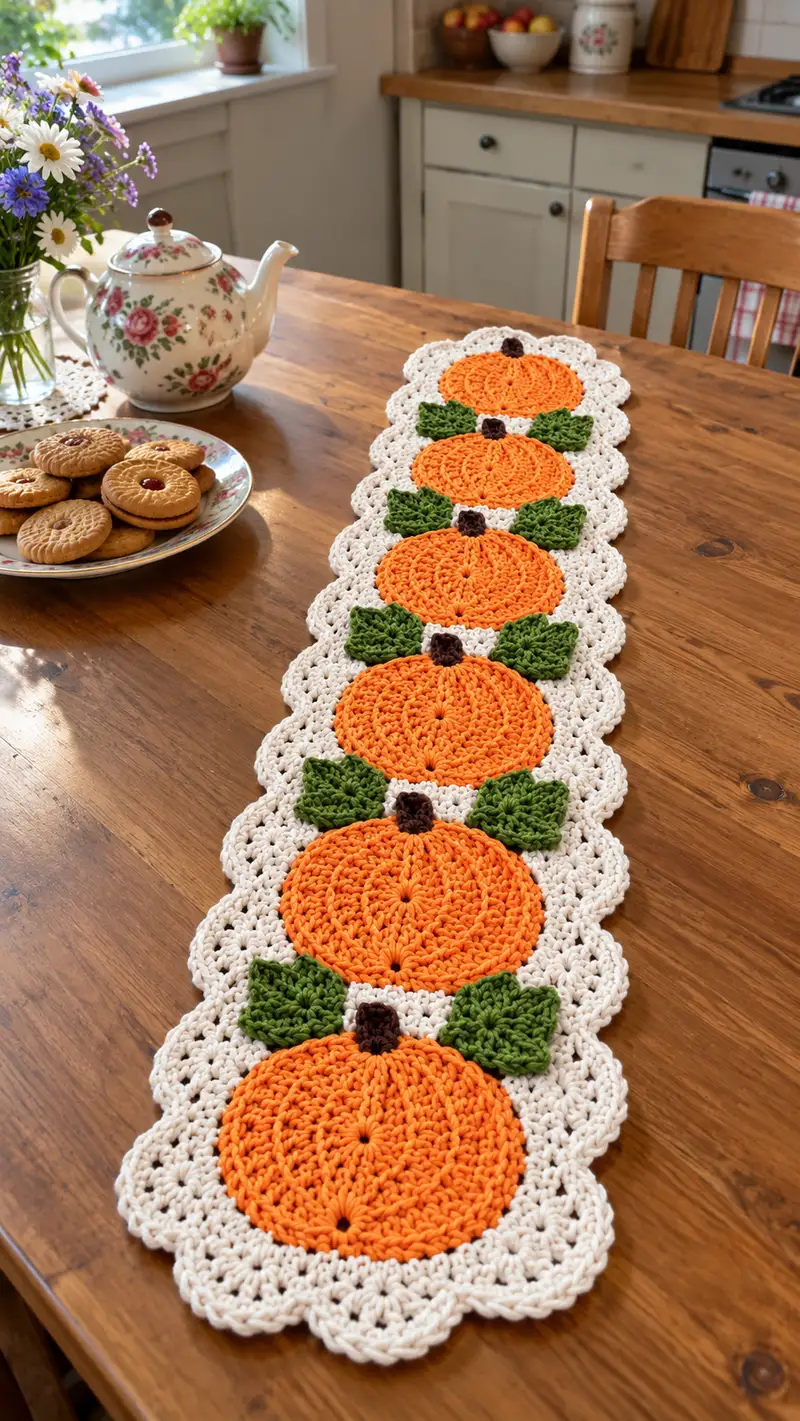
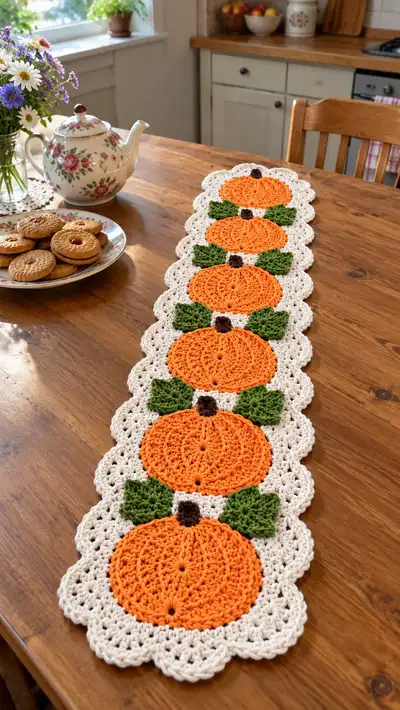
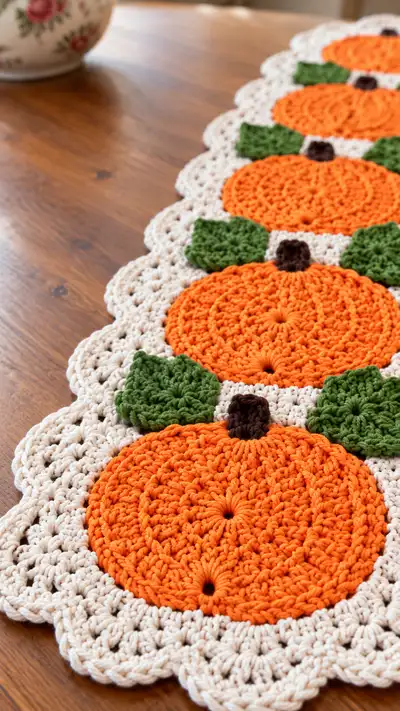
This cheerful autumn table runner features a row of bold orange pumpkin medallions, textured green leaves and tiny brown stems set against a soft cream lacy scalloped background. Designed to sit center-table as a seasonal runner, the motifs are crocheted separately and joined for a delicate yet sturdy finish. The pattern includes detailed stitch-by-stitch instructions, clear assembly notes and finishing tips so you can recreate the cozy look exactly as pictured.
Progress Tracker
0% Complete
— Overview :
Info :
This pattern describes the pumpkin medallion, leaf and stem units plus the lacy connecting ground and scalloped edging. Make the number of pumpkin medallions you need for your table length (the sample in the photo uses 5 pumpkins). Gauge: one pumpkin medallion after blocking measures approximately 4.75" (12 cm) across; adjust hook size to match your yarn and tension.
Info :
Abbreviations are listed above. Work in continuous rounds unless otherwise specified. Use a stitch marker to mark the first stitch of each round and move it as you work.
— Pumpkin Medallion (Make 5) :
Round 1 :
6 sc in magic ring (6)
Round 3 :
(1 sc, 1 inc) x 6 (18)
Round 4 :
(2 sc, 1 inc) x 6 (24)
Round 5 :
(3 sc, 1 inc) x 6 (30)
Round 6 :
(4 sc, 1 inc) x 6 (36)
Info :
At this stage your medallion begins to take a circular shape. Keep tension even. If you prefer a slightly smaller disc, skip the next increase round and proceed to an even round.
Round 7 :
(5 sc, 1 inc) x 6 (42)
Round 8 :
(6 sc, 1 inc) x 6 (48)
Round 9 :
(7 sc, 1 inc) x 6 (54)
Round 10 :
(8 sc, 1 inc) x 6 (60)
Info :
By round 10 you should have 60 stitches. This is the standard circumference used for the texture rounds below. If your tension made the circle too large or too small, adjust by working one fewer or one more increase round and then adjust the texture repeats accordingly (texture repeats expect 60 sts).
Round 11 :
1 sc in each st around (60)
Round 12 :
1 sc in each st around (60)
Round 13 :
(9 sc, puff) x 6 = (9 + 1) x 6 = 60 total (60)
Info :
Puff stitch: yo, insert hook into next st, yo and pull up a loop; repeat 3 times total (you will have 7 loops on hook), yo and pull through all loops, ch1 to close the puff. Puff counts as a single stitch. Keep loops even; do not pull too tight.
Round 14 :
1 sc in each st around (60)
Round 15 :
(9 sc, puff) x 6 (60)
Round 16 :
1 sc in each st around (60)
Round 17 :
1 sc in each st around (60)
Info :
These alternating puff and even rounds build subtle vertical ribs. The puff cluster rounds sit staggered so the ribs look natural; they are shallow ridges rather than deep channels to keep the medallion flat for sewing.
Round 18 :
Work 60 fpdc around the next round's sts as follows: *fpdc around next st, 1 sc in next st* repeat to end to create subtle raised ribs (60)
Round 19 :
1 sc in each st around (60)
Round 20 :
(8 sc, dec) x 6 (54)
Info :
This round pulls the disc very slightly inward so it lies flat when blocked. If your medallion is already flat, you may opt to skip this shaping round. If you skip, maintain a final even round before finishing.
Round 21 :
1 sc in each st around (54)
Round 22 :
(7 sc, dec) x 6 (48)
Round 23 :
1 sc in each st around (48)
Round 24 :
(6 sc, dec) x 6 (42)
Round 25 :
1 sc in each st around (42)
Round 26 :
Fasten off leaving a 12" (30 cm) tail for sewing (42)
Info :
Fasten off and weave the yarn tail to the center back of the disc. Lightly block the pumpkin medallion flat using a steam or wet-blocking method if using cotton yarn. Pin to desired size and allow to dry. Blocking ensures neat joins to the cream ground.
— Pumpkin Stem (Make 5) :
Round 1 :
With brown yarn, 6 sc in magic ring (6)
Round 2 :
1 sc in each st (6)
Round 3 :
(1 sc, inc) x 3 (9)
Round 4 :
1 sc in each st (9)
Round 5 :
1 sc in each st (9)
Round 6 :
Fasten off leaving 8" (20 cm) tail for sewing
Info :
Stems are short cylinders. Sew the base of the stem to the top center of the pumpkin medallion using the long tail. You can stuff a tiny bit of fiber into the stem if you want it slightly raised.
— Decorative Leaf (Make 10 — 2 per pumpkin) :
Round 1 :
Ch 8, sc in 2nd ch from hook, hdc in next, dc in next, tr in next (center ch), dc in next, hdc in next, sc in last ch — do not turn (7 sts along chain)
Round 2 :
Working down the opposite side of the foundation chain: sc in next ch, hdc in next, dc in next, tr in tip (ch1, 3 sc into tip), dc in next, hdc in next, sc in last ch; sl st to base to join (total approx 17 sts)
Round 3 :
Ch1, sc in each st around the leaf edge to create a defined border (17)
Round 4 :
*Ch1, 3 dc shell in next st, sl st in next; rep from * across one side only to create texture on the center spine (adjust placement so leaves remain symmetrical), end sl st to base (17)
Round 5 :
With green yarn, 1 sc in each st around; fasten off leaving 10" (25 cm) tail for sewing
Info :
These leaves are worked flat and shaped along a chain foundation. If you want deeper veins, work a line of bpdc or fpdc along the leaf center (from base to tip) in an additional pass before the final edging.
Round 6 :
Optional: Emboss veins by making 3 fpdc along center spine from base to tip; fasten off if added
Info :
Make two leaves for each pumpkin and mirror them when sewing so they sit evenly on both sides of the stem.
— Lacy Connecting Motif (Make 6 for between five pumpkins plus ends) :
Round 1 :
With cream yarn, mr, ch3 (counts as dc), 11 dc in mr, sl st to top of ch3 (12 dc) — pull ring tight (12)
Round 2 :
Ch3, dc in same st, 2 dc in each st around, sl st to top of ch3 (24)
Round 3 :
Ch3, (dc, ch1, dc) in every other st around to create small loops for lacy effect, sl st to top of ch3 (12 shells + 12 ch1 spaces)
Info :
The lacy connecting motif will sit between the pumpkins so its diameter should match or slightly overlap the edges of the pumpkin medallion when blocked. Aim for a motif diameter of about the same size as the pumpkin center area.
Round 4 :
Ch4 (counts as tr), tr in same space, *skip next shell, (2 tr, ch2, 2 tr) in ch1 space* around, sl st to top of ch4 (12 clusters)
Round 5 :
Ch1, sc in each tr and ch space around to tidy up shape (approx 48 sc) — you should be working into individual tr sts and chain spaces
Round 6 :
*Ch3, sk 2 sc, 7 dc cluster (shell) in next sc, sk 2 sc, sl st in next sc* repeat 6 times to create scallops around the motif (6 shells)
Round 7 :
Ch1, sc in each st around to tidy and flatten (approx 48 sc)
Round 8 :
Working into the scallop points only: *(sc, hdc, 3 dc, hdc, sc)* across each scallop to create a fuller petal look (6 petals)
Round 9 :
Ch1, sc in each st around to tidy (approx 60 sc) — adjust counts to keep motif circular
Round 10 :
Fasten off leaving long tail for joining; block motif flat (no specific stitch count as shaping for lace can vary)
Info :
Make enough lacy motifs to sit between the pumpkins: for a 5-pumpkin runner you will need 6 connecting motifs (one between each pair and one at each end). The motifs are joined together with a row of slip stitches and then the pumpkins, stems and leaves are sewn on top.
— Scalloped Border and Runner Join (Join motifs into a strip and work border) :
Round 1 :
Lay motifs in order (motif, pumpkin, motif, pumpkin, motif…) with pumpkin medallions sitting on top of the cream motifs. Using cream yarn and tapestry needle, whip stitch the motif edges together along the points where scallops meet. Join motifs using a continuous slip-stitch join or flat whip stitch for a neater join.
Info :
Pin everything first. Pin each pumpkin medallion centered on the cream motif circle with roughly 1/4" (6 mm) overlap into the cream area so the join is stable. Pin leaves flanking the top of each pumpkin and the small stem at center top before sewing.
Round 2 :
After joining motifs into a strip and sewing pumpkins onto motifs, work a single round of sc around the entire long strip in cream to even up edges and to provide a base for final scalloped edging. Work 1 sc in each stitch and 3 sc across each seam area to keep tension even (work counts will vary based on exact assembly).
Round 3 :
Ch3, *sk 2 sc, shell (5 dc) in next sc, sk 2 sc, sl st into next sc* repeat along long edges to create large scallops (adjust spacing so scallops sit centered on each pumpkin area).
Round 4 :
Ch1, sc in each st around including across scallop shells to tidy up. At the runner ends, work extra shells to create rounded termination points. Fasten off and weave ends.
Info :
The scalloped edging is worked the full length of the runner. For a symmetrical look, stitch shells evenly and count scallops on each side before proceeding to the final tidy round. If your strip is longer or shorter, add or subtract shells so the scallops remain proportional to the pumpkins.
— Finishing and Blocking :
Round 1 :
Weave in all ends of pumpkin, leaves and stems. Use matching yarn tails left when fastening off and a tapestry needle to weave through the backs for invisible finishes.
Round 2 :
Lightly steam-block the runner on a flat surface. Pin scallops and pumpkin medallions flat, gently pressing to achieve even curvature. If using cotton, avoid direct iron contact to preserve yarn integrity.
Info :
Blocking is essential for the lacy cream ground to lie flat and for pumpkin medallions to appear crisp. Allow piece to dry completely before use. For a softer drape, wet-block and allow slow air-dry.
— Tips and Troubleshooting :
Info :
If the pumpkins are slightly domed after joining, press them flat while wet-blocking using pins and a light weight. For extra stability on a table that will be used, consider backing the runner with a thin cotton fabric and hand-stitching around edges to prevent stretching.
Info :
To customize size: add or remove pumpkin medallions to lengthen or shorten the runner. Each pumpkin module adds approximately 5.5" (14 cm) to the total length after joining and blocking.
Info :
To change motif shapes: make pumpkins smaller by stopping increases at round 8 (48 sts) and reducing the number of texture rounds; make them larger by adding one more increase round to reach 66 sts and adjust puff repeats to divide evenly.
This Pumpkin Patch Table Runner brings a handmade, cozy harvest feel to your home with every stitch. Each medallion is a charming little pumpkin, textured and bright, framed by a soft lacy cream background that adds vintage farmhouse charm. As you assemble the motifs, the runner becomes a warm story of color, texture and seasonal joy. 🧶🍂 I hope you enjoy making this piece and that it finds a special spot on your table this autumn. Happy stitching! 🎃