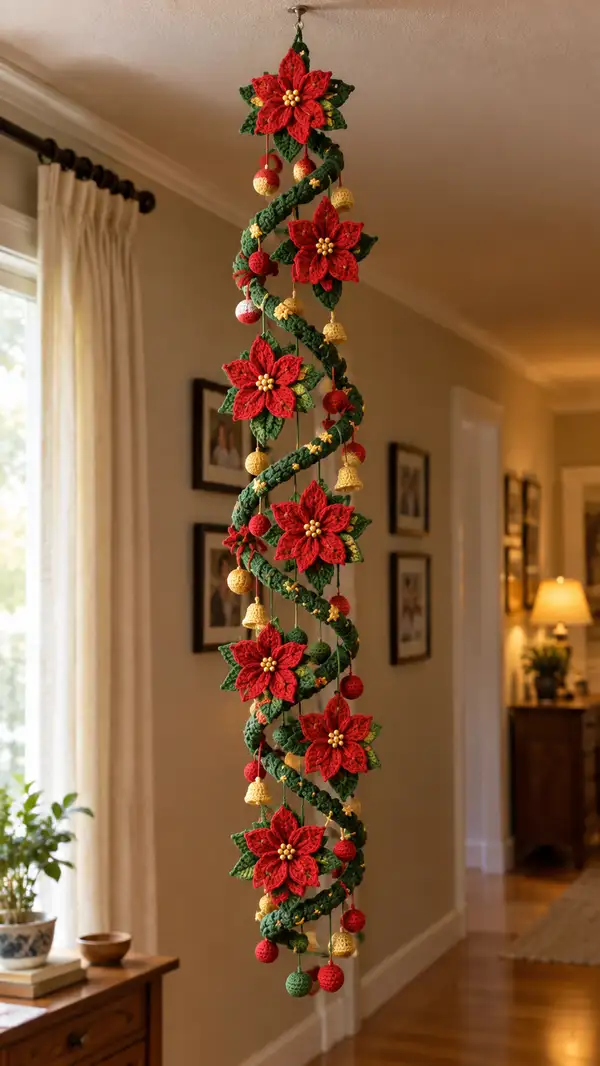
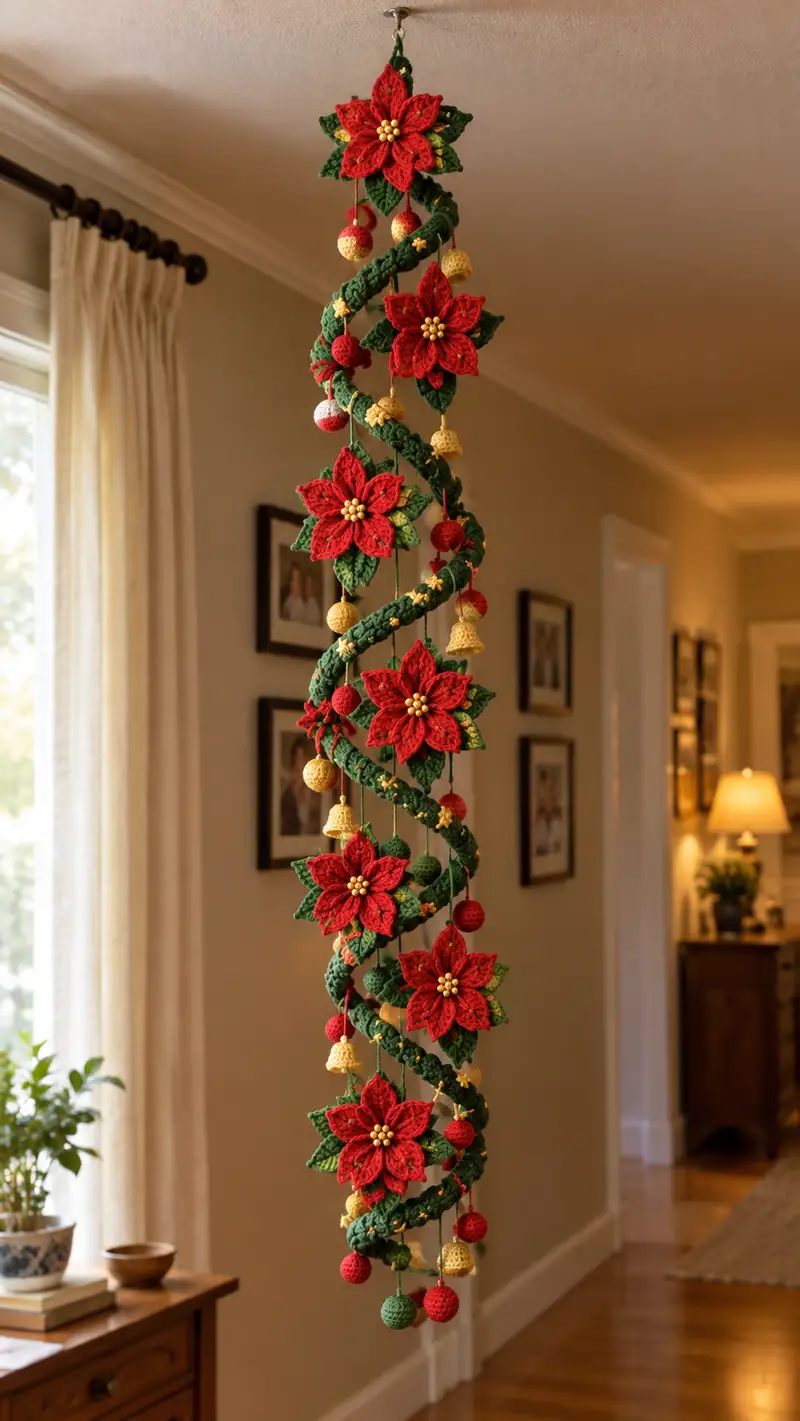
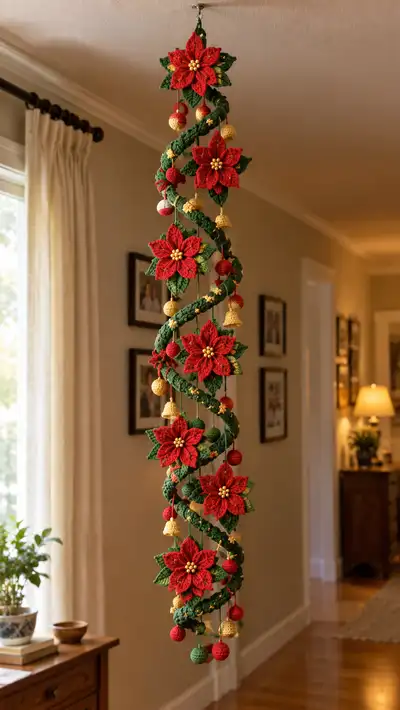
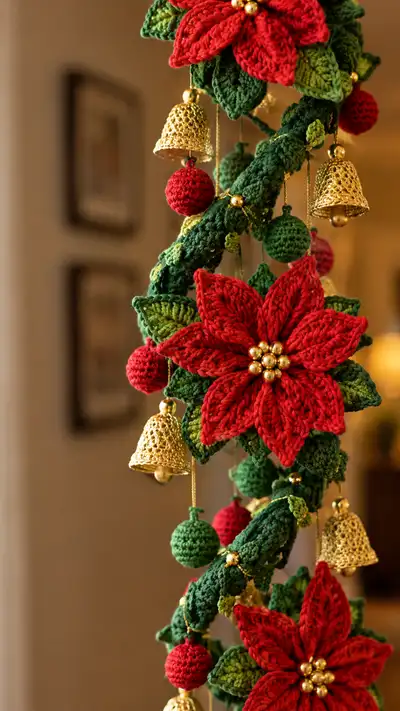
A festive hanging spiral garland decorated with crocheted poinsettias, layered leaves, tiny ornament balls and lacy bell covers. This vertical spiral design winds a green textured tube around a central core and suspends bright red flowers and golden accents for a classic holiday statement. Finished with metallic beads and delicate hanging cords, it makes an eye-catching holiday doorway or ceiling decoration.
Progress Tracker
0% Complete
— Spiral Core (Make 1 long textured tube) :
Round 1 :
6 sc in magic ring (6)
Round 3 :
(1 sc, 1 inc) x 6 (18)
Round 4 :
(2 sc, 1 inc) x 6 (24)
Round 5 :
(3 sc, 1 inc) x 6 (30)
Round 6 :
(4 sc, 1 inc) x 6 (36)
Round 7 :
(5 sc, 1 inc) x 6 (42)
Round 8 :
(6 sc, 1 inc) x 6 (48)
Info :
At this point you have a round tube with a 48-st circumference. This is a good stable diameter for the long spiral. If you prefer a thicker spiral, continue increasing following the pattern (7 sc, inc) to add 6 sts per round.
Round 9-18 :
1 sc in each st (48) (work 10 rounds total even, maintaining 48)
Info :
These even rounds will form the base width. Use them to practice an even tension and ensure the tube sits flat. Mark round starts with a stitch marker.
Round 19 :
1 sc in next 2 sts, BLO for next round; continue 1 sc each st (48)
Round 20-24 :
1 sc in each st BLO (48) (work 5 rounds) to create a subtle ridge texture for the spiral edge
Info :
Working in BLO on alternate rows gives the tube a ridged look that helps the spiral hold its twist and provides visual interest when wrapped. Keep stitch marker in first stitch of each round.
Round 25-110 :
1 sc in each st (48) (work 86 rounds to form desired length)
Info :
The number of even rounds here controls the overall length of your garland. The sample image shows a long vertical spiral approximately 90-110cm. Work 86 even rounds to approximate length shown; adjust up or down by increments of 8-12 rounds to change length.
Round 111 :
(6 sc, 1 dec) x 6 (42)
Round 112 :
(5 sc, 1 dec) x 6 (36)
Round 113 :
1 sc in each st (36)
Info :
These last decreases slightly taper the end so you can finish and weave in. Alternatively, leave an open tail to slip over a dowel or wire for hanging during assembly.
Round 114 :
Fasten off leaving long tail for sewing to top hanging ring or dowel
Info :
If you want a hollow tube to slide over a wire, leave an opening and do not fasten off; instead seam with a running stitch after sliding wire inside.
— Poinsettia Flower (Make 6) :
Flower Overview :
Each poinsettia is composed of a central disk, 7 large petals, and 7 small backing leaves. We will make petals individually and join them to the center. Use bright red for petals and deep green for backing leaves.
Petal Pattern (Make 7 petals per flower) - Petal Round 1 :
Ch 2, 4 sc in 2nd ch from hook, turn (4)
Petal Round 2 :
Inc in each st around (8)
Petal Round 3 :
(1 sc, inc) x 4 (12)
Petal Round 4 :
1 sc in next 2 sts, hdc in next 2 sts, 2 dc in next 2 sts, hdc in next 2 sts, 1 sc in next 2 sts (12) — shaping starts forming a pointed petal
Petal Round 5 :
Ch 1, turn, sc in each st across (12)
Petal Round 6 :
Ch 2 (counts as first hdc), hdc in next 2 sts, dc in next 4 sts, hdc in next 2 sts, sl st in last st, fasten off leaving tail (do not cut too short) (12)
Info :
Work petals flat to create a shallow 3D petal. Block lightly if necessary to shape the pointed tip. Keep tension slightly looser on larger stitches (dc) to allow petal to curve.
Small Backing Leaf (Make 7 per flower) - Leaf Round 1 :
mr, 5 sc in ring (5)
Leaf Round 2 :
Inc in each st (10)
Leaf Round 3 :
(2 sc, inc) x 3, 1 sc (13)
Leaf Round 4 :
Ch 1, turn, 1 sc in next 4 sts, hdc 3 sts, 2 sc, sl st in last st, fasten off leaving tail (13)
Info :
Leaves sit beneath the petals to give contrast. Use a variegated or lighter green to add depth. Slightly block leaves to create a cupped base that helps seat petals when sewn together.
Center Disk (Make 1 per flower) Round 1 :
mr, 6 sc in ring (6)
Center Disk Round 2 :
6 inc (12)
Center Disk Round 3 :
1 sc in each st (12)
Info :
After making 7 petals and 7 leaves, position petals evenly around the center disk. Use the tail of each petal and sew through center disk securing petals in a circle. Layer leaves to peek out between petals.
Assembly Rounds :
Sew each petal base to center disk spacing evenly — divide 12 center sts into 7 sections and place petals evenly. Use mattress or whip stitch through petal tail and center disk to secure (work around center twice for stability)
Center Bead Cluster :
Sew six small gold beads into the center using a fine thread or thin yarn. Secure tightly and weave ends into back of flower. This completes one poinsettia.
Info :
Make 6 poinsettias. For a fuller flower, add a second row of smaller red petals behind the first set offset by half a petal width. Use pins to arrange flowers before final stitching.
— Large Leaf (Make 12) :
Leaf Round 1 :
Ch 10, sc in 2nd ch from hook, sc 7, 3 sc in last ch; working down the other side of foundation chain sc 7, 1 sc in last ch (20)
Leaf Round 2 :
Ch 1, turn, BLO: (1 sc in next 3 sts, hdc in next 4 sts, dc in next 6 sts, hdc in next 4 sts, sc in next 3 sts) (20)
Leaf Round 3 :
Repeat Round 2 but work FLO on the opposite side to create pronounced central ridge — sl st to join and fasten off leaving tail for sewing
Info :
Large leaves are layered behind the poinsettia to create dimension. Use 2 shades of green (dark and light) alternating to mimic natural variation. Slightly steam-block on a towel to flatten and shape.
— Small Accent Leaf (Make 18) :
Round 1 :
Ch 6, sc in 2nd ch from hook, sc 3, 3 sc in last ch; sc 3 back (12)
Round 2 :
Ch 1, 1 sc in next 2 sts, hdc in next 4 sts, 1 sc in next 2 sts, sl st in last, fasten off leaving tail
Info :
Tuck these small leaves into gaps between spirals and around flowers. They work well attached with a single secure stitch under the flower base.
— Ornament Ball Small (Make 10 red & 8 green) :
Round 1 :
6 sc in magic ring (6)
Round 3 :
(1 sc, 1 inc) x 6 (18)
Round 4 :
(2 sc, 1 inc) x 6 (24)
Round 5-6 :
1 sc in each st (24) (work 2 rounds even)
Round 7 :
(2 sc, 1 dec) x 6 (18)
Round 8 :
(1 sc, 1 dec) x 6 (12)
Info :
Stuff firmly before final decreases so ball keeps its round shape. For hanging point, leave a 6-8cm tail of yarn before closing to form a loop or sew a separate crocheted loop to the top.
Round 10 :
Fasten off leaving tail for closing and attaching loop
— Ornament Ball Medium (Make 6 gold or variegated) :
Round 1 :
6 sc in magic ring (6)
Round 3 :
(1 sc, 1 inc) x 6 (18)
Round 4 :
(2 sc, 1 inc) x 6 (24)
Round 5 :
(3 sc, 1 inc) x 6 (30)
Round 6-9 :
1 sc in each st (30) (work 4 rounds even)
Round 10 :
(3 sc, 1 dec) x 6 (24)
Round 11 :
(2 sc, 1 dec) x 6 (18)
Round 12 :
(1 sc, 1 dec) x 6 (12)
Round 13 :
6 dec (6) - Fasten off leaving tail for stuffing and closing
Info :
For metallic look use gold yarn or cover ball with a fine metallic thread. Insert small bead at top of ball before final stitch to secure hanging cord if desired.
— Lacy Bell Cover (Make 6) :
Bell Round 1 :
mr, 6 sc in ring (6)
Bell Round 3 :
(1 sc, 1 inc) x 6 (18)
Bell Round 4 :
(2 sc, 1 inc) x 6 (24)
Bell Round 5 :
1 sc in each st (24)
Bell Round 6 :
(3 sc, 1 inc) x 6 (30)
Bell Round 7 :
Ch 3 (counts as dc), *skip 1 st, dc in next, ch 2; rep from * around to create mesh (15-16 meshes depending on count) sl st to join
Bell Round 8 :
Slip into chain space, ch 1, 5 dc in each chain-2 space, sl st to next chain space repeat (fan clusters create lacy bell edge)
Bell Round 9 :
Ch 1, sc in each stitch across fan clusters to smooth edge; work 2-3 rounds sc to form bell skirt (work until desired length)
Bell Round 10 :
Fasten off leaving long tail to gather and sew over a small store-bought bell or a foam core. Thread a small bead on a cord to form the bell clapper and secure.
Info :
For a metallic finish use a finer hook (3.5mm) and metallic or gold yarn. Sew bell cover around a small metal bell or a tightly stuffed cone of fiberfill. Secure top with a loop for hanging.
— Hanging Loop and Cord Pieces :
Loop Round 1 :
Ch 30 (or desired length for hanging loop), attach ends with 1 sl st to form a cord loop. Fasten off and weave in ends.
Info :
Make multiple hanging cords of various lengths for the ornament balls and bells. Use gold metallic cord or crochet thin chain in matching yarn. Typical hanging lengths range 4-18 cm depending on placement.
Connector Chain :
To make decorative chains that wrap along the spiral, ch 50 then sc back along chain or make beaded chain by adding small gold beads every 6 chs.
Info :
These connectors are decorative and help secure ornaments to the spiral. Use sewing stitches through spiral fabric or secure with a few invisible stitches and a dab of clear glue for extra hold.
— Finishing Touches & Assembly Preparation :
Info :
Before assembly, block all petals and leaves flat. Make all ornaments and bell covers. Arrange flowers at approximately equal vertical distances along spiral; the sample uses 6 flowers spaced about 10-12 cm apart along the spiral tube.
Step :
Attach top hanging loop to the top tail of the spiral tube. If you left a long tail from the spiral, use it to sew the loop securely into place. Alternatively, slide the spiral onto a dowel and attach a hanging ring to the dowel.
Info :
To create the spiral shape, wrap the green tube around a light flexible rod or wire dowel in a helix and pin. Sew occasional tacking stitches through the tube to hold the twist in place, or stitch a continuous decorative chain to anchor the spiral's edge.
Decoration Attachment :
Sew poinsettias to the spiral by stitching through back leaves and into the tube at chosen positions. Use reinforced stitching (work through several layers) to ensure stability when hanging.
Info :
Attach small leaves around the base of each poinsettia and add small bead clusters sewn into petal centers. Keep proportions similar to photos: large flowers dominate, small leaves and balls fill gaps.
Hanging Ornaments :
Attach small and medium ornament balls and bell covers to gold cords and hang them from the spiral using sewn loops. Alternate colors and sizes for visual rhythm.
Final Tacking :
Where the spiral might slip, tack the underside to an inner cord or to the dowel/wire with small hidden stitches. Weave in all ends and trim close to work.
Info :
Optional: Add a light spray of fabric stiffener or diluted glue to the underside of petals to keep shape. Avoid adding stiffener on metallic yarns to prevent stiffness of hanging cords.
This spiral poinsettia garland brings a handcrafted luxury to your holiday display — a cascade of red petals, green leaves, and golden bells that glows in any room. Each section is a small creative project that stacks into a memorable centerpiece you can hang for seasons to come. I hope you enjoy the meditative rhythm of making petals, beads and tiny bells as much as I do — the finished piece truly sings with holiday charm! 🎄✨